Quick Answer
The Master Pak for Xbox One includes a wired headset, charge base, two rechargeable battery packs, two silicone controller skins, eight thumbstick caps, and a 3ft charge cable. Set up takes about 10 minutes: install the battery packs, charge them, attach the controller skins and thumbstick caps, plug in the headset, and place the controller on the charge base.
What's in the Box
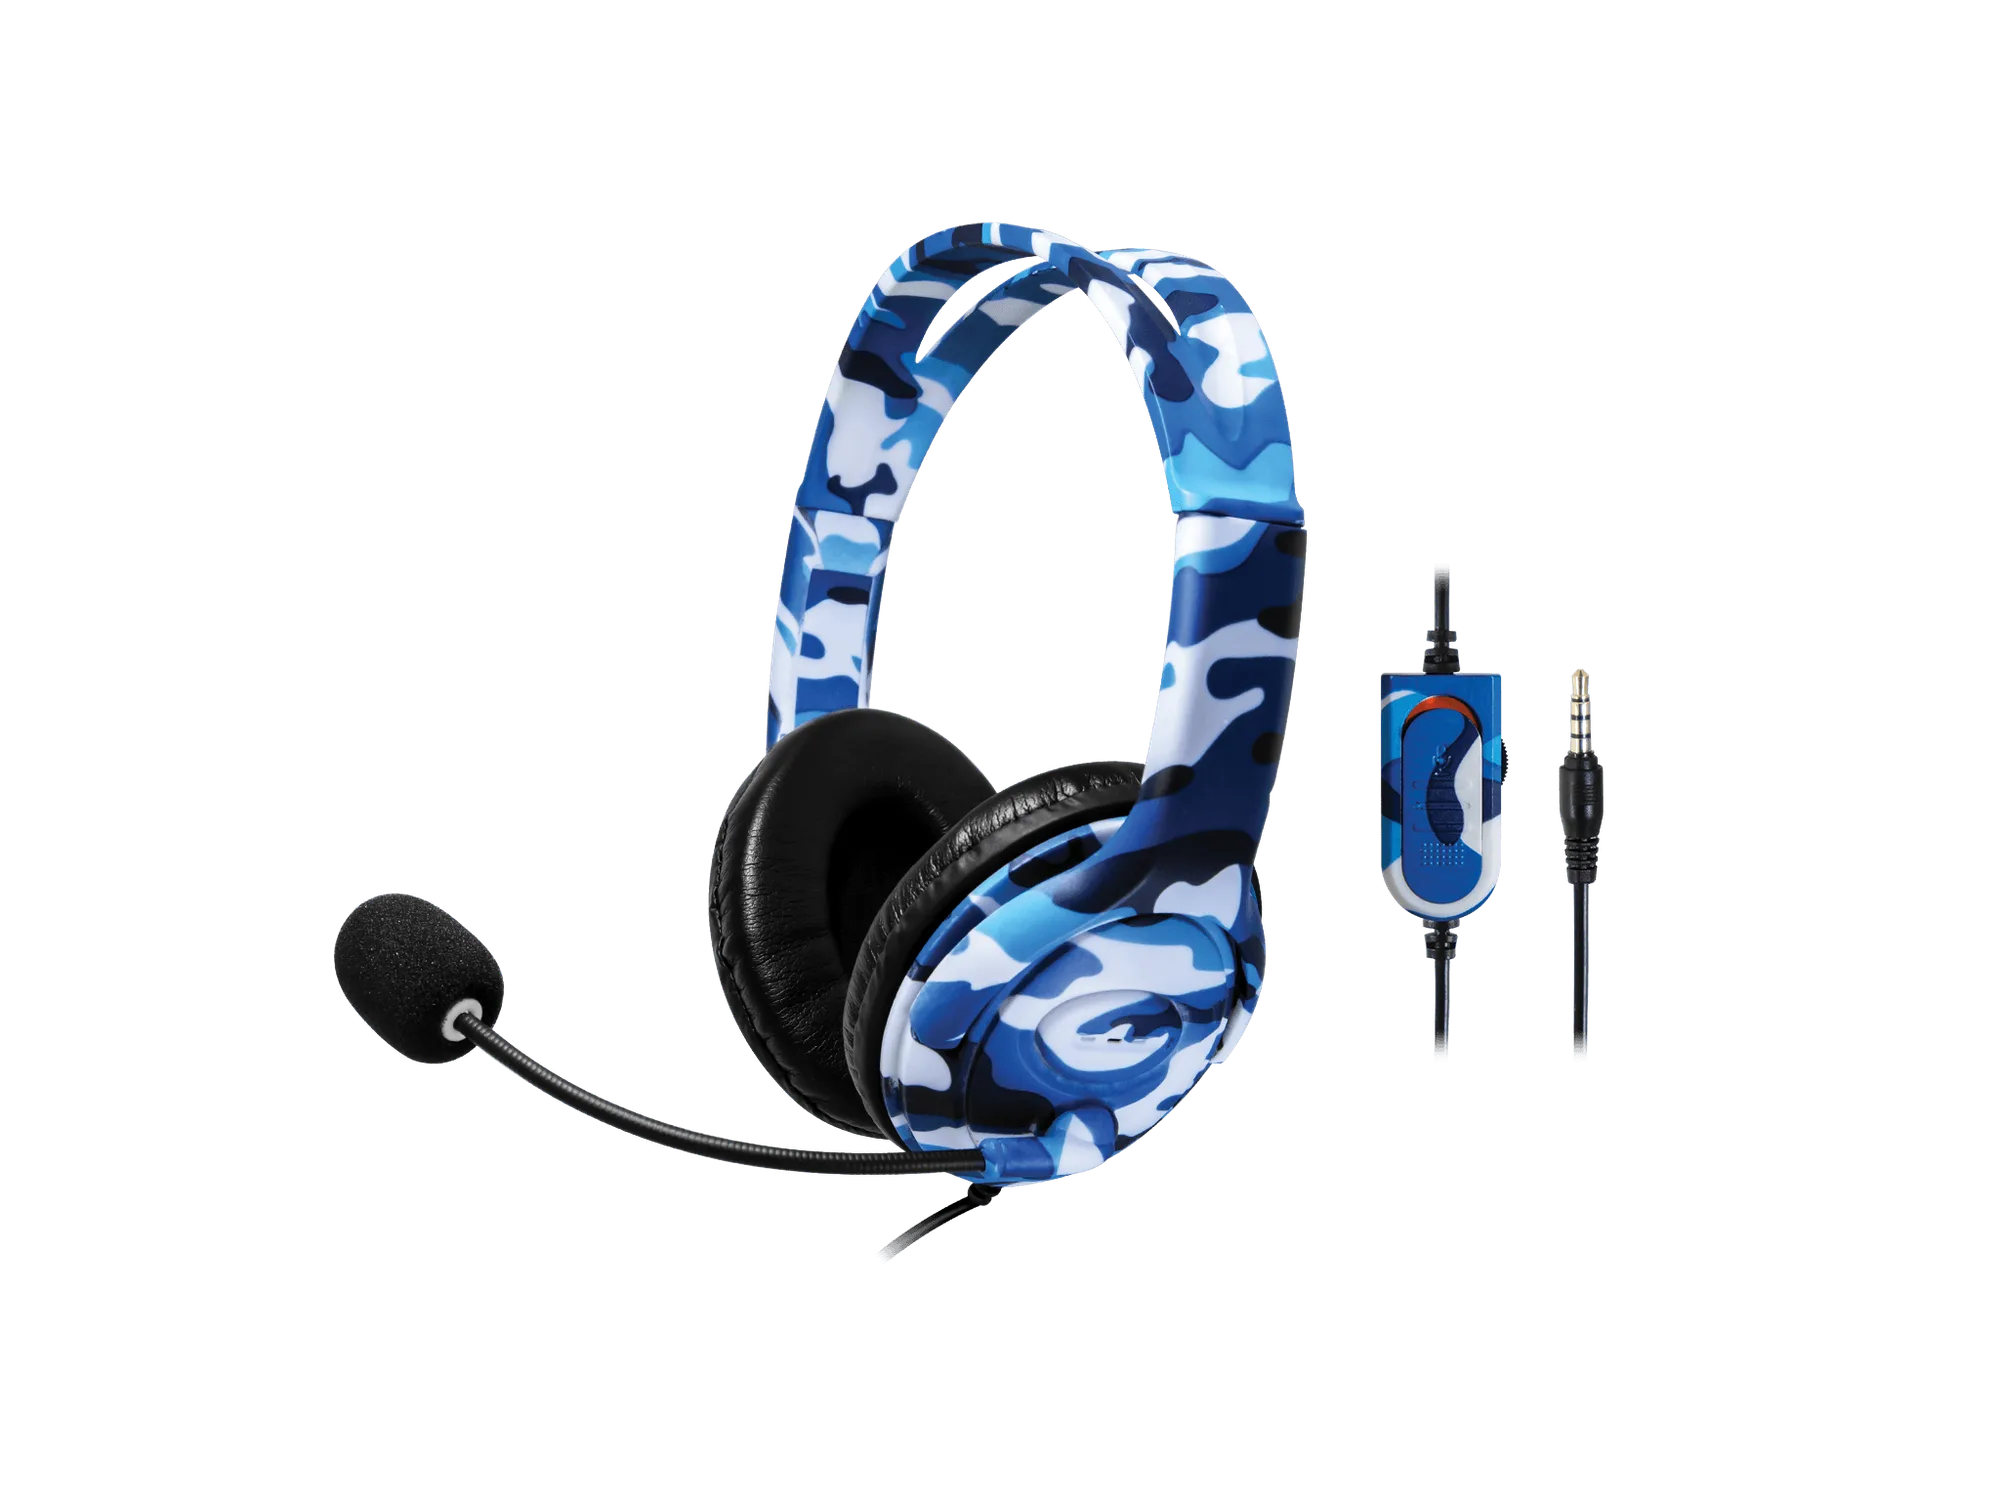
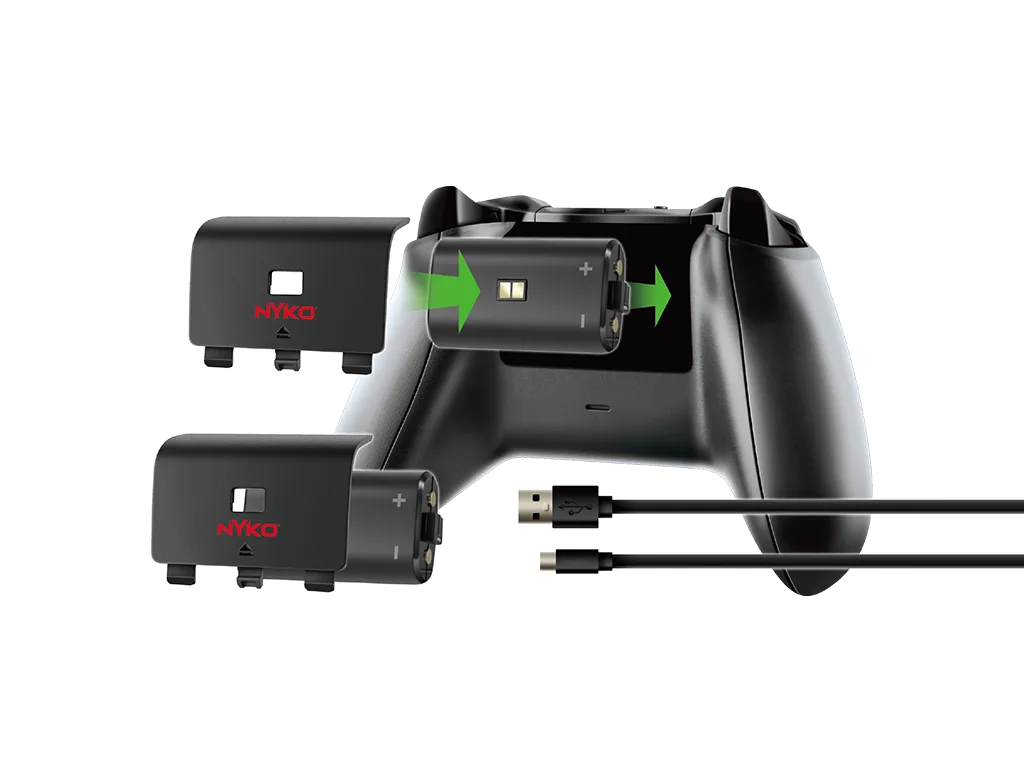
The Master Pak for Xbox One is a comprehensive accessory kit designed to cover your core gaming needs. Inside the package you'll find one wired over-ear headset, one dual charging dock (charge base), two rechargeable battery packs, two silicone controller skins, eight thumbstick caps, and one 3ft charge cable. The bundle is intended for Xbox One consoles, but the controller accessories also work with Xbox Series X/S controllers that share the same form factor.
Before you start, verify that all components are present. The charge base and battery packs are the most critical for cord-free play, while the headset gives you game audio and chat out of the box. The skins and thumbstick caps are purely cosmetic and ergonomic upgrades—you can skip them if you want to test the core setup first.
First Setup: Step by Step
- Install the Rechargeable Battery Packs: Open the battery compartment on your Xbox One controller. Remove any existing batteries or battery pack. Insert one of the included rechargeable battery packs into the compartment, ensuring the contacts align. Close the cover. Common mistake: inserting the pack upside down. The contacts must face the metal prongs inside the controller.
- Charge the Battery Packs: Connect the 3ft charge cable to the charge base and plug the other end into a USB port on your Xbox One console or a wall adapter. Place the controller onto the charge base so the metal contacts on the bottom of the controller touch the base pins. The LED on the base should light up to indicate charging. If the LED doesn't light, reposition the controller. The charge base works best when the controller is centered and flat.
- Attach the Silicone Controller Skins: Stretch the silicone skin over the top of the controller and pull it down over the grips. Align the cutouts for the thumbsticks, D-pad, and buttons. Smooth out any wrinkles. Don't force the skin over the controller if it feels too tight—it's designed to fit snugly. Tugging too hard can tear the silicone.
- Replace the Thumbstick Caps: Remove the existing thumbstick caps by pulling them straight off. Press one of the eight included caps onto each thumbstick post until it clicks into place. You can mix colors or use matching pairs. Make sure the cap is fully seated. A loose cap can pop off during intense gameplay.
- Connect the Wired Headset: Plug the headset's 3.5mm jack into the audio port on the bottom of your Xbox One controller. Adjust the headband and ear cups for a comfortable fit. Go to Settings > Audio on your console to adjust chat and game volume balance. If you hear no sound, check that the headset plug is fully inserted. The controller must be powered on for audio to work.
Product Spotlight: Master Pak for Xbox One
- Master Pak for Xbox One™: Bundle includes 1 Wired Headset, 1 Charge Base, 2 Rechargeable Battery Packs, 2 Silicone Controller Skins, 8 Thumbstick Caps, and 1 3ft Charge Cable. You get everything needed for audio, extended battery life, and controller customization in one purchase, so you don't have to source each accessory separately.