Quick answer
Place Merrick Outdoor Mast Lights along one side of the path, spaced roughly 6–8 feet apart, with the top of the mast about 3–4 feet above the ground. Aim the downward beam at the walking surface, not into eyes or windows.
Why one side of the path usually works better
Alternating lights left and right can create a zigzag pattern that feels busy and makes the path look narrower. Keeping all mast lights on the same side gives a calmer, more continuous line of light and a cleaner view from the house.
If the path curves, stay on the outside of the curve so the light washes across the walking surface rather than across the planting bed.
When a lower or higher post makes sense
A 3–4 foot mast height suits most garden paths because the light reaches the ground without glaring into faces. Use the lower end for narrow paths and the higher end for wide paths or steps where you need a broader pool of light.
Avoid setting the mast so low that the fixture sits below surrounding shrubs; foliage will block the downward beam and create dark patches.
Plan for patina and changing light
The Merrick is hand-finished to develop a verdigris patina, so its appearance will shift over time. That change is part of the design, but it means you should choose positions where the fixture is visible and appreciated, not hidden behind dense planting.
Because the finish varies piece to piece, treat each light as an individual and avoid expecting an identical match across a long run.
Step-by-step garden path lighting layout
- Walk the path at dusk: Before choosing positions, walk the path at dusk and note where you naturally look down, where steps or turns occur, and where existing light already falls. Mark those spots with stakes. Checkpoint: if you cannot see the path edge clearly at dusk, add a light there.
- Choose one side and mark spacing: Keep all mast lights on the same side of the path, usually the side away from the house or the outside of a curve. Space them roughly 6–8 feet apart, then adjust for turns and steps so no gap is longer than 8 feet. Common mistake: spacing by eye alone often leaves a dark gap at the far end; measure the last gap.
- Set the mast height: Set the top of the mast about 3–4 feet above ground. Use the lower end for narrow paths and the higher end for wide paths or step landings. Confirm the fixture sits above nearby shrubs so the downward beam is not blocked. Checkpoint: stand at the path entrance; if you see the light source directly, lower the mast or adjust the aim.
- Aim the beam at the walking surface: Angle each mast light so the pool of light falls on the path, not on the lawn or into a window. For steps, aim slightly toward the step edge so the tread is visible. Common mistake: aiming too far outward creates glare from the side; keep the beam mostly downward.
- Test at night and adjust: After installation, walk the path at night in both directions. Look for glare, dark patches, and shadows cast by plants. Adjust spacing or aim as needed, and trim foliage that blocks the beam. Checkpoint: if a light is visible from a seating area, shield or reposition it.
Product facts
-
Merrick Outdoor Mast Light: Casts light gently downwards from a solid brass mast. The downward beam is ideal for lighting the path surface without spilling into windows or eyes.
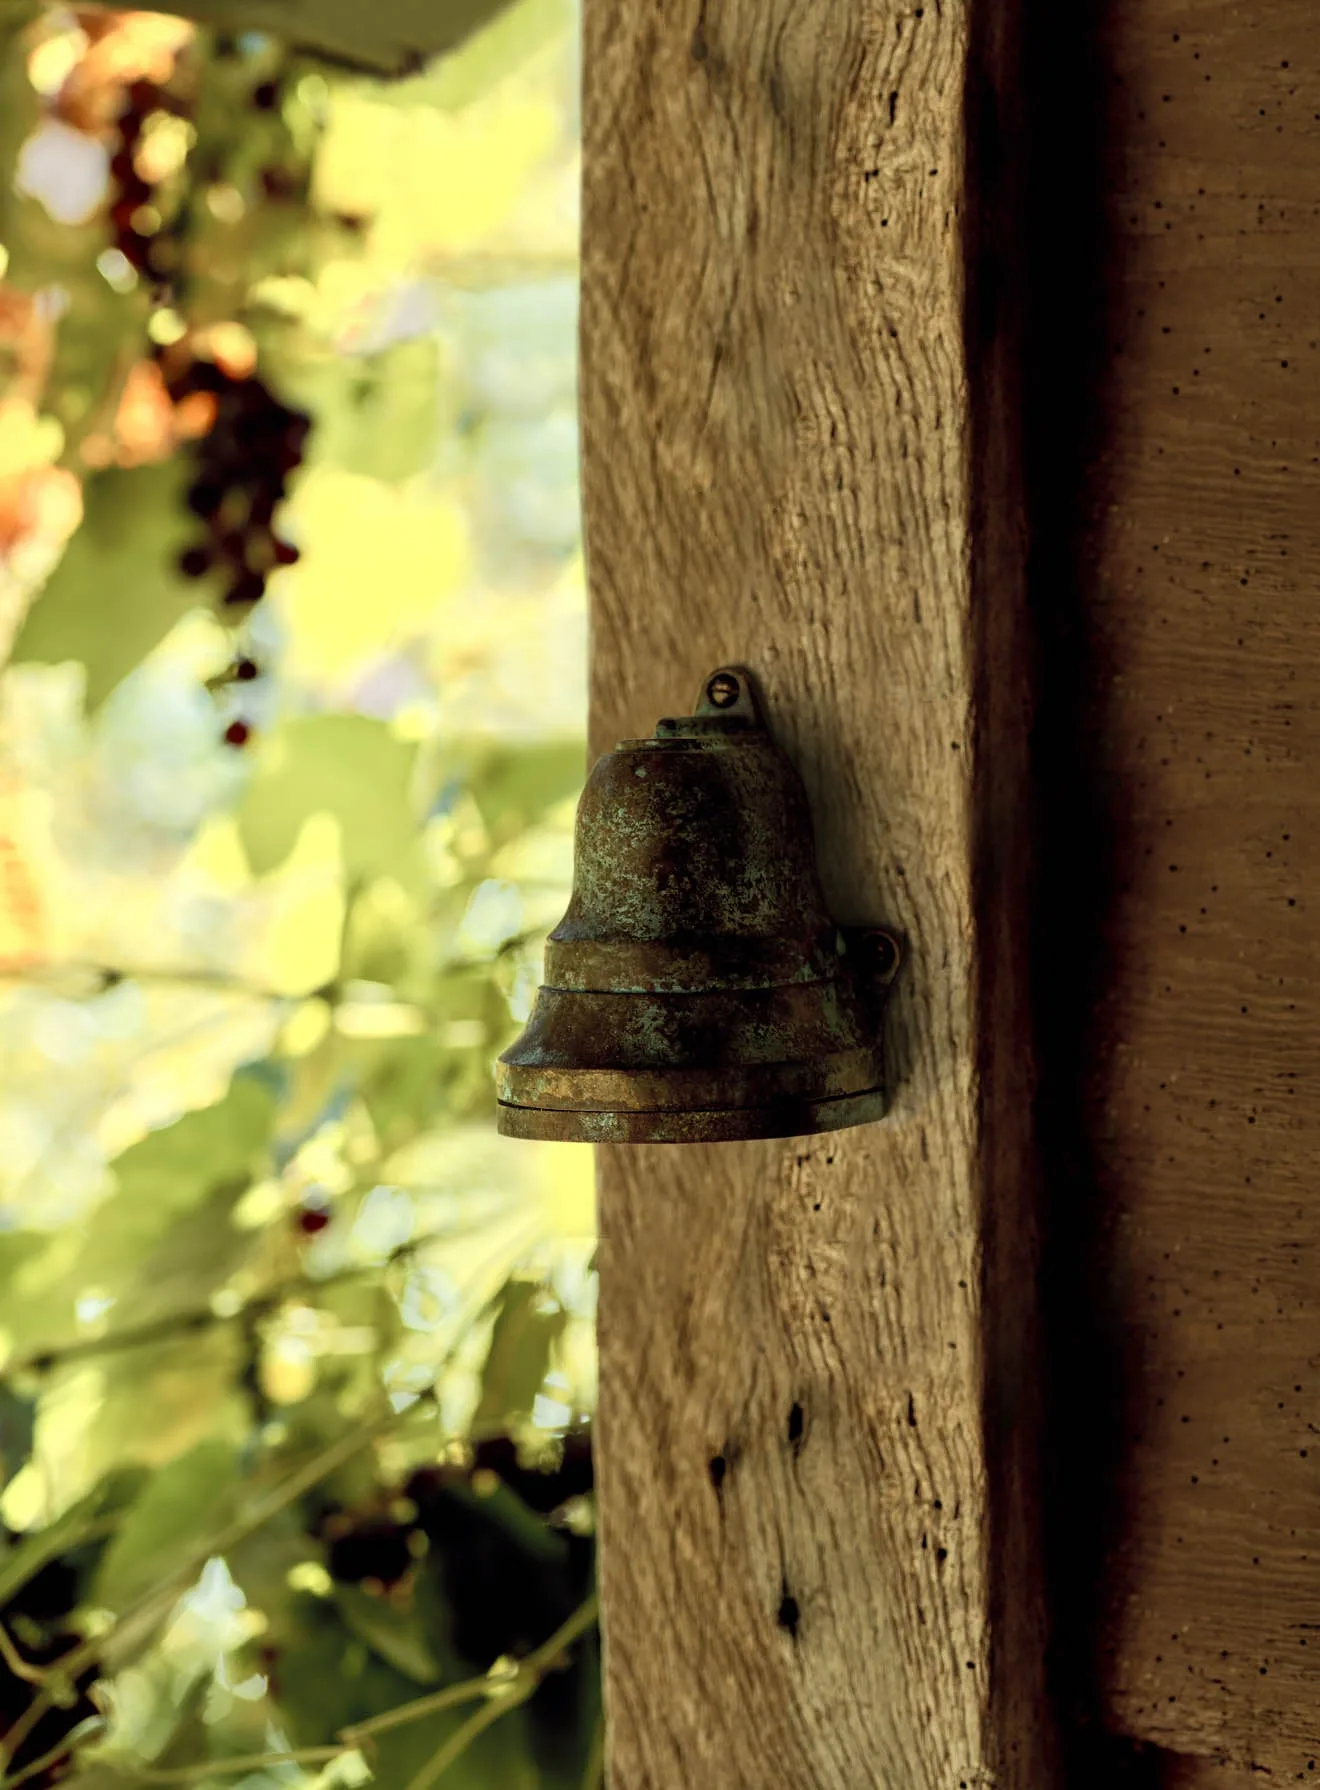
Merrick Outdoor Mast Light
-
Merrick Outdoor Mast Light: Hand-finished to encourage a verdigris finish that deepens with exposure. Expect the color to change over time, so place it where the evolving patina can be seen and enjoyed.