Quick answer: Installing the seat
Snap the Micro Kickboard seat onto the Mini Rock & Go by aligning the seat post with the frame receiver and pressing down firmly until you hear a click.
Why the seat might feel tight at first
The seat receiver on a new Mini Rock & Go can be snug. This is normal and ensures a rattle-free ride. If the seat doesn't click in easily, do not force it at an angle—lift the ride-on slightly to take pressure off the receiver, then try again.
Steps to install the seat
- 1. Check compatibility: Confirm you have a Mini Rock & Go ride-on. This seat is designed only for that model and will not fit other Micro scooters. Using it on a different model can damage the receiver.
- 2. Align the seat post: Hold the seat so the post is straight above the frame receiver. Do not insert it at an angle—this can bend the internal locking tab. A straight push is key to a secure click.
- 3. Press down firmly: Push the seat post straight down into the receiver until you hear or feel a click. The seat should sit flush with no wobble. If it doesn't click, lift the ride-on slightly to relieve tension and try again.
- 4. Test the lock: Gently tug upward on the seat to confirm it is locked. A properly installed seat will not lift off. Ride with an unlatched seat and it may detach.
- 5. Remove when needed: Press the release button (usually located near the receiver base) while pulling the seat upward. Store the seat in a dry place. Leaving the seat outdoors can fade the color over time.
Product details
-
Parts: Seat for Mini Rock & Go: The Micro Kickboard Seat for Mini Rock & Go is a replacement part offered in four colors: Olive Sage, Lavender Mist, Dusty Rose, and Ocean Slate. You can match or refresh the look of the ride-on without buying a whole new unit.
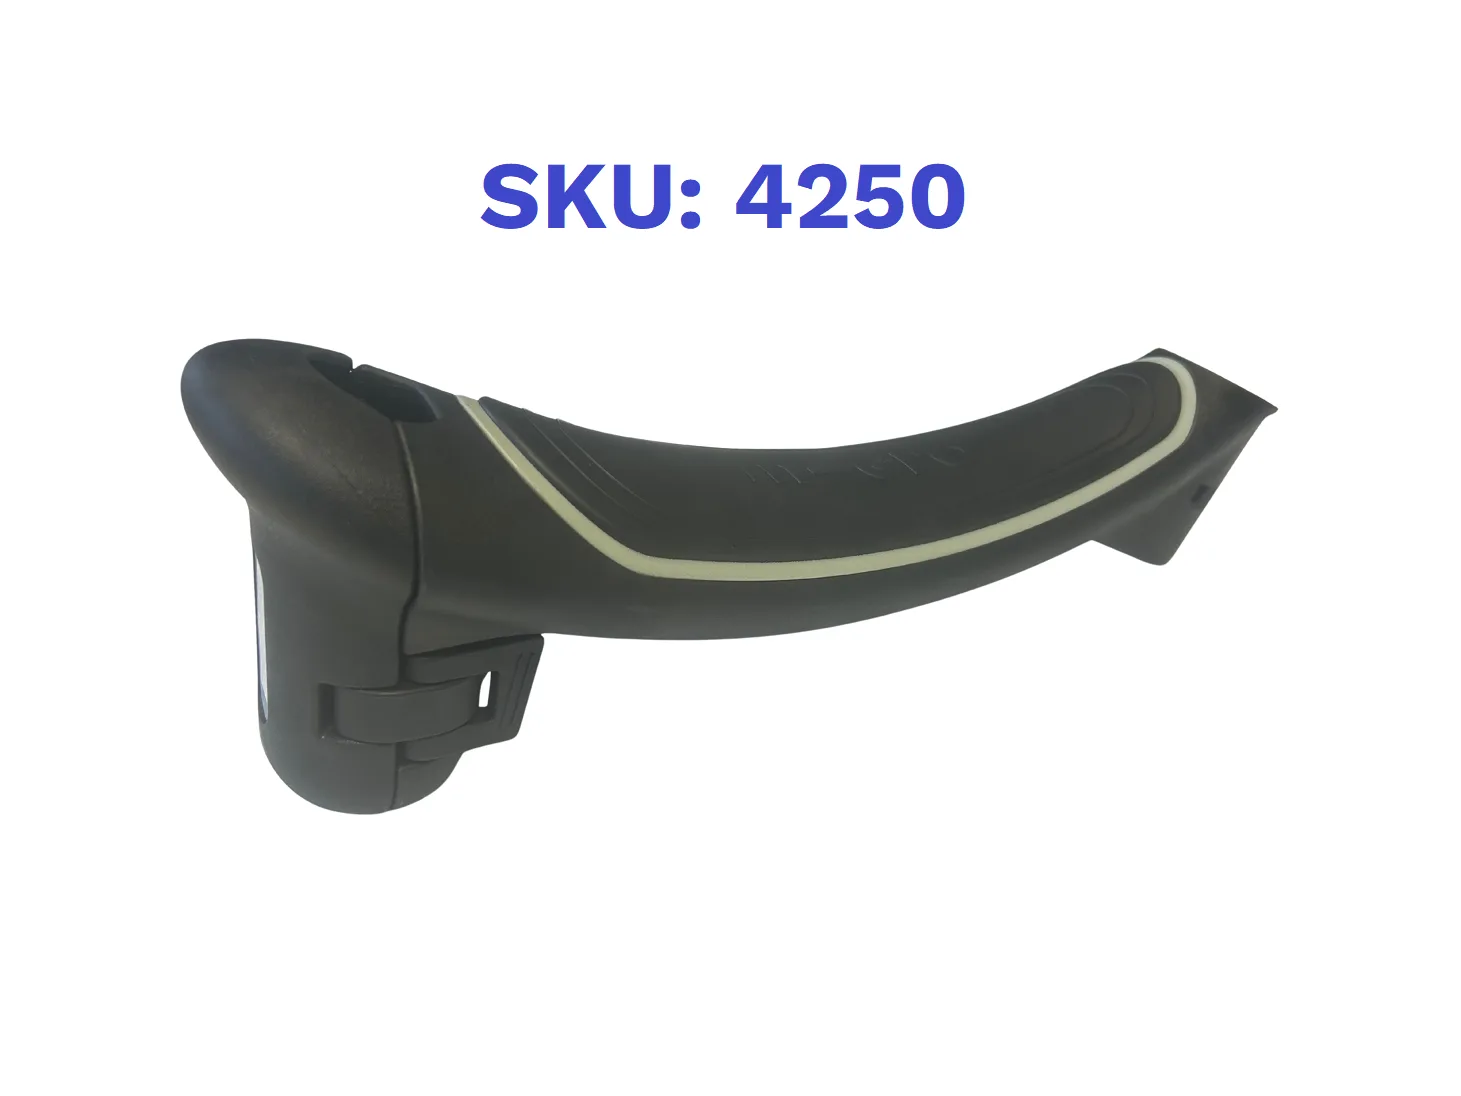
Parts: Seat for Mini Rock & Go