Quick Answer
For beginners, hand painting is the most accessible and affordable way to start model kit painting, but airbrushing offers smoother finishes and faster coverage for larger surfaces. If you're just starting, begin with hand painting to learn color mixing and brush control, then graduate to an airbrush when you're ready to invest in equipment and ventilation.
Painting your model kits transforms them from plastic parts into display-worthy pieces. Whether you're working on a Gundam, a model car, or a sci-fi figure, the choice between airbrushing and hand painting shapes your results, budget, and learning curve. This guide breaks down both methods for beginners and gives you a clear path to your first successful paint job.
We'll cover the tools, techniques, and common pitfalls for each approach, plus practical steps to get started. By the end, you'll know which method fits your current needs and how to improve your skills without wasting money on gear you don't need yet.
Hand Painting: Pros, Cons, and Getting Started
Hand painting uses brushes to apply acrylic or enamel paints directly to the model. It's the most budget-friendly option: you only need a few brushes, paint, and a palette. It's also forgiving—mistakes can be wiped off or painted over easily. For small details, like panel lines or eyes, a fine brush gives you control that an airbrush can't match.
The downsides are visible brush strokes and uneven layers if you don't thin your paint properly. You'll need to apply multiple thin coats to achieve a smooth finish. Patience is key. Start with a primer to help paint adhere, and use a wet palette to keep your paint workable. Practice on spare parts or runners before tackling your main kit.
- Use thin coats: apply multiple thin layers rather than one thick coat to avoid streaks.
- Invest in quality brushes: a size 0 and 2 synthetic brush cover most needs.
- Clean brushes thoroughly after each session to prolong their life.
Airbrushing: Pros, Cons, and Getting Started
Airbrushing uses compressed air to spray fine paint mist onto the model. It delivers ultra-smooth, even coats and allows for gradients, shading, and camouflage patterns that are difficult with brushes. It's also faster for covering large areas, like a Gundam's shield or a car body.
The initial cost is higher: you need an airbrush, compressor, and proper ventilation. There's also a learning curve—mastering paint consistency, air pressure, and cleaning. However, many modelers find the results worth the investment. Start with a dual-action airbrush, which lets you control air and paint separately. Practice on paper or plastic spoons to get a feel for the spray pattern.
- Thin your paint to a milk-like consistency for most airbrushes.
- Always spray in a well-ventilated area or use a spray booth.
- Clean the airbrush immediately after use to prevent clogging.
Choosing the Right Paint and Tools
Acrylic paints are water-based, non-toxic, and easy to clean up, making them ideal for beginners. Enamels and lacquers offer more durability but require stronger solvents and better ventilation. For hand painting, acrylics are forgiving; for airbrushing, they dry quickly and can clog if not thinned properly.
Your tool choice depends on your method. For hand painting, you need a set of brushes (flat, round, and detail), a palette, and possibly a magnifying lamp. For airbrushing, you need the airbrush, a compressor with a regulator, and a moisture trap. Both methods require primer, paint thinner or water, and a clear coat for protection.
- Start with a primer to improve paint adhesion and color accuracy.
- Use a clear coat (gloss or matte) to protect your finished paint job.
- Keep a dedicated cleanup station with paper towels and thinner.
Step-by-Step: Your First Model Kit Painting Project
- Prepare your workspace and kit: Choose a well-lit, ventilated area. Wash the plastic parts in warm soapy water to remove mold release agents, then let them dry completely. Organize your parts by runner or bag. Checkpoint: Ensure parts are dry and clean before priming; any grease will cause paint to peel.
- Prime the parts: Apply a thin coat of primer to all parts that will be painted. Use spray primer for large surfaces or brush-on primer for small parts. Let it cure according to the product instructions. Checkpoint: If you see bare plastic or drips, apply another thin coat after the first dries.
- Choose your painting method and practice: Decide whether to hand paint or airbrush for this project. If airbrushing, practice on spoons to get the right paint consistency and spray distance. If hand painting, thin your paint and test on a spare runner. Checkpoint: Your paint should be thin enough to see the primer slightly through the first coat.
- Apply paint in thin coats: Start with a light first coat, then build up color with 2-3 thin coats, allowing each to dry completely. For hand painting, use smooth, even strokes in one direction. For airbrushing, keep the nozzle moving to avoid pooling. Checkpoint: If you see brush strokes or orange peel, your paint is too thick or applied too heavily.
- Add details and panel lines: Once the base color is dry, use fine brushes or panel line washes to add details. For Gundam kits, this might mean painting the gold accents or panel lining the white armor. For model cars, add trim and emblems. Checkpoint: Clean up mistakes with a cotton swab dipped in thinner while the paint is still wet.
- Protect with a clear coat: After all painting is dry, apply a clear coat to seal the paint and protect it from chipping. Choose gloss for a shiny finish, matte for a flat look, or satin for in-between. Use spray cans or airbrush for even coverage. Checkpoint: Allow the clear coat to fully cure before handling or assembling the model.
Model Kits That Benefit from Good Painting
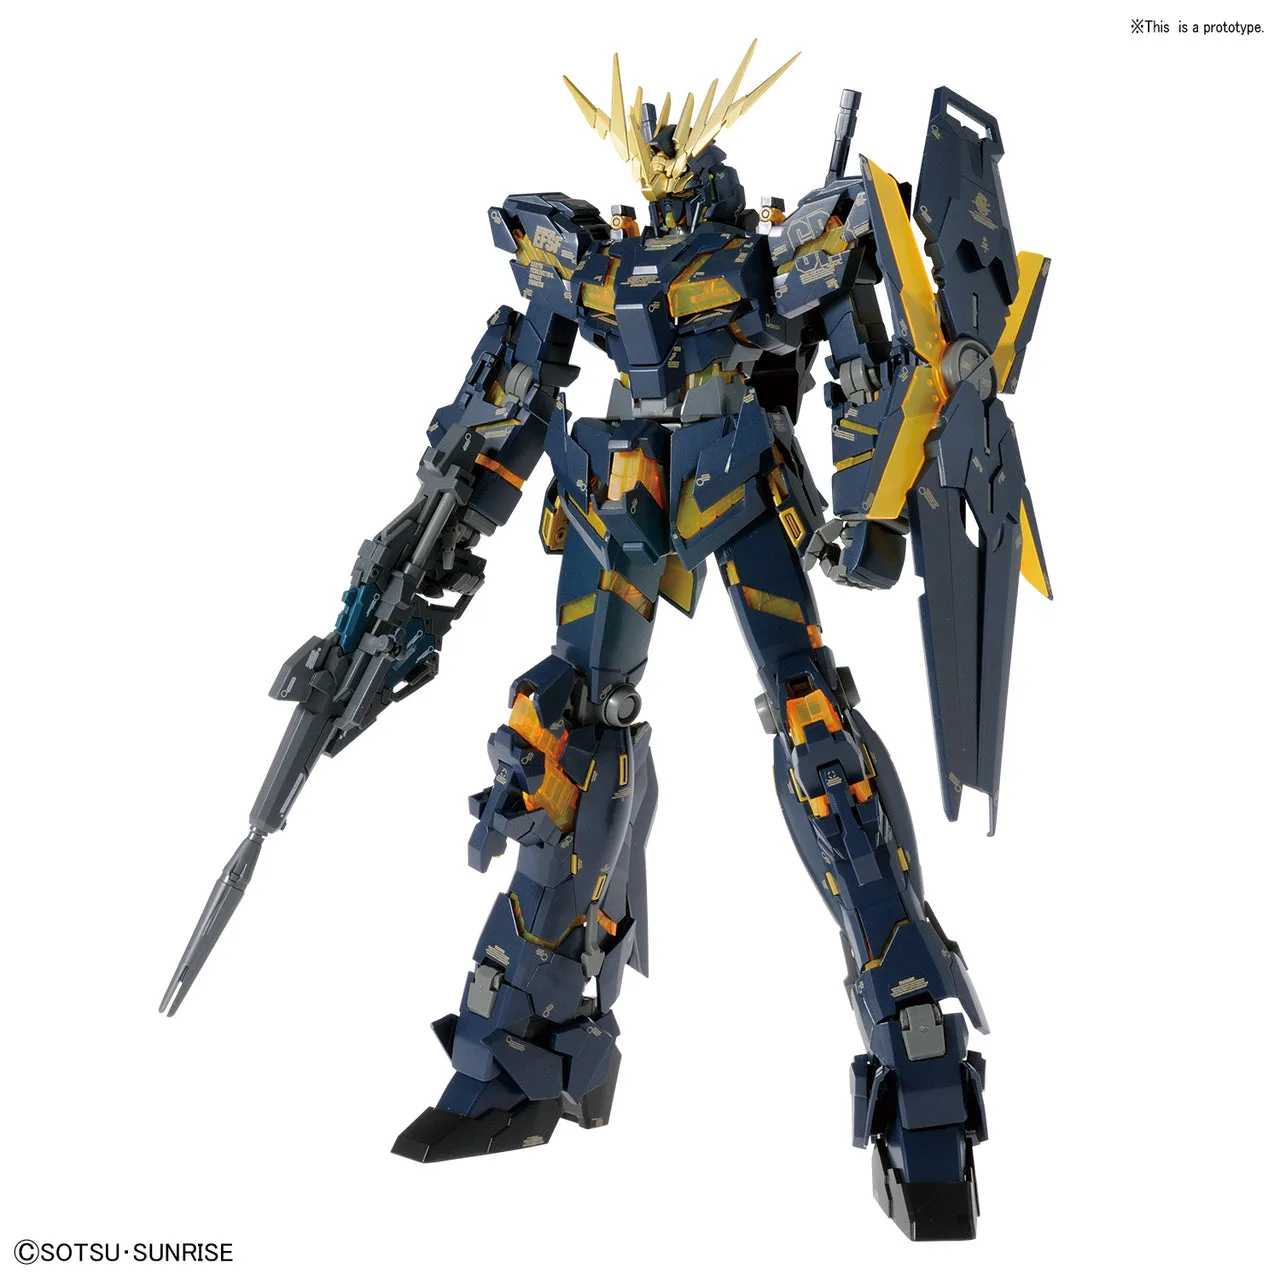
- Gundam 1/100 Master Grade MG Unicorn Gundam 02 Banshee (Ver. Ka): This version replicates its appearance in the novel with a black and gold colored Gundam Unicorn and can transform between Unicorn and NT-D Modes. Transforming kits like this have many moving parts; hand painting details like the gold accents can be done precisely, while airbrushing the large black surfaces ensures an even finish without brush marks.
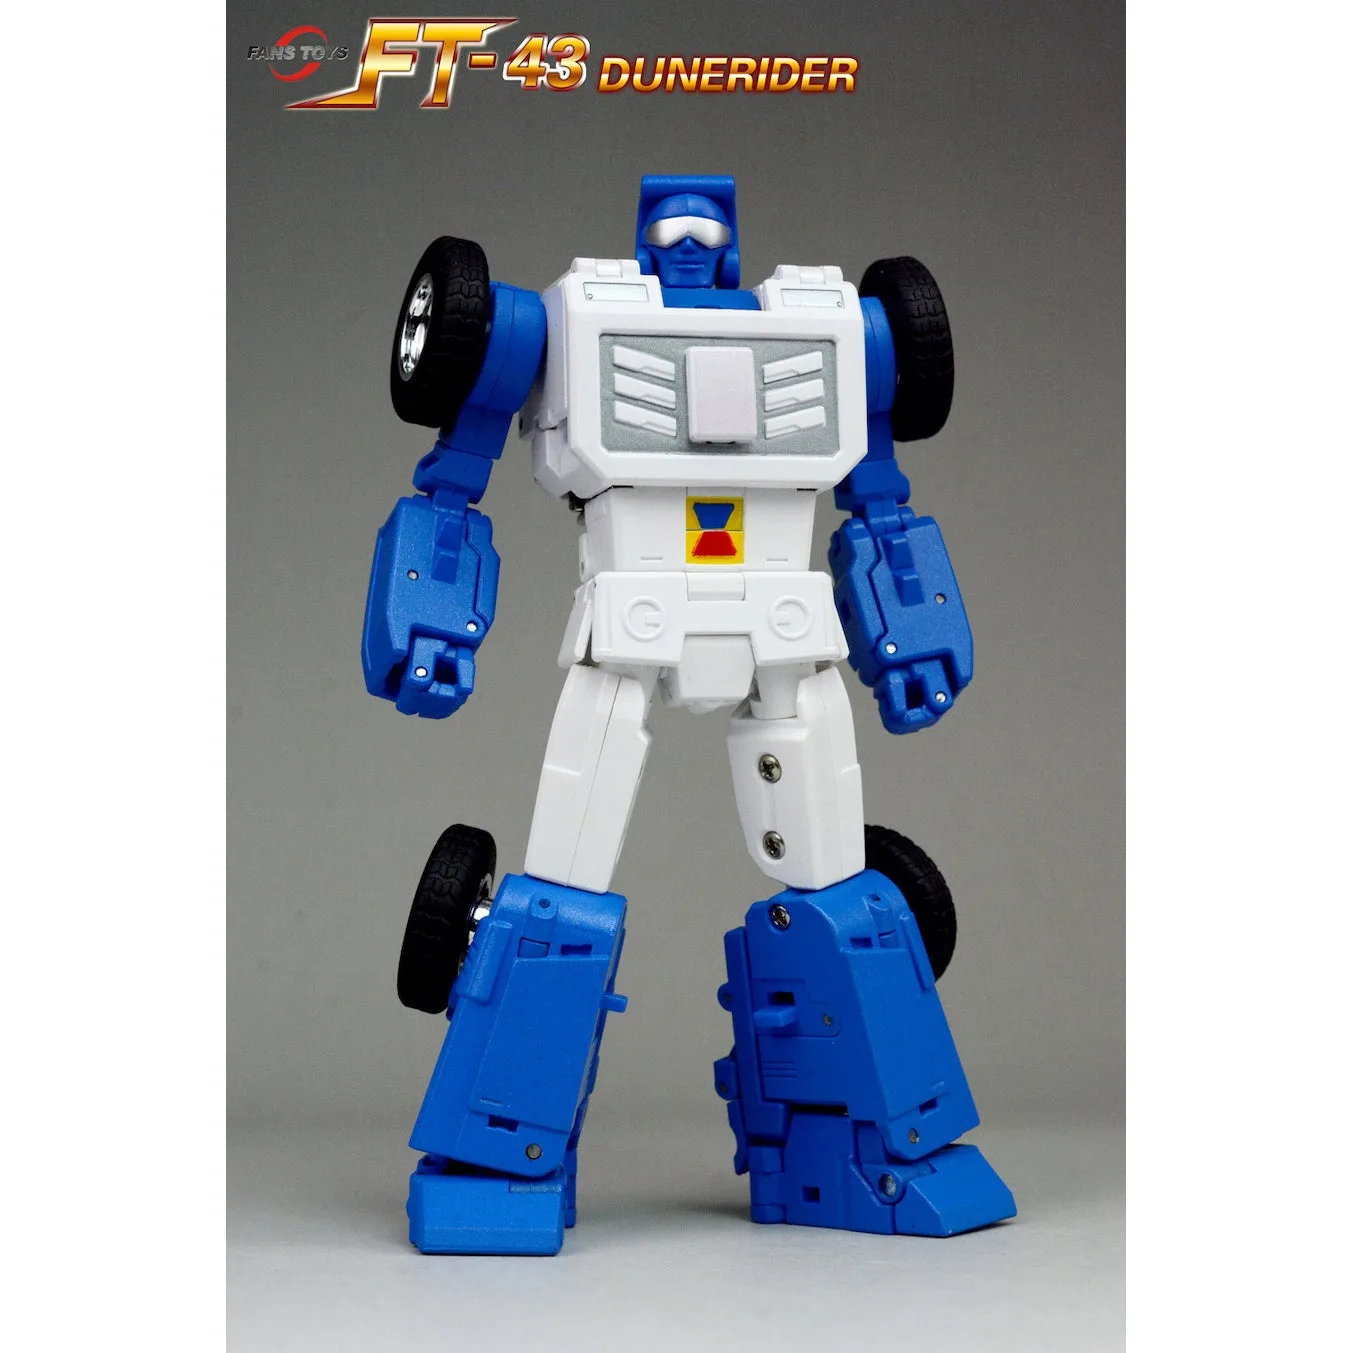
- Fans Toys FT-43 Dunerider: FT-43 Dunerider is a masterpiece scaled dune buggy which converts to robot and back, made of die-cast parts and ABS plastic. Die-cast parts require special paint adhesion; hand painting small details is easier, but airbrushing the body panels gives a smooth automotive finish that suits a dune buggy.
Whether you choose hand painting or airbrushing, the most important step is to start. Gather your tools, pick a kit you're excited about, and practice the techniques outlined here. With each project, you'll refine your skills and discover which method you enjoy most. Happy painting!