Quick answer
Panel line first, then top coat, and use a gloss coat before decals if you want the cleanest result. For a beginner gunpla panel line, apply a thin gloss layer, add panel lines, place decals, then finish with matte or gloss top coat depending on the look you want. Work in thin coats and let each layer cure fully before the next step.
Why the order of finishing steps matters
The sequence protects your work and controls how crisp the details look. A gloss layer gives panel line ink and decals a smooth surface to sit on, which reduces silvering and smearing. Matte top coat hides small surface flaws and softens shine, but it also traps texture, so spraying matte too early can make later panel lining messy.
If you plan to handle the kit often, a top coat also adds a protective layer over paint and decals. The tradeoff is that thick coats can fill fine panel lines or soften sharp edges, so thin passes beat one heavy pass every time.
Matte vs gloss top coat: choosing the finish
Matte top coat gives a painted, display-ready look and is the common choice for anime model kits because it reduces plastic shine and makes colors read as solid. Gloss top coat keeps colors deeper and reflective, which suits metallic finishes, clear parts, and some mecha accents.
You do not have to pick one for the whole kit. Many builders use gloss on inner frames or energy parts and matte on armor. If you are unsure, start with matte on a small section and compare it under the same light you display in.
Tools and setup for a clean finish
You need panel line accent or a fine-tip liner, a top coat spray or airbrush clear, cotton swabs, and a dust-free drying space. Humidity and cold change how clear coats behave, so check the label and avoid spraying in damp conditions.
Test your top coat on a plastic spoon or a spare runner first. Different brands and plastic types can react differently, and a two-minute test prevents a ruined kit.
How detailing fits into a larger collection
Finishing steps are not only for realistic mecha. Anime-style kits and figure-adjacent collectibles benefit from a controlled matte or gloss layer because it unifies the plastic look. If you also collect pre-painted figures, keep the two workflows separate so solvents and sprays do not affect vinyl or painted surfaces.
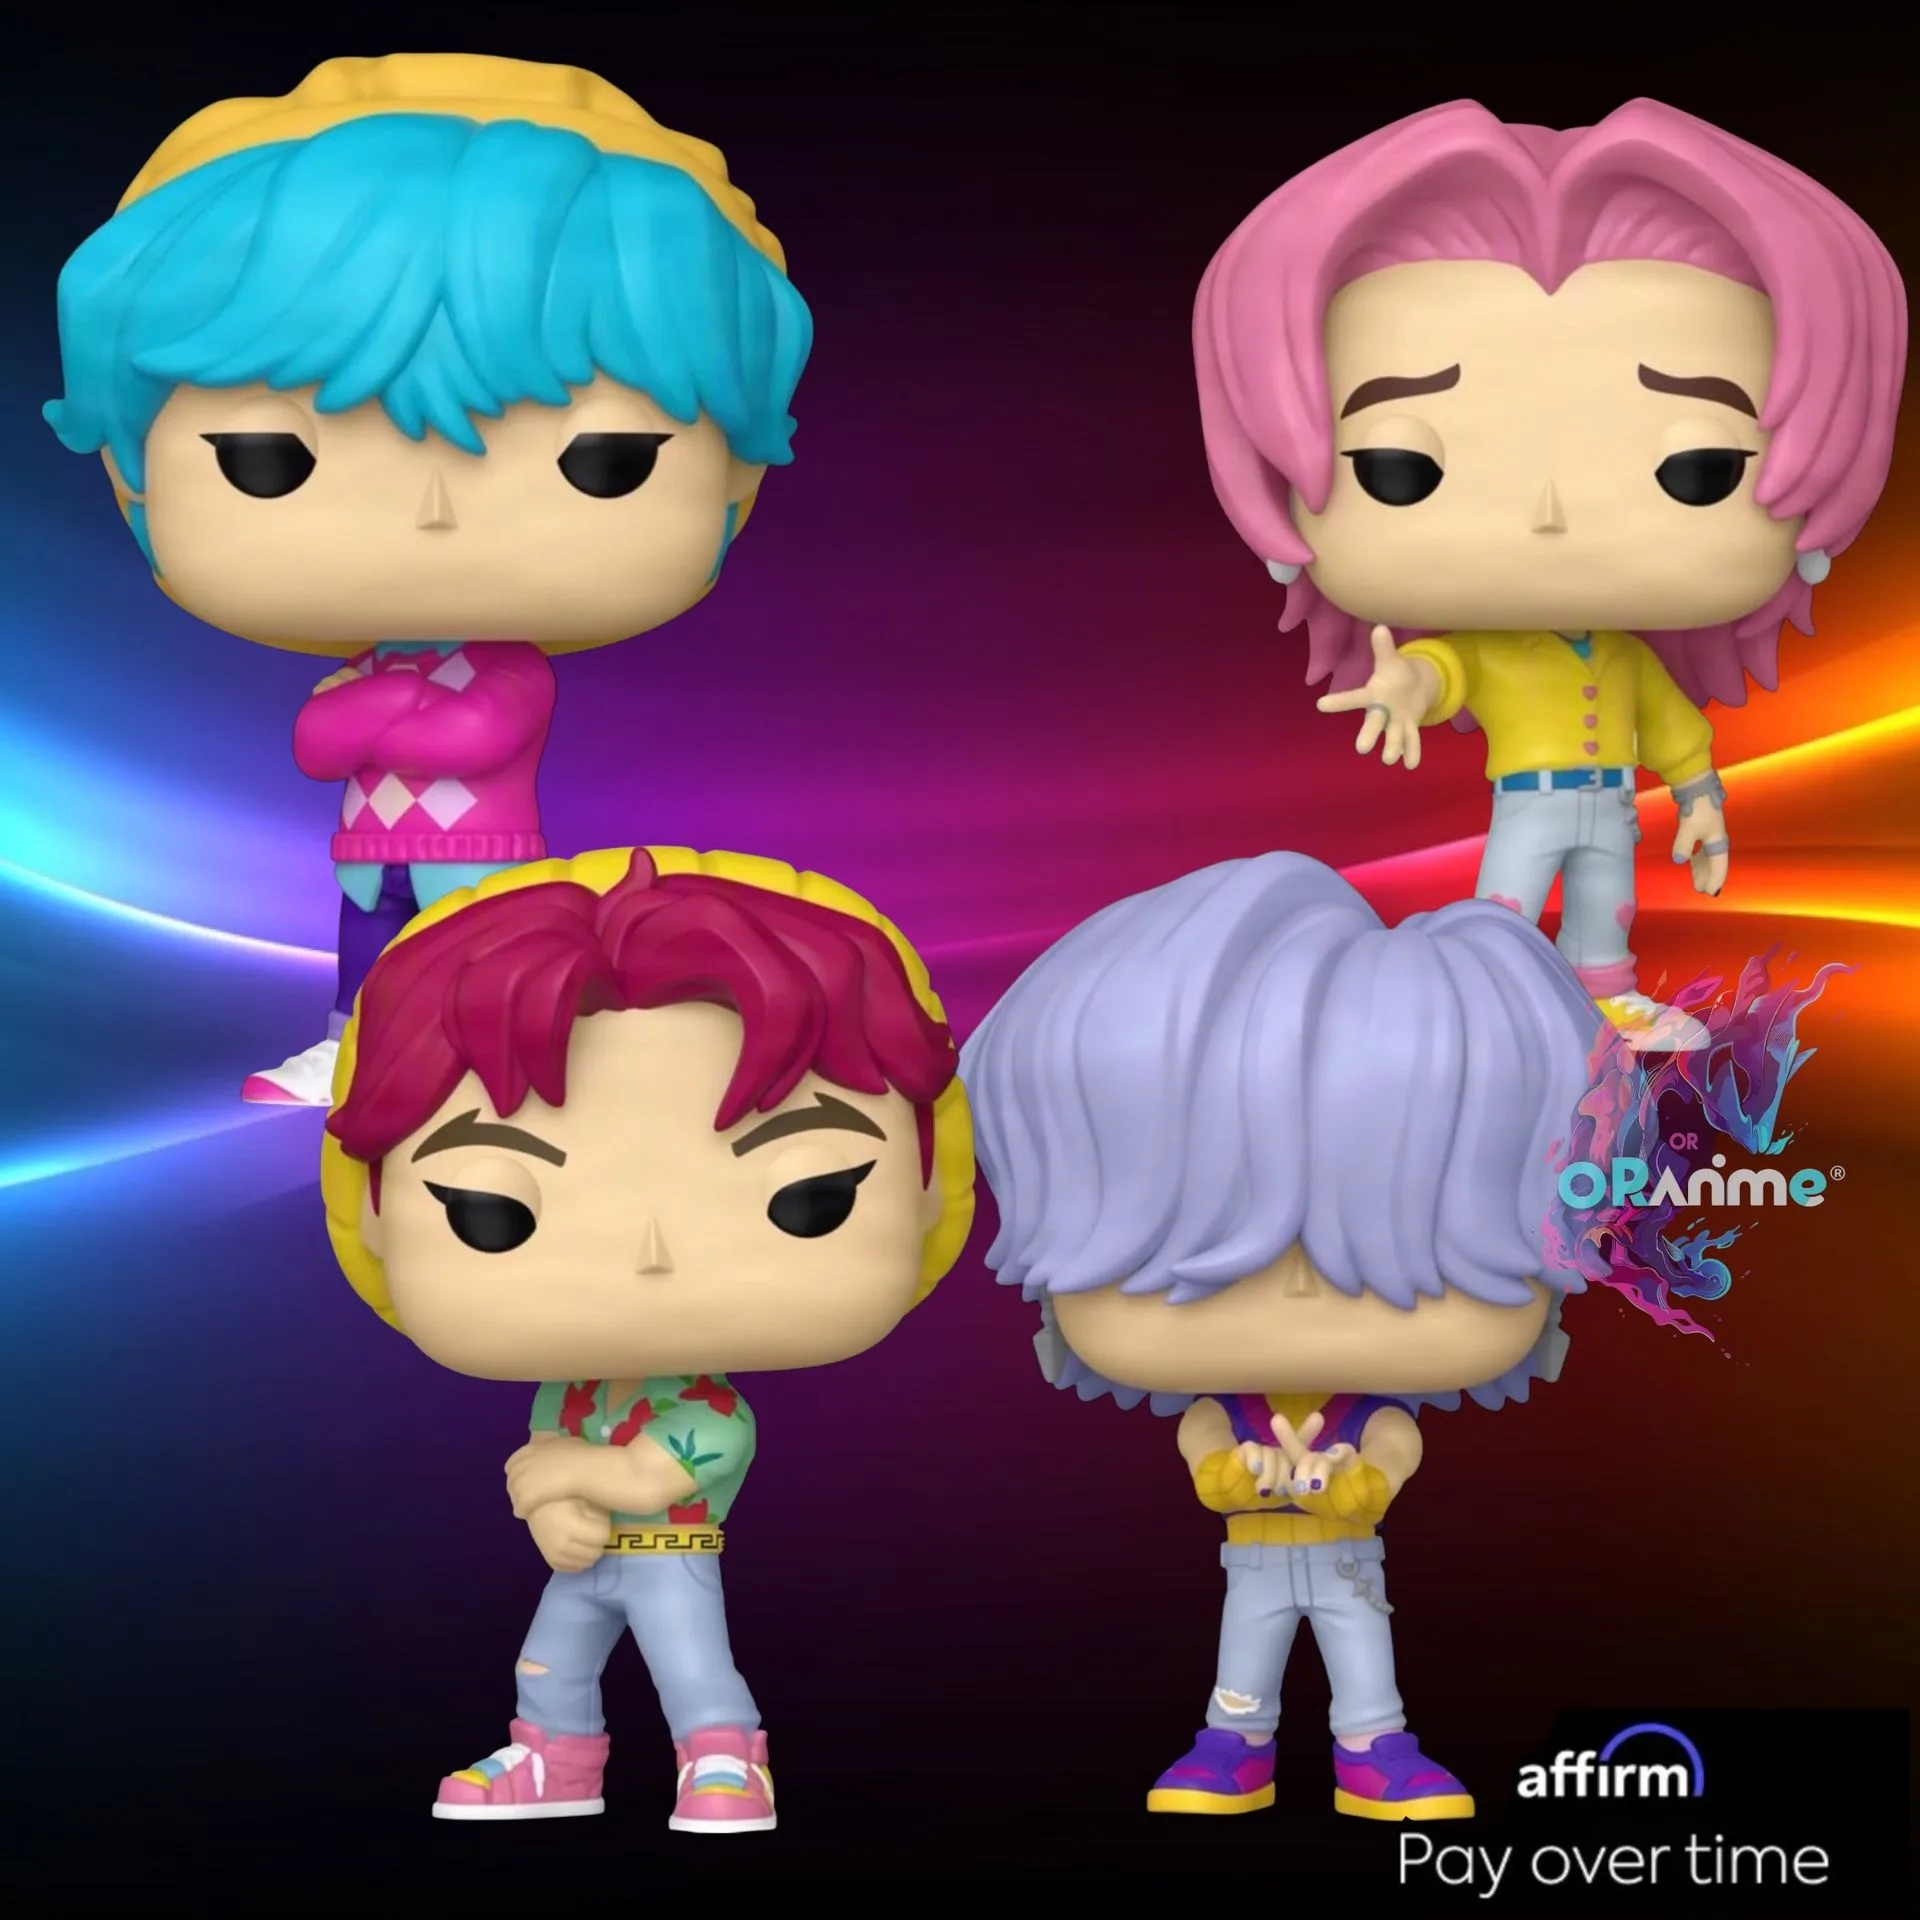
For display pieces that come pre-assembled, such as the Funko Pop! Saja Boys Bundle, finishing work is not needed. That bundle is a specialty series set with four figures, so your effort goes into arranging the group rather than coating it. The same applies to the Funko Pop! Dan Da Dan bundle, which is a pre-order set of five figures including a chase. Use these as display anchors while you practice finishing on model kits.
Finishing steps in order
- Wash and dry the parts: Remove mold release and dust with lukewarm water and a soft brush, then let parts air-dry completely on a lint-free towel. Checkpoint: any water left in joints or panel lines will trap under clear coat and turn cloudy.
- Apply a thin gloss coat before panel lining: Spray or airbrush a light gloss clear over the assembled or sub-assembled kit in thin passes, keeping the can or airbrush moving. Common mistake: flooding the first coat. Two thin coats beat one wet coat that pools in corners.
- Panel line the grooves: Use panel line accent or a fine liner to touch the recessed lines, letting capillary action pull the ink along the groove. Checkpoint: if the ink beads or smears, your gloss layer is too rough or not fully cured.
- Clean up excess liner: Wipe away overflow with a cotton swab lightly dampened with the matching thinner, working along the line rather than across it. Common mistake: pressing hard with a dry swab, which dulls the gloss and pulls liner out of the groove.
- Apply decals and let them set: Place water-slide or sticker decals on the gloss surface, then let them dry fully before handling. Checkpoint: decals on a matte surface can silver; gloss first keeps them clear.
- Seal with matte or gloss top coat: Finish with the top coat that matches your goal, spraying thin passes and building coverage gradually. Common mistake: spraying matte over decals before they are dry, which can lift edges or trap moisture.
- Cure and inspect: Let the kit cure in a dust-free spot for the time recommended on your clear coat, then check under good light for uneven patches. Next step: if a spot looks rough, add one more thin coat rather than a heavy correction pass.
Product facts for context
- Funko Pop! Saja Boys Bundle – K-Pop Demon Hunters Complete Set (4 Figures): Funko Pop! Saja Boys Bundle – K-Pop Demon Hunters Complete Set (4 Figures), listed as brand new and in stock, with a catalog price of USD 63.04 compared to a catalog comparison price of USD 96.99. This is a pre-finished display set, so it needs no panel lining or top coat; it is a good reference for how a matte or gloss finish looks on a shelf before you commit to coating your own kits.
- Funko Pop! Dan Da Dan Okarun, Aria, Kinta, Jiji Common & Chase Bundle of 5 *PRE-ORDER*: Funko Pop! Dan Da Dan bundle of 5 includes Okarun, Aira, Kinta, Jiji, and an Evil Eye Chase, listed as a pre-order with a release date of Aug 2026 and a catalog price of USD 70.80 compared to a catalog comparison price of USD 96.99. Pre-order timelines mean you can plan finishing practice on a model kit while waiting; the chase piece also shows why some collectors keep pre-finished figures separate from painted or coated projects.