Quick answer
A Montessori climbing set of 3 is normally a wooden climbing triangle, a climbing arch for toddlers, and a ramp, ladder, or net that bridges the two. Set up the triangle as the main climbing challenge, place the arch as a rocker and crawl-through, and attach the ramp so kids can move between them. Add pieces one at a time so your child is not overwhelmed.
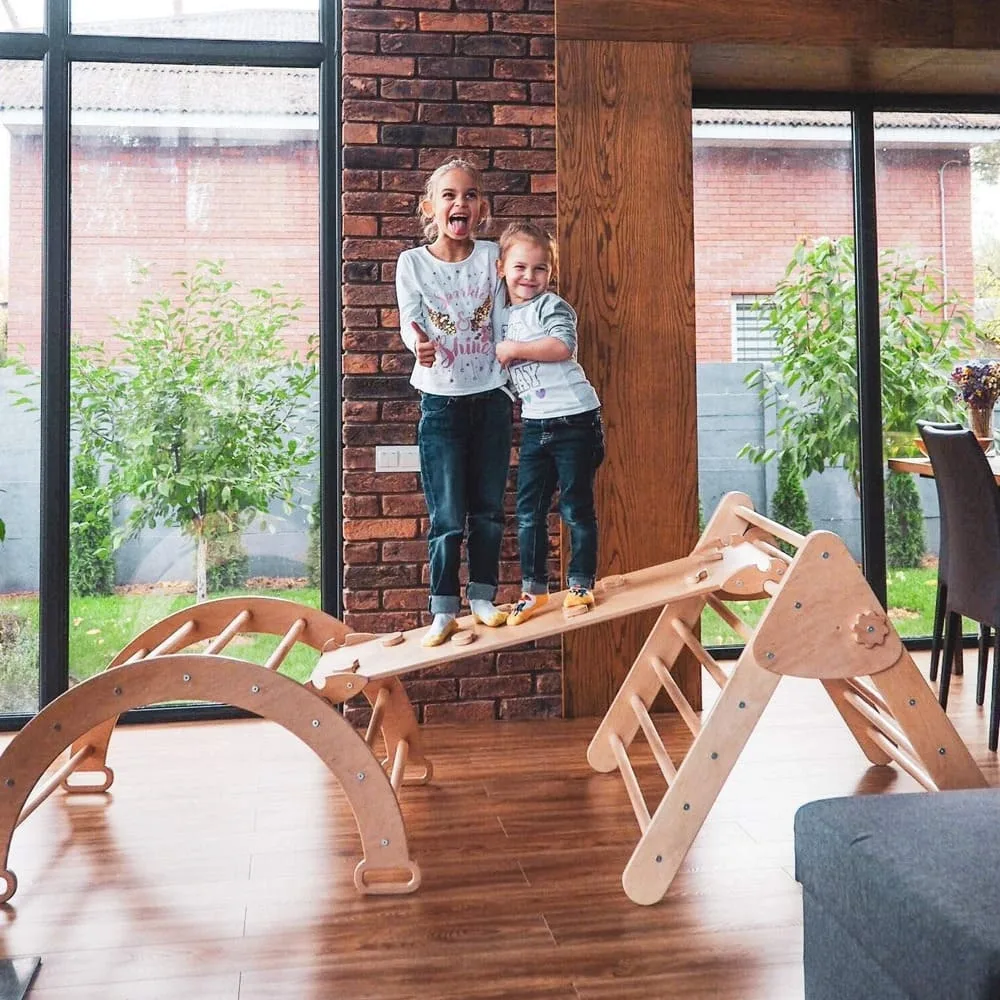
Montessori climbing set of 3
If you are shopping for a Montessori climbing set of 3, the number tells you less than the pieces do. Most sets pair a wooden climbing triangle with a climbing arch for toddlers and a third moving part, such as a ramp, ladder, or climbing net. Each piece supports a different kind of movement, so the set works best when you treat it as three tools rather than one toy.
This guide walks through what each piece is for, how to introduce it, and the setup mistakes that make indoor climbing for kids less safe or less fun than it should be.
What is a Montessori climbing set of 3?
A Montessori climbing set of 3 is a small home gym built around open-ended movement. The triangle gives a fixed climbing angle children can grip and step on. The arch adds a curved surface for rocking, balancing, and crawling under. The third piece usually connects the two or adds a new challenge, such as a ramp, a ladder, or a climbing net. Because the parts are separate, you can rearrange them as your child grows.
The point is not to teach climbing tricks. It is to let a toddler or preschooler choose how much challenge they want on a given day, which is why these sets are often called a pikler triangle set even when the triangle is only one of the three pieces.
Set up the triangle first
The wooden climbing triangle is the anchor of the set, so place it against a wall or on a low-pile rug before anything else. Leave enough clearance on all sides that a child can fall sideways without hitting furniture. Check that the folding mechanism, if your triangle has one, is fully locked before the first climb.
Introduce the triangle alone for the first few days. Let your child climb one or two rungs, then come down. This builds confidence and shows you which side they naturally favor, which helps you decide where the arch and third piece should go.
- Common mistake: placing the triangle on a slippery hard floor with no rug or mat underneath.
Add the climbing arch for toddlers
The climbing arch for toddlers works in two positions. Upright, it is a rocker and a low balance beam. Flipped over, it becomes a crawl tunnel or a small seat. Put it beside the triangle rather than in front of it, so your child can move between the two without a traffic jam.
Watch how your child uses the arch for a week before you attach anything to it. Some toddlers want to rock, others want to climb over the curve, and a few will only crawl under it. All three are valid, and knowing which one your child picks tells you whether the third piece should be a ramp or a net.
- Checkpoint: if the arch slides when your child pushes off it, move it onto a rug or add a non-slip pad.
Connect the third piece to the triangle
The third piece is what turns three separate items into a route. A ramp or ladder usually hooks onto the triangle rungs, while a climbing net can be mounted or hung depending on the model. Follow the manufacturer's instructions for your specific set, and test the connection with your own weight before letting a child use it.
If your third piece is a net rather than a ramp, treat it as a separate station at first. Nets reward grip and coordination more than footwork, so they suit children who already climb the triangle confidently. If your child is still learning, a ramp or ladder is the easier bridge.
- Common mistake: attaching a ramp to a triangle that is not stable enough to take the extra leverage.
Rotate the pieces instead of leaving all three out
A three-piece set takes up real floor space, and children lose interest when the same layout stays out for weeks. Try rotating: keep the triangle out permanently, then bring out the arch or the third piece on alternate days. The set feels new again without you buying anything else.
Rotation also spreads the wear. Rungs, arch curves, and ramp surfaces all take repeated pressure in the same spots, so alternating which pieces are in use can extend how long the set stays in good condition.
Keep the routine short and supervised
Indoor climbing for kids works best in short, supervised sessions. Ten to twenty minutes is plenty for a toddler, and ending while your child still wants more is better than ending in tears. Stay within arm's reach for children under three, and keep the area clear of hard toys.
Inspect the set weekly. Tighten any bolts, check that hooks and straps are not fraying, and look for splinters or cracks along the rungs and arch. A quick check takes a minute and catches most problems before they become injuries.
- Checkpoint: if a joint feels loose or a hook no longer clicks into place, take that piece out of rotation until it is fixed.
How to introduce a three-piece climbing set, step by step
- 1. Clear and prepare the space: Choose a wall with at least a meter of clear floor on both sides, lay down a rug or mat, and remove hard toys and sharp-edged furniture from the fall zone. Checkpoint: you should be able to stand behind your child and reach them without stepping over anything.
- 2. Set up the triangle alone: Lock the folding mechanism, place the triangle against the wall, and let your child climb for a few days before adding anything else. Common mistake: assembling all three pieces at once and overwhelming a first-time climber.
- 3. Add the arch beside the triangle: Place the arch parallel to the triangle, not in front of it, and show your child both the upright rocking position and the flipped crawl-through position. Checkpoint: the arch should not slide when pushed from either end.
- 4. Attach or position the third piece: Hook a ramp or ladder onto the triangle according to the manufacturer's instructions, or set a climbing net up as its own station if your child is not ready for a connected route. Test the connection with your own weight before your child uses it.
- 5. Supervise the first sessions closely: Stay within arm's reach for children under three, keep sessions to ten or twenty minutes, and end while your child is still enjoying it. Common mistake: treating the set as unsupervised entertainment.
- 6. Rotate and inspect weekly: Alternate which pieces are out, tighten bolts, check hooks and straps, and look for splinters or cracks along rungs and curves. Pull any piece with a loose joint out of rotation until it is repaired.
Pieces worth knowing about
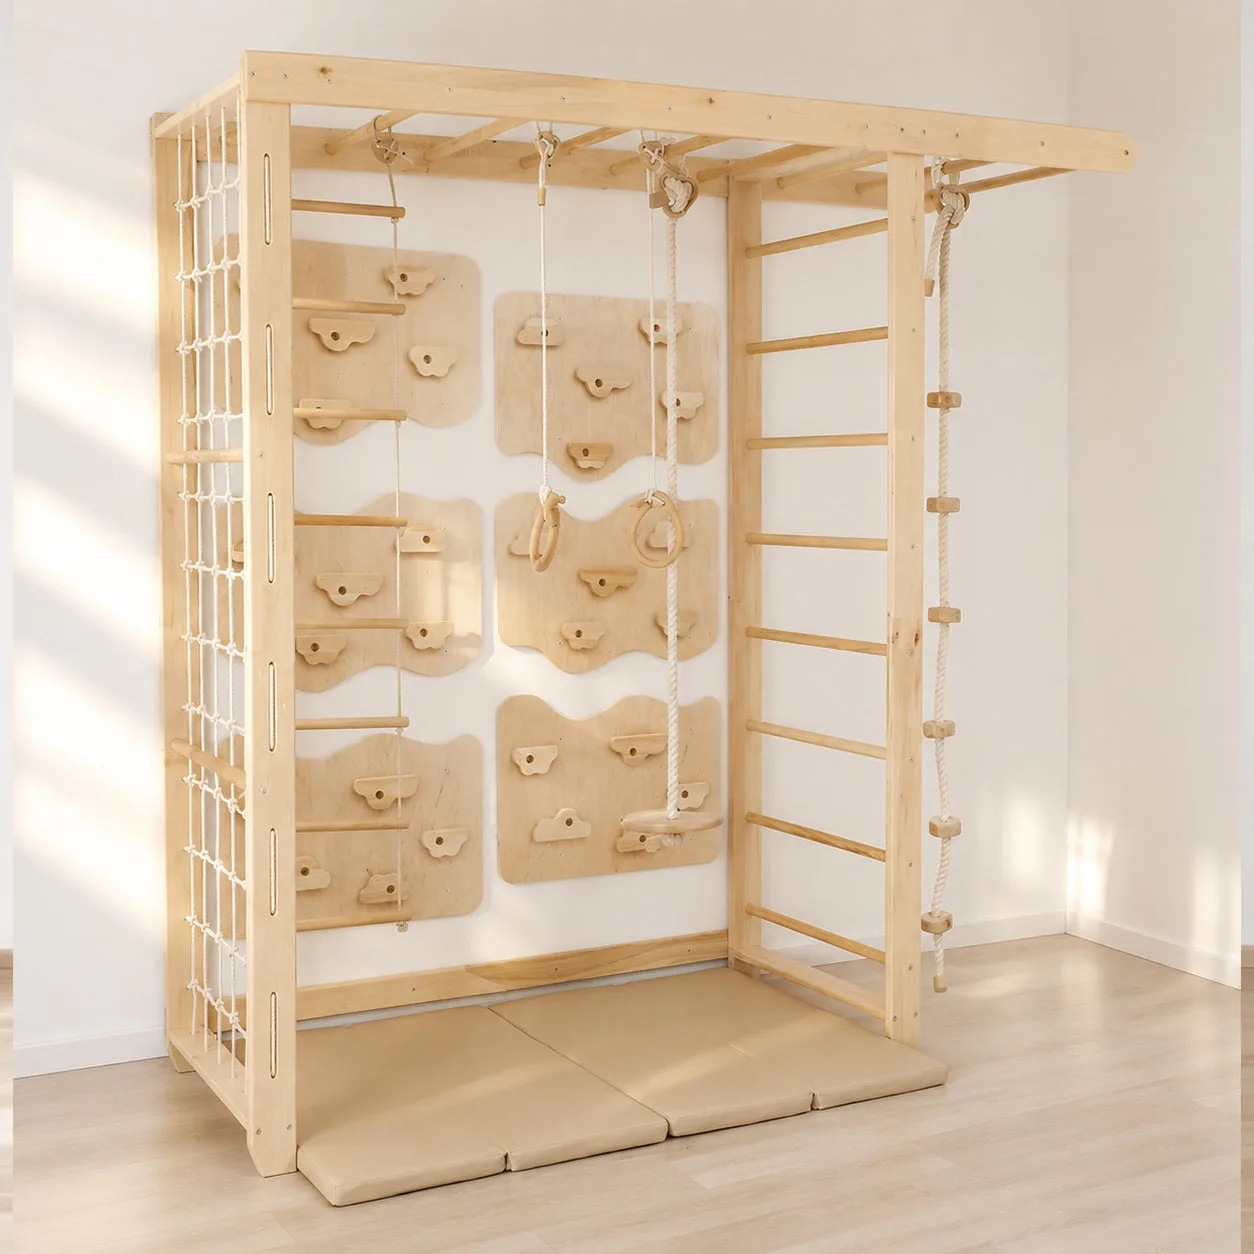
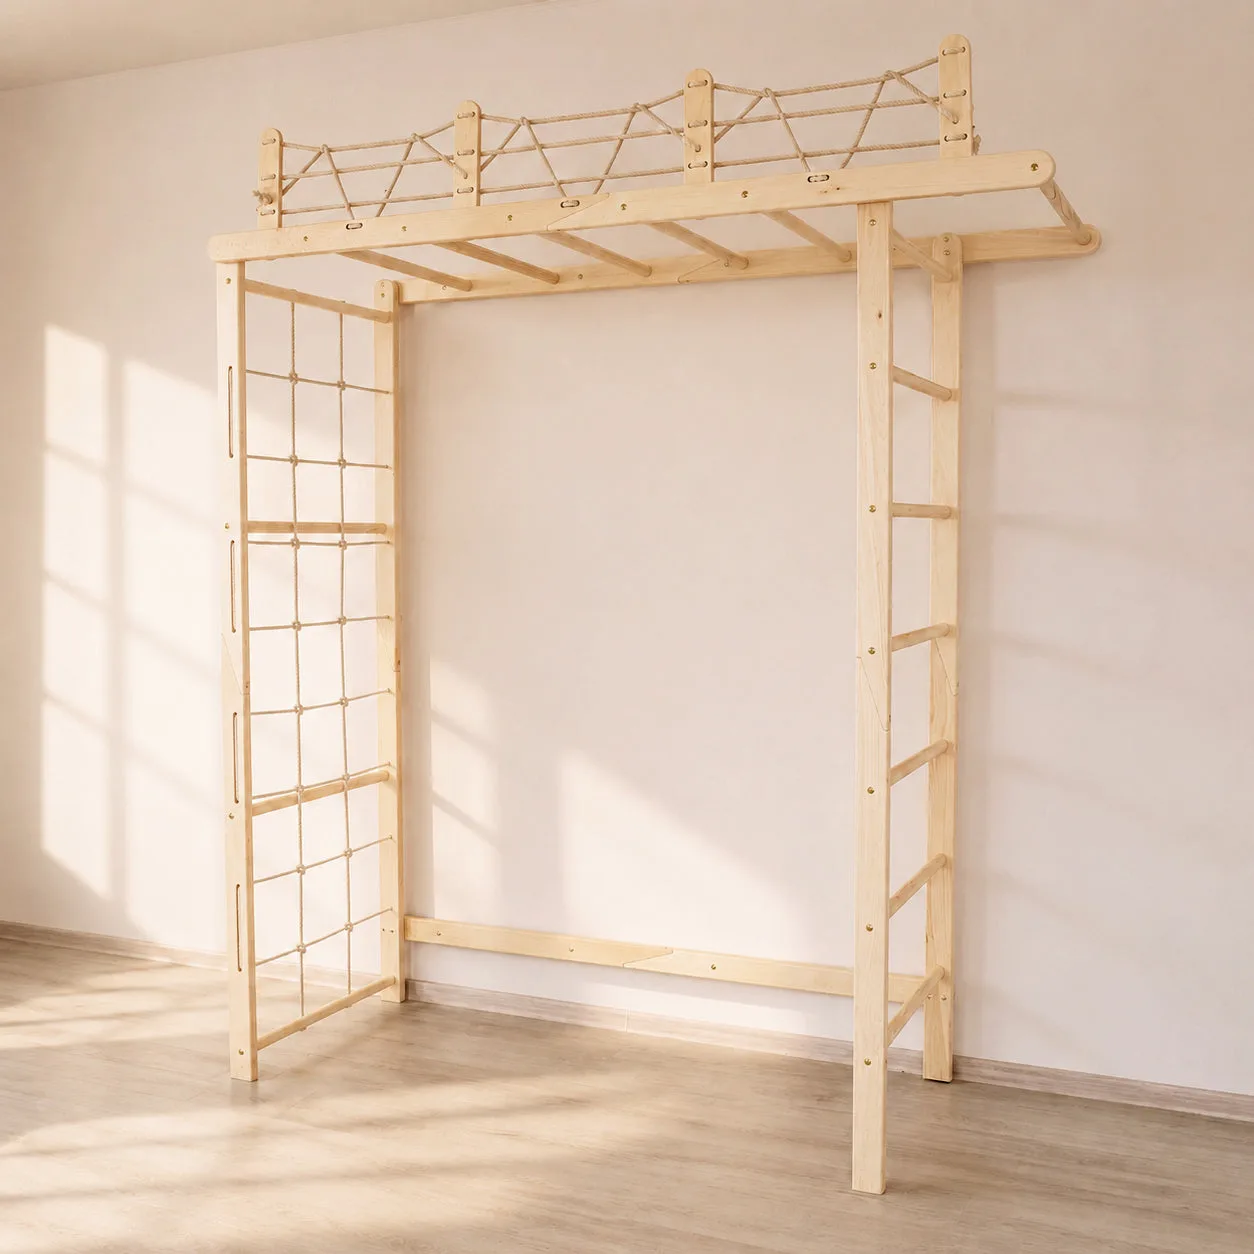
- Playground Set with Monkey Bars: An all-in-one indoor gym set that includes climbing monkey bars and is designed for active play, exercise, and creativity at home. A good upgrade path if your child has outgrown a three-piece set and you want one larger structure instead of separate pieces.
- Monkey Bars with Swing Set: A compact kit with premium, certified child-safe finishes on durable hardwoods, a load capacity tested to 100 kg (220 lbs), recommended up to 60 kg (132 lbs), and a 2-year warranty. The stated load capacity and warranty give you concrete numbers to check against your child's size and how the set will be used.
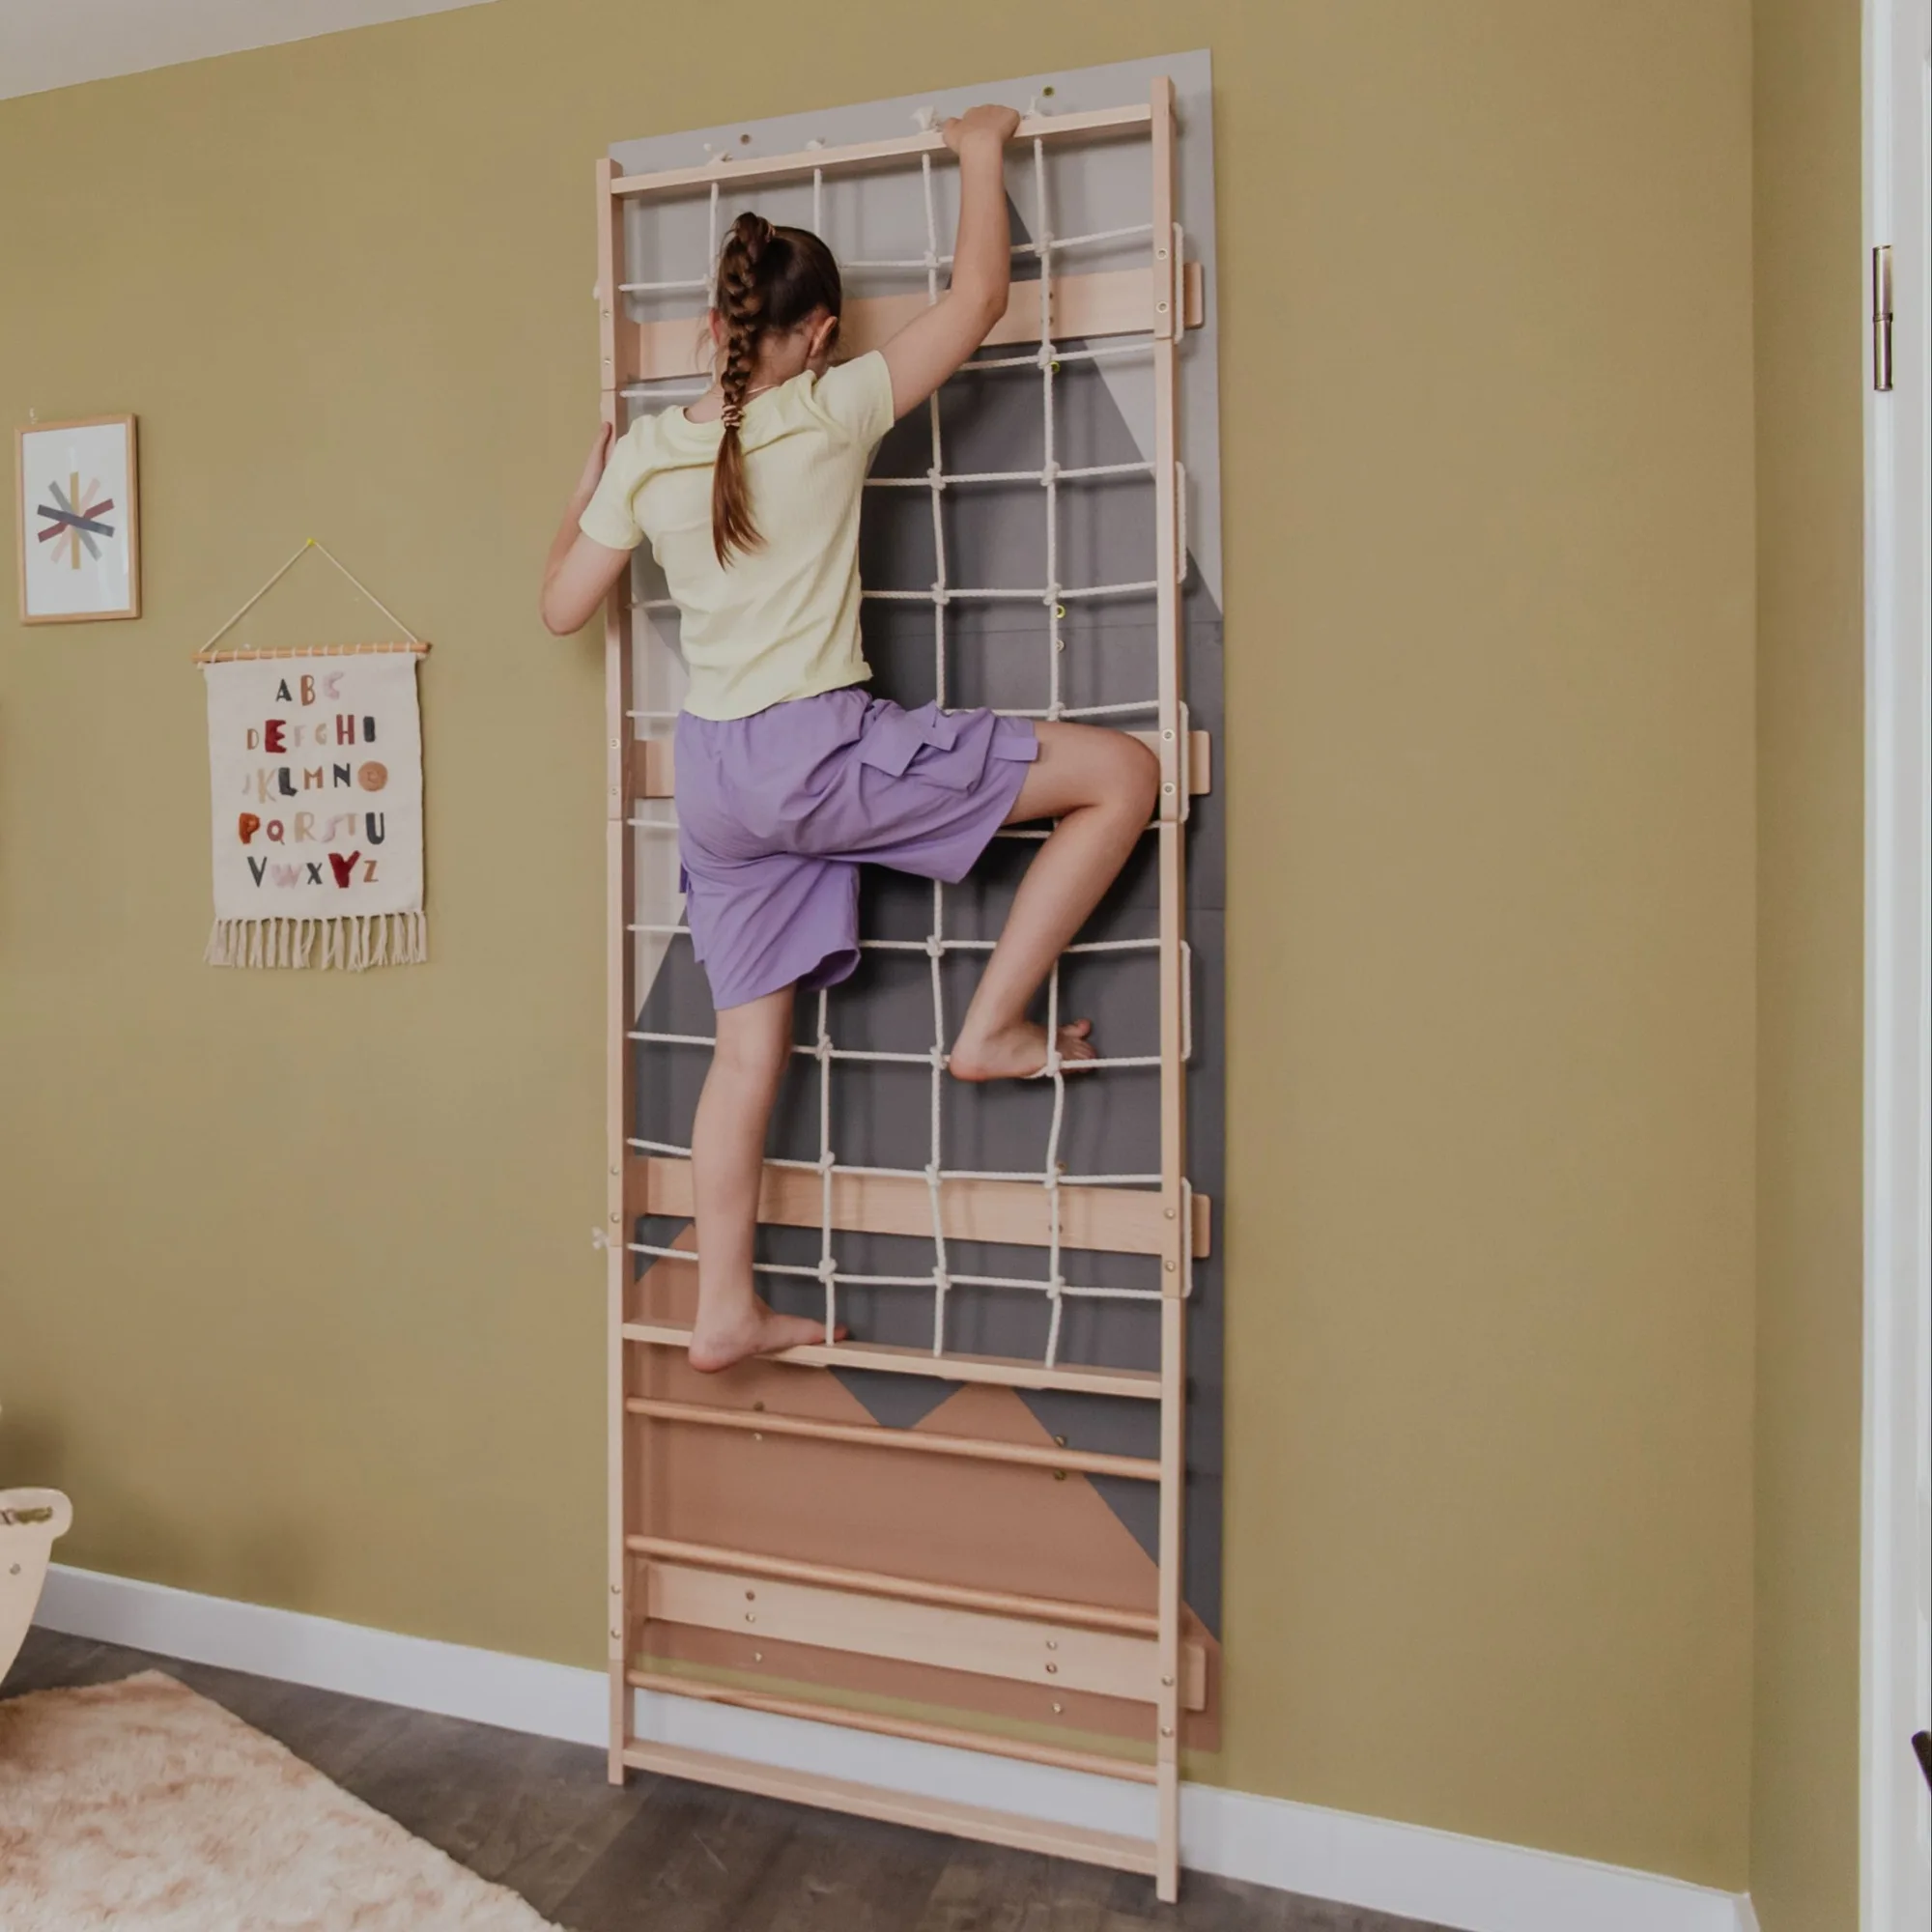
- Childrens Climbing Net “Mountain”: A climbing net set that comes with 6 decorative mountain-themed panels as a free gift and is designed to strengthen muscles and boost coordination. A practical third piece or add-on if your child prefers grip-based climbing over ramps and ladders.
A Montessori climbing set of 3 gives you three different kinds of movement in one purchase, but it only works well if you introduce the pieces in order and keep an eye on the setup. Start with the triangle, add the arch, then connect the third piece when your child is ready. If you later want a bigger single structure, the Playground Set with Monkey Bars and Monkey Bars with Swing Set are the natural next step.