Quick answer
Start with a wooden toy toolbox and model one tool at a time during short, supervised toddler tool play sessions. Keep real tools locked away until your child can follow a two-step direction and hold a tool with a steady grip. The goal is confidence and control, not completing a project.
Toddlers are drawn to tools because tools are what grown-ups use to change the world. A wooden toy toolbox lets them copy the twisting, tapping, and turning they see without any sharp edges or real force. That early play builds the hand control and focus they will need later for genuine practical life tools.
This guide walks through an ordered process: choosing the right first toolbox, setting up a safe workspace, modeling one action at a time, and knowing when to step back. Each step includes the mistake that most often derails the lesson.
Why a wooden toy toolbox comes before real tools
A toddler's grip and wrist control are still developing, so the first job is repetition, not precision. Wooden tools with smooth edges and no sharp points let a child practice the motions of screwing, hammering, and tightening hundreds of times without risk. That repetition is what prepares the hand for real work later.
Practical life tools in Montessori settings are always child-sized and functional. A wooden toy toolbox is the bridge: it looks like the real thing, feels substantial in the hand, and teaches the sequence of picking up, positioning, and turning. When your child eventually handles a real screwdriver, the motion is already familiar.
Montessori
- Choose tools that are light enough for one hand but heavy enough to feel real.
- Avoid toy tools that only make sounds; they teach noise, not control.
- Keep sessions to five or ten minutes at first, while attention is fresh.
Set up a workspace that signals safety
Before any tool comes out, decide where tool play happens and stick to it. A low table, a mat, or a specific tray tells your child that tools belong in one place. This boundary does more for safety than repeated warnings, because it removes the decision from a toddler's hands.
Put only the tools for today's activity on the tray. A crowded tray invites grabbing and throwing. One tool, one material, one clear action is the pattern that keeps toddler tool play calm and productive.
- Use a non-slip mat so the toolbox does not slide while your child works.
- Keep a small basket nearby for finished pieces so they do not roll away.
- Store the toolbox out of reach between sessions, even if the tools are wooden.
Model one action, then hand it over
Show the action slowly and without talking, then offer the tool. For example, place a wooden bolt in its hole, turn it twice, and stop. Your child will copy the turn. If you narrate every motion, they watch your mouth instead of your hands.
Resist correcting the grip during the first attempts. Let the tool slip, let the bolt fall, and let your child try again. The mistake most parents make is jumping in too early, which turns a self-directed activity into a performance for an audience.
- Demonstrate with your non-dominant hand so your child mirrors the correct side.
- Wait three seconds after a dropped piece before offering help.
- End the session while it is still going well, not after frustration.
Add matching and sorting to extend the play
Once your child can turn or tap one tool, add a second element: match the bolt to the right hole, or sort screws by size. This keeps the hands busy while the mind works, and it stretches the activity from two minutes to ten. It also gives you a natural way to introduce vocabulary like tight, loose, long, and short.
If your child loses interest, do not push the sorting. Return to the simple action they already enjoy and let the matching return another day. Montessori practical life tools work through repetition, not through completing a curriculum.
- Use only two sizes at first; three or more becomes a guessing game.
- Name the tool each time you pick it up to build language alongside motor skills.
- Photograph the finished tray so your child can reset it independently.
Know when real tools are appropriate
A wooden toy toolbox is not a substitute for real work forever. The sign that your child is ready for a supervised real tool is simple: they can follow a two-step direction, hold a tool without swinging it, and stop when you say stop. Until all three are true, keep real tools out of reach.
When you do introduce a real tool, choose one with a short handle and a blunt tip, and use it on soft material like a bar of soap or a piece of balsa. Stay within arm's reach the entire time. The first real tool session should last less than two minutes.
- Never introduce a real tool on a day when your child is tired or hungry.
- Put the real tool away immediately after use, even if the session went well.
- Expect regression; a child who was ready last week may not be ready today.
Your step-by-step introduction plan
- Step 1: Pick a wooden toy toolbox with no sharp edges: Choose a set where every tool is smooth, lightweight, and sized for a toddler's hand. Check that bolts turn easily and that no part has a pointed tip. Checkpoint: if you would not let your child mouth it, do not buy it.
- Step 2: Set a fixed tool-play spot: Use a low table or mat and keep the toolbox there only during sessions. Put out one tool and one material at a time. Checkpoint: your child should be able to point to where tools live.
- Step 3: Model one action without talking: Show the turn, tap, or twist slowly, then hand the tool over and wait. Let your child copy the motion at their own pace. Common mistake: narrating every step, which pulls attention away from the hands.
- Step 4: Add matching or sorting only after the action is easy: Introduce two sizes to sort, or a card to match. Keep the original tool in play so the session still feels familiar. Checkpoint: if sorting causes frustration, drop it and return to the single action.
- Step 5: Assess readiness for a real tool: Your child is ready only when they can follow a two-step direction, hold a tool without swinging it, and stop on request. Start with a blunt tool on soft material for under two minutes. Next step: repeat the same real-tool task for several days before adding a new one.
Tools and toys that support this process
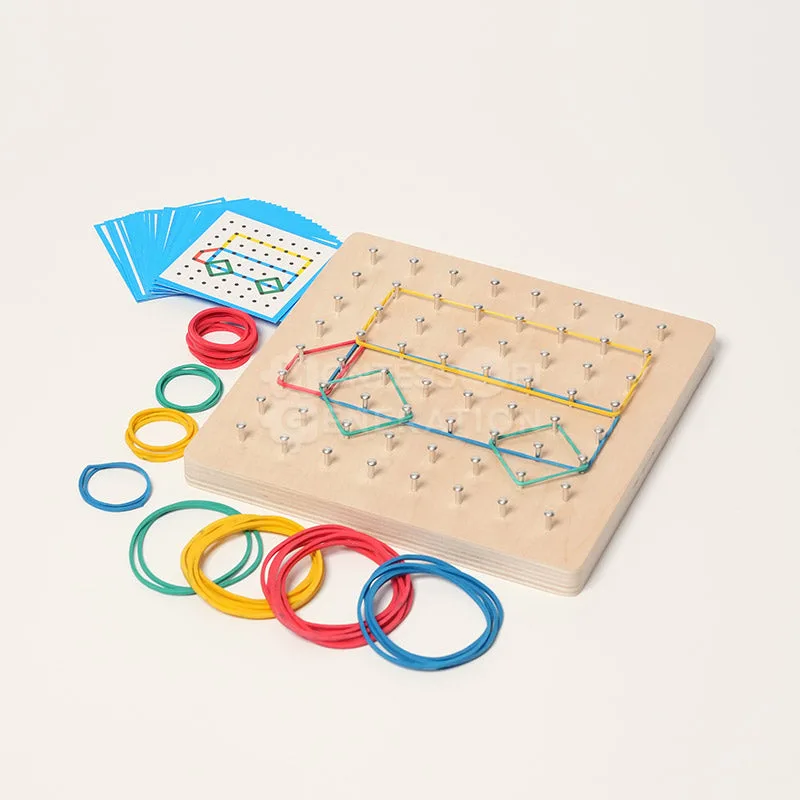
- Montessori Wooden Geoboard: Includes a geoboard, a bag with rubber bands and cards, and a marker; recommended for ages 3 and up; made of high-quality, eco-friendly wood. The rubber bands and cards build the same finger strength and precise placement that tool play requires, without any sharp parts.
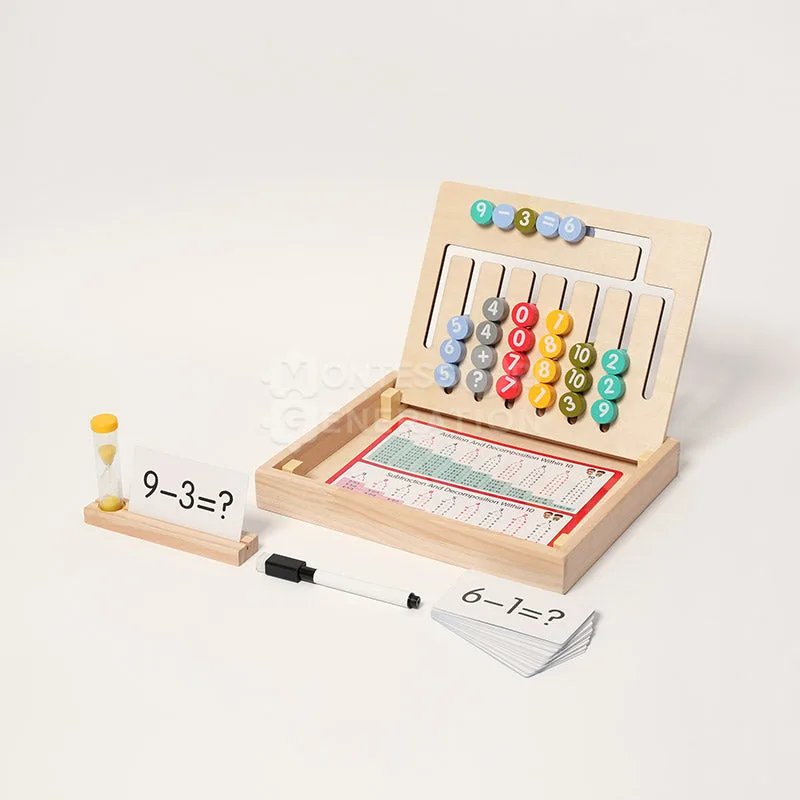
- Montessori Ready for School Game: Includes a wooden box, maze board, 26 double-sided problem cards, a timer, an instruction card, a marker pen, and a card and timer holder strap; recommended for ages 3 and up. The maze and timer introduce the idea of following a sequence under gentle time pressure, which is the same patience a toddler needs when learning to turn a bolt.
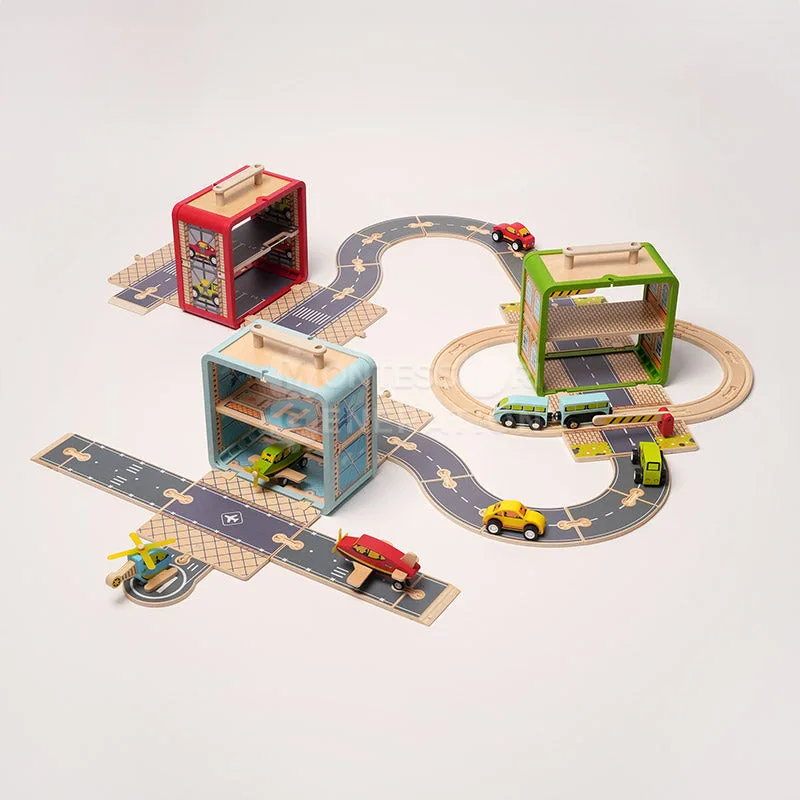
- Montessori Track Builder Kit: Choose from Garage (23 pieces), Train Station (28 pieces), or Airport (13 pieces); recommended for ages 3 and up; made of high-quality eco-friendly wood with non-toxic paint. Building a track with connectors gives toddlers practice aligning and pressing pieces together, a precursor to using a screwdriver or wrench.
- Montessori Brain Blocks: Includes one wooden board, 42 wooden shapes, and 10 double-sided cards; recommended for ages 3 and up; made of high-quality eco-friendly wood with non-toxic paint. Matching shapes to a board trains the visual and hand coordination that makes tool use feel controlled rather than clumsy.
A Montessori wooden toolbox is not about raising a carpenter. It is about giving a toddler a safe, repeatable way to practice control, sequence, and care for materials. Start with toy tools, model one action at a time, and let readiness, not a calendar, tell you when real tools are appropriate.