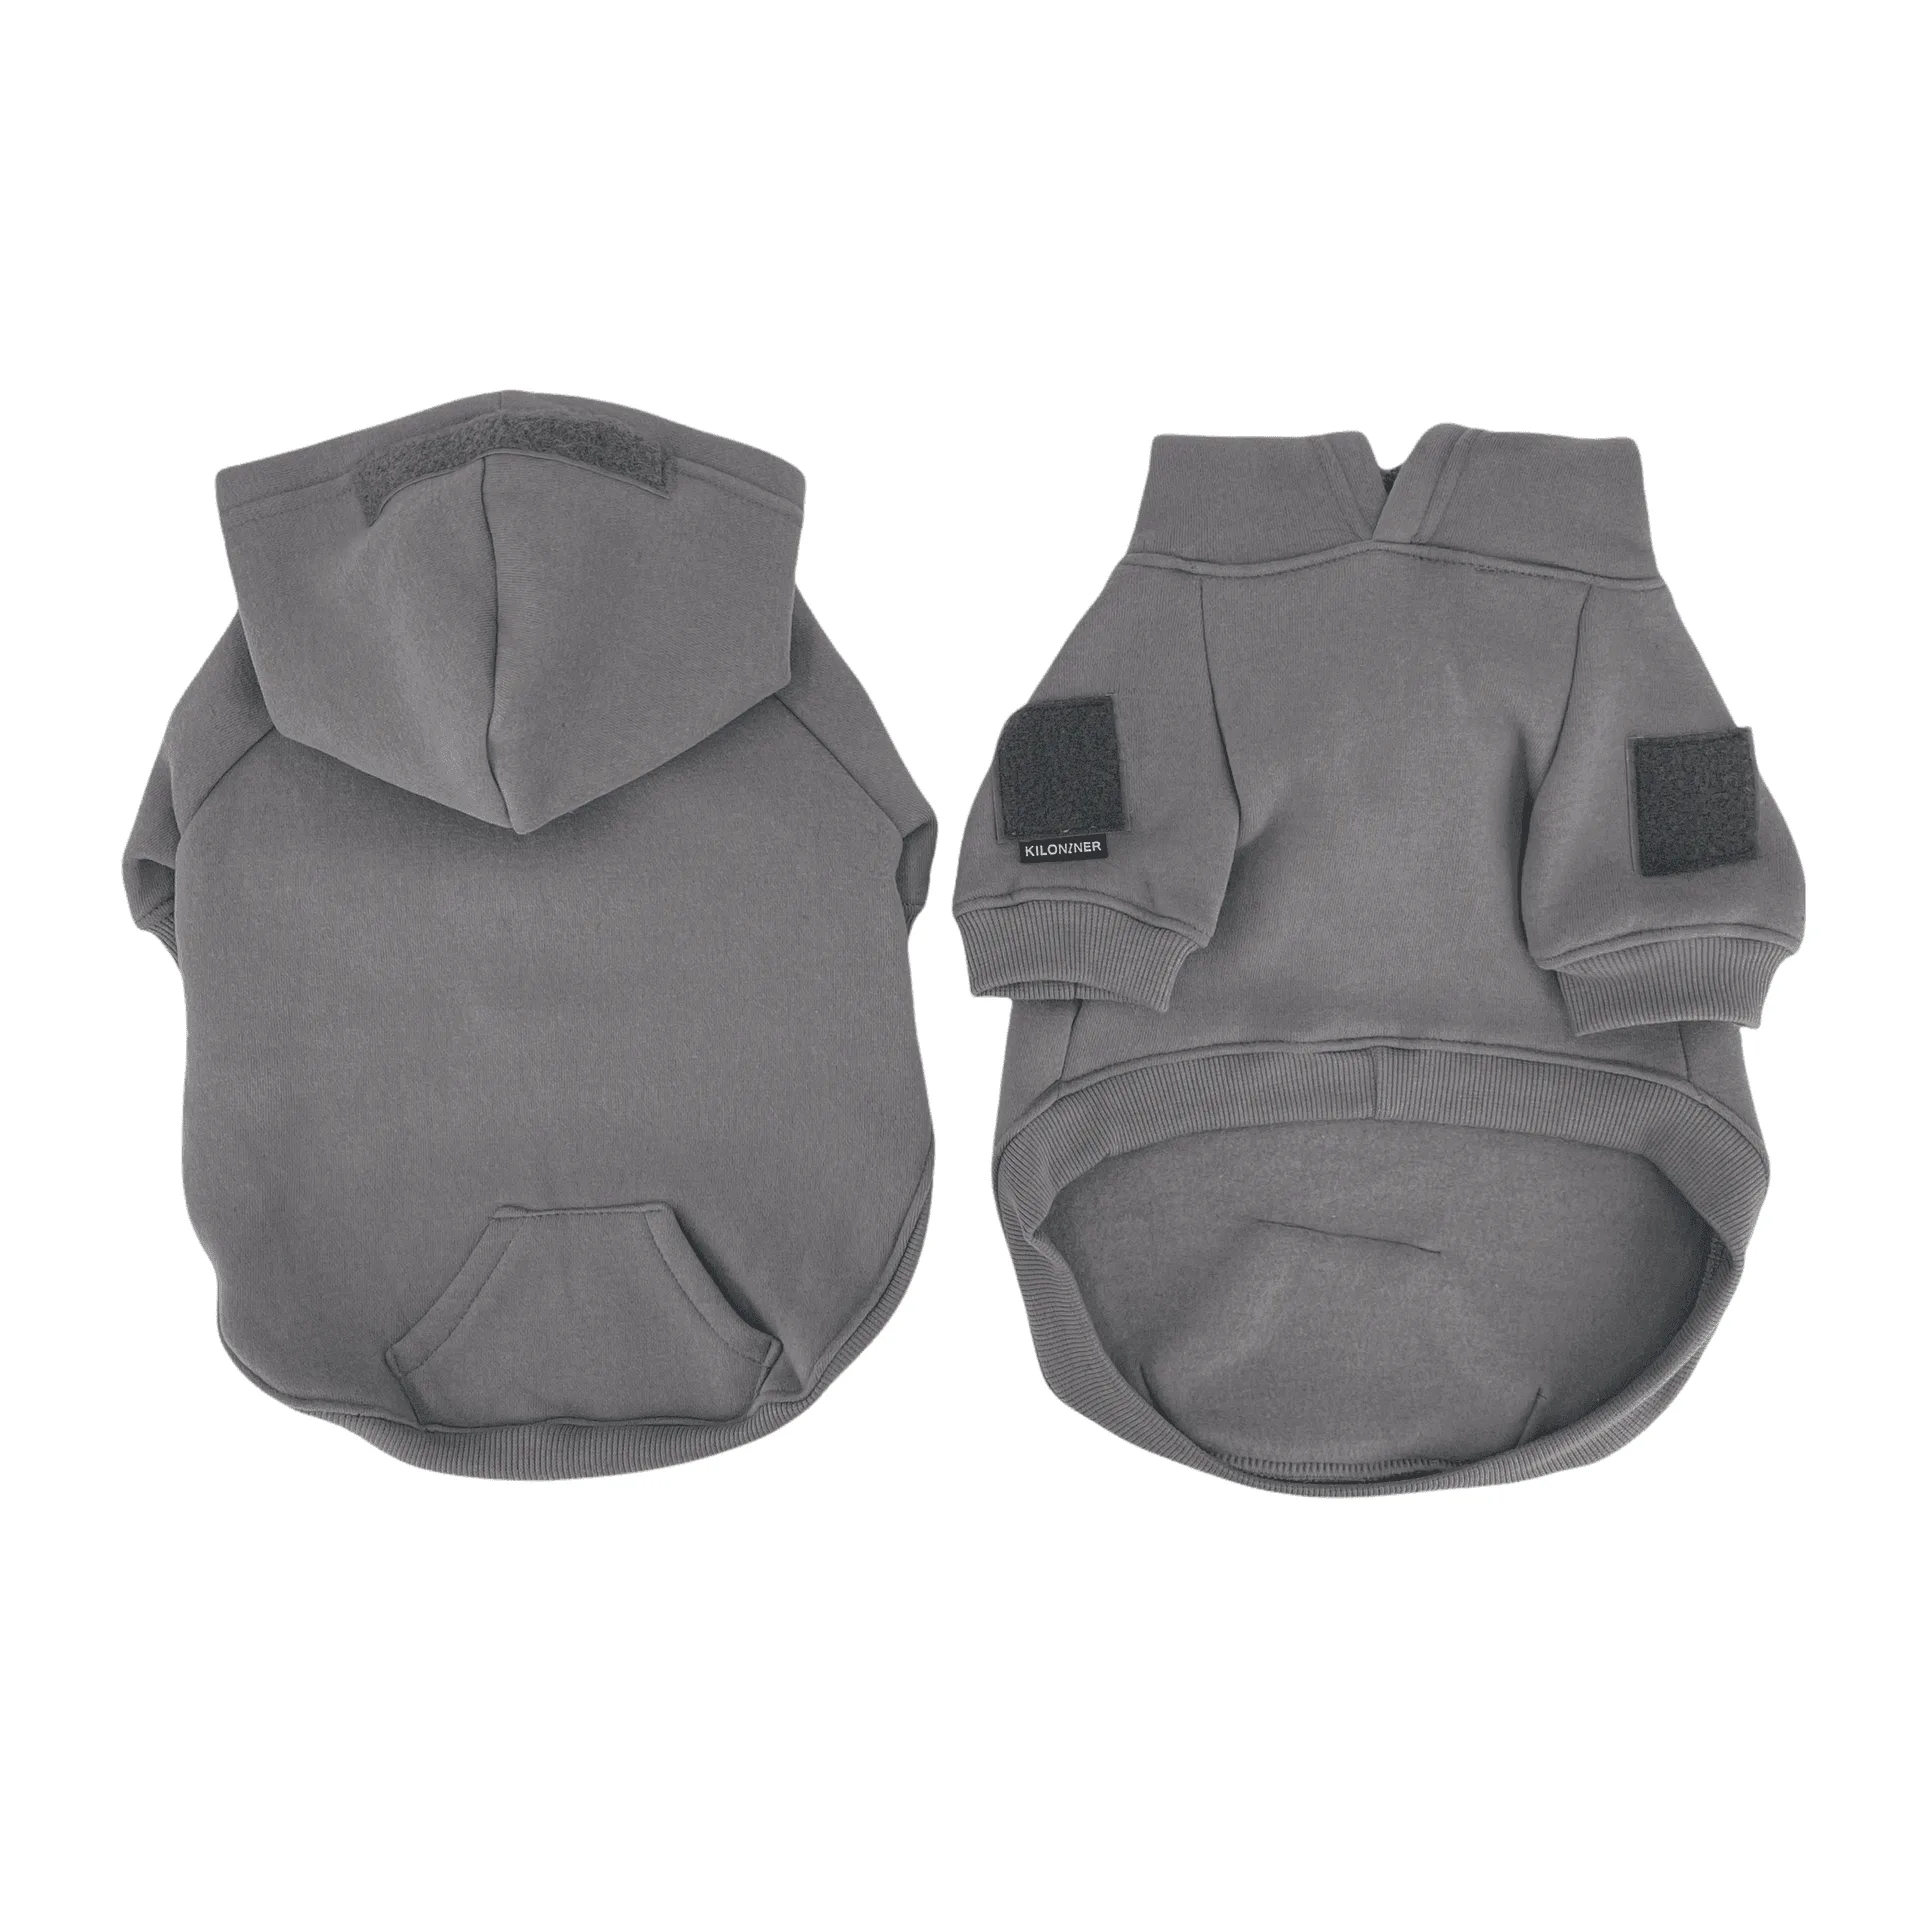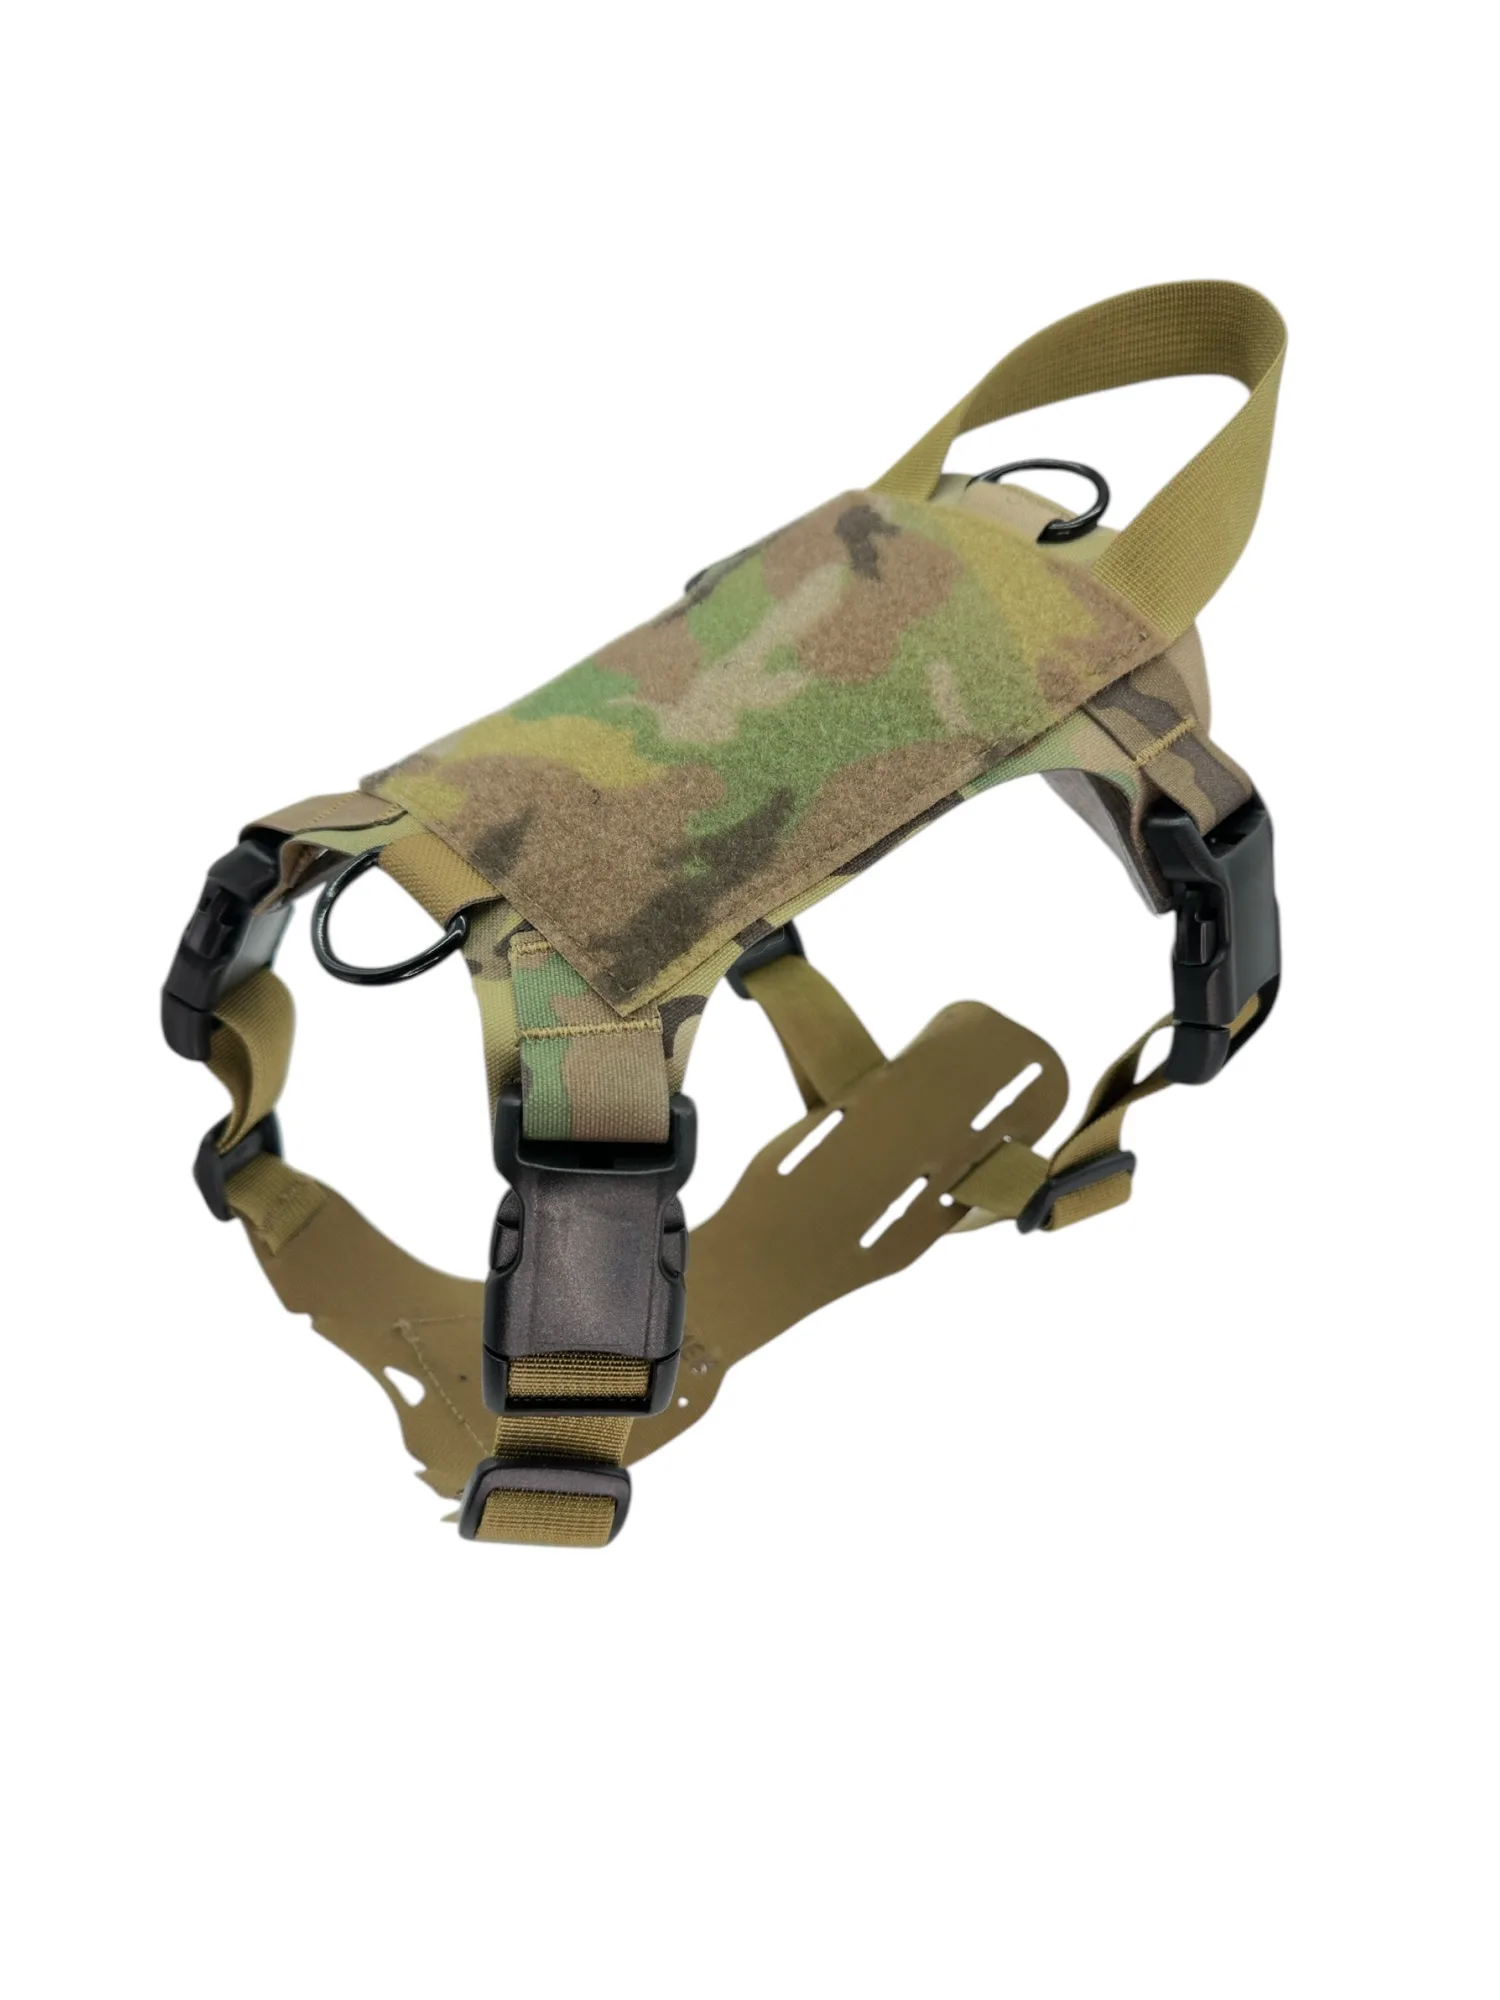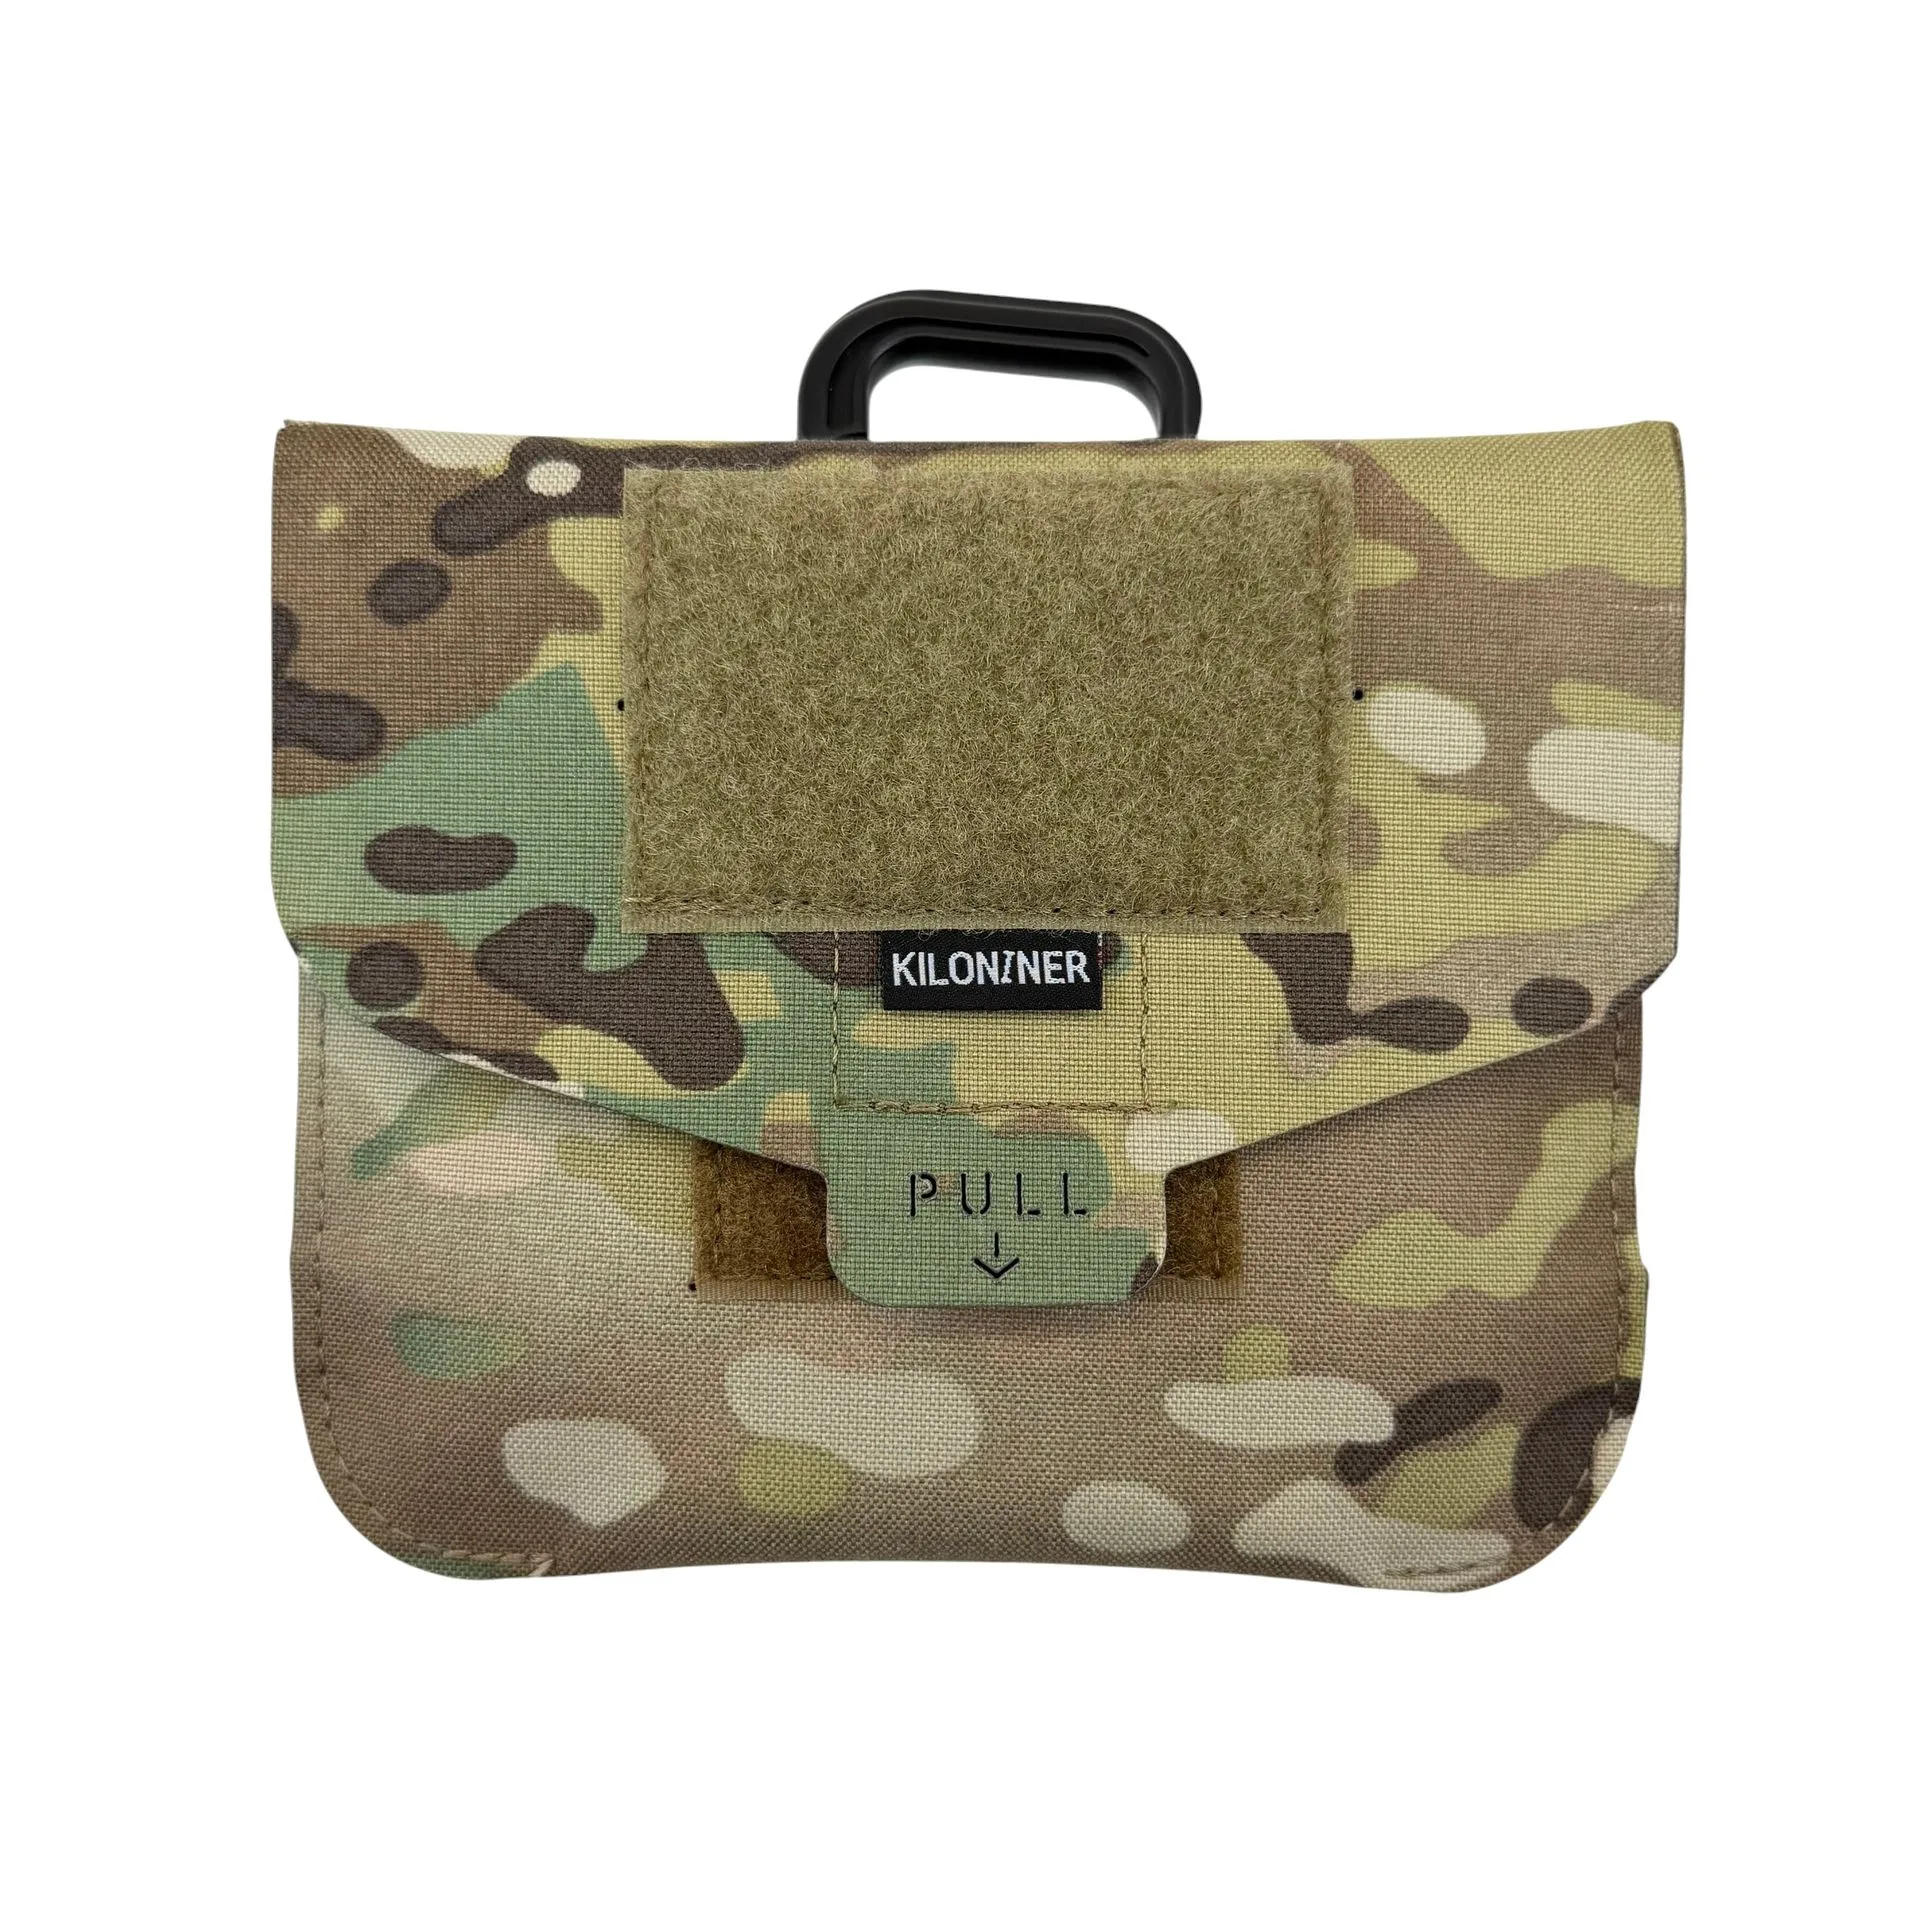
Quick answer
Put morale patches where they are visible, secure, and do not interfere with your gear. On a vest or harness, use the upper chest or shoulder hook-and-loop panels; on a cap, center a small patch on the front panel. Always test placement before pressing down, and keep the layout balanced rather than crowded.
Map your hook-and-loop real estate first
Before you stick anything down, identify every hook-and-loop panel on your vest, harness, cap, or bag. Panels vary in size and shape, so measure the usable area with a ruler or tape. This prevents you from ordering or placing a patch that overhangs the panel and peels at the edges. If a panel is missing, you can add an adhesive-backed loop strip, but check that the adhesive is rated for fabric and will not damage the surface when removed.
Match patch size to panel size
A patch that is too large for its panel will curl at the corners and catch on straps or sleeves. A patch that is too small can look lost and may not stay put if the panel is much larger. As a rule, leave at least a quarter-inch of loop exposed around the patch so you can peel it off easily. For caps, measure the front panel height and width; a 2-inch tall patch is usually a safe maximum on a standard trucker hat front.
Choose a focal point and build around it
Pick one patch as the centerpiece, then arrange smaller patches around it. On a vest, the upper chest panel is the most visible spot; on a cap, the front center is prime real estate. Avoid placing patches where they will rub against a backpack strap, sling, or rifle stock. If you use a patch with a message or unit identifier, put it where it can be read quickly without twisting your torso.
Test placement before committing
Lightly press patches in place and put the gear on. Move your arms, turn your head, and check your range of motion. Look in a mirror to see what others will see. If a patch digs into your shoulder or blocks a pocket, move it. This dry run takes a minute and saves you from peeling and repositioning later, which can wear out the hook-and-loop over time.
Secure and maintain your layout
Once you are happy with the arrangement, press each patch down firmly for a few seconds. Hook-and-loop holds best when the hooks and loops are fully engaged. Check periodically that patches are still secure, especially after washing or heavy use. To clean, remove patches and brush debris out of the loop with a soft brush. Avoid pulling patches off by one corner; peel from the edge evenly to protect the stitching.
Step-by-step morale patch placement
- Inspect and measure your hook-and-loop panels: Use a ruler to note the width and height of each panel on your vest, harness, cap, or bag. Common mistake: assuming all panels are the same size. Checkpoint: write down the dimensions so you can compare them to patch specs. Knowing your panel sizes prevents overhang and wasted patches.
- Select patches that fit the panel and purpose: Match patch dimensions to your measured panels. For a cap front, a patch around 2 inches tall is usually safe. For a vest chest panel, a 4-inch wide patch like the MAMA'S GIRL Morale Patch can work well. Common mistake: choosing a patch that is too large and blocks zippers or pockets. If a patch overhangs, it will curl and may fall off.
- Lay out your patches without pressing down: Arrange patches on the panel in the order you want. Start with the largest or most important patch, then fill gaps with smaller ones. Common mistake: crowding too many patches, which makes each one harder to see. Checkpoint: take a photo to see the layout from a distance. A balanced layout reads better than a cluttered one.
- Test the layout while wearing the gear: Put on the vest, harness, or cap and move around. Check that patches do not rub against straps, block your view, or interfere with drawing equipment. Common mistake: forgetting to test with a backpack or sling. Checkpoint: if a patch digs in or catches, move it. Comfort and function come before looks.
- Press patches firmly into place: Once satisfied, press each patch down for a few seconds, working from the center outward. Common mistake: pressing only the corners, which leaves the middle loose. Checkpoint: tug gently on each patch to confirm it is secure. Full contact between hooks and loops keeps patches put.
- Maintain and adjust as needed: Periodically remove patches to clean the loop panel with a soft brush. If you change patches often, peel from the edge evenly to avoid tearing stitches. Common mistake: yanking patches off by one corner. Checkpoint: after cleaning, re-press patches firmly. Regular care extends the life of your patches and panels.
Product facts
- MAMA'S GIRL Morale Patch: MAMA'S GIRL Morale Patch: 4" x 1", embroidered, hook fastener backing. Its narrow, wide shape fits horizontal chest or shoulder panels without covering other gear.
- Mini Quality German Engineering Morale Patch: Mini Quality German Engineering Morale Patch: 2" x 1.5" (Wide x Tall), embroidered, hook fastener backing. Small size works well on cap fronts or as a secondary patch on a crowded vest panel.
- BASEBALL CAP / TRUCKER HAT: BASEBALL CAP / TRUCKER HAT: adjustable snapback, mesh back, flat black bill, Dog and Crossbones embroidered patch on front. The front patch is already attached, so any additional morale patch placement should go on a different panel or be avoided to keep the look clean.