Security cameras are only as effective as their installation. A shaky mount, exposed cables, or improper weather sealing can compromise image quality and durability. That’s why using the outdoor square junction box is the smart choice when installing Lorex turret and dome cameras. It provides a sturdy mounting surface, conceals wiring, and protects connections from rain, dust, and pests.
Whether you’re setting up a single camera or a full system, this guide covers every step: from gathering tools and preparing the mounting surface to routing cables, sealing the junction box, and attaching the camera. By the end, you’ll have a professional-grade outdoor installation that keeps your Lorex cameras secure and your property under reliable surveillance.
Why Use a Square Junction Box for Lorex Turret and Dome Cameras?
The outdoor square junction box is designed specifically for Lorex security cameras that require a flush or surface mount. It provides a solid base, prevents moisture ingress into the camera’s connection area, and keeps cables neatly hidden inside the box or within the wall. Many installers prefer it because it eliminates the need for wall drilling near the camera—instead, you mount the box to a flat surface and attach the camera directly to it.
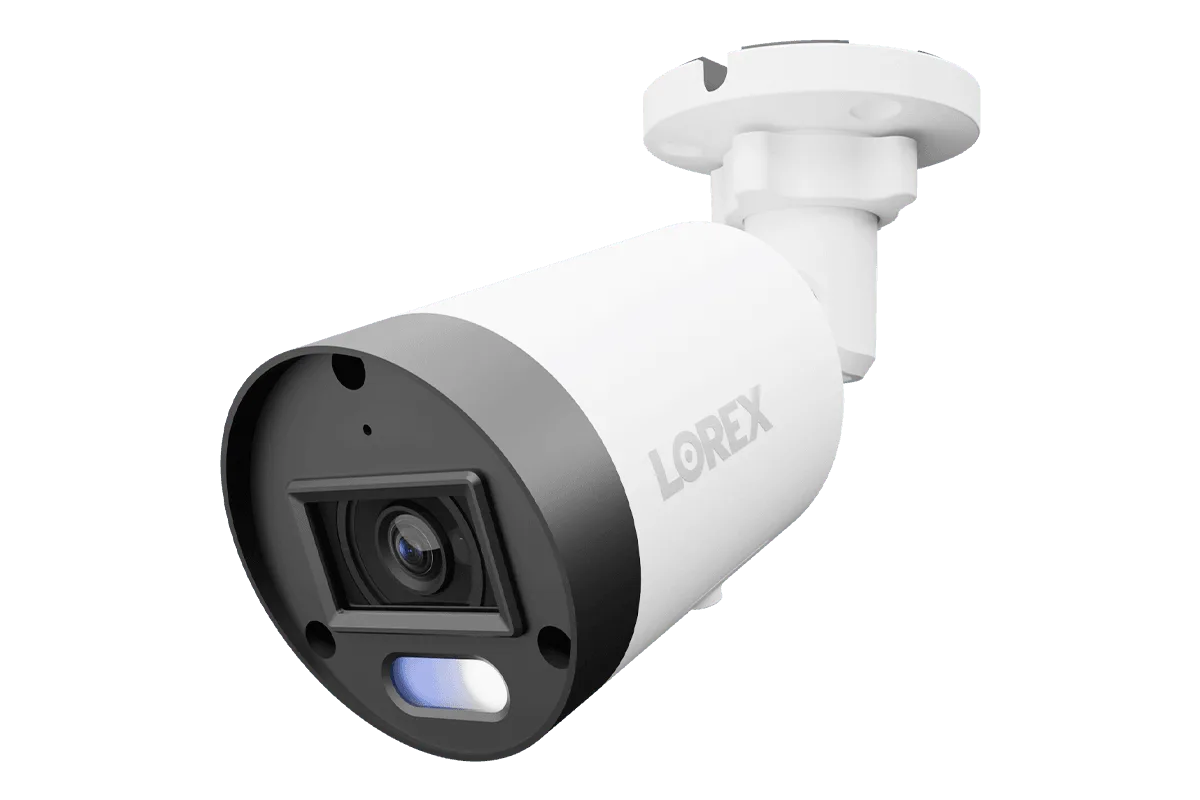
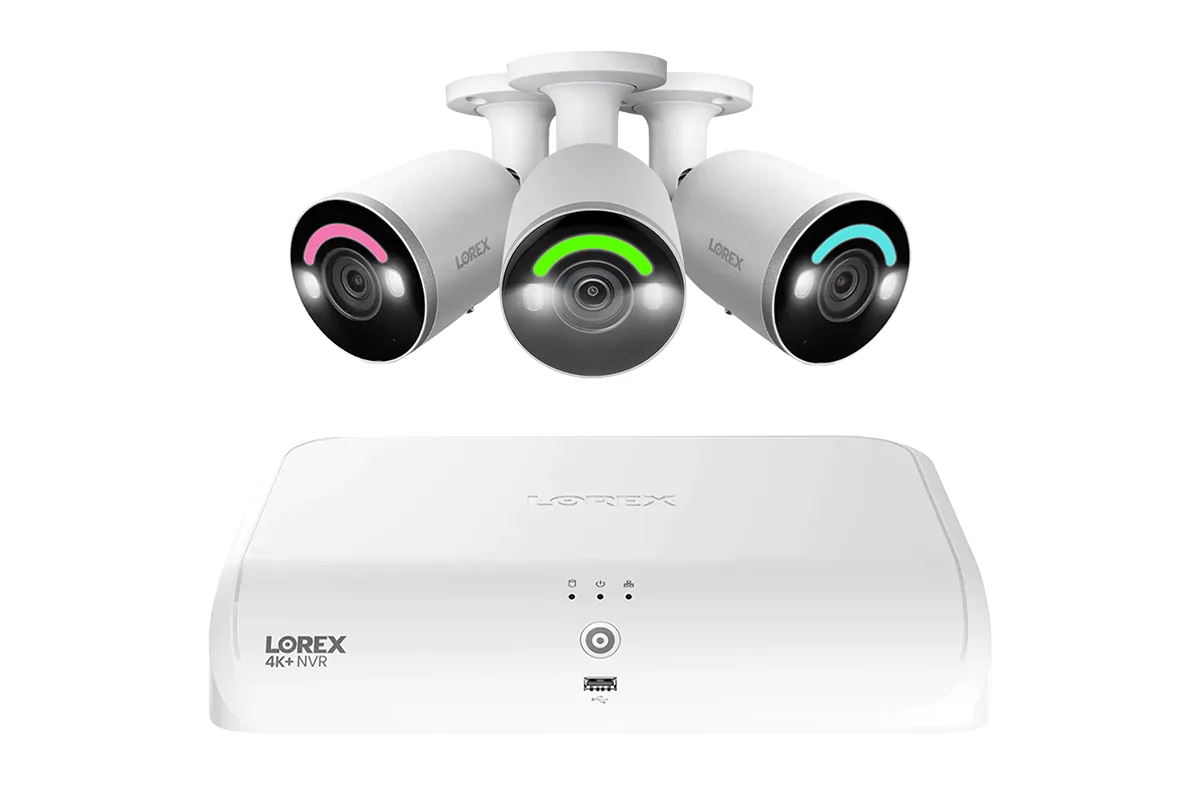
For models like the Lorex Connect V5 4K PoE Turret Cameras with Color Smart Security Lighting, the junction box ensures the camera sits level, even on uneven siding or stucco. Dome-style cameras, such as the Lorex 2K (4MP) IP Wired PTZ Security Camera with AI Detection and 25x Optical Zoom, also benefit from the junction box’s low-profile support and cable protection. Using the box is especially important for PoE cameras to keep the Ethernet connector dry and secure.
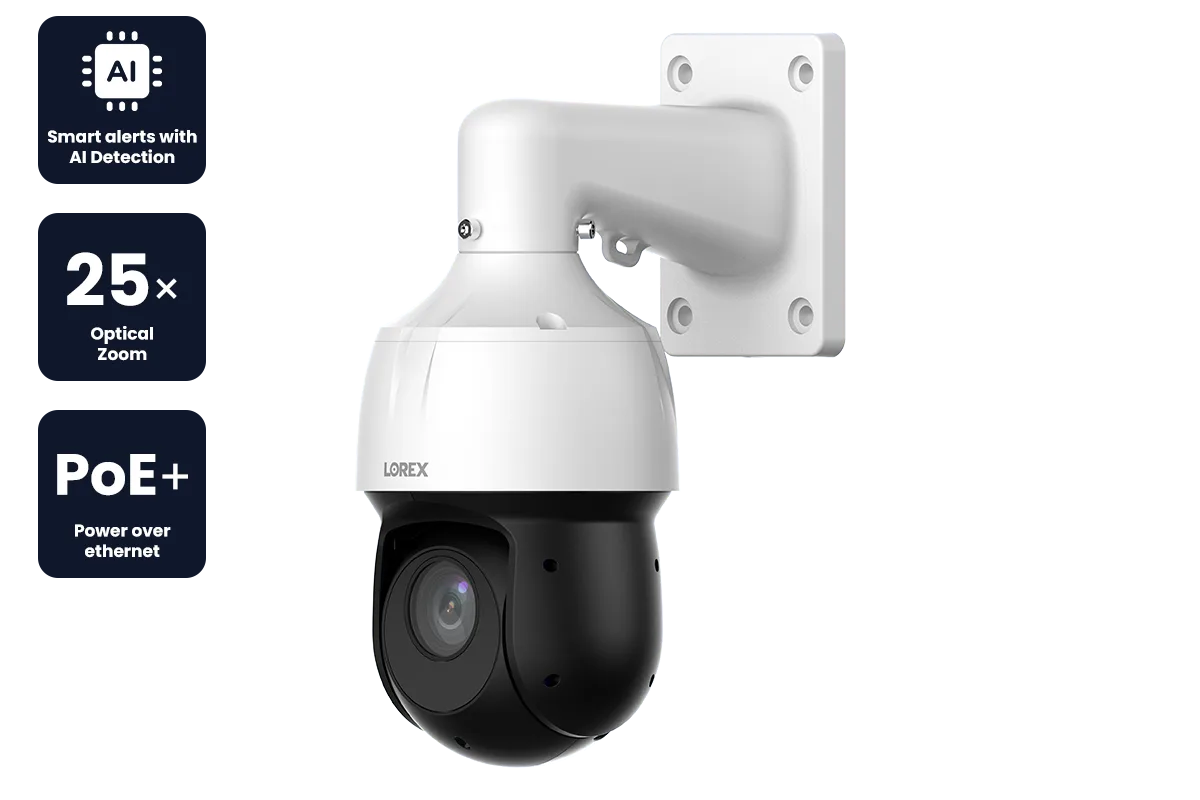
Lorex 2K (4MP) IP Wired PTZ Security Camera with AI Detection and 25x Optical Zoom
- Provides a level mounting surface for brick, wood, or vinyl siding.
- Conceals cable connections within a weather-resistant enclosure.
- Simplifies future camera swaps or maintenance without drilling new holes.
Tools and Materials You’ll Need
Before starting, gather the following items: the Lorex square junction box (typically included with select cameras or sold separately), a drill with masonry or wood bits, a screwdriver (Phillips or Torx depending on camera model), a cable gland or waterproof connector (if not pre-installed on the box), silicone sealant for outdoor use, a level, and a small rubber mallet for gently seating the trim. You may also need a network cable tester if you’re running PoE through the box.
If your camera comes with a mounting template, keep it handy. For cameras like the Lorex Connect V5 turret, the junction box aligns with pre-drilled screw holes. For dome cameras such as the Lorex 2K PTZ, verify the base pattern matches the box’s mounting plate before drilling. Having all tools within reach reduces the chance of mid-installation trips to the hardware store.
- Lorex square junction box and gasket
- Power drill with appropriate bits (masonry for brick/concrete, wood for siding)
- Silicone sealant and a caulking gun
- Ethernet cable (for PoE cameras) and a cable tester (optional)
Step-by-Step Mounting Process
1. Prepare the surface: Clean the area where the junction box will be mounted. Use a level to mark pilot holes through the box’s mounting slots. If the box has a removable back cover, detach it to mark holes more easily. For wood or vinyl soffits, pre-drill 1/8-inch pilot holes; for brick or concrete, use a masonry bit and insert wall anchors.
2. Route the cable: Feed your network or power cable through the junction box’s cable entry hole. If the box includes a cable gland, unscrew it, pass the cable through, and tighten the gland to create a watertight seal. For a cleaner look, you can route the cable from behind the mounting surface and seal the entry hole with silicone afterward.
3. Attach the junction box to the wall: Secure the box to the wall using the screws and anchors that came with it. Tighten until the gasket compresses slightly—do not overtighten, as this can crack the plastic. Verify the box is level before final tightening. If installing on uneven siding, use a rubber shim behind the box to level it.
4. Mount the camera: Remove the camera’s base plate (if separate) and align it with the junction box’s screw holes. For the Lorex Connect V5 turret camera, the plate snaps onto the box’s mounting ring—listen for the click. For a dome camera like the Lorex 2K PTZ, attach the bracket directly to the box using the provided screws. Connect the cable to the camera, then secure the camera body to the bracket or base plate. Ensure all screws are snug but not over-tightened.
5. Seal and finish: Apply a bead of silicone sealant around the seam where the camera meets the junction box. For the cable entry point, check that the gland or sealant is fully covering any gap. Allow the silicone to cure for the time recommended on the package. Once cured, test the camera’s connection and adjust the angle before locking it in place.
- Always use the included gasket between the junction box and the wall to prevent moisture entry.
- For high-traffic areas, consider an additional weatherproofing wrap around the cable gland.
- Test the camera’s field of view before fully tightening all screws.
Cable Gland and Weatherproofing Tips
The cable gland is a critical component for outdoor camera installations. It compresses around the network or power cable to prevent water from entering the junction box. Most Lorex square junction boxes include a PG-7 or PG-9 gland. If your cable is thicker (for example, a shielded Ethernet cable with a boot), you may need to remove the boot or replace the gland with a larger size. Apply silicone grease to the gland threads before tightening to improve the seal and ease future adjustments.
For extreme weather areas, add a drip loop—a downward dip in the cable just before it enters the gland. This prevents rainwater from traveling along the cable and into the joint. Also, ensure the junction box’s drain hole (if present) is facing downward. The Lorex Connect V5 turret and similar cameras have a small weep hole at the base; do not block it with sealant, as it allows condensation to escape.
- Use a silicone sealant rated for exterior use (e.g., GE Silicone II or equivalent).
- Check the cable gland annually for cracks or loosening, especially after winter freeze-thaw cycles.
Common Mistakes to Avoid
One frequent error is mounting the camera before sealing the junction box. If the box isn’t fully sealed at the back or the cable entry, moisture can seep in and short the connection. Another mistake is overtightening the camera’s base screws, which can crack the camera housing or the junction box’s mounting plate. Always tighten to a snug fit, then stop.
Also, avoid routing cables through the junction box without using a gland or grommet—bare wires or loose connectors inside the box invite corrosion. Finally, don’t skip using a level. A slightly tilted camera can reduce the field of view and make fine-tuning the angle difficult. Take your time during the alignment step to ensure a professional result.
- Read your camera’s manual for specific torque recommendations on mounting screws.
- Use stainless steel screws outdoors to prevent rust over time.
Mounting your Lorex turret or dome camera with the outdoor square junction box is a straightforward DIY project that dramatically improves the longevity and reliability of your security system. By following these steps—preparing the surface, routing cables through a properly sealed gland, and leveling the box—you’ll achieve a weatherproof installation that looks clean and performs flawlessly. If you’re ready to upgrade your outdoor surveillance, check out the Lorex Connect V5 4K PoE Turret Cameras with Color Smart Security Lighting—a perfect match for this mounting method, combining high-resolution video with intelligent color night vision and seamless integration with the junction box.