Quick answer
You need four things to start: a dotting tool, a fine liner brush, a small flat brush, and a gel polish that self-levels. Everything else is optional. The tools do the shaping and placement, but the polish formula decides whether your lines stay crisp or flood the cuticle.
Nail art tools are not complicated, but the names are. A dotting tool, a liner brush, and a flat brush each solve a different problem, and buying the wrong one for the job is the fastest way to make simple art look messy.
This guide answers the questions people actually ask before their first order: what each tool does, which ones you can skip, and how the polish you load into them changes the result.
Dotting tool uses: more than just dots
A dotting tool is a handle with a ball tip on each end, usually two different sizes. The obvious use is dots, but the same tip can drag through wet polish to make a marble effect, pull a small flower petal, or place a tiny drop of color exactly where you want it.
The ball size matters more than the brand. A small tip places fine dots and tight details; a larger tip makes bold dots and moves more polish in one pass. If you only buy one, choose a double-ended tool so you get two sizes without a second purchase.
- Wipe the tip between colors or you will drag the previous shade into the next dot.
- Use the tool on wet gel, not cured gel, unless you are placing art on top of a cured color coat.
Brushes for nail art: liner, flat, and detail
A liner brush is long and thin, and it is what you use for stripes, lettering, and fine outlines. A flat brush is wider and square-tipped, and it is better for filling in larger areas, cleaning up edges, or creating one-stroke shapes. A small detail brush sits between the two and handles short curves and tight corners.
Brush quality shows up in how the tip holds a point. A liner that splays after a few uses will make every stripe wobble, so clean it with the appropriate brush cleaner or gel cleanser and reshape the tip while it is still damp. Never let gel cure on a brush, because once it hardens the bristles are done.
- Store brushes tip-up or flat in a case so the bristles keep their shape.
- Keep one brush dedicated to white or black so you do not tint the bristles with other colors.
What nail art tools do I need if I only do gel?
Gel changes the tool list a little. You do not need a separate set of acrylic brushes, but you do need a UV or LED lamp, a gel cleanser for wiping brushes, and a polish formula that moves without leaving brush strokes. Thick, gloopy gel fights the brush and makes lines ragged.
A self-leveling medium-consistency gel is the easiest starting point because it can be pushed around the nail and still settle flat. That means one product can handle both linework and larger filled areas, so you are not switching formulas mid-manicure.
- Skip the full 15-piece brush kit at the start; three good brushes cover most beginner and intermediate art.
- Add a silicone or metal cuticle pusher and a cleanup brush before you add more art tools.
How polish formula affects your tools
The same liner brush behaves differently depending on what you load it with. A self-leveling gel spreads smoothly and lets the brush glide, while a thicker formula drags and leaves ridges. If your lines look shaky, the problem is often the polish consistency rather than your hand.
Anti-spread formulas are the other side of the coin. They hold their placement and resist flooding the sidewalls, which helps when you are painting near the cuticle. Extreme pigment matters too, because one coat that covers means fewer passes and less chance of disturbing the layer underneath.
- Test a new gel on a swatch stick before using it for detailed art.
- If a formula self-levels, work in thin layers rather than one heavy flood.
Optional tools worth adding later
Once the basics feel comfortable, a few extras make specific techniques easier. Striping tape gives you straight lines without a steady hand. A small palette or mixing tile lets you blend two colors before they touch the nail. Tweezers help place rhinestones or foil without smudging the surrounding polish.
None of these are required to finish a manicure. Buy them when a project calls for them, not because a kit includes them. A tool you never reach for is just clutter on the desk.
- Add tools one at a time and use each one in a real manicure before buying the next.
- Keep a lint-free wipe nearby for quick brush cleanup during a session.
Quick tool checkpoints
Dotting tool
Use the small tip for fine dots and the large tip for bold dots or dragging marble effects through wet gel. Wipe between colors so you do not contaminate the next dot.
Liner brush
Long, thin bristles for stripes, outlines, and lettering. It needs to hold a sharp point after cleaning. If the tip splays, replace it; a splayed liner makes every line wobble.
Flat brush
Square tip for filling larger areas, one-stroke shapes, and edge cleanup. Pair it with a self-leveling gel so the filled area settles flat.
Polish consistency
Self-leveling medium gel glides and settles; thick gel drags and leaves ridges. If your lines look shaky, test a different formula before blaming your hand.
Anti-spread formula
Holds placement near the cuticle and sidewalls instead of flooding. Useful when you are painting detail close to the edge of the nail.
Products that work well with these tools
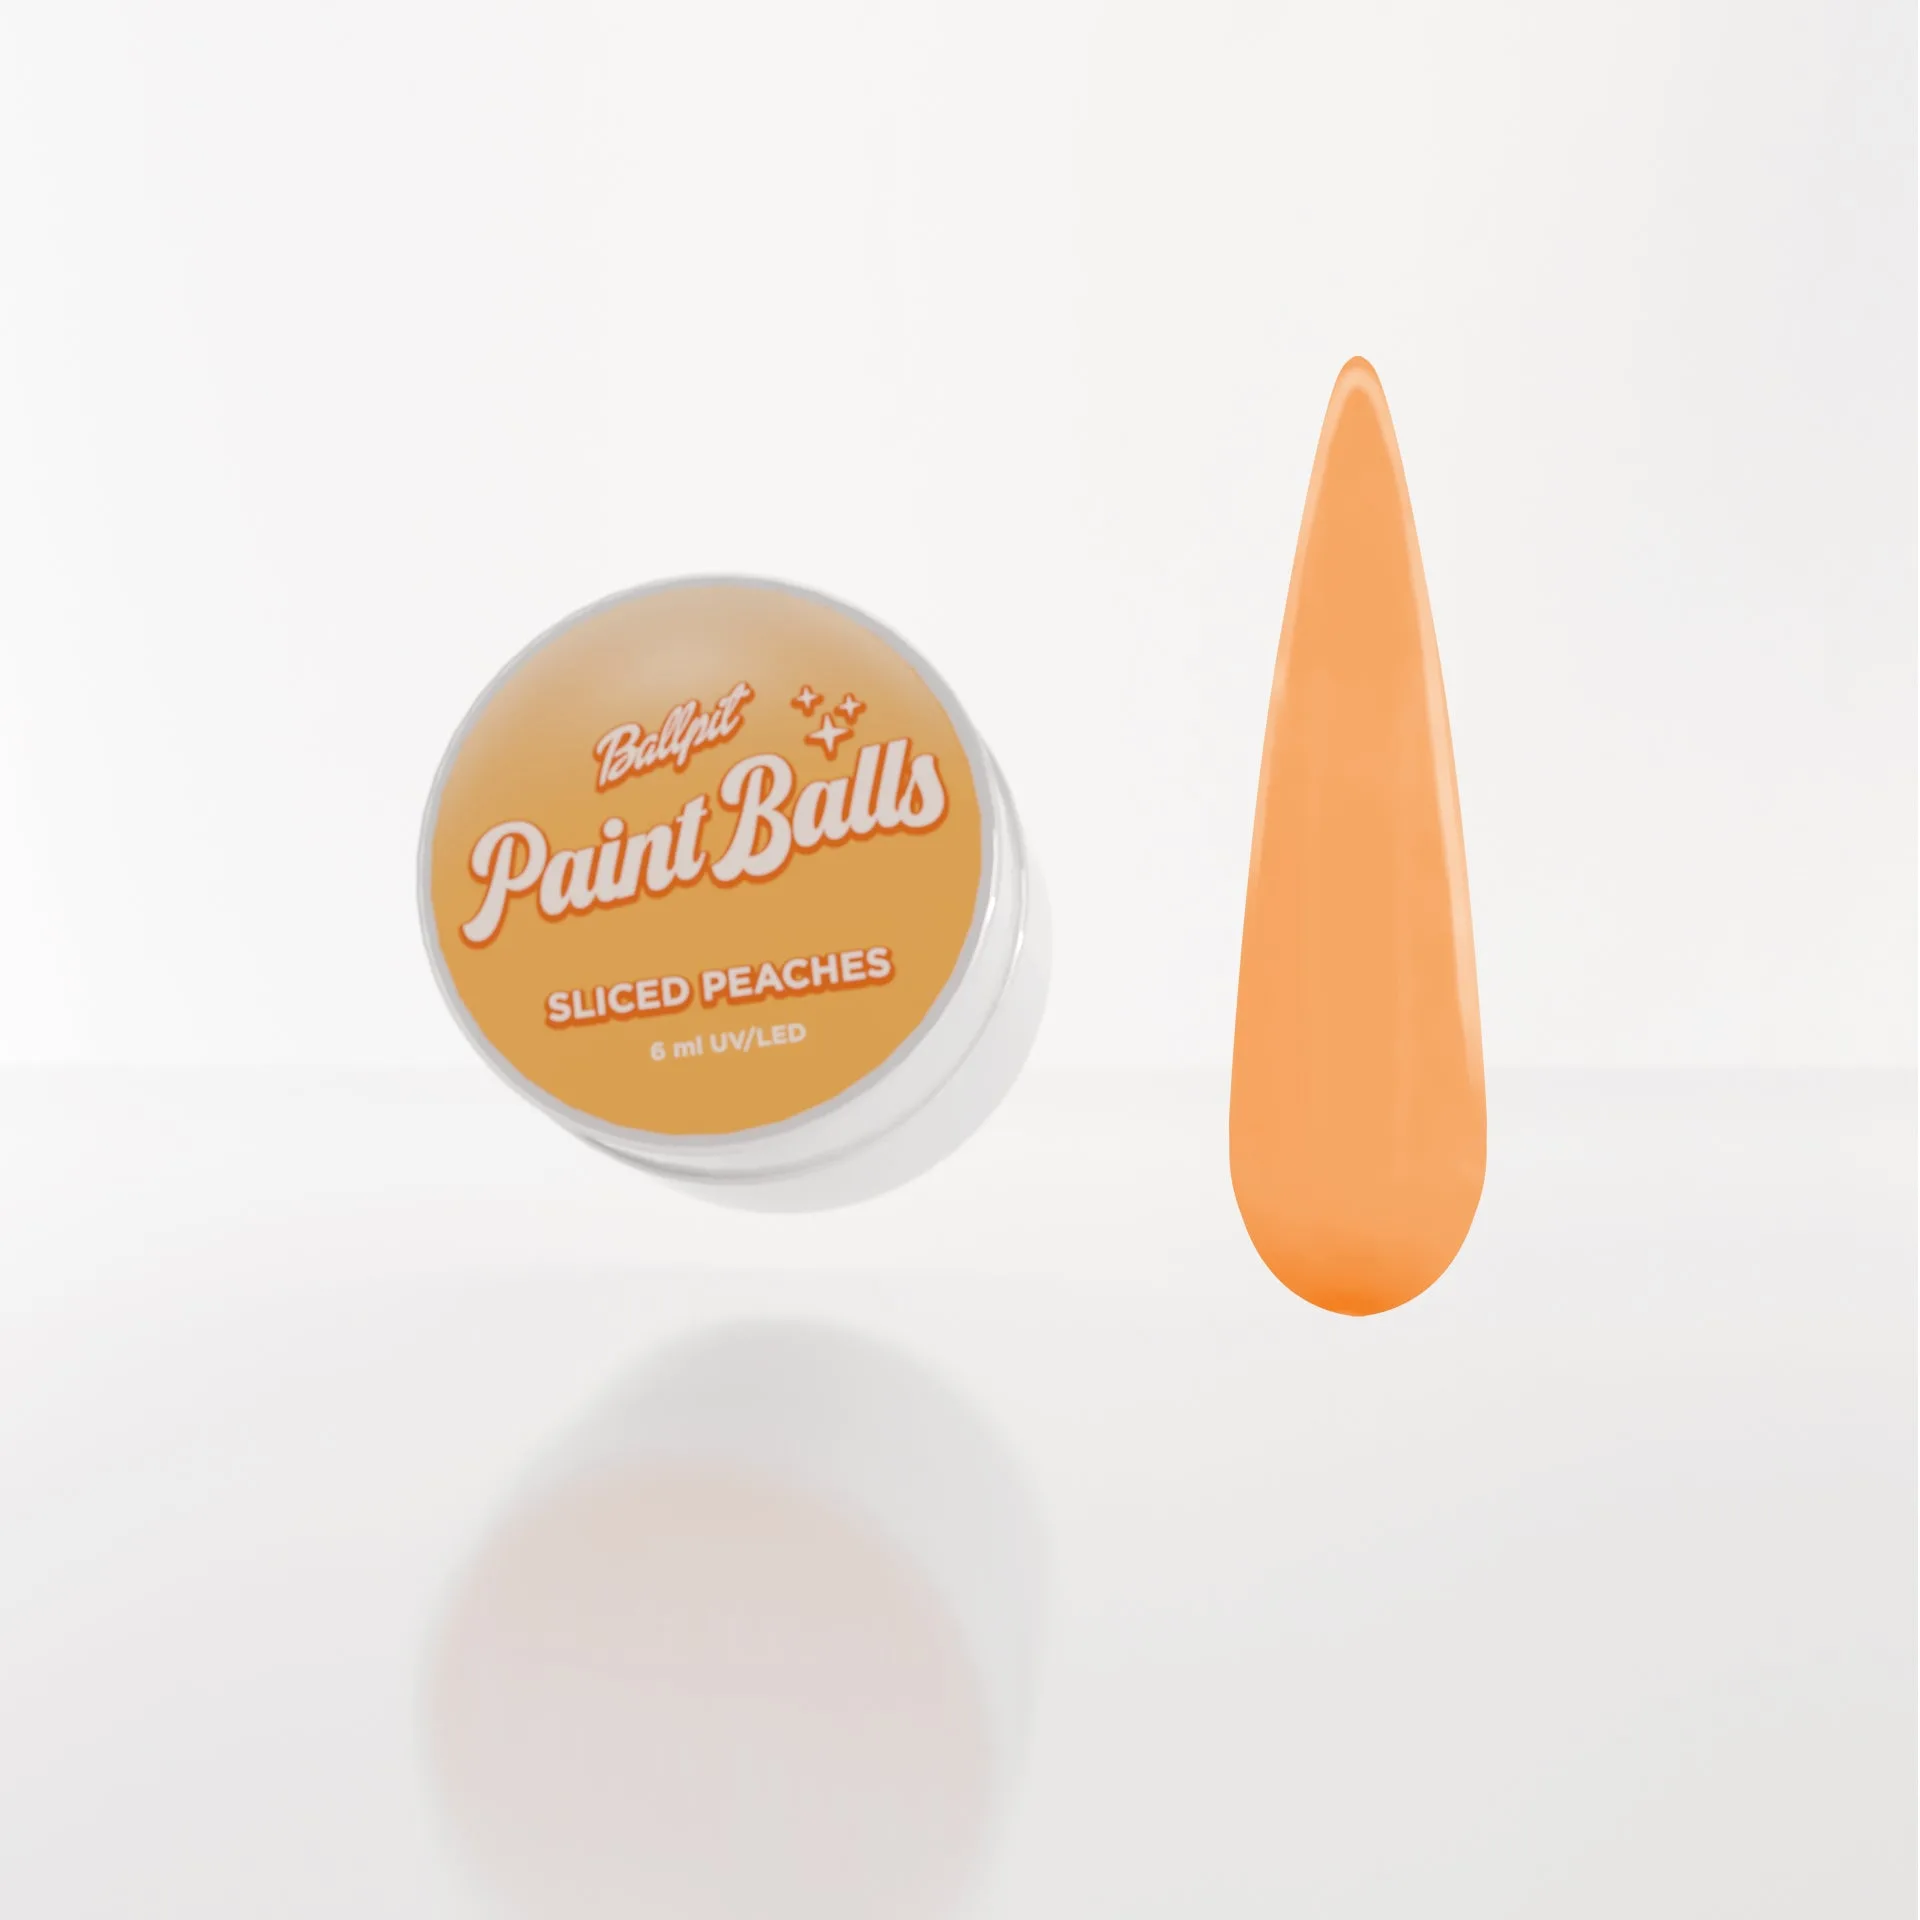
- Sliced Peaches - Paint Ball Gel: Paint Ball Gels are designed for both linework and large areas, with extreme pigment and a self-leveling medium consistency that can be moved around the nail without leaving brush strokes. Cure time is 60 seconds and the size is 6ml. One bottle can handle liner work and filled shapes, so you do not need a separate polish for each part of the design.
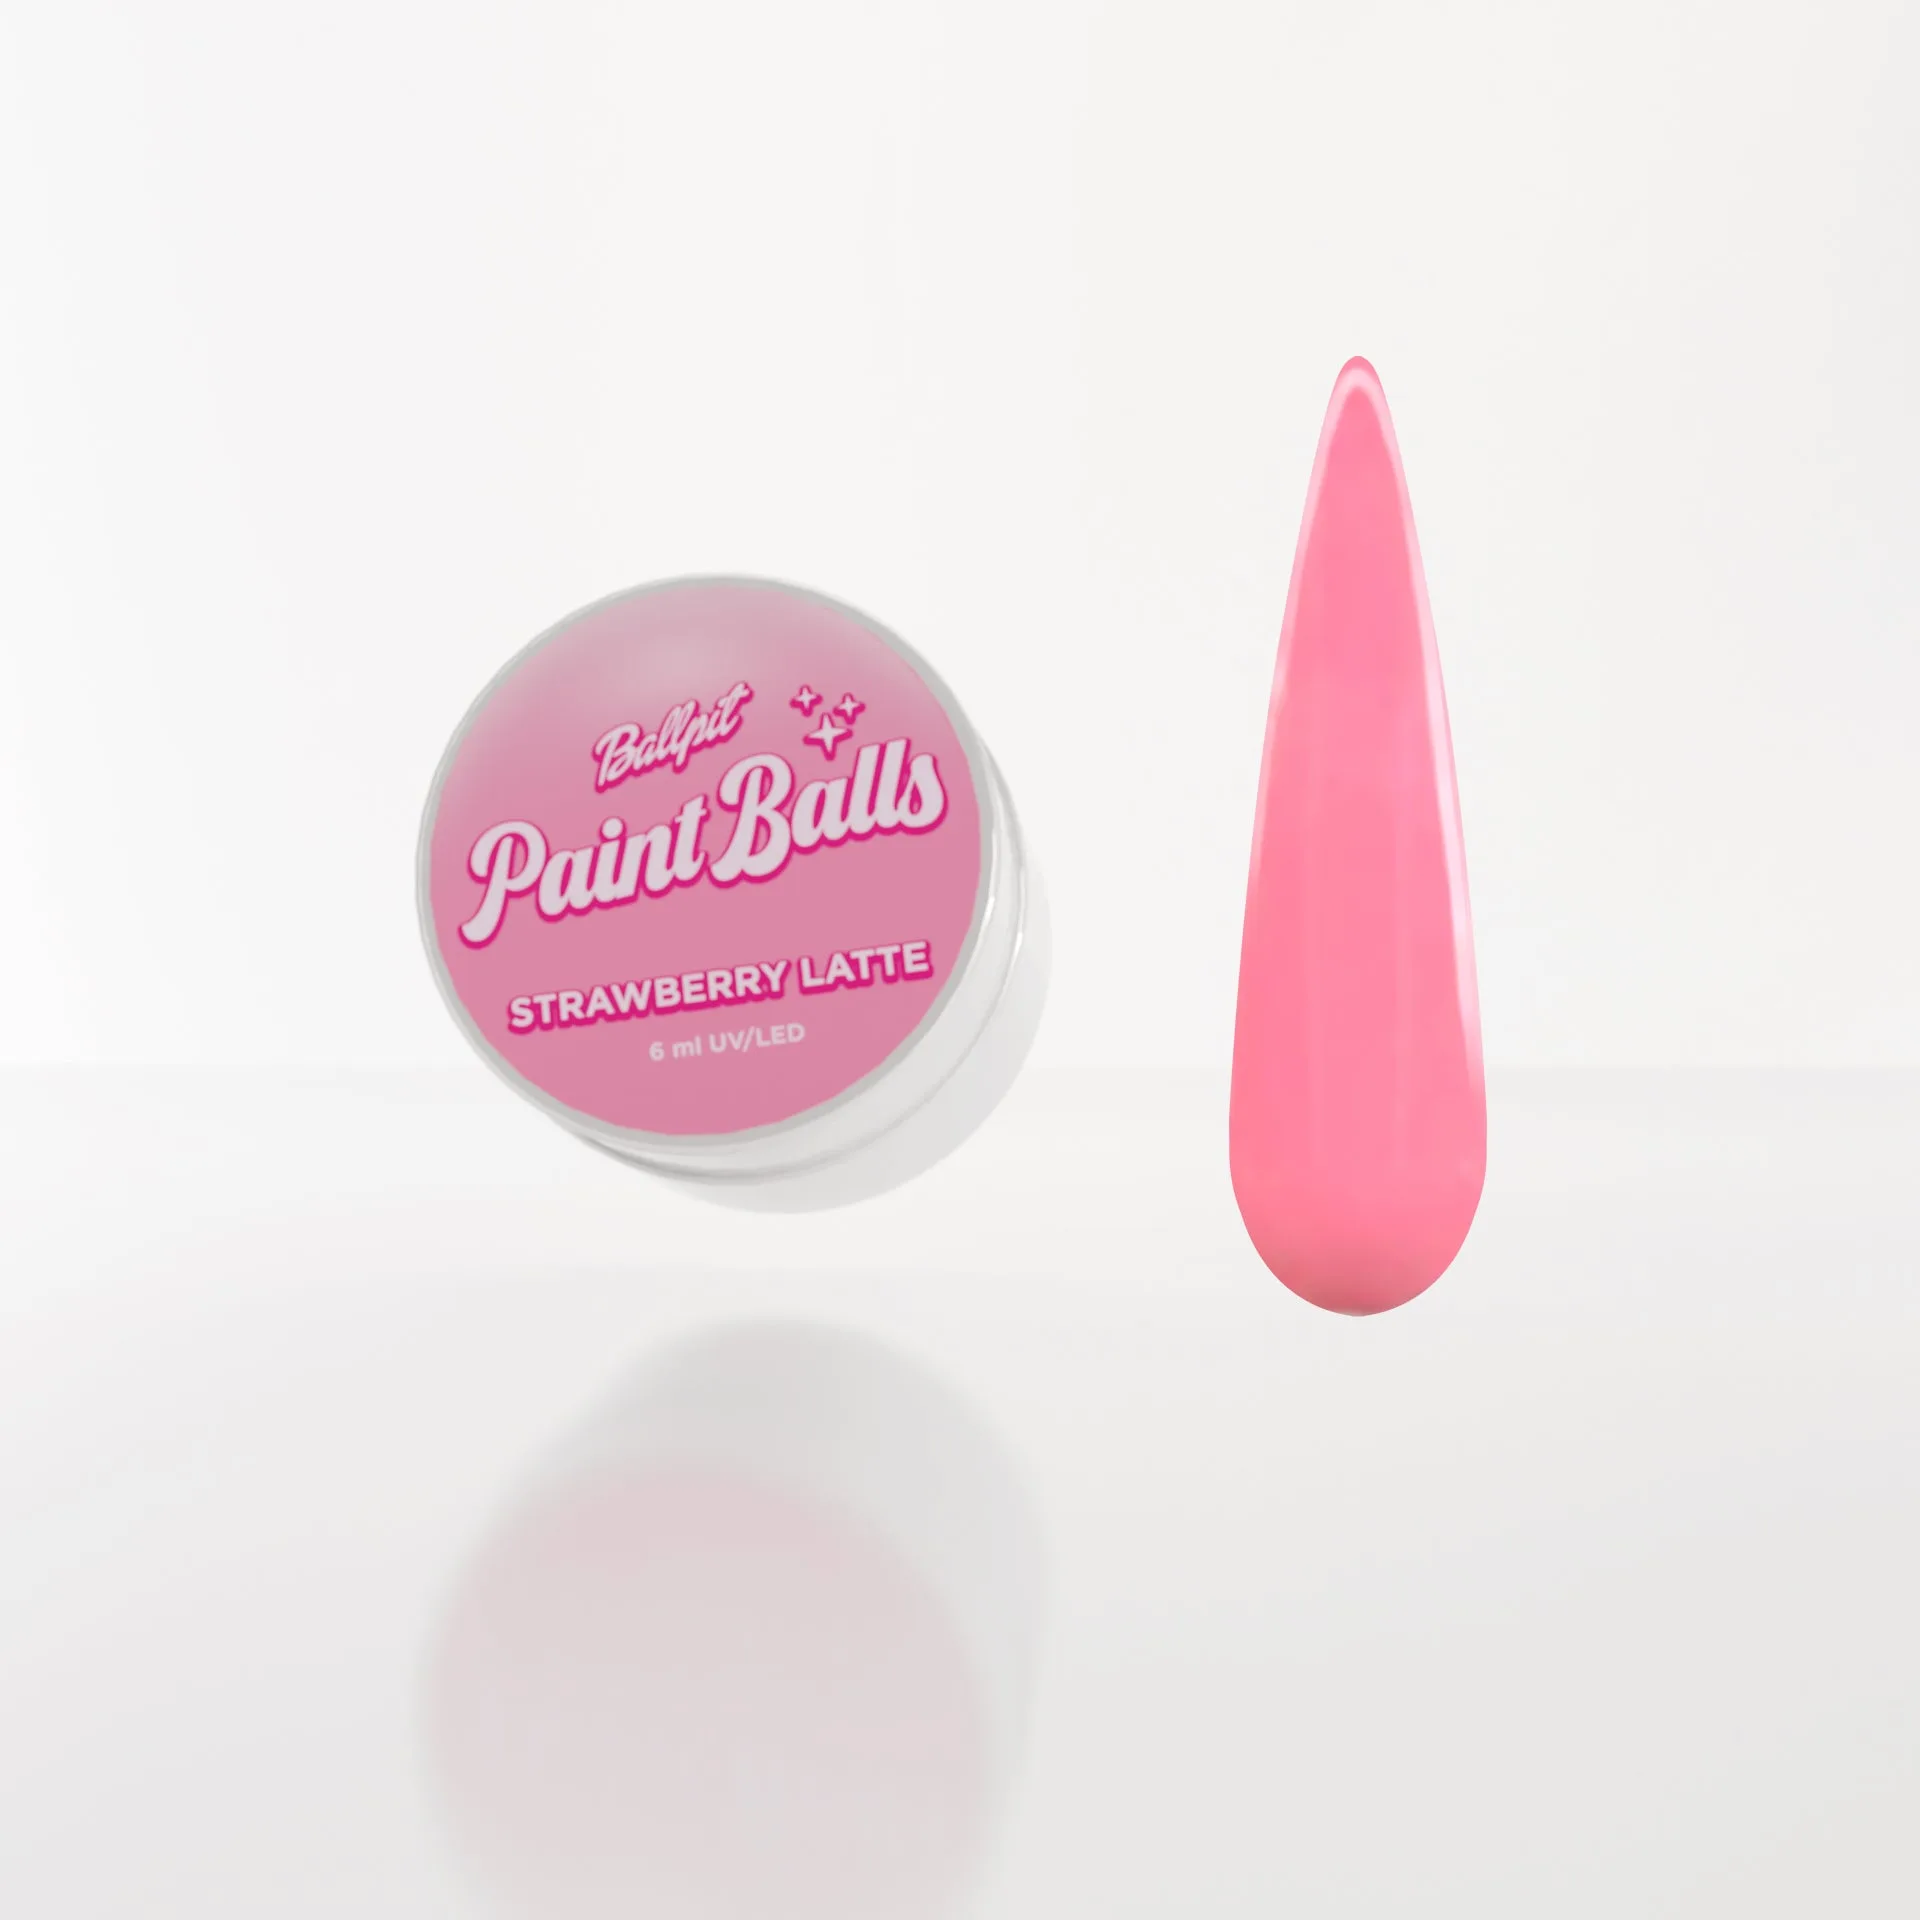
- Strawberry Latte - Paint Ball Gel: A pastel strawberry pink Paint Ball Gel with the same self-leveling medium consistency, extreme pigment, and 60-second cure time in a 6ml size. The lighter shade is useful for practicing fine lines because mistakes are easier to see and correct before curing.
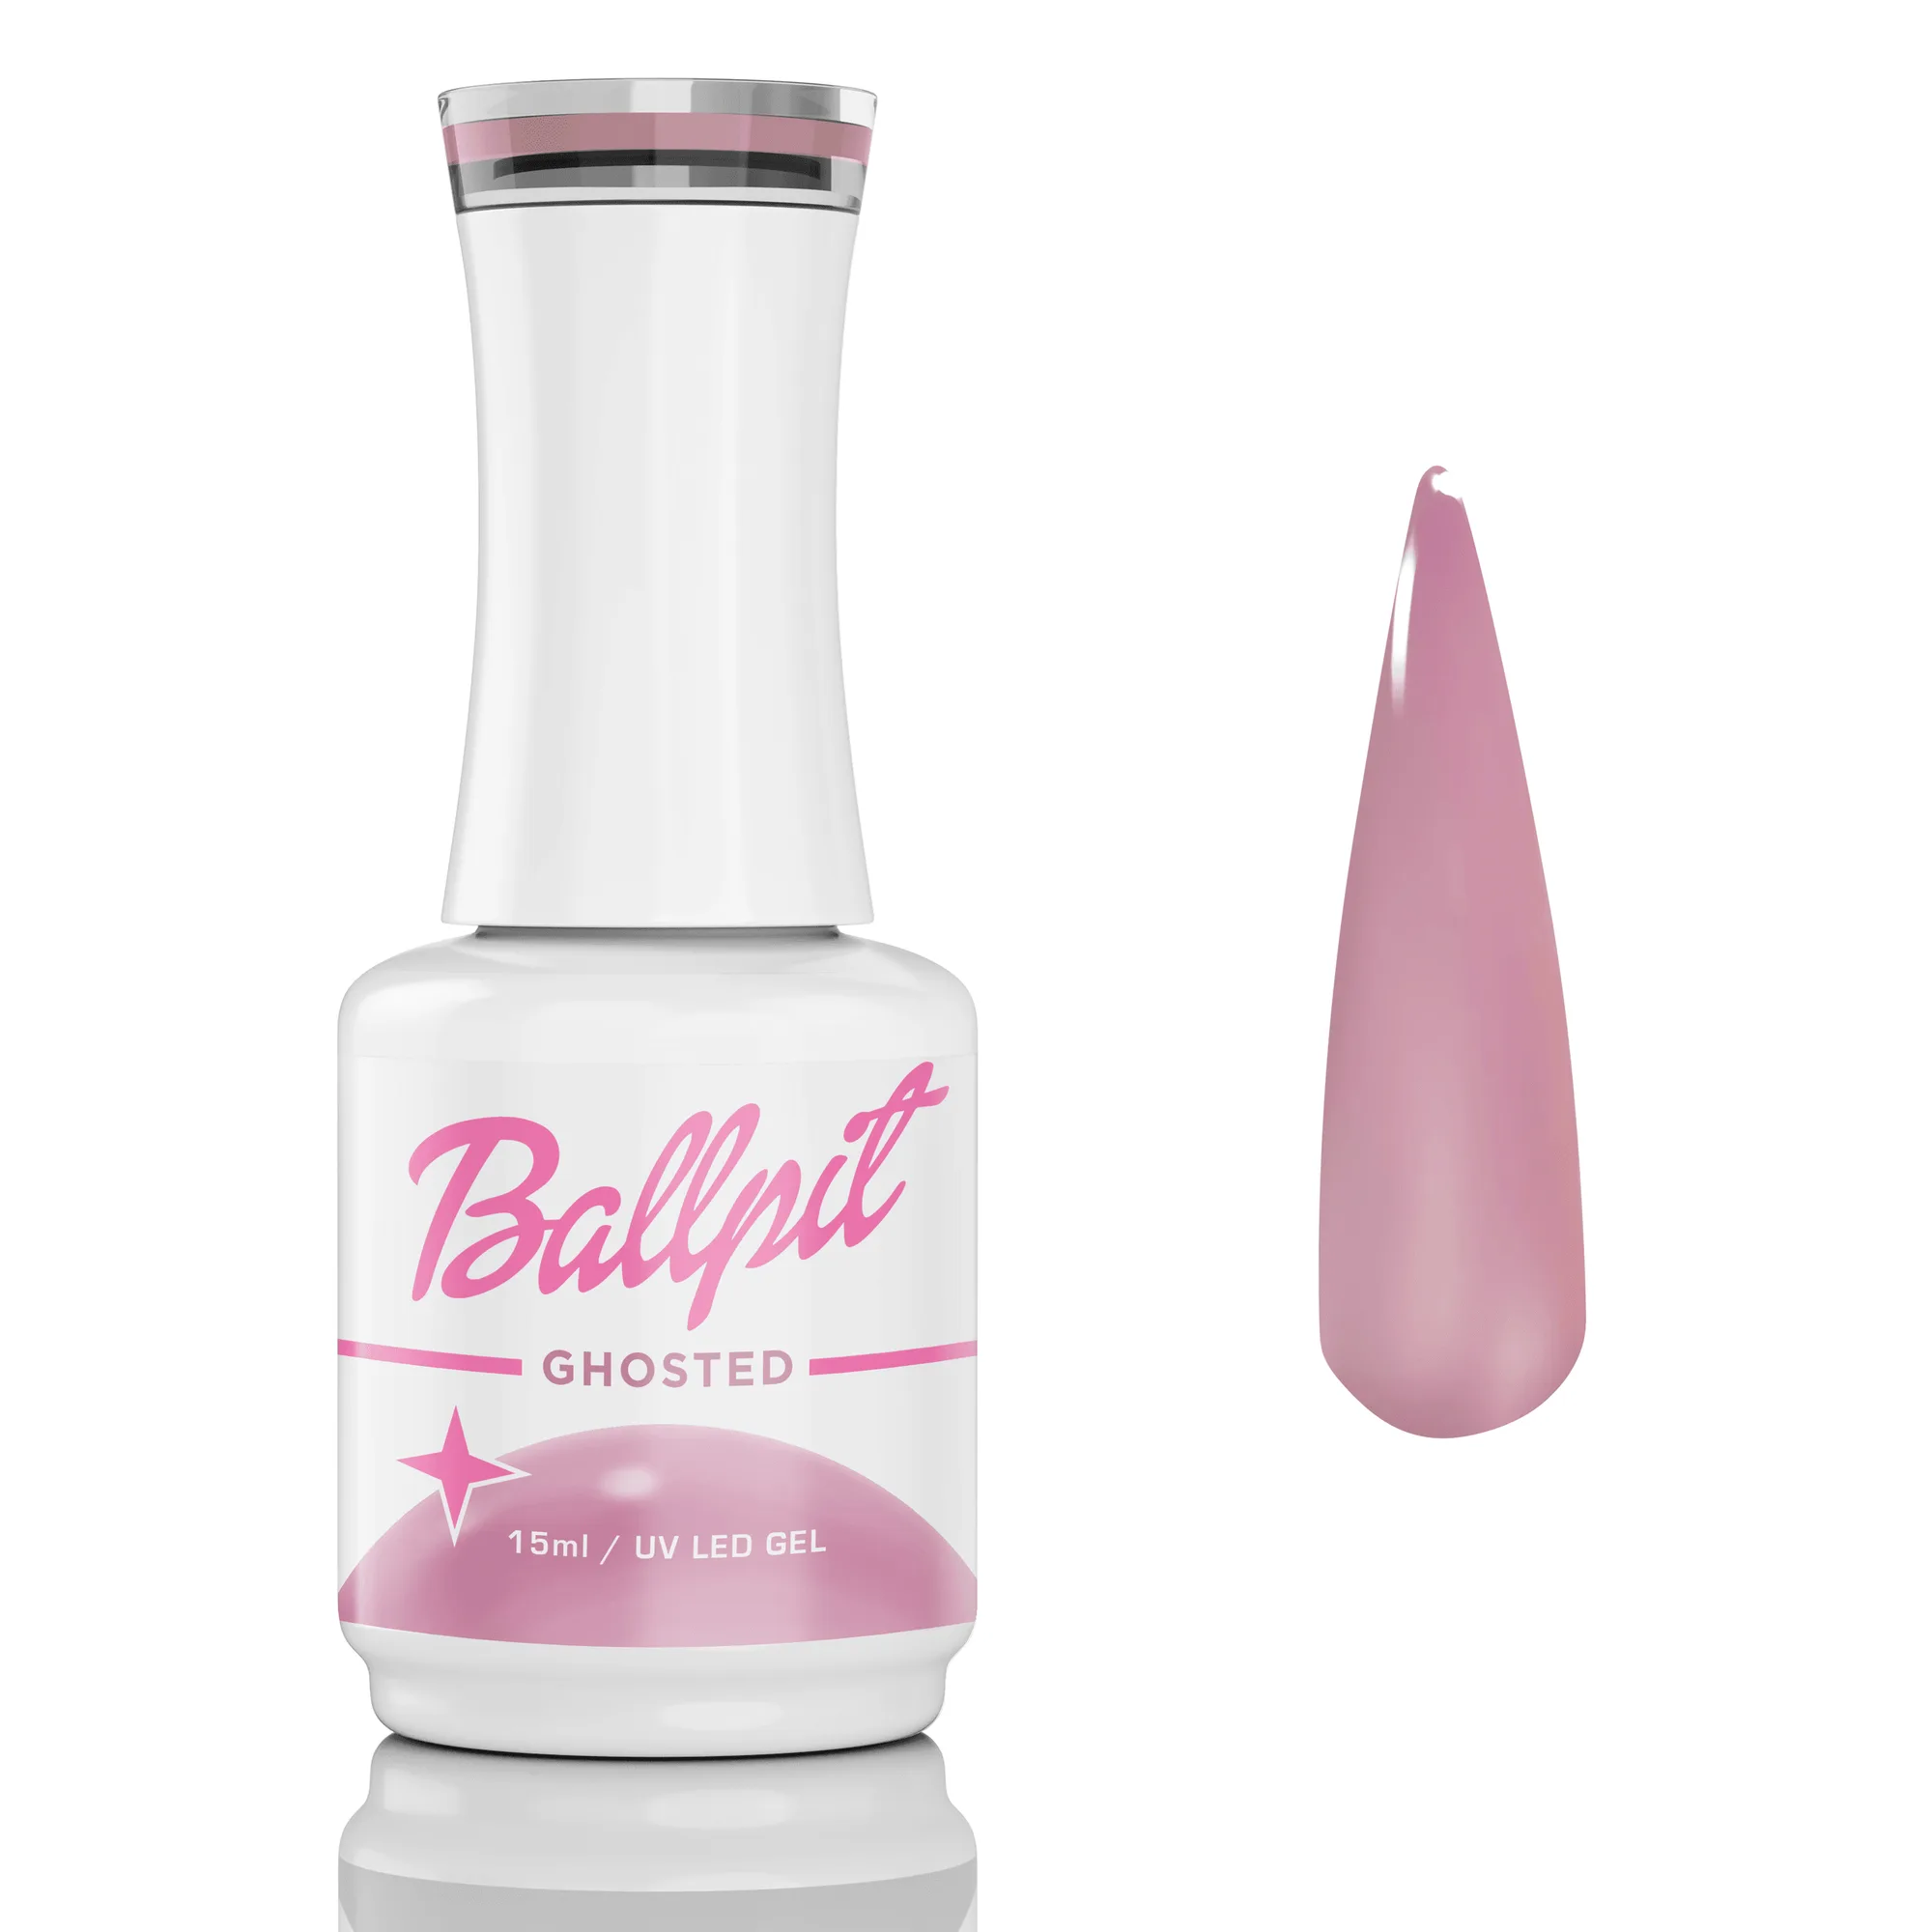
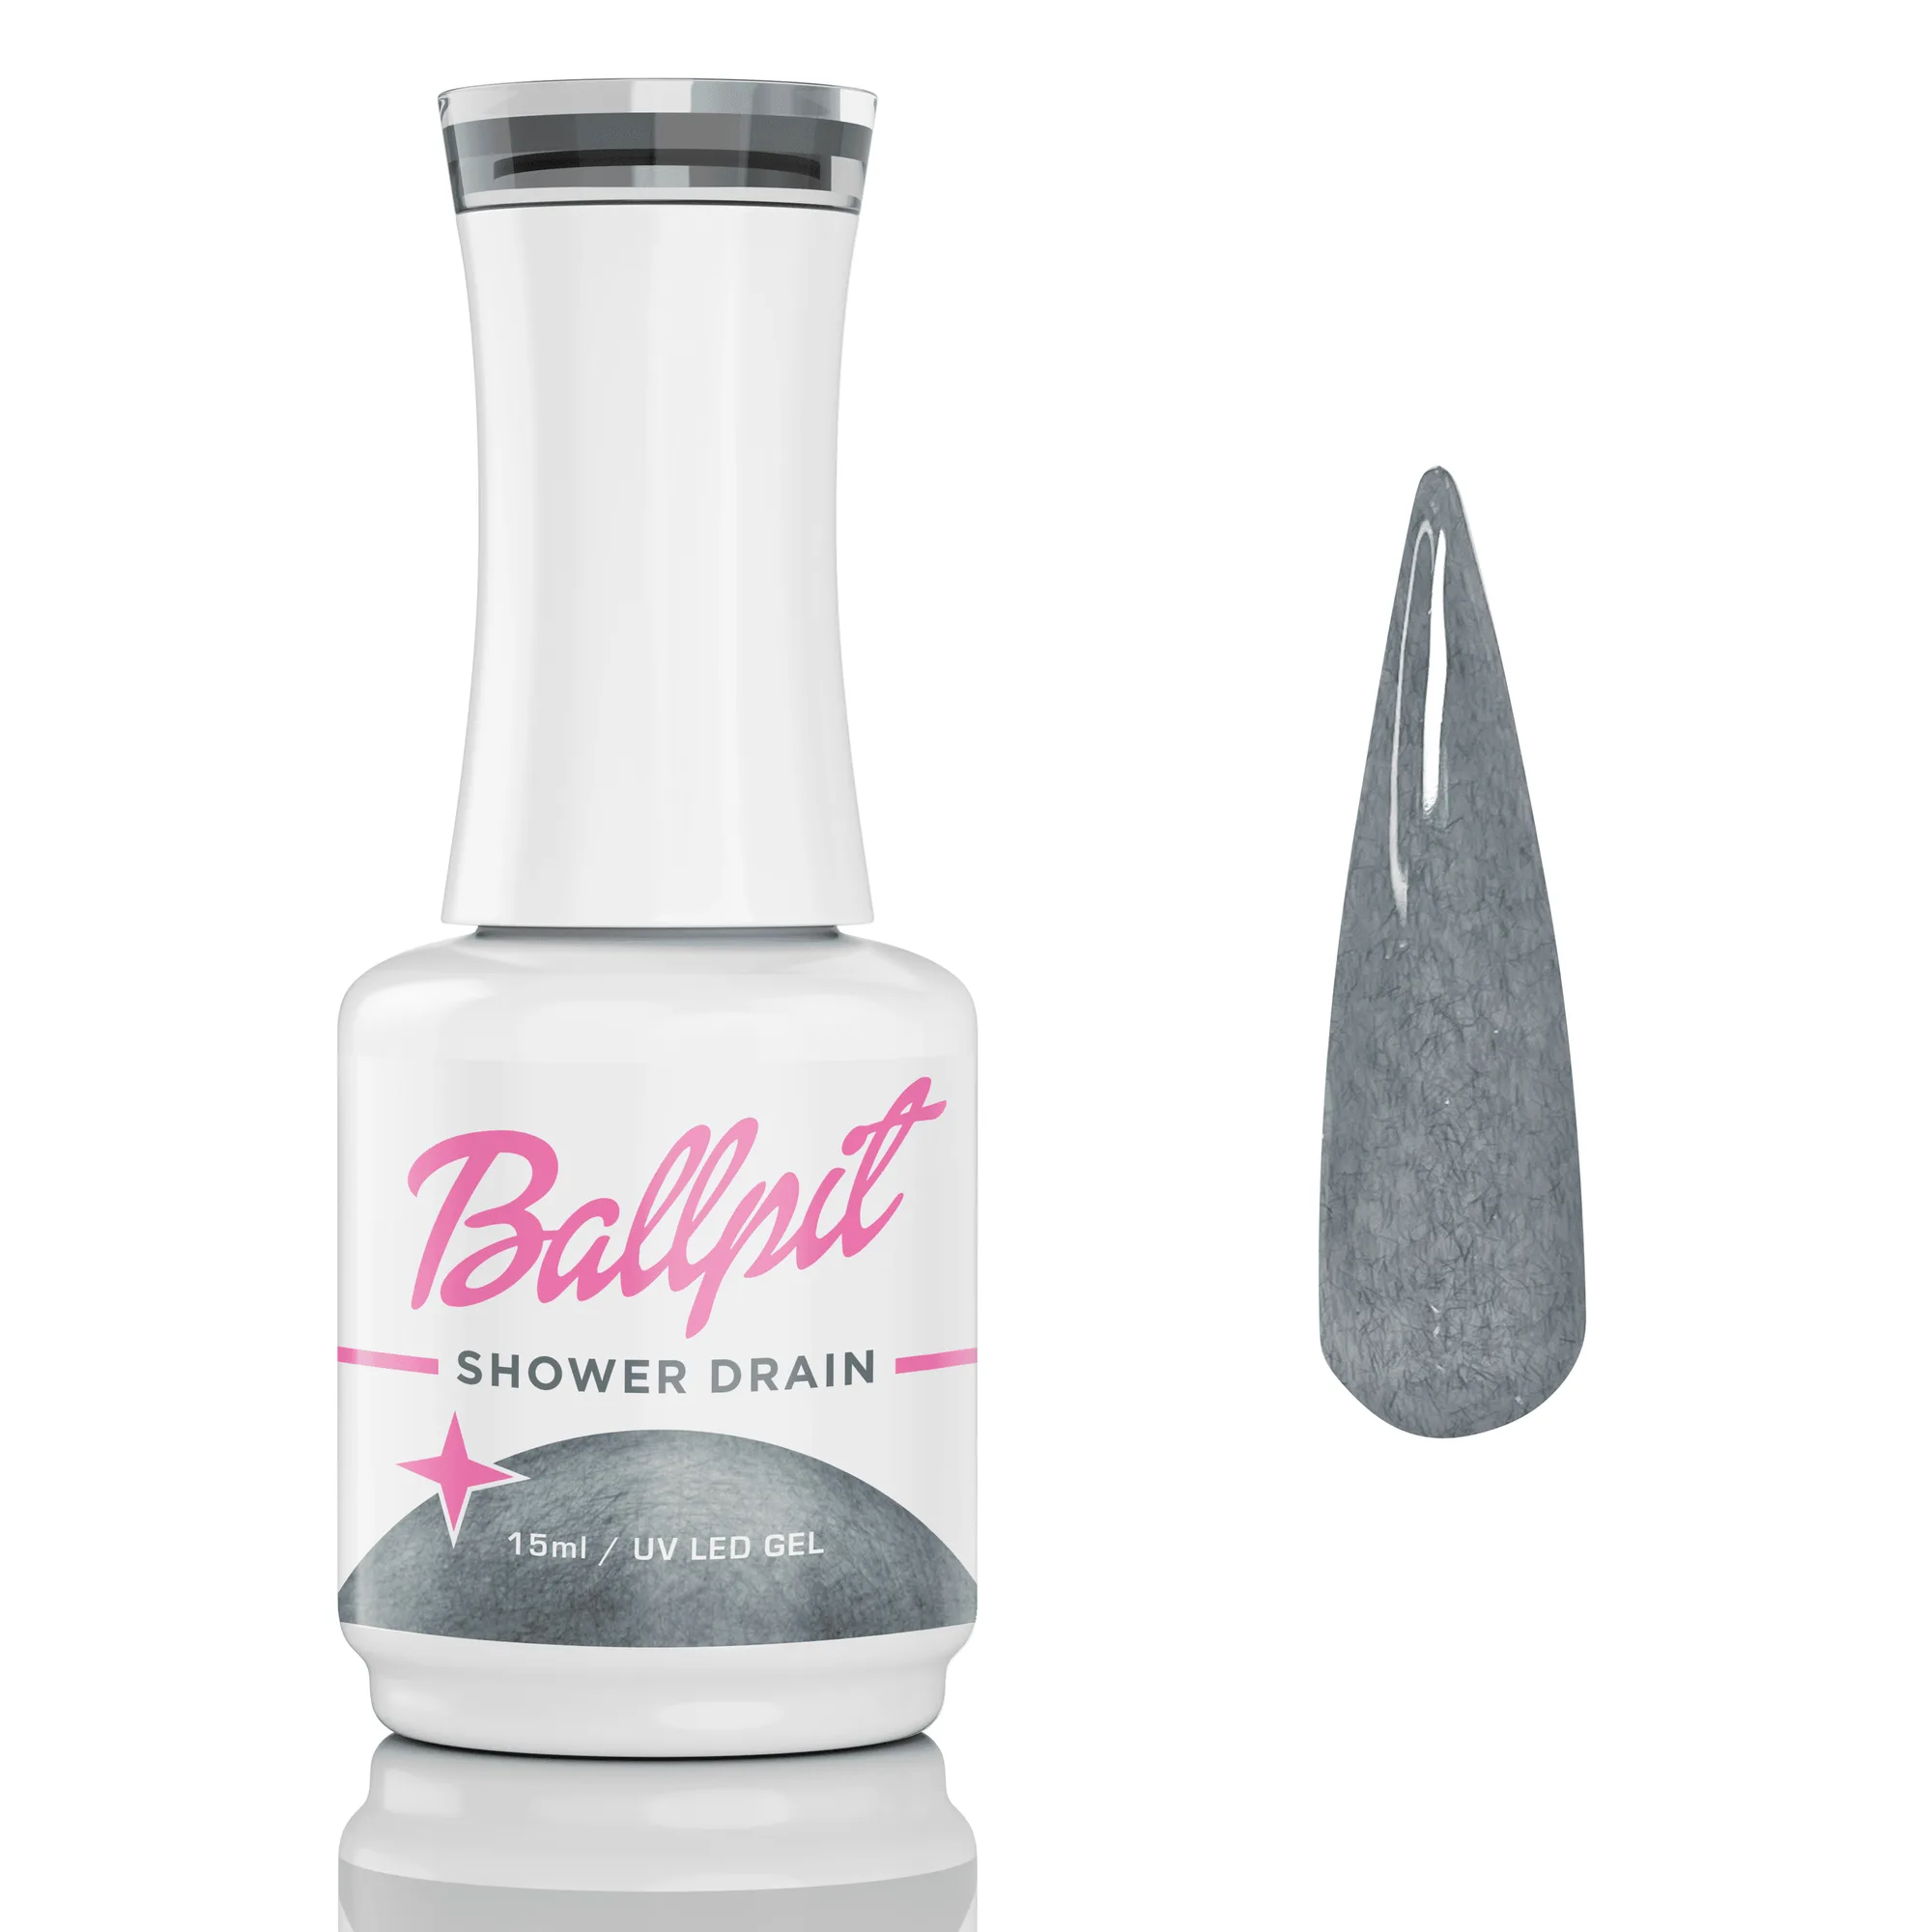
- Ghosted - Gel Polish: A 15ml UV/LED soak-off gel with the classic creamy gel formula, extreme pigment, and an anti-spread formula. The anti-spread behavior helps when you are painting close to the cuticle with a detail brush and want the color to stay where you place it.
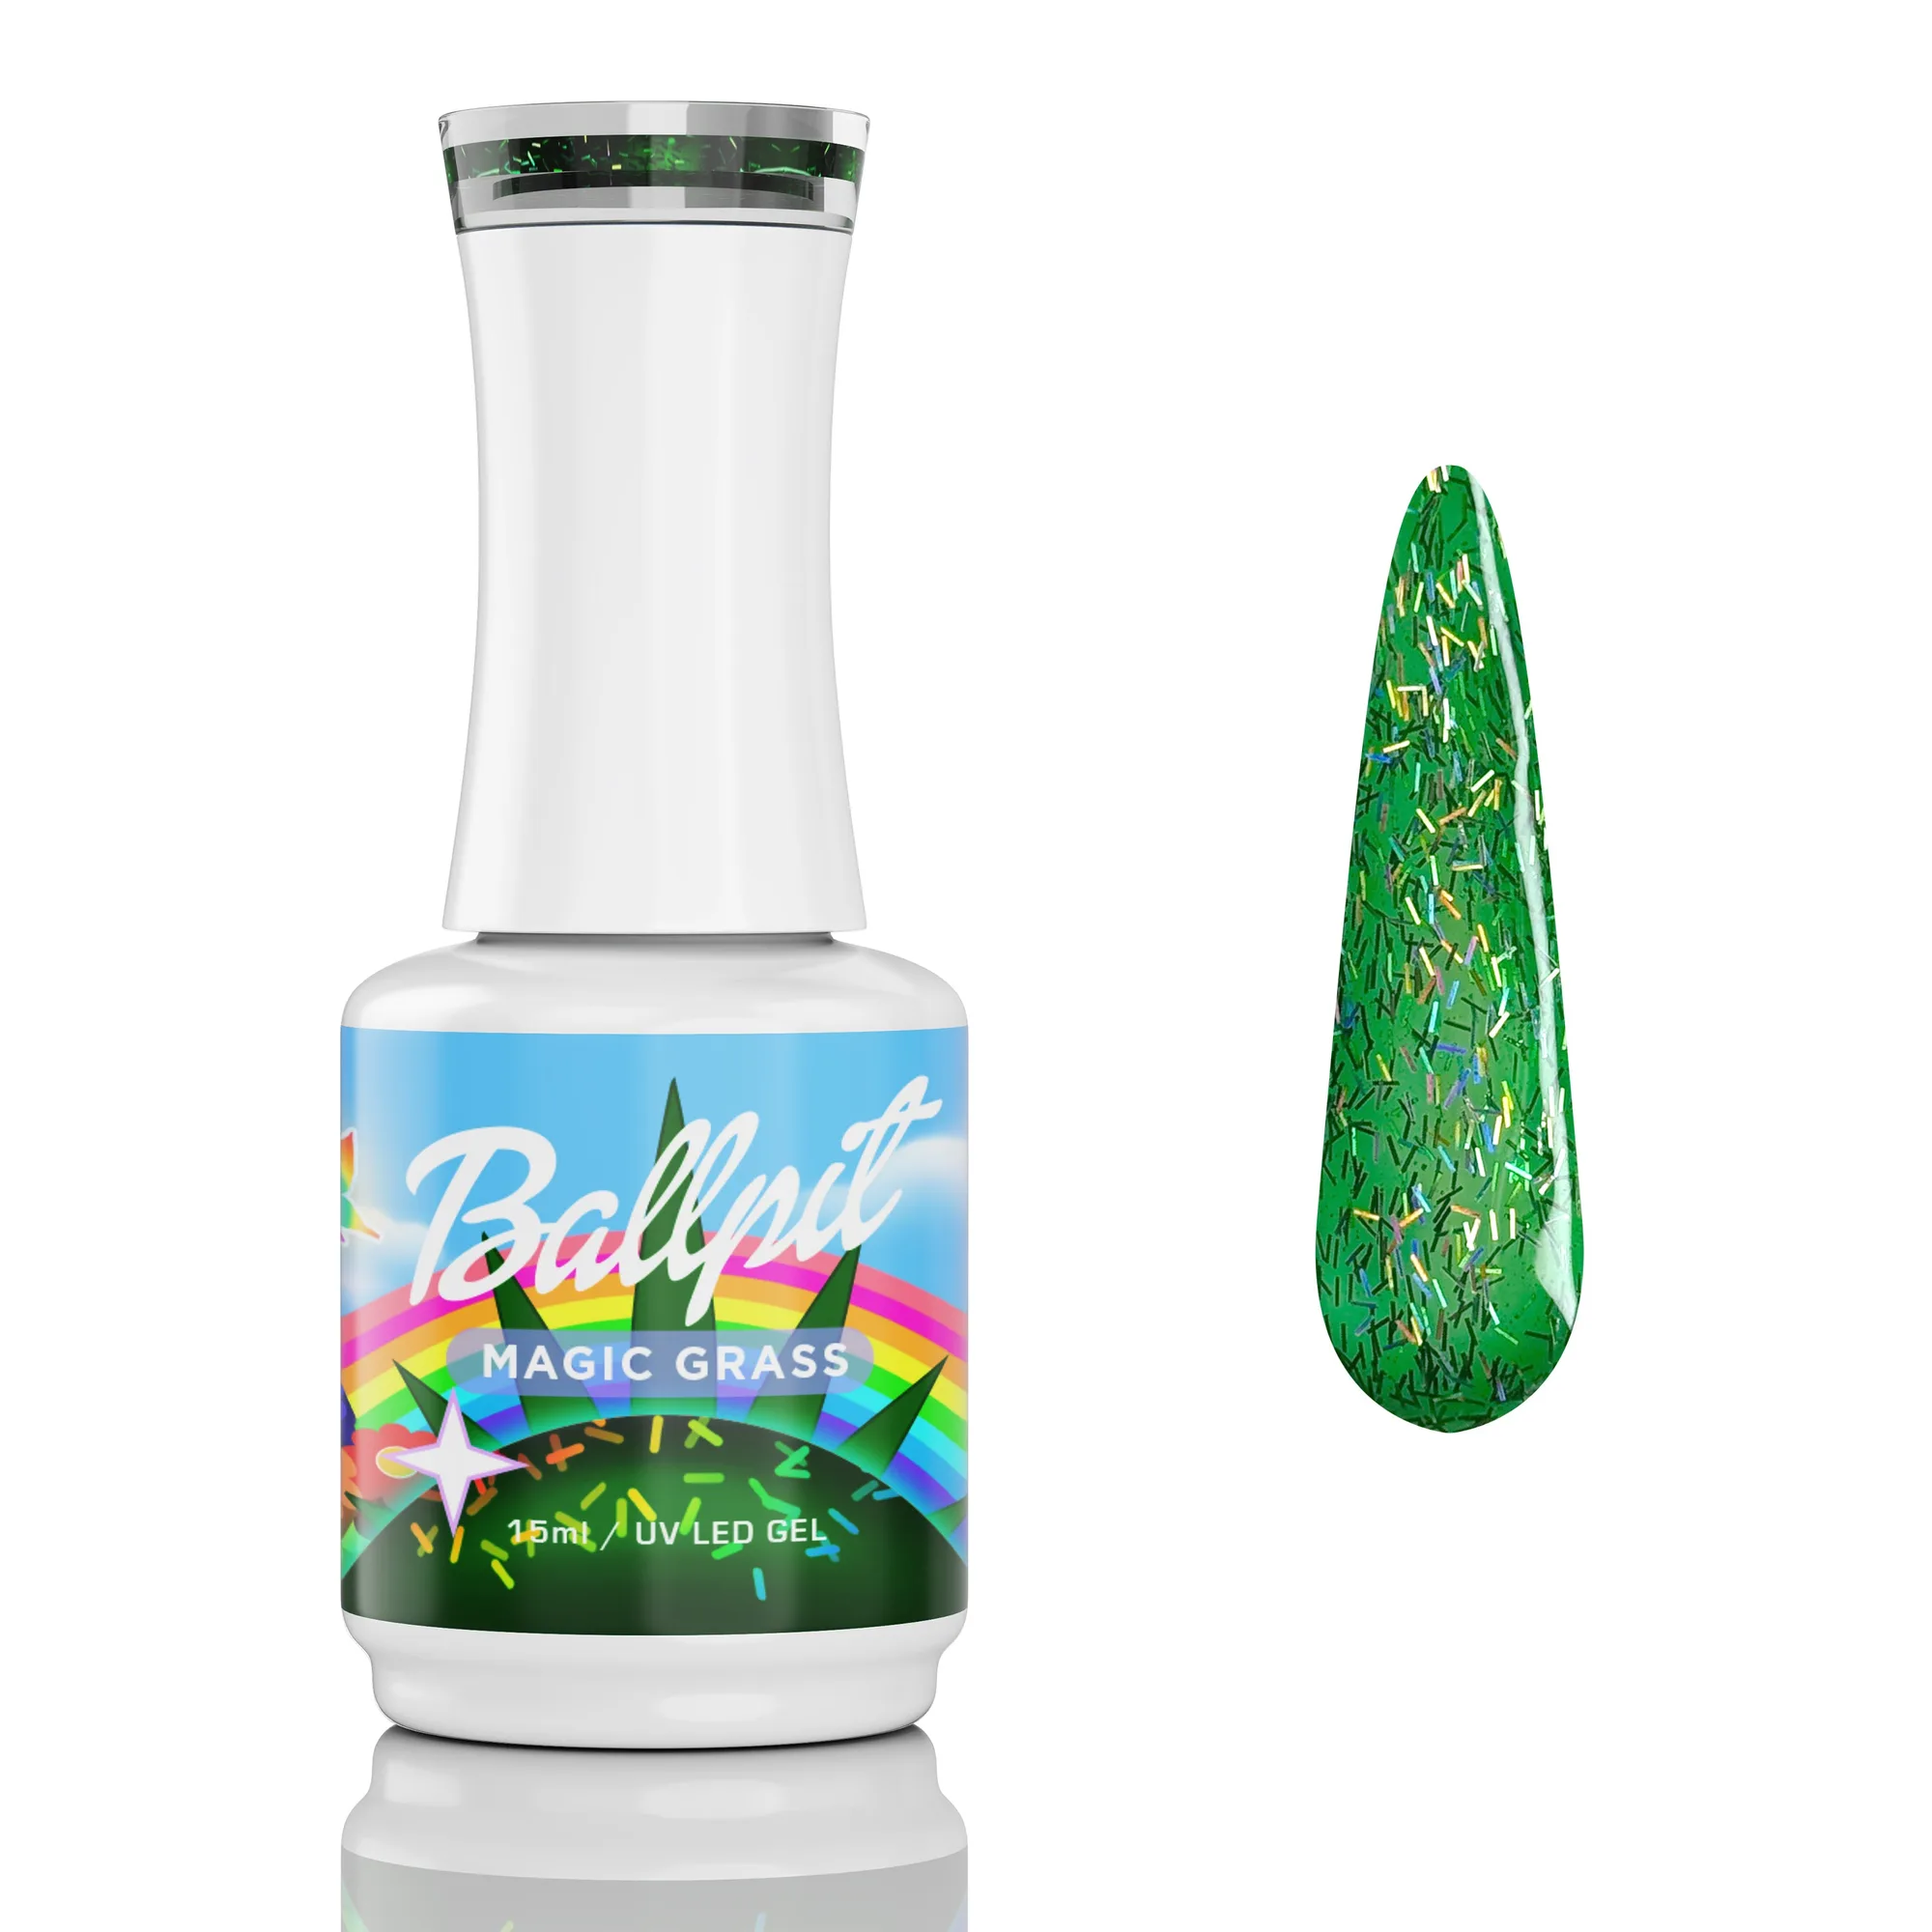
- Magic Grass - Limited Edition Gel Polish: A limited edition 15ml UV/LED soak-off gel with a self-leveling glitter formula in a dark green jelly shade with holographic blades of grass. Self-leveling glitter is easier to spread with a flat brush than chunky glitter formulas that clump and leave texture.
Start with a dotting tool, a liner brush, a flat brush, and one self-leveling gel. Add tools only when a specific technique calls for them, and let the polish formula do as much of the work as your hand does.