Quick answer
Start with three techniques: dots, straight stripes, and a French tip. Use a creamy, anti-spread gel polish so lines stay where you put them, cure each layer for 60 seconds, and finish with a glossy top coat. Practice on a press-on or a swatch stick before you paint your own nails.
Gel polish nail art for beginners does not require a nail tech's steady hand. It requires the right gel consistency, a couple of small tools, and a willingness to cure between steps. If your polish spreads or your lines wobble, the formula or your layer thickness is usually the problem, not your talent.
This guide walks through the techniques that give the most visual payoff for the least risk: dots, stripes, French tips, and a simple layered design. You can do all of them with the creamy, pigment-forward gels from Ballpit Nails, which are built to hold their shape instead of flooding the cuticle.
What you need before you start
You do not need a full nail art kit. A dotting tool or a bobby pin, a fine liner brush or a striping brush, and a small palette or a piece of foil for dispensing gel will cover most beginner designs. Work on cured gel or on press-ons so you can wipe a mistake away before it sets.
The gel itself matters more than the tools. A creamy, anti-spread formula lets you draw a dot or a line and have it stay put instead of creeping. Ballpit Nails gel polishes are pigment forward with an anti-spread, creamy body, which makes them forgiving for beginners gel polish designs. Cure time is 60 seconds under a UV or LED lamp.
- Work in thin layers; thick gel can wrinkle or cure unevenly.
- Keep a clean brush and a lint-free wipe nearby for fixing edges.
- Do one nail at a time until you are comfortable with the pace.
Technique 1: Dots that look intentional
Dots are the fastest way to make a plain manicure look designed. Load a dotting tool or the rounded end of a bobby pin with a small bead of gel, touch it straight down onto the cured base, and lift straight up. Do not drag. If the dot looks flat or uneven, you either pressed too hard or used too little gel.
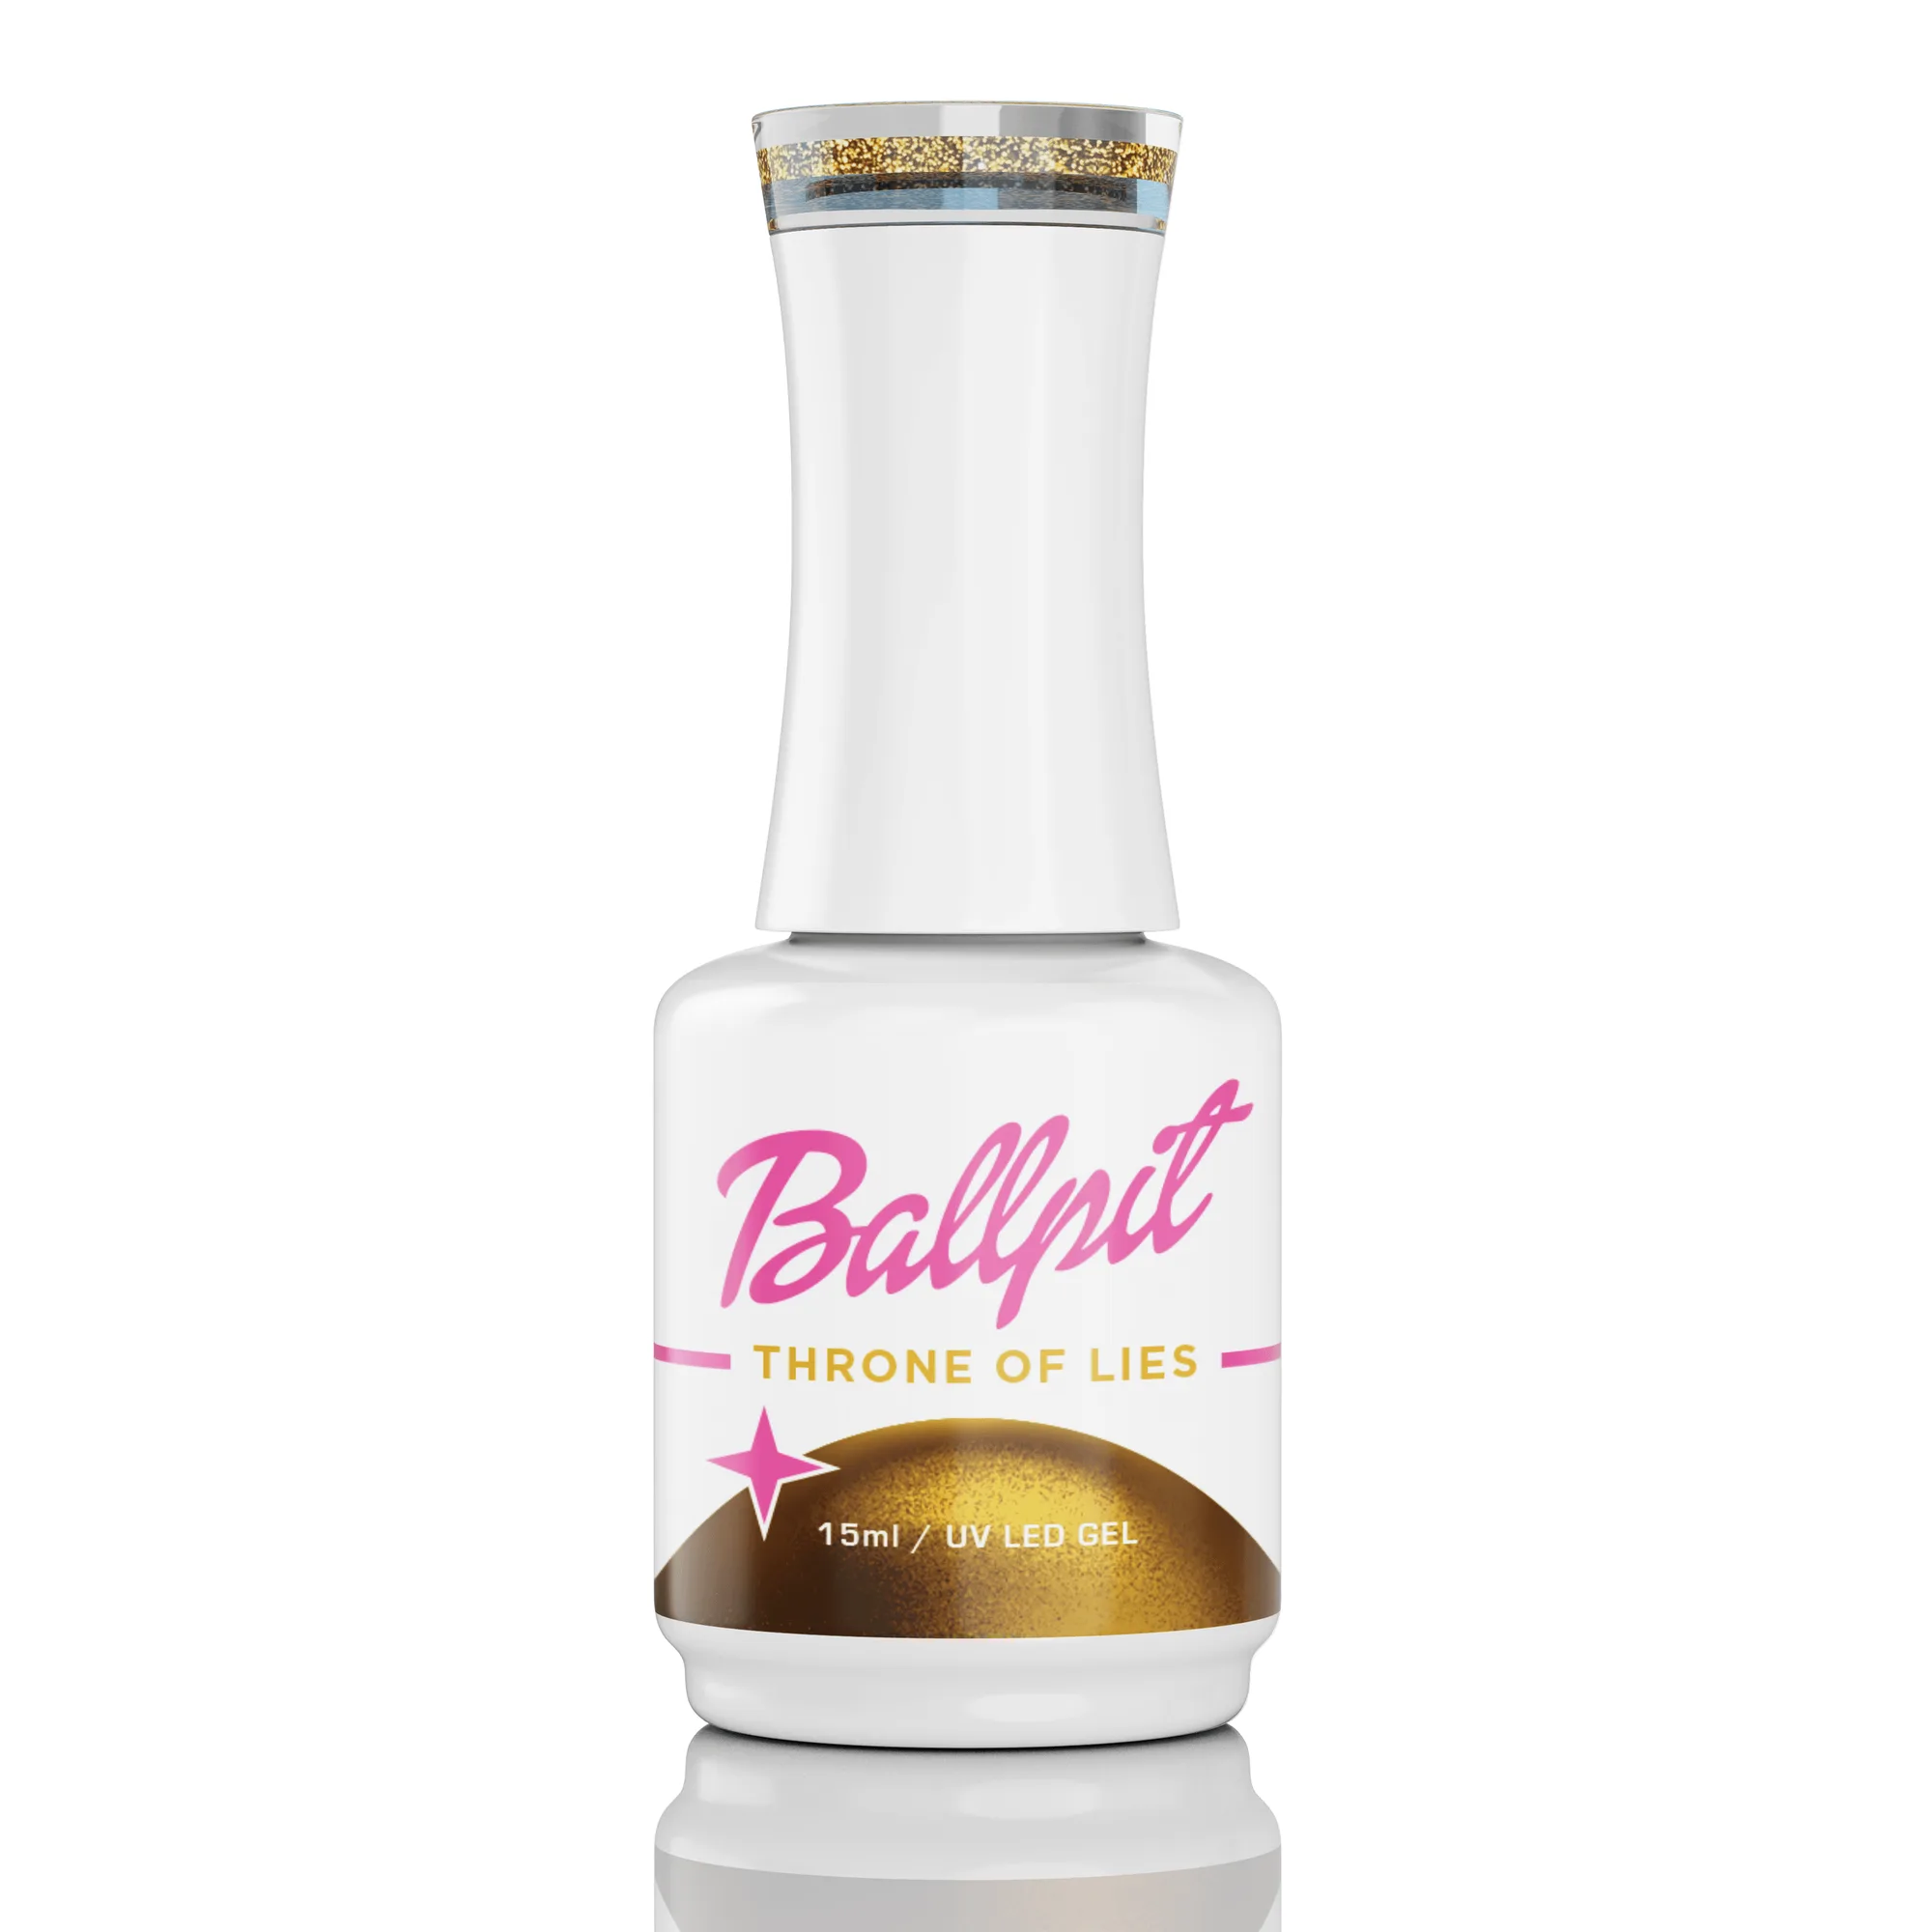
Place dots in a diagonal line, a cluster near the cuticle, or a random scatter for a modern look. A semi-sheer shade like Throne of Lies, an antique gold, reads as a subtle accent over a solid base, while a glitter like Sugar Plum Baddie adds sparkle without needing a second color. Cure for 60 seconds after the dots are placed.
- Wipe the dotting tool between dots if the gel starts to string.
- If a dot spreads, your base layer may be too wet; cure it first.
Technique 2: Straight stripes and lines
Stripes teach control. Use a fine liner or striping brush, load only the tip, and pull the line from cuticle to free edge in one slow motion. Do not go back over a line to fix it while the gel is wet; that is what causes wobble. If you miss, cure the line, then wipe it with cleanser and try again.
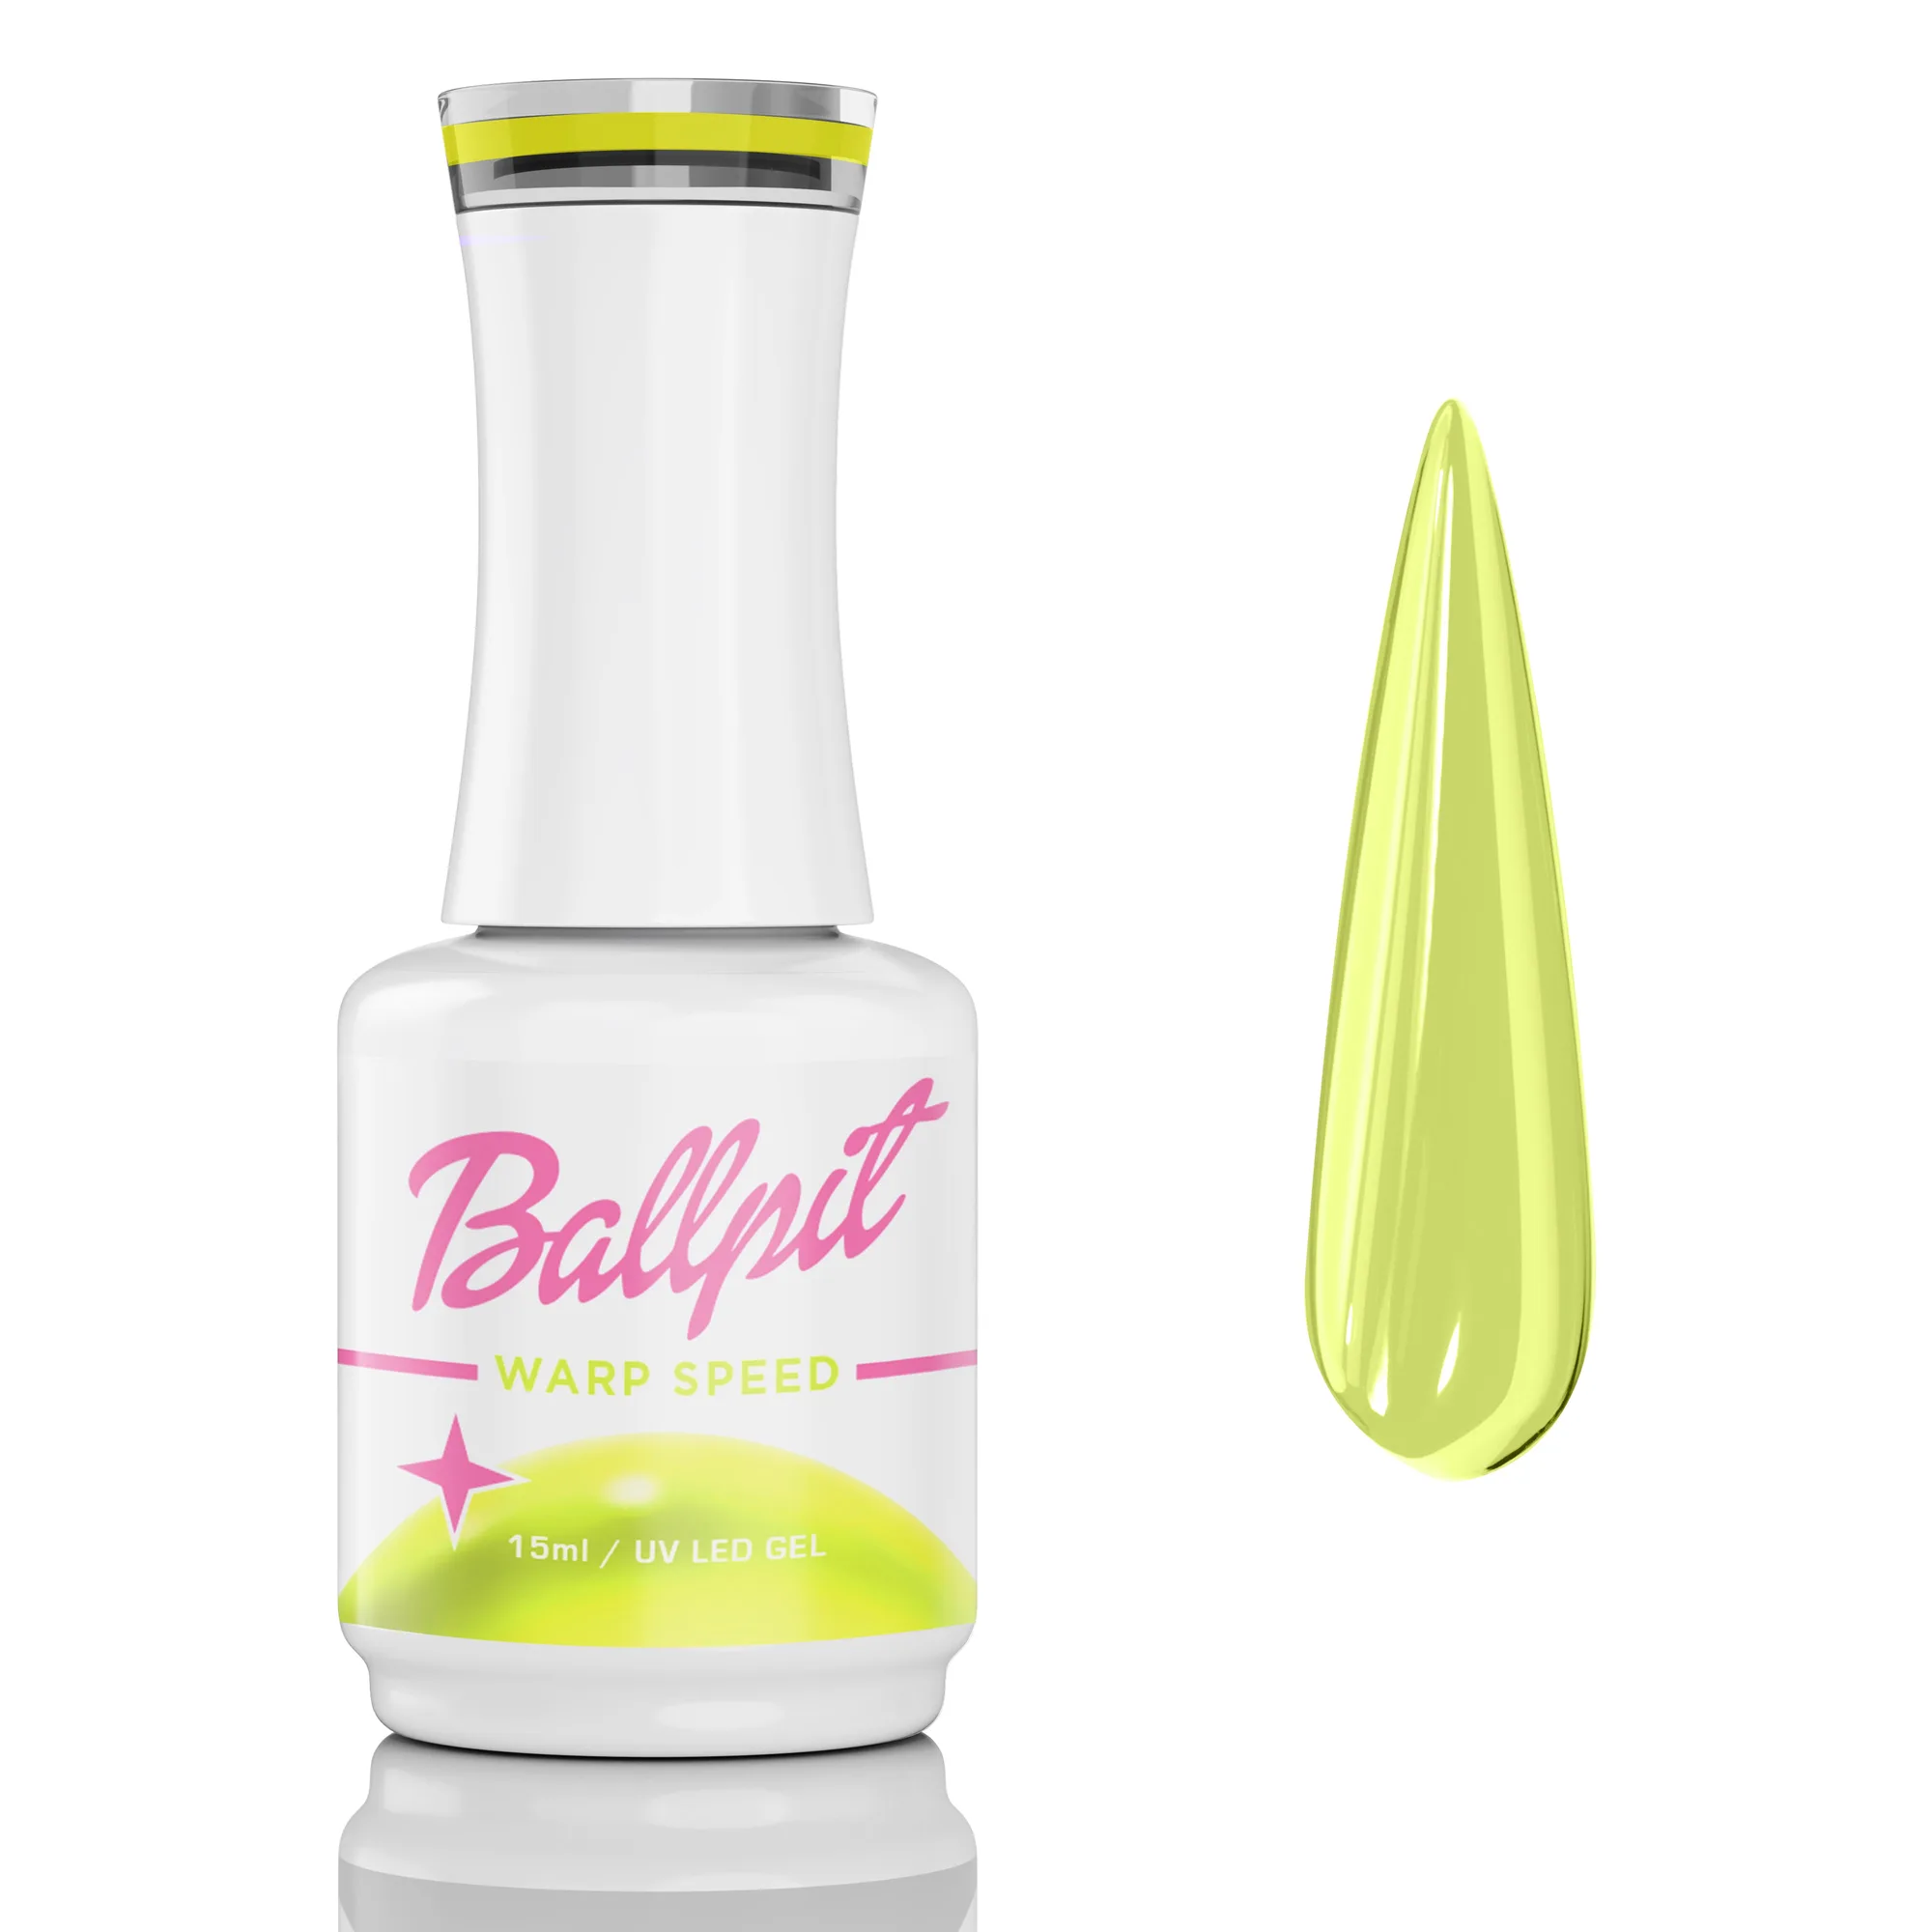
A creamy gel with extreme pigment helps here because you get opacity in one pass, so you are not layering over a line and thickening it. Warp Speed and Midnight Massacre both use Ballpit Nails' classic creamy gel formula, which is designed for anti-spread performance. Cure each stripe for 60 seconds before adding the next.
- Anchor your pinky on the table to steady your painting hand.
- Thin lines look cleaner than thick ones when you are learning.
Technique 3: A beginner-friendly French tip
A French tip is just a curved stripe at the free edge. Paint a thin white or light shade across the tip, following the natural curve of your nail. If you cannot freehand the smile line, use a French tip guide sticker or paint the tip first and clean the edge with a brush dipped in cleanser before curing.
The anti-spread body of Ballpit Nails gels keeps the tip from bleeding into the base color. If you want a softer look, use a semi-sheer shade instead of a stark white. Cure for 60 seconds, then seal with a glossy top coat so the tip does not wear away at the edge.
- Paint the tip in two thin strokes rather than one heavy one.
- Check the smile line from arm's length, not up close.
Technique 4: Simple layered design
Once dots and stripes feel easy, combine them. Paint a solid base, cure it, add a stripe down the center, cure, then place three dots along the stripe. This layered approach works because each element is cured before the next one goes on, so nothing smears.
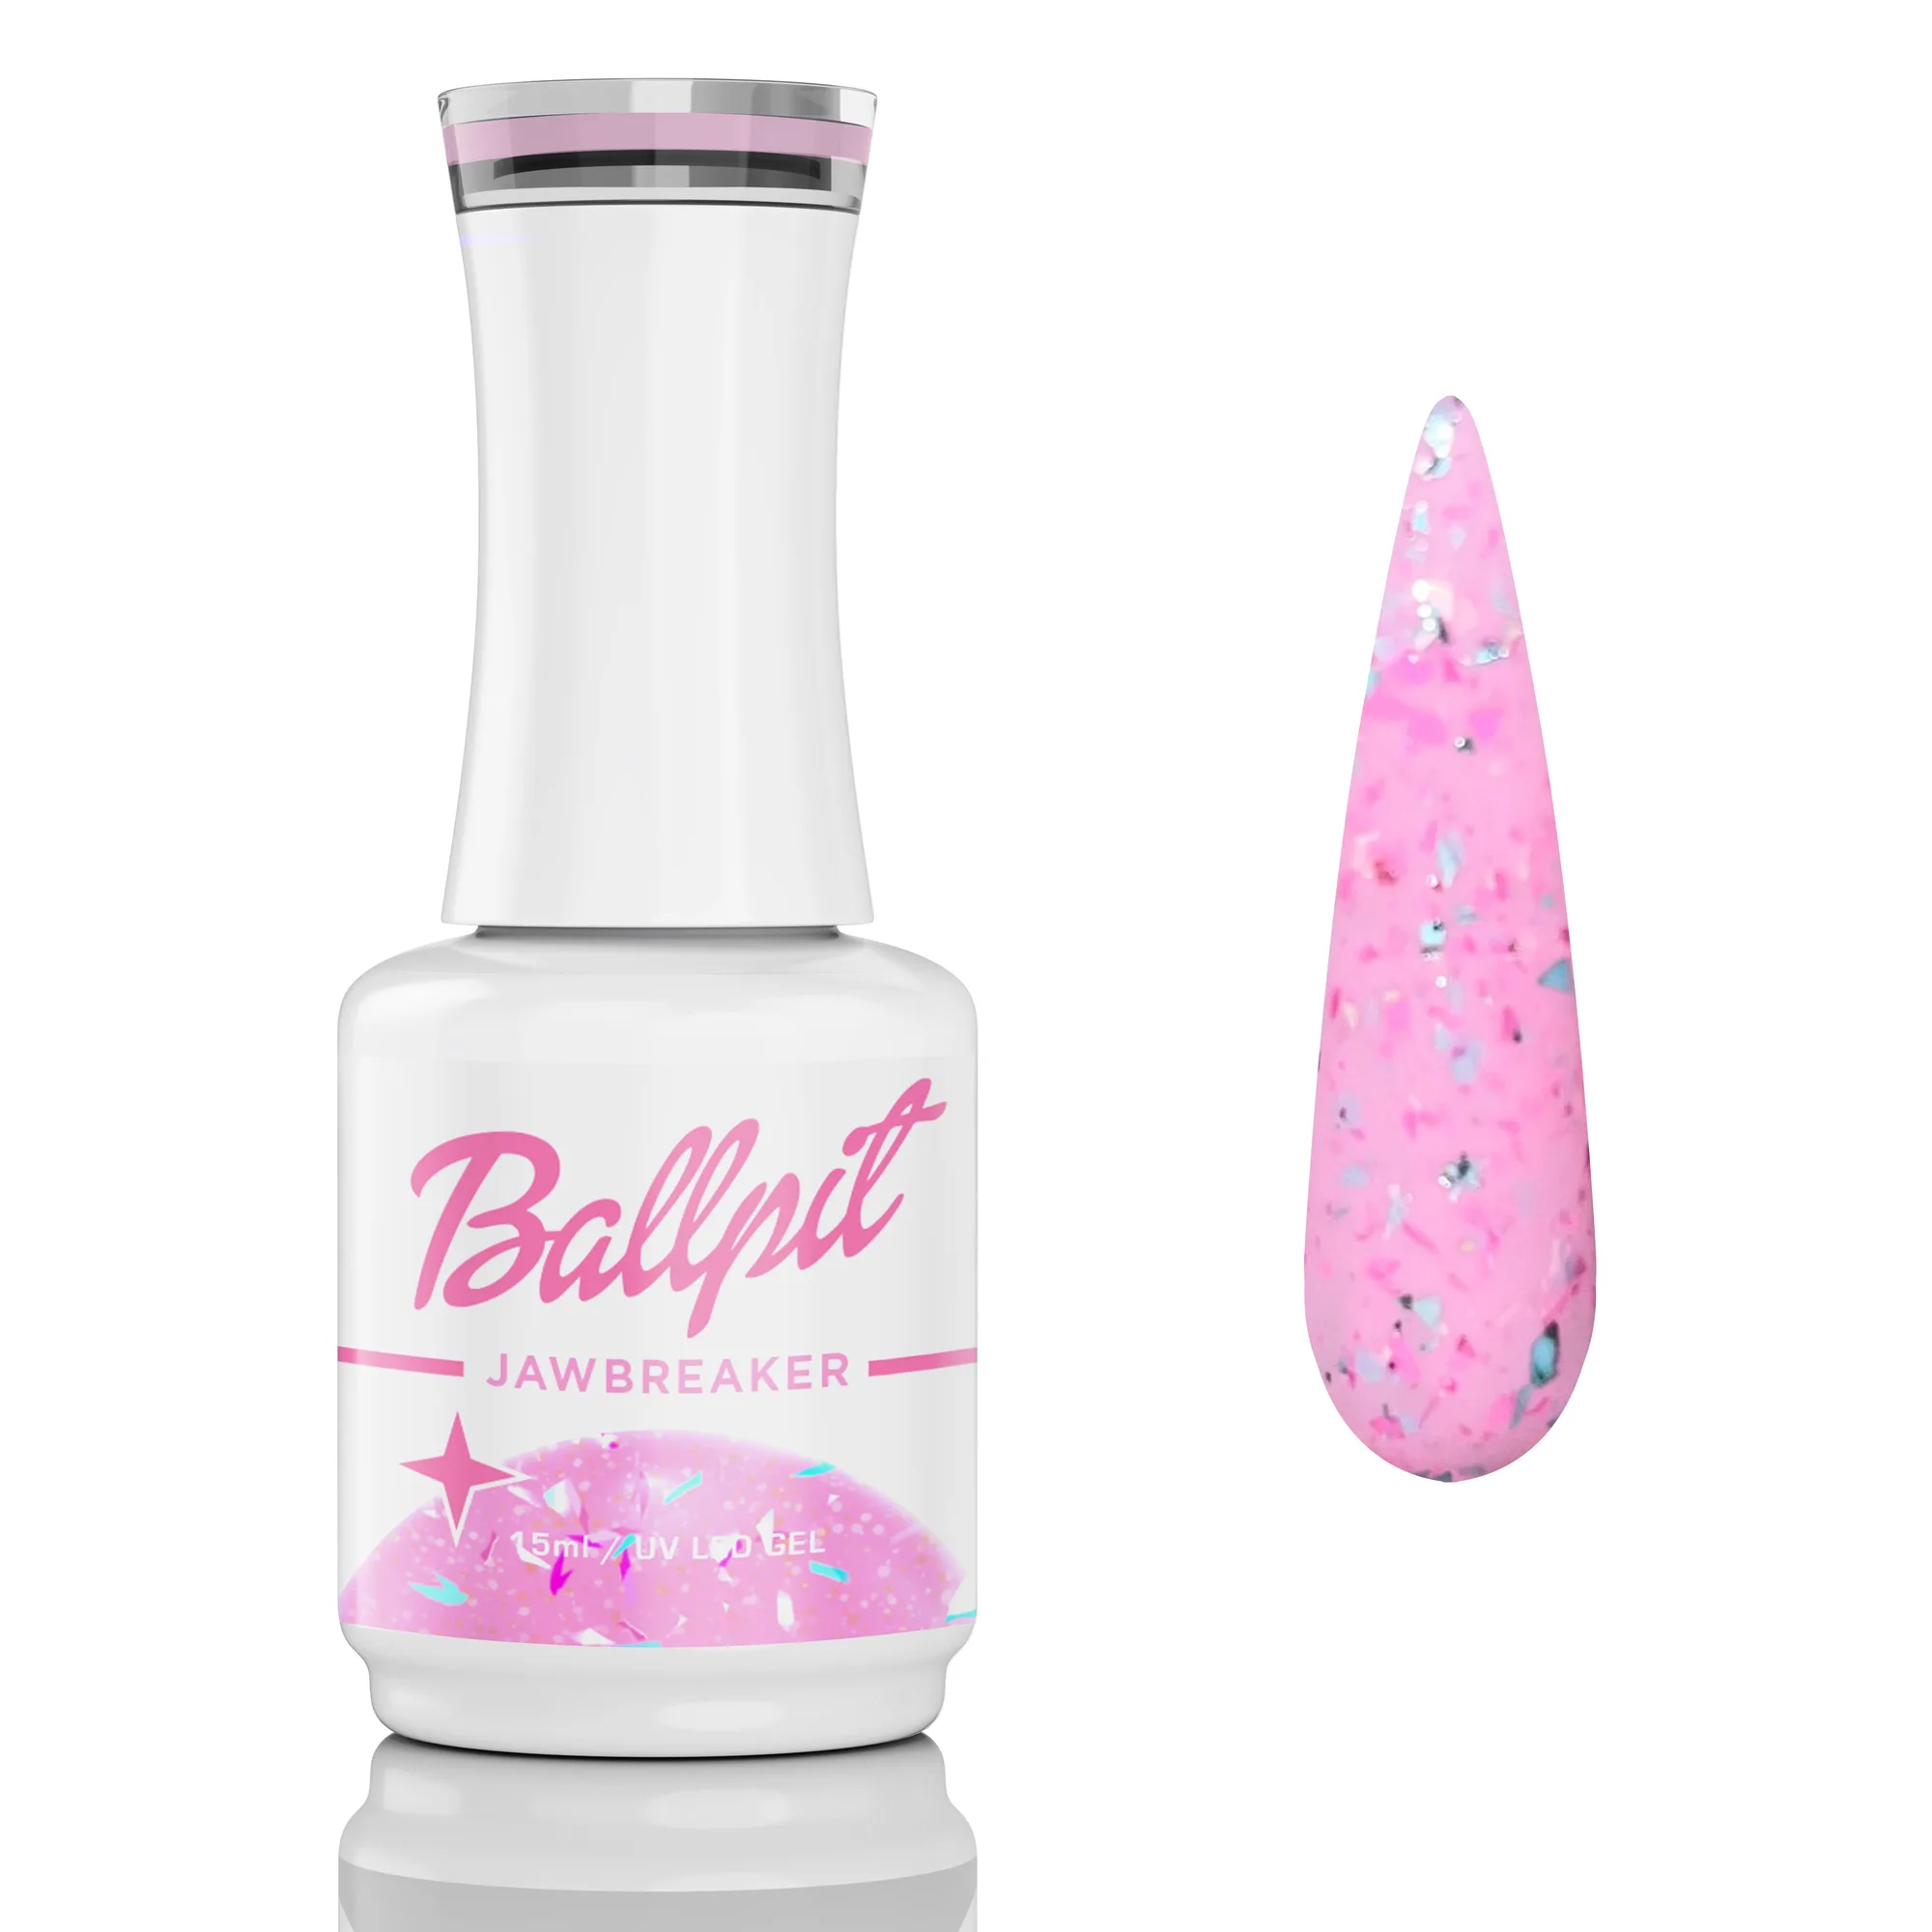
Use one bold shade and one sheer or glitter shade to keep the design from getting busy. Jawbreaker, a pink rock candy jelly with crushed ice candy flakes, is HEMA and TPO free and works well as a top layer over a solid base. Poltergeist is a UV/LED soak-off gel in a 15ml size if you want a darker base to contrast with a light accent.
- Cure between every layer, even if the layer looks dry.
- Keep the design to two or three elements per nail.
Common mistakes and how to avoid them
The biggest beginner mistake is working too slowly in bright light. Gel can start to move or cure unevenly if it sits too long, so keep your lamp close and cure as you go. The second mistake is using too much gel; a little goes a long way with pigment-forward formulas.
The third mistake is skipping the top coat. Art layers can wear at the edges, and a glossy top coat locks everything in and gives that salon-shine finish. If your design looks dull after curing, you likely missed a top coat or did not cure it fully.
- Cure your base color before starting any art.
- If a design fails, wipe it off before curing and start that nail again.
Your first gel nail art session, step by step
- Prep and base: Shape and buff the nail, apply a base coat, and cure for 60 seconds. If you are using press-ons, skip to painting on the press-on. Checkpoint: the base should be dry to the touch before any art goes on.
- Paint the background: Apply one or two thin coats of your main gel color and cure each for 60 seconds. Keep the layers thin to avoid wrinkles. Checkpoint: the color should be even and opaque before you add art.
- Add your first art element: Start with dots or a single stripe. Load a small amount of gel, place it, and do not drag. Cure for 60 seconds. Checkpoint: if the element spread, your base was too wet or you used too much gel.
- Layer a second element: Add a contrasting stripe, a second dot color, or a French tip. Cure again for 60 seconds. Checkpoint: keep it to two or three elements so the design stays clean.
- Seal with top coat: Apply a glossy top coat over the entire nail, cap the free edge, and cure for 60 seconds. Checkpoint: the nail should look shiny and smooth, with no dull patches.
- Clean up and assess: Wipe any gel from the skin with cleanser before it cures, then check the design from arm's length. Next step: practice the same design on a swatch stick before your next full set.
Gels that make beginner nail art easier
- Warp Speed - Gel Polish: 15ml UV/LED soak-off gel with a classic creamy gel formula, extreme pigment, and anti-spread behavior. The creamy body and anti-spread formula help stripes and dots stay where you place them, which is exactly what beginners need.
- Throne of Lies - Gel Polish: 15ml UV/LED soak-off gel in a semi-sheer antique gold shade using the Lightbulb gel formula. A semi-sheer metallic works as a subtle accent for dots or a French tip without overpowering the base color.
- Jawbreaker - Gel Polish: Pink rock candy jelly with crushed ice candy flakes, HEMA and TPO free, 15ml, 60-second cure. The jelly finish and flakes add texture and sparkle in one layer, so you can skip extra art steps.
Beginner gel nail art comes down to a few repeatable moves and a gel that holds its shape. Start with dots, stripes, and French tips on a press-on or swatch stick, cure every layer for 60 seconds, and seal with a top coat. The more you practice, the more your hands will trust the process.