Quick Answer
To use a needlepoint stitch guide effectively, first read the entire guide to understand its structure. Then, before threading your needle, practice each new stitch on a scrap of canvas. Finally, work your project section by section, referring back to the guide for stitch placement and sequence.
A needlepoint stitch guide is your roadmap to a finished project. It tells you which stitches to use, where to place them, and in what order to work them. But if you've never used one before, a page full of diagrams and symbols can feel overwhelming.
This guide walks you through a simple, repeatable process for using any stitch guide or needlepoint book. You'll learn how to read the instructions, practice new stitches, and apply them to your canvas with confidence.
Why a Stitch Guide Matters
A stitch guide transforms a painted canvas into a textured, dimensional piece of art. It suggests specific stitches that complement the design, from simple basketweave to decorative stitches that add shine and depth. Without a guide, you might default to the same tent stitch for everything, missing the opportunity to create visual interest.
Many needlepoint kits include a stitch guide with decorative stitch suggestions. For example, the Seashore Crab Needlepoint Kit comes with a vibrant stitch guide, giving you a clear starting point even if you're new to decorative stitches. A good guide also helps you learn new techniques as you work, building your skills with each project.
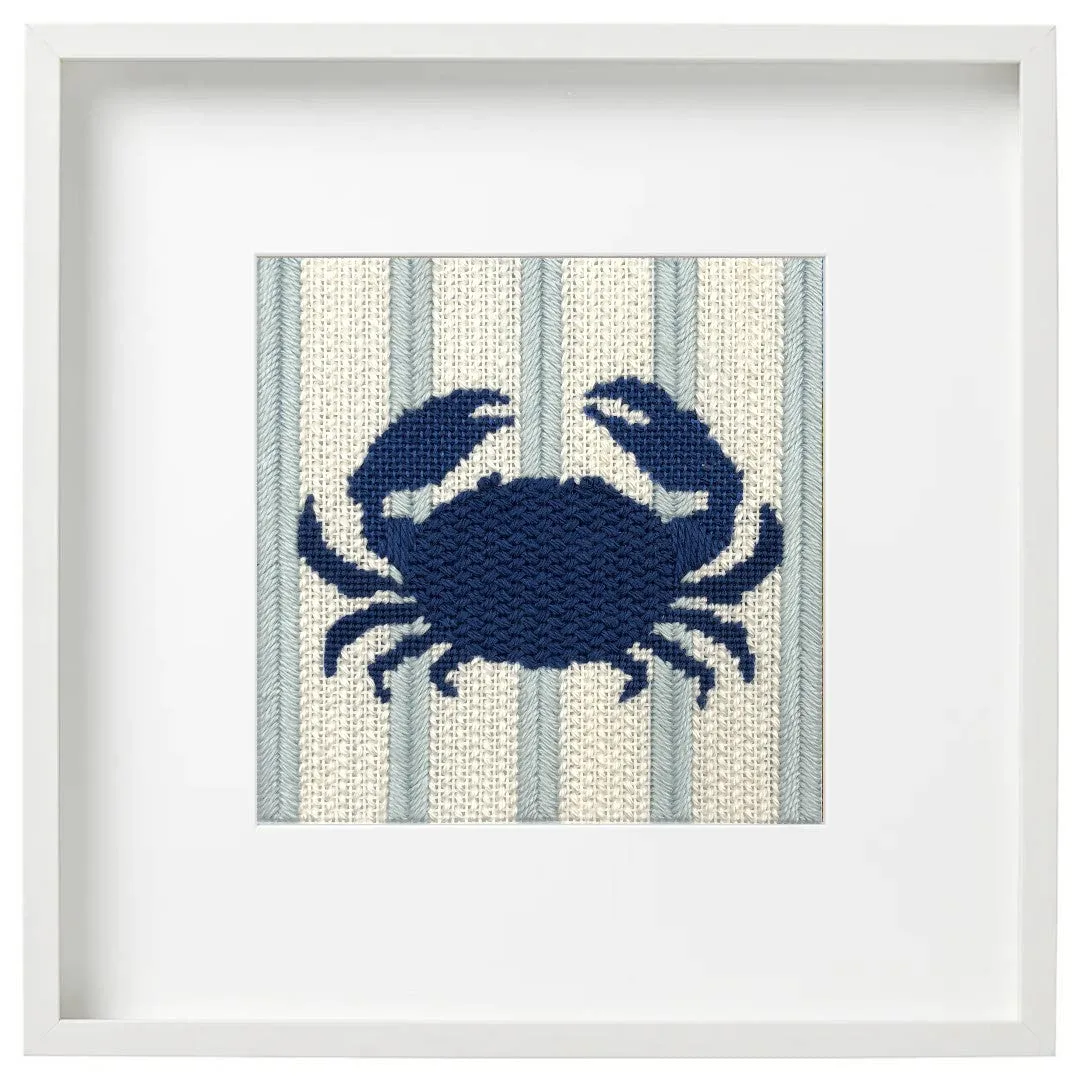
Seashore Crab Needlepoint Kit
- A stitch guide saves you from guesswork and helps you achieve the designer's intended look.
- It can introduce you to new stitches you might not try on your own.
Understand the Guide's Structure
Before you pick up your needle, spend a few minutes flipping through the guide. Most guides start with a key or legend that explains the symbols and abbreviations used in the diagrams. You'll also find a list of required threads and their corresponding colors or numbers.
Next, look for a stitch diagram for each area of the canvas. These diagrams show you where to place each stitch, often with numbered steps. Some guides include a large overview image with numbered sections, while others provide individual diagrams for each stitch type. Understanding this layout will save you time later.
- Check if the guide uses charts, written instructions, or both.
- Note any special stitches that require additional supplies, like a laying tool.
Practice New Stitches First
Jumping straight into a complex stitch on your project can lead to frustration and uneven tension. Instead, practice each unfamiliar stitch on a small scrap of canvas. Use the same thread and needle you'll use on the project to get a true feel for how the stitch behaves.
This practice step is especially important for decorative stitches that combine different heights or angles. The Sledding Hare Needlepoint Ornament Kit includes a hand-picked selection of Pepperpot Silk, Essentials silk/wool blend, and sparkling white metallic threads. Practicing with these specific threads on a scrap will help you understand how they lay on the canvas before you commit to your ornament.
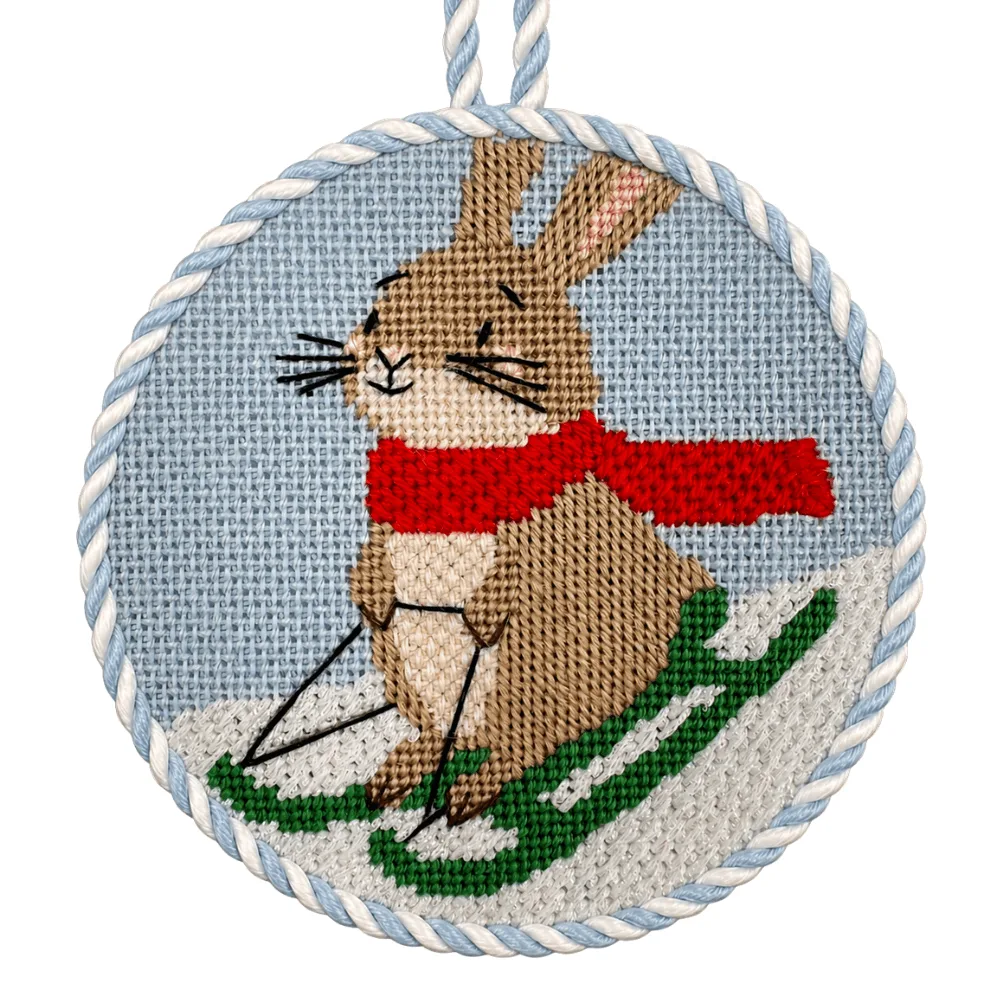
Sledding Hare Needlepoint Ornament Kit
- Keep your practice stitches loose; you can tighten them later if needed.
- If a stitch seems too difficult, look for an alternative in a needlepoint stitch dictionary.
Follow the Stitch Sequence
Most guides recommend working stitches in a specific order, often from background to foreground or from large areas to small details. Following this sequence prevents you from crushing stitches you've already worked and ensures that overlapping elements layer correctly.
As you stitch, refer to the guide frequently. It's easy to lose your place, especially with repeating patterns. Use a magnetic board or a sticky note to mark your spot on the diagram. If the guide includes a stitch guide tutorial, read it fully before starting; it often contains tips for managing thread and maintaining consistent tension.
- Work in good lighting to see the canvas and diagram clearly.
- Take breaks to rest your eyes and hands, especially during intricate sections.
Adapt the Guide to Your Style
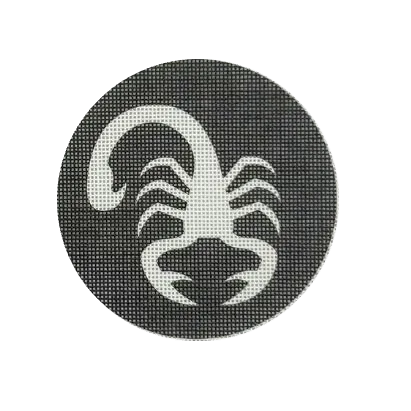
A stitch guide is a suggestion, not a rule. Once you understand the basic stitches, feel free to substitute threads or change stitch colors to match your personal taste. For instance, the Scorpio Needlepoint Canvas + Optional Thread Pack pairs a 4" Zodiac Scorpio design on 18-count Zweigart canvas with an optional Pepperpot Silk thread pack in black and white. You could swap in metallics or add a different accent color to make it uniquely yours.
If you're working from a needlepoint book for beginners, you'll find that many books encourage experimentation. The more you practice, the more confident you'll become in deviating from the guide to create something truly original.
- Keep a notebook of stitch combinations you like for future reference.
- Take a photo of your work in progress to track your progress and spot mistakes.
Your Step-by-Step Stitch Guide Routine
- Read the guide from cover to cover: Familiarize yourself with the symbols, thread list, and overall layout before you start stitching. Checkpoint: You should be able to explain the guide's structure to someone else.
- Gather your supplies and practice stitches: Set up your canvas, threads, and needles. Practice each new stitch on a scrap of canvas until you're comfortable. Checkpoint: Your practice stitches look consistent and you can work them without constantly checking the diagram.
- Work the project in sections: Follow the recommended stitch order, completing one area at a time. Refer to the guide frequently and mark your place. Checkpoint: You finish each section before moving on, and your stitches lie smoothly without distortion.
- Review and adjust as needed: Step back periodically to check your work against the guide. Make adjustments to tension or stitch placement if something looks off. Checkpoint: Your finished piece matches the guide's intent while reflecting your personal touch.
Stitch Guides in Our Kits
- Seashore Crab Needlepoint Kit: Includes a vibrant stitch guide with decorative stitch suggestions. You get clear guidance on which stitches to use, making it easier to learn new techniques while stitching a fun design.
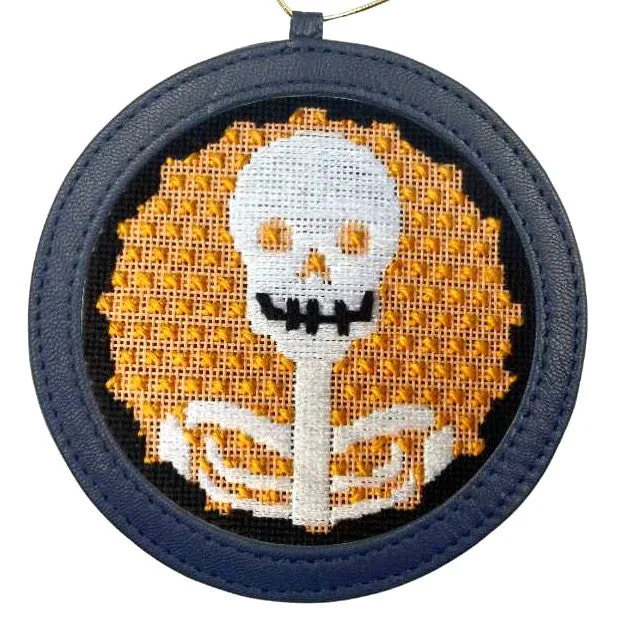
- Skeleton Portrait Halloween Needlepoint Kit: Comes with a step-by-step guide and a hand-picked selection of single-ply Pepperpot Silks and sparkly threads. The guide and threads work together, so you can focus on learning the stitches without worrying about thread choices.
Using a needlepoint stitch guide effectively is a skill that improves with practice. Start with a kit that includes a guide, like the Seashore Crab Needlepoint Kit, and follow the steps above. Soon you'll be interpreting any stitch guide or needlepoint book with ease, and your stitching will show it.