Why a Camera Insert Changes How You Pack
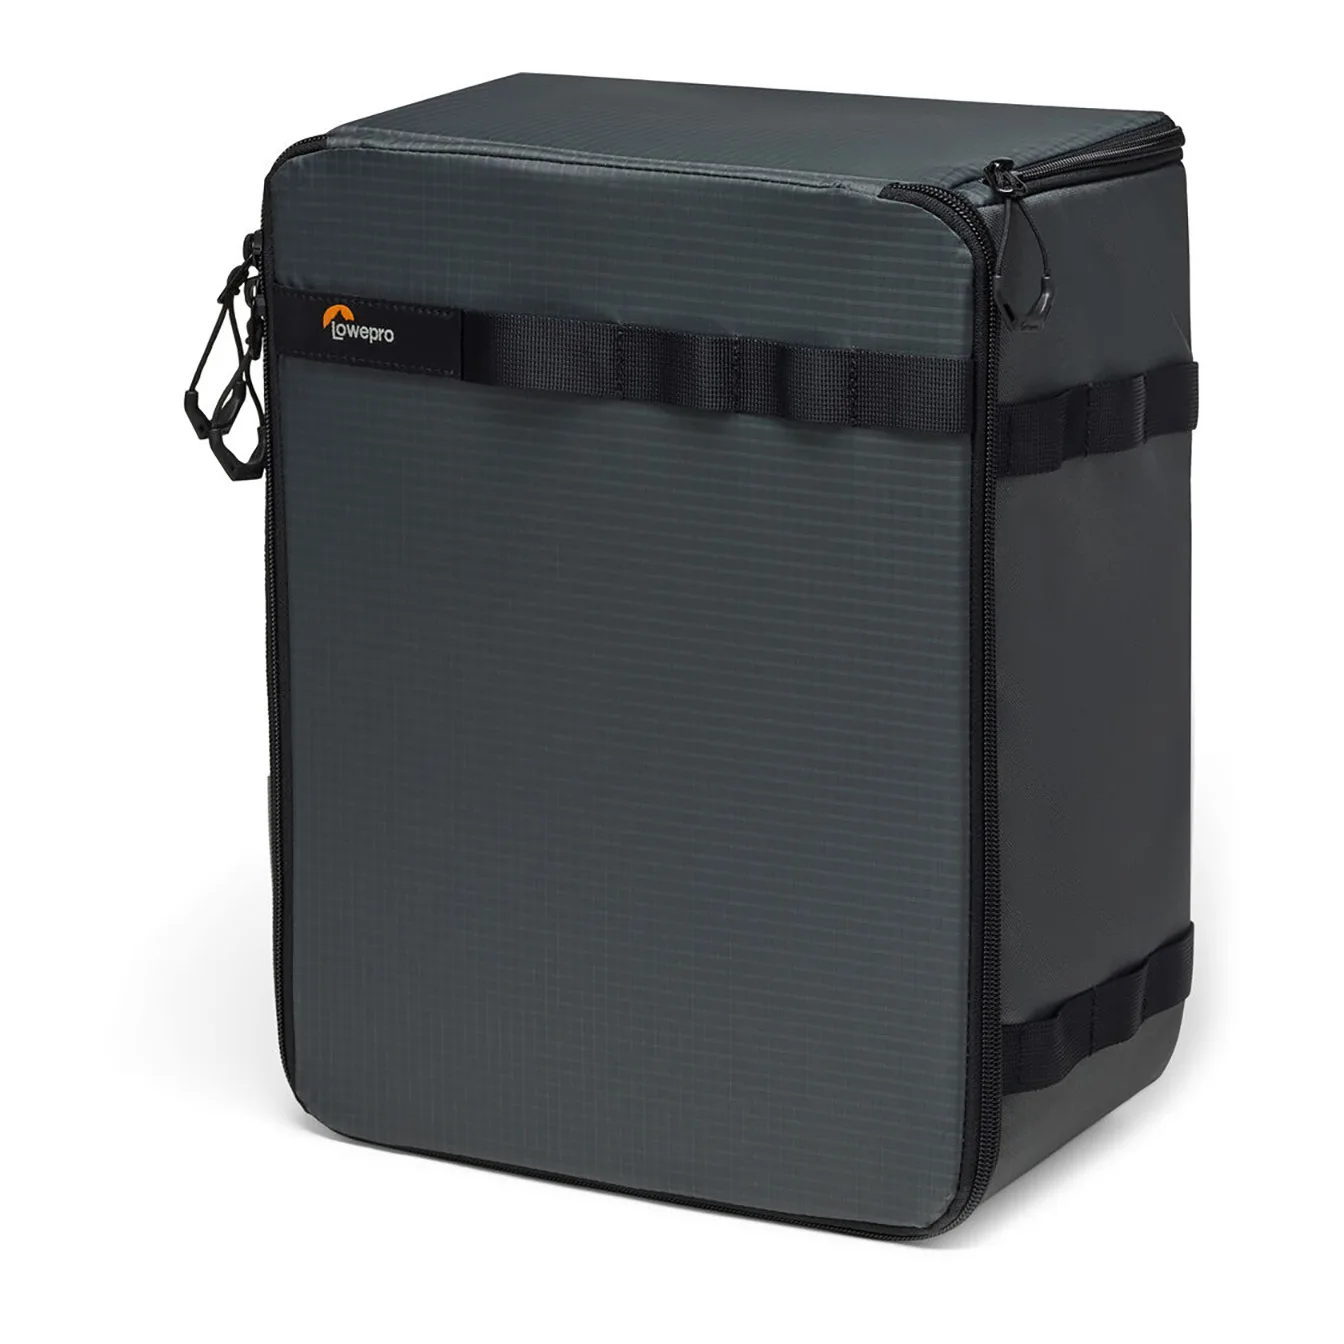
A dedicated camera insert turns any bag into a protective gear carrier. The Norite Camera Insert is designed for larger setups, fitting two camera bodies and three to five lenses plus accessories. Its padded dividers let you arrange compartments exactly as your kit demands.
This guide covers how to organize your gear using the Norite Insert, whether you drop it into a backpack or carry it on its own.
What the Norite Camera Insert Offers
-
Norite Camera Insert: Fits 2 camera bodies, 3–5 lenses, and accessories This capacity suits photographers who need a mid-sized kit for shoots or travel, without switching to a larger bag.
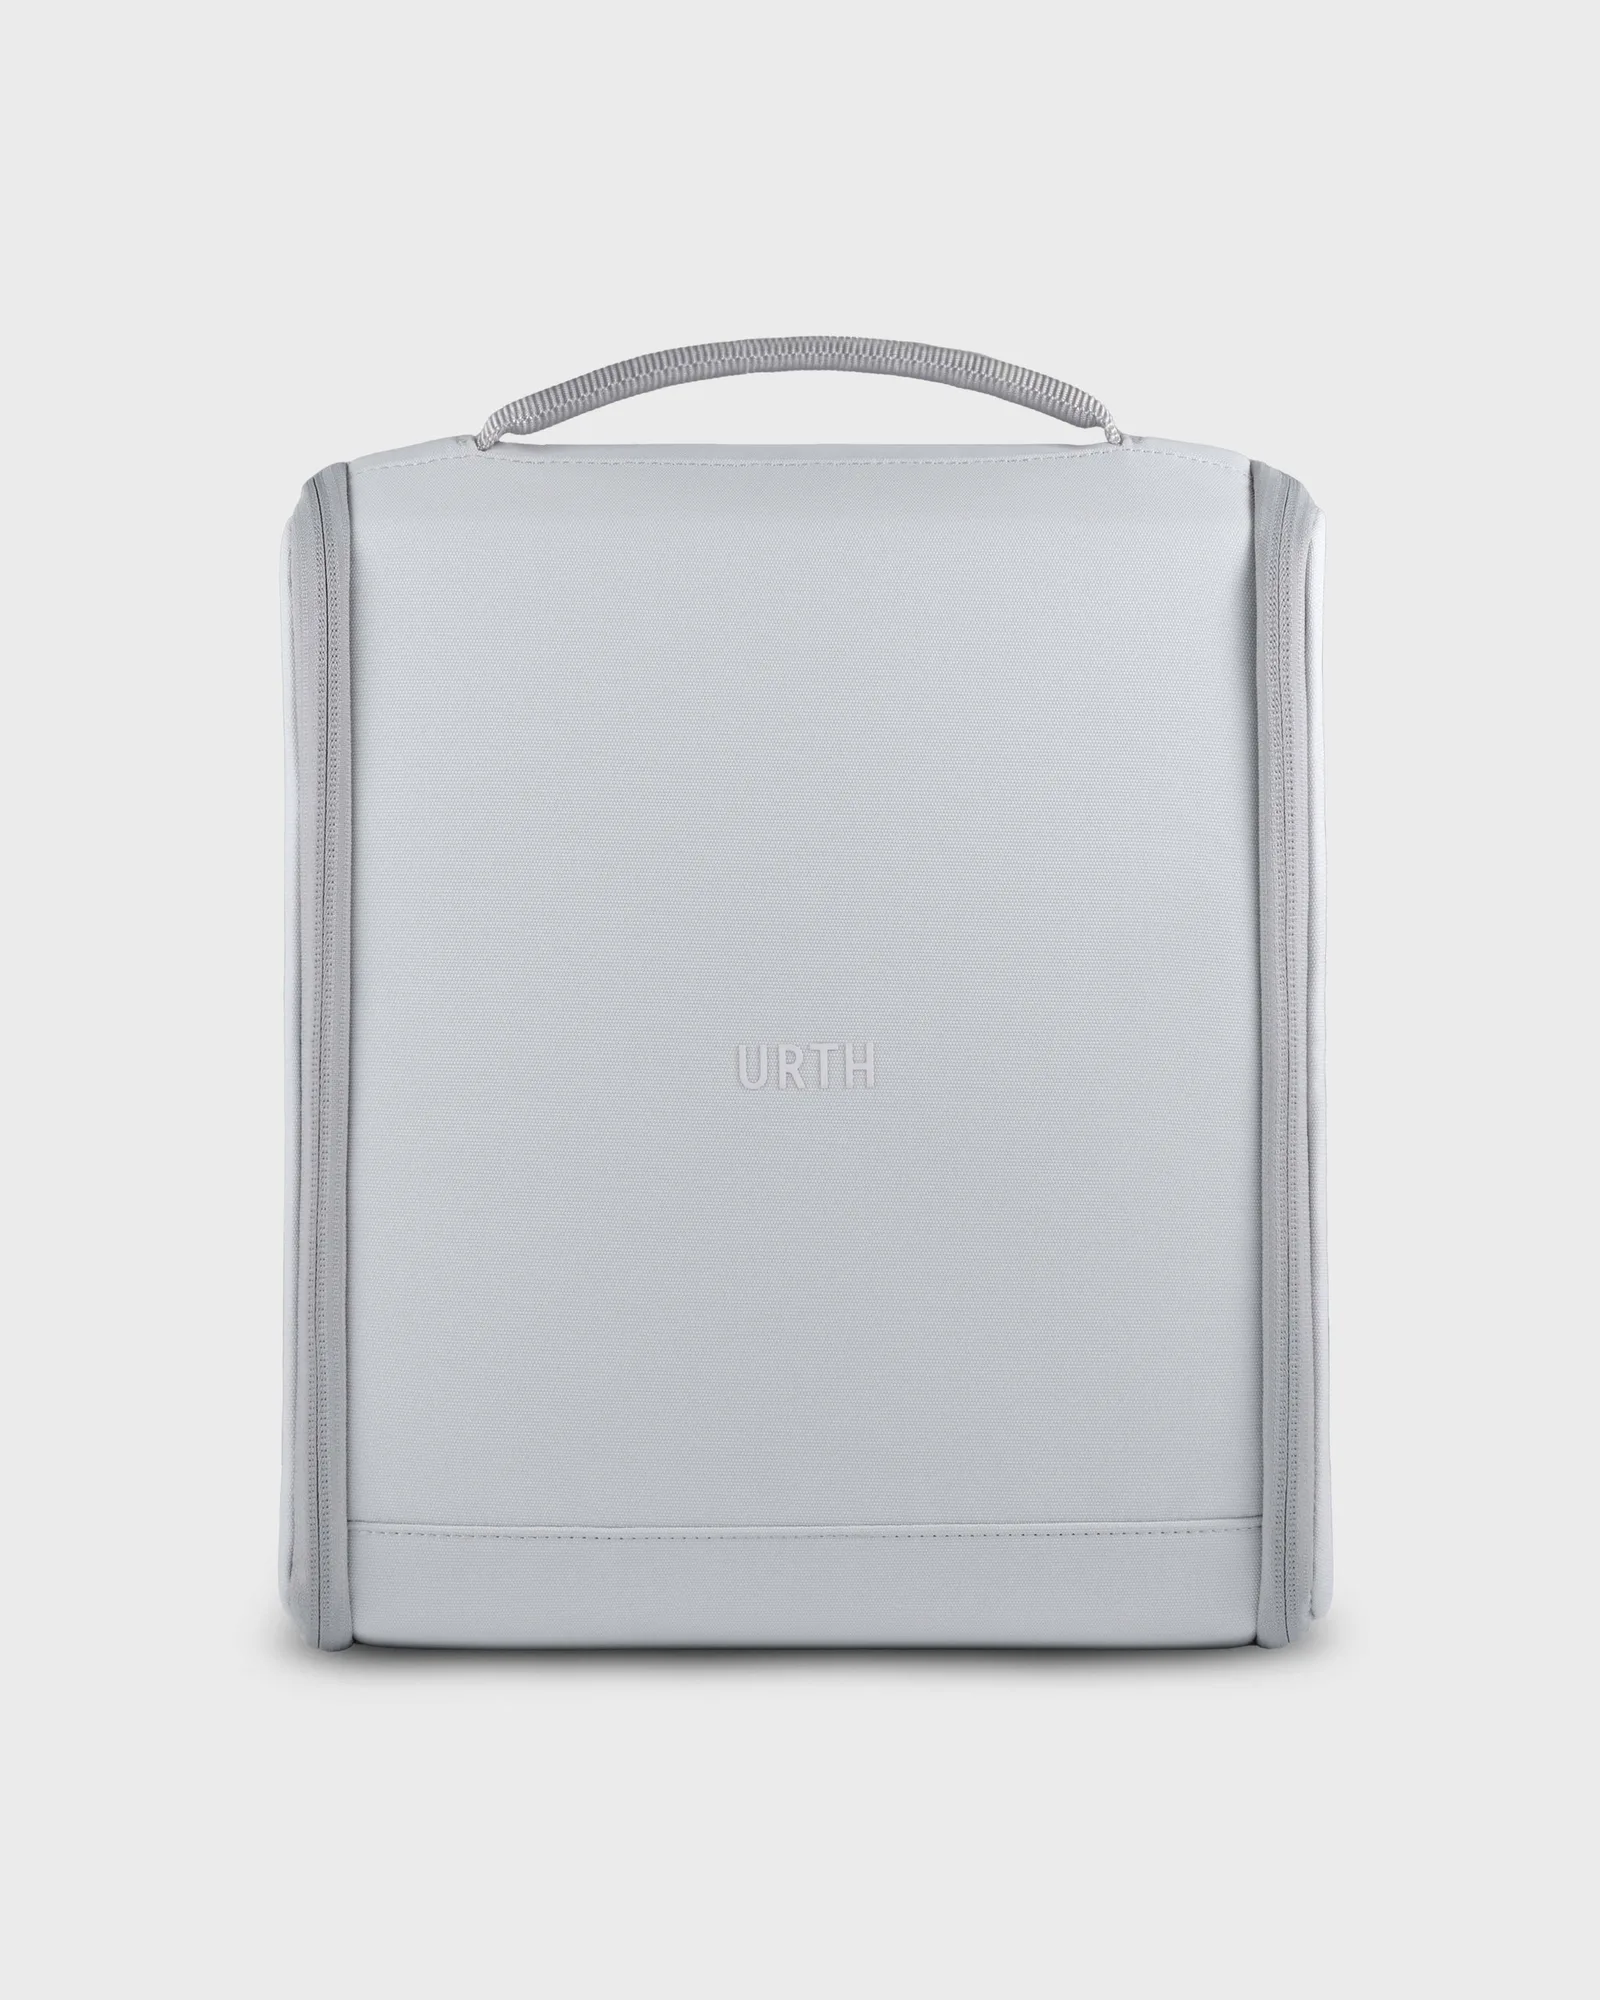
Norite Camera Insert
-
Norite Camera Insert: Transforms the Norite Backpack into a camera bag If you already own or plan to buy the Norite Backpack, the insert converts it into a dedicated camera bag while still leaving room for personal items.
-
Norite Camera Insert: Adjustable dividers for flexible organisation You can reconfigure the interior to match different lens sizes and body shapes, rather than being stuck with fixed compartments.
-
Norite Camera Insert: Weatherproof 600D recycled nylon shell The durable outer material adds a layer of protection against light rain and dust, keeping your gear safer in changing conditions.
Steps to Organize Your Gear in the Norite Insert
Start by laying out your equipment: bodies, lenses, flash, batteries, memory cards, and any other accessories. The adjustable dividers let you create custom compartments for each item.
- 1. Position the main compartments: Place a camera body in the center or one side, then arrange dividers to hold it snugly. Leave enough space for a second body if you carry two.
- 2. Arrange lenses by size: Group lenses so the tallest sits at the bottom or side. Use dividers to separate them and prevent glass from knocking together.
- 3. Reserve a section for accessories: Smaller dividers or leftover space can hold batteries, memory cards, and a cleaning cloth. The insert's padding protects these items too.
- 4. Test the fit before closing: With everything in place, gently close the insert. If any item shifts too much, adjust the dividers until the gear stays put.
Using the Insert Alone or Inside a Backpack
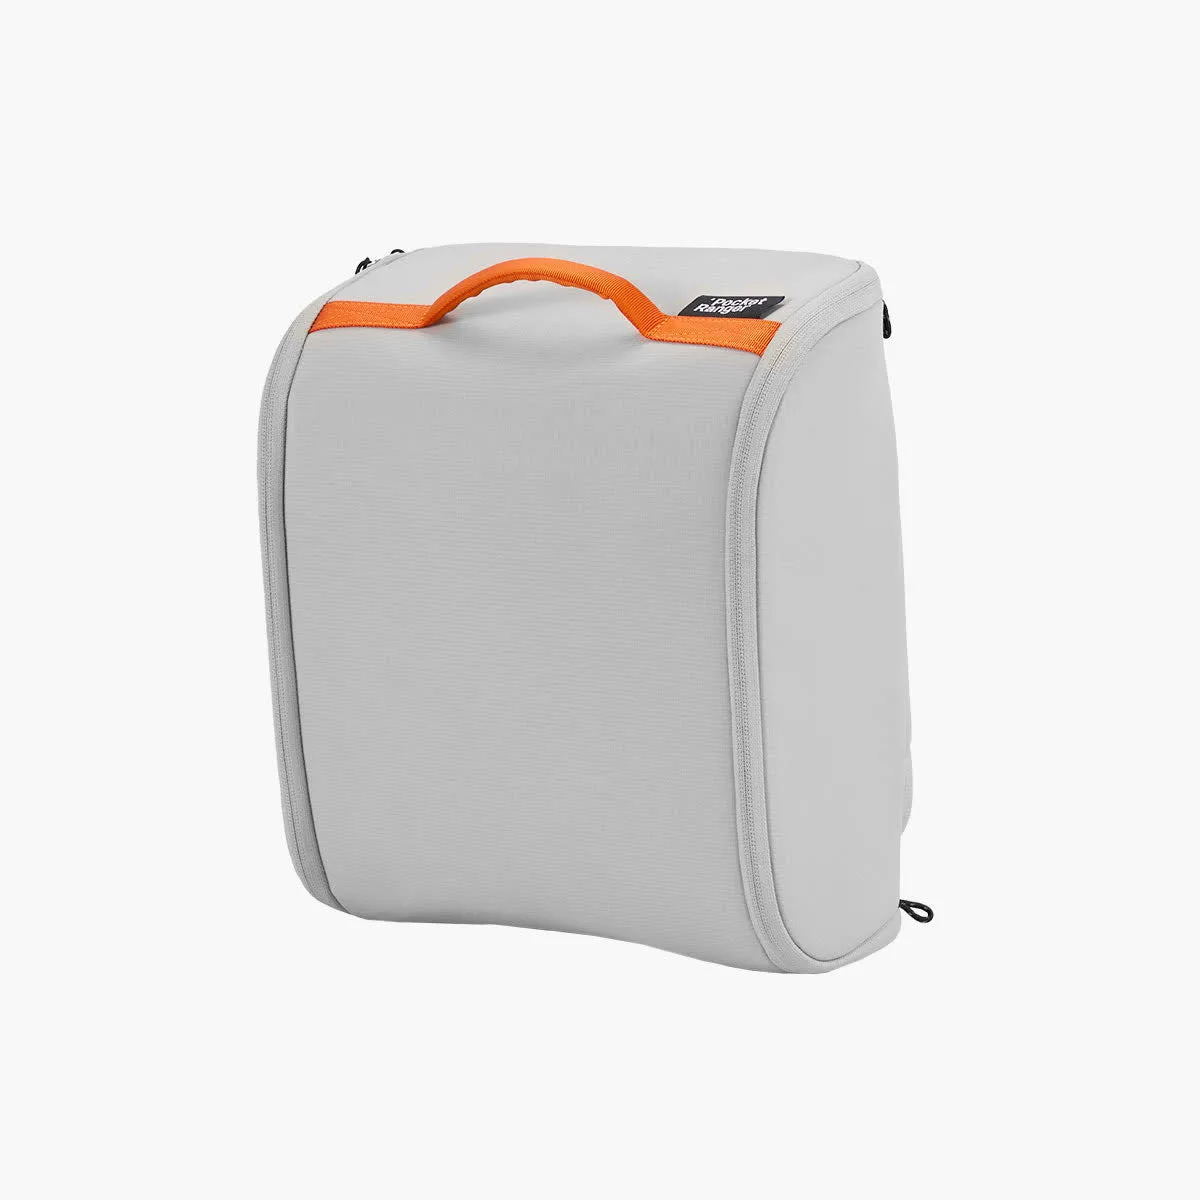
The Norite Camera Insert works as a standalone case with its own handle, or you can slide it into the Norite Backpack for a padded camera bag conversion. When using it alone, the weatherproof shell offers decent protection for everyday commutes or quick trips. Inside a backpack, the insert keeps gear organized while the bag's outer pockets hold personal items.
For travel, this flexibility means you don't need a dedicated camera bag. Pack the insert with your camera gear, then place it in a duffel or travel backpack. At your destination, lift the insert out and you have a compact camera case for day shoots.
What the Norite Insert Does Not Cover
The supplied information does not include specific instructions for attaching the insert to a bag or for cleaning the dividers. The insert is built for larger camera setups; if you carry a single body and one lens, a smaller insert might be more practical. The adjustable dividers are removable but not modular beyond the supplied set.