Quick answer
To create ombre nails at home, apply a base coat, then use a dual-ended brush to blend two gel polish colors on the nail, curing between layers. The OGs X Beginner Baddie Bundle includes a liner brush and blender, making it ideal for this technique. Finish with a top coat for a smooth gradient.
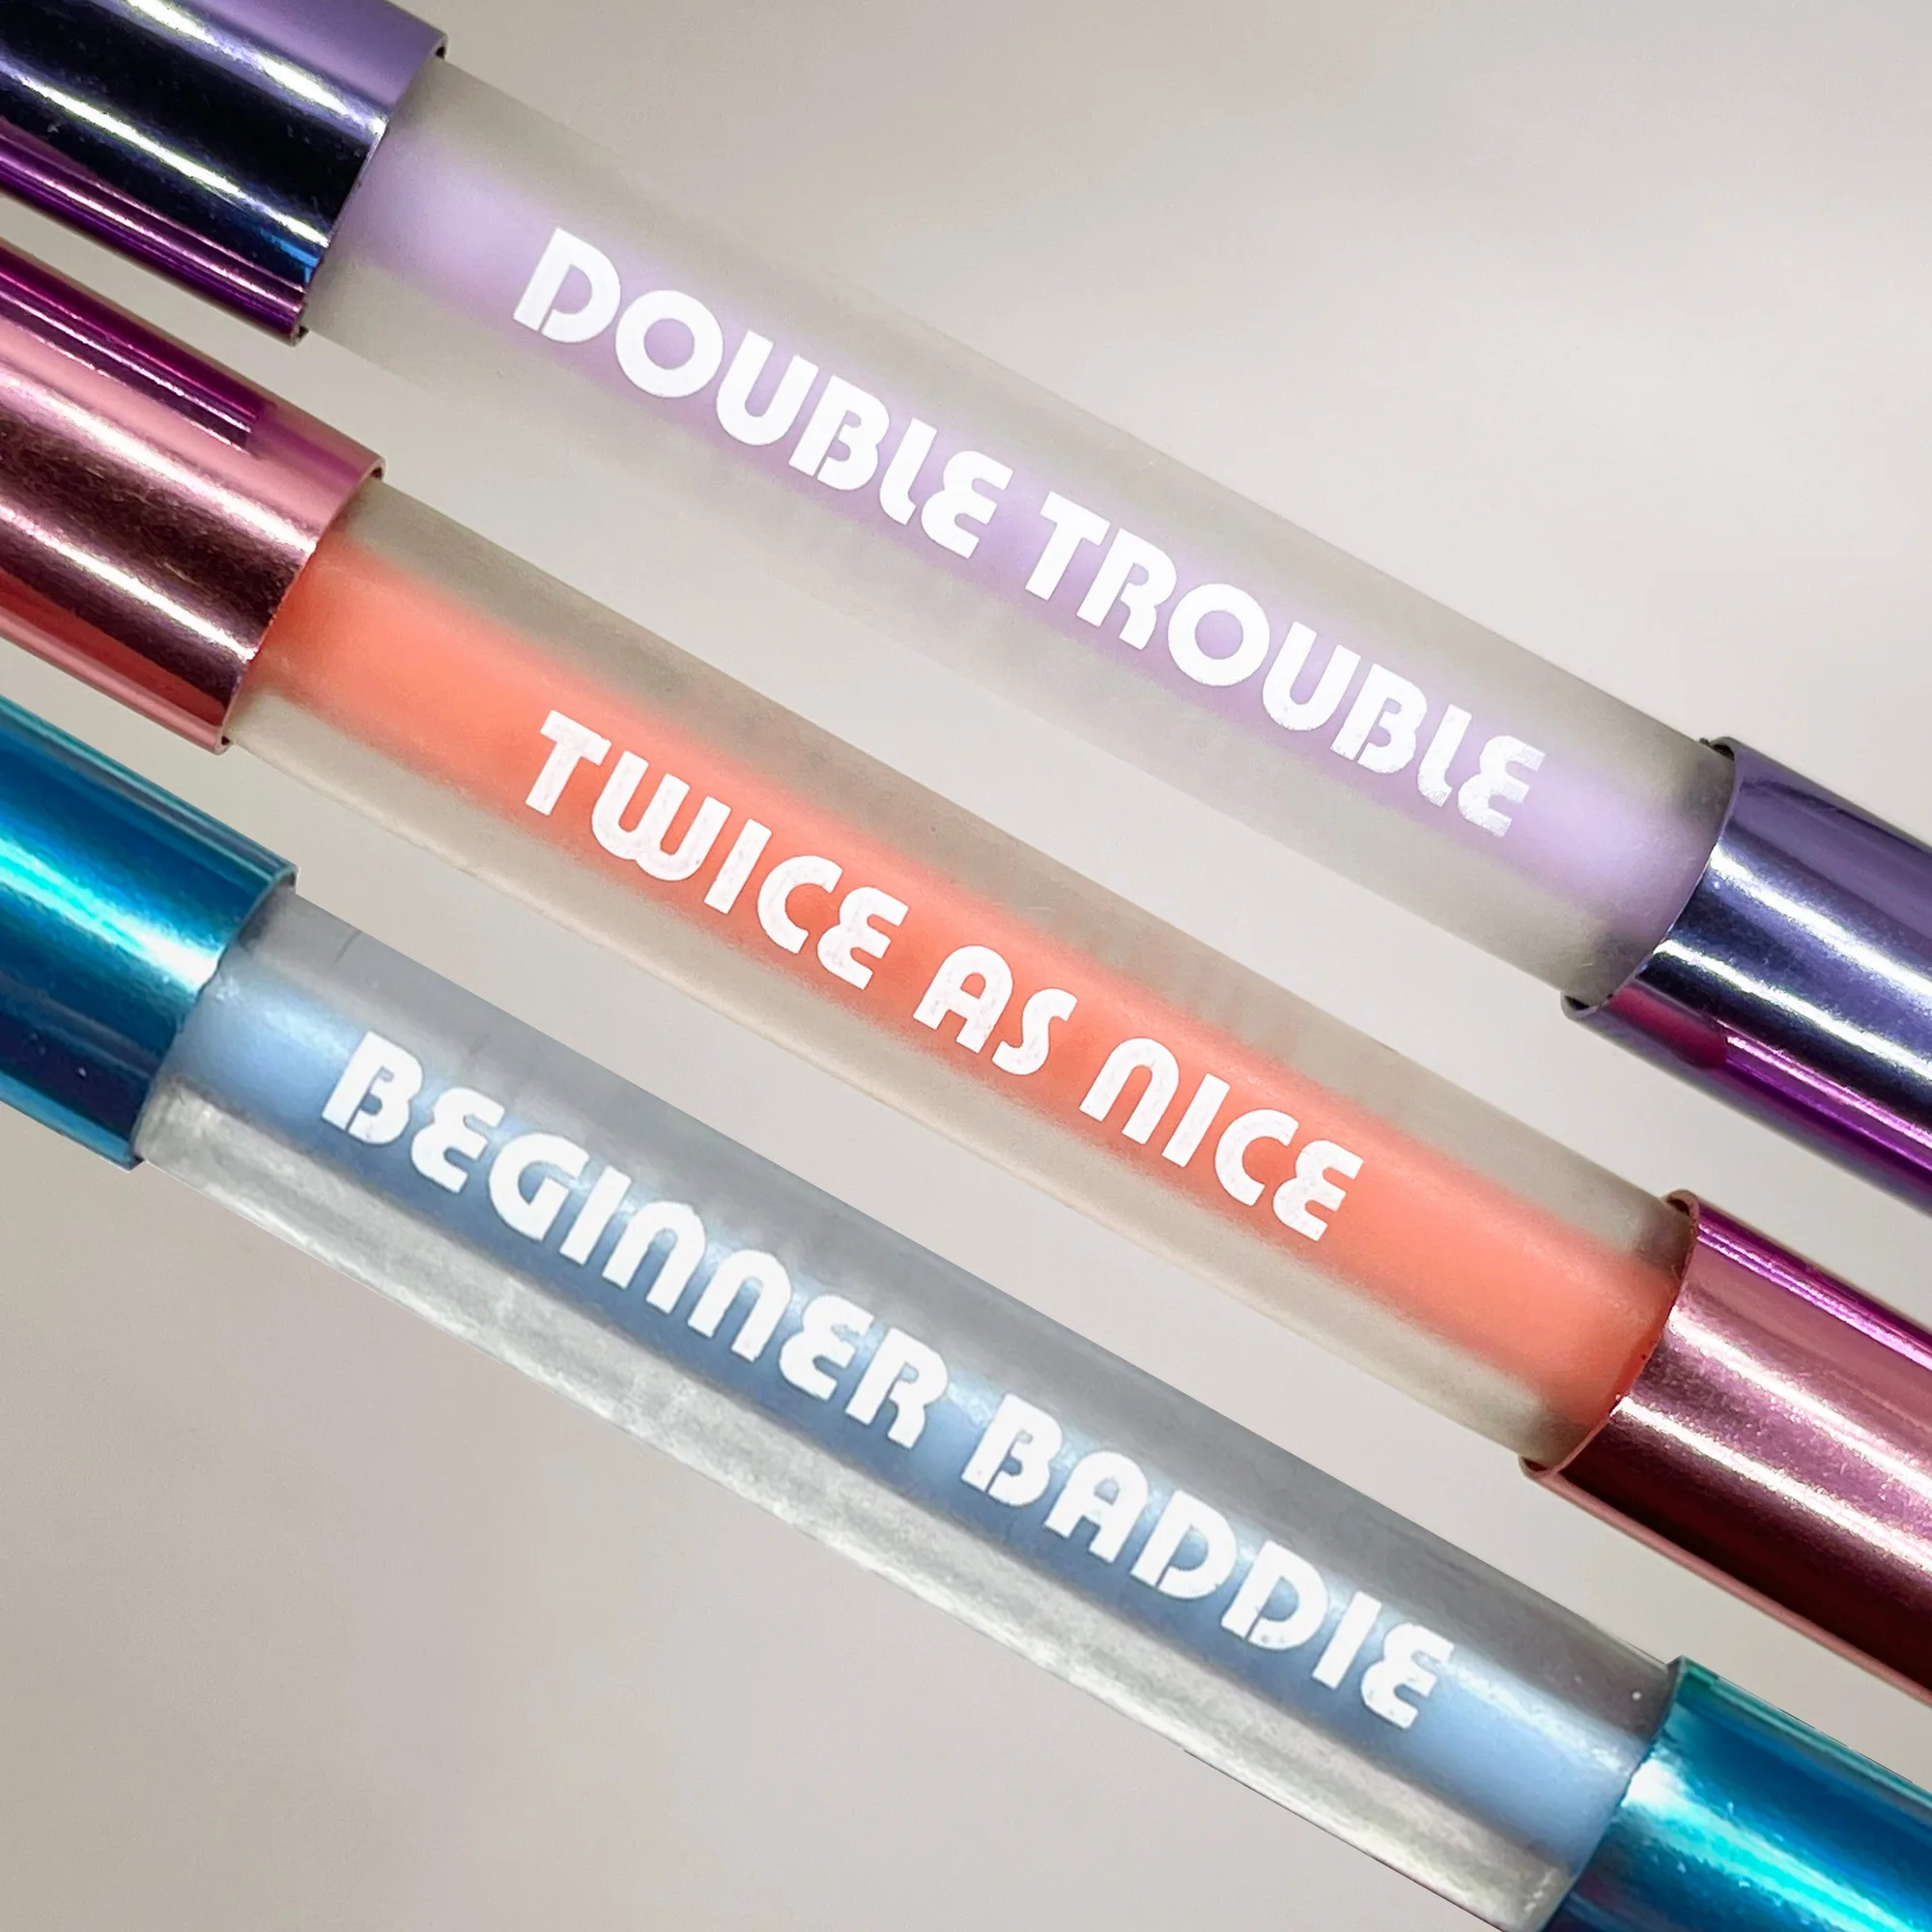
OGs X Beginner Baddie Bundle
Ombre nails are a timeless gradient look, and you can achieve them at home with the right tools and technique. The OGs X Ombre Bundle from Ballpit Nails pairs a dual-ended nail art brush with your choice of gel colors, giving you everything you need for a salon-quality gradient.
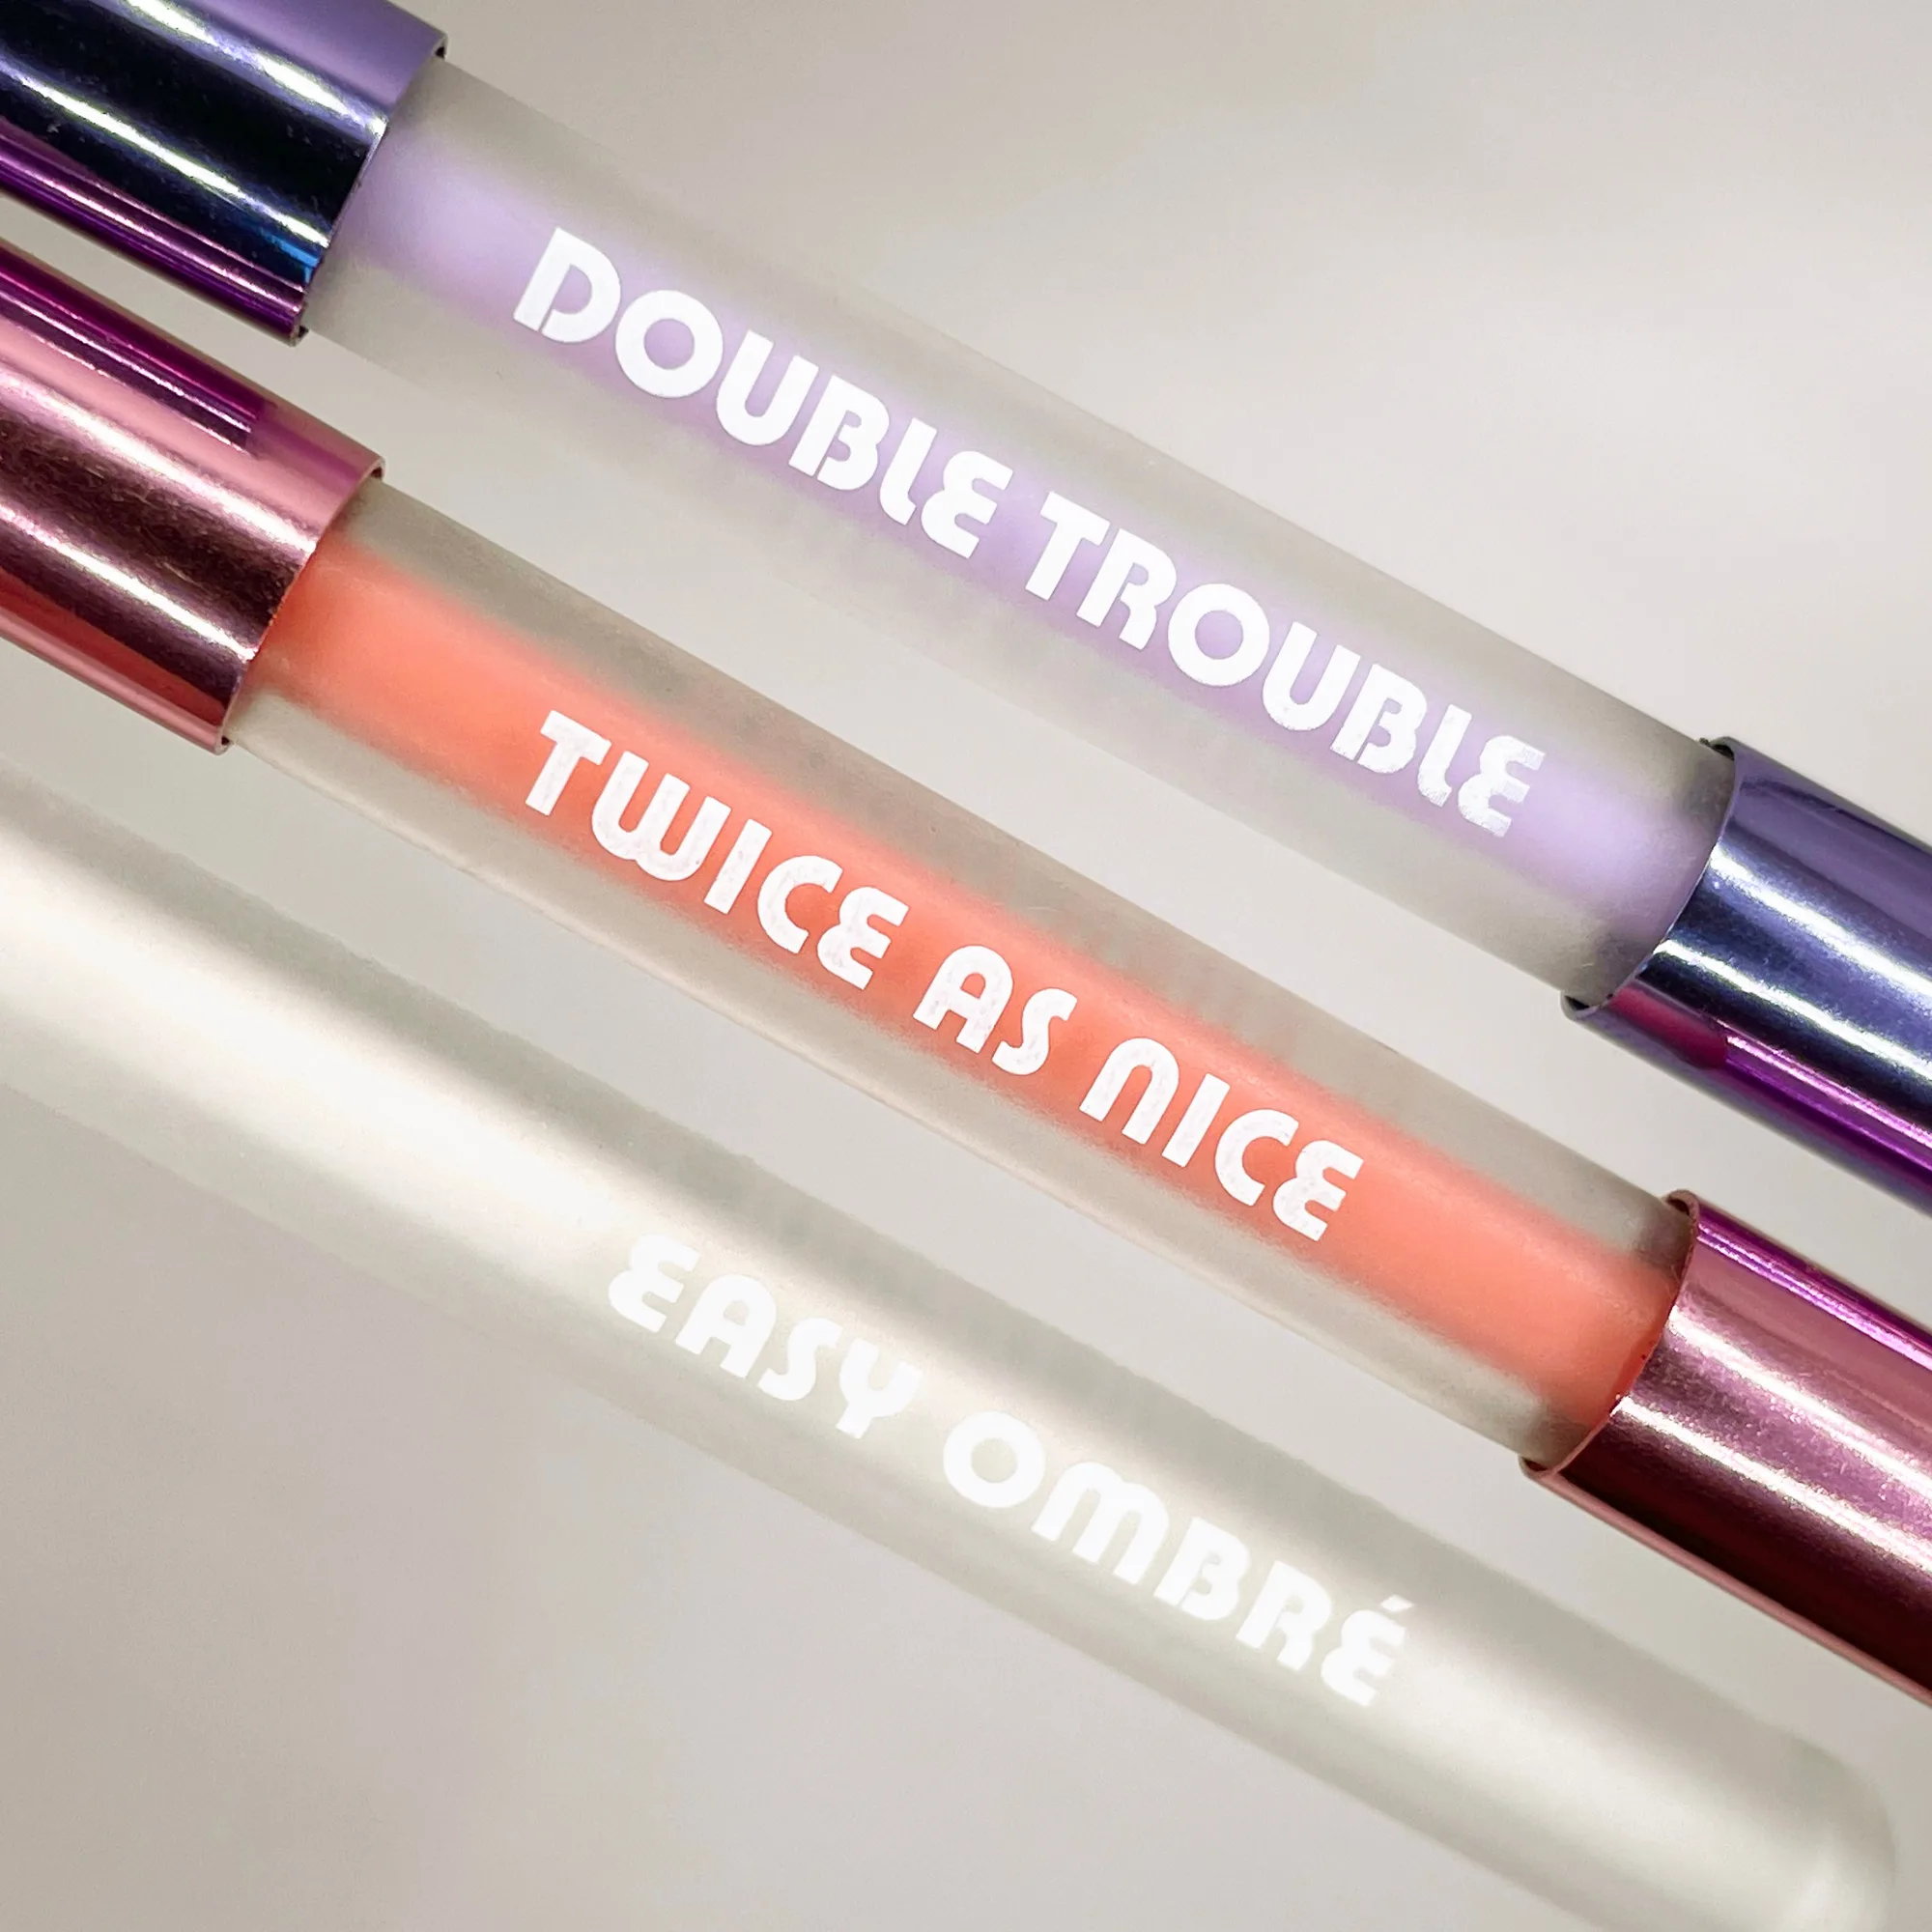
OGs X Ombre Bundle
In this guide, you'll learn how to do ombre gel nails step by step, from prep to finish. We'll cover the tools, the blending method, and common mistakes to avoid so your gradient looks seamless every time.
What You'll Need for Ombre Nails at Home
Before you start, gather your supplies: a base coat, two gel polish colors (like Peace & Love and a contrasting shade), a top coat, and a UV/LED lamp. The OGs X Beginner Baddie Bundle provides a dual-ended brush with a liner on one end and a blender/cleanup brush on the other, which is essential for blending the gradient.
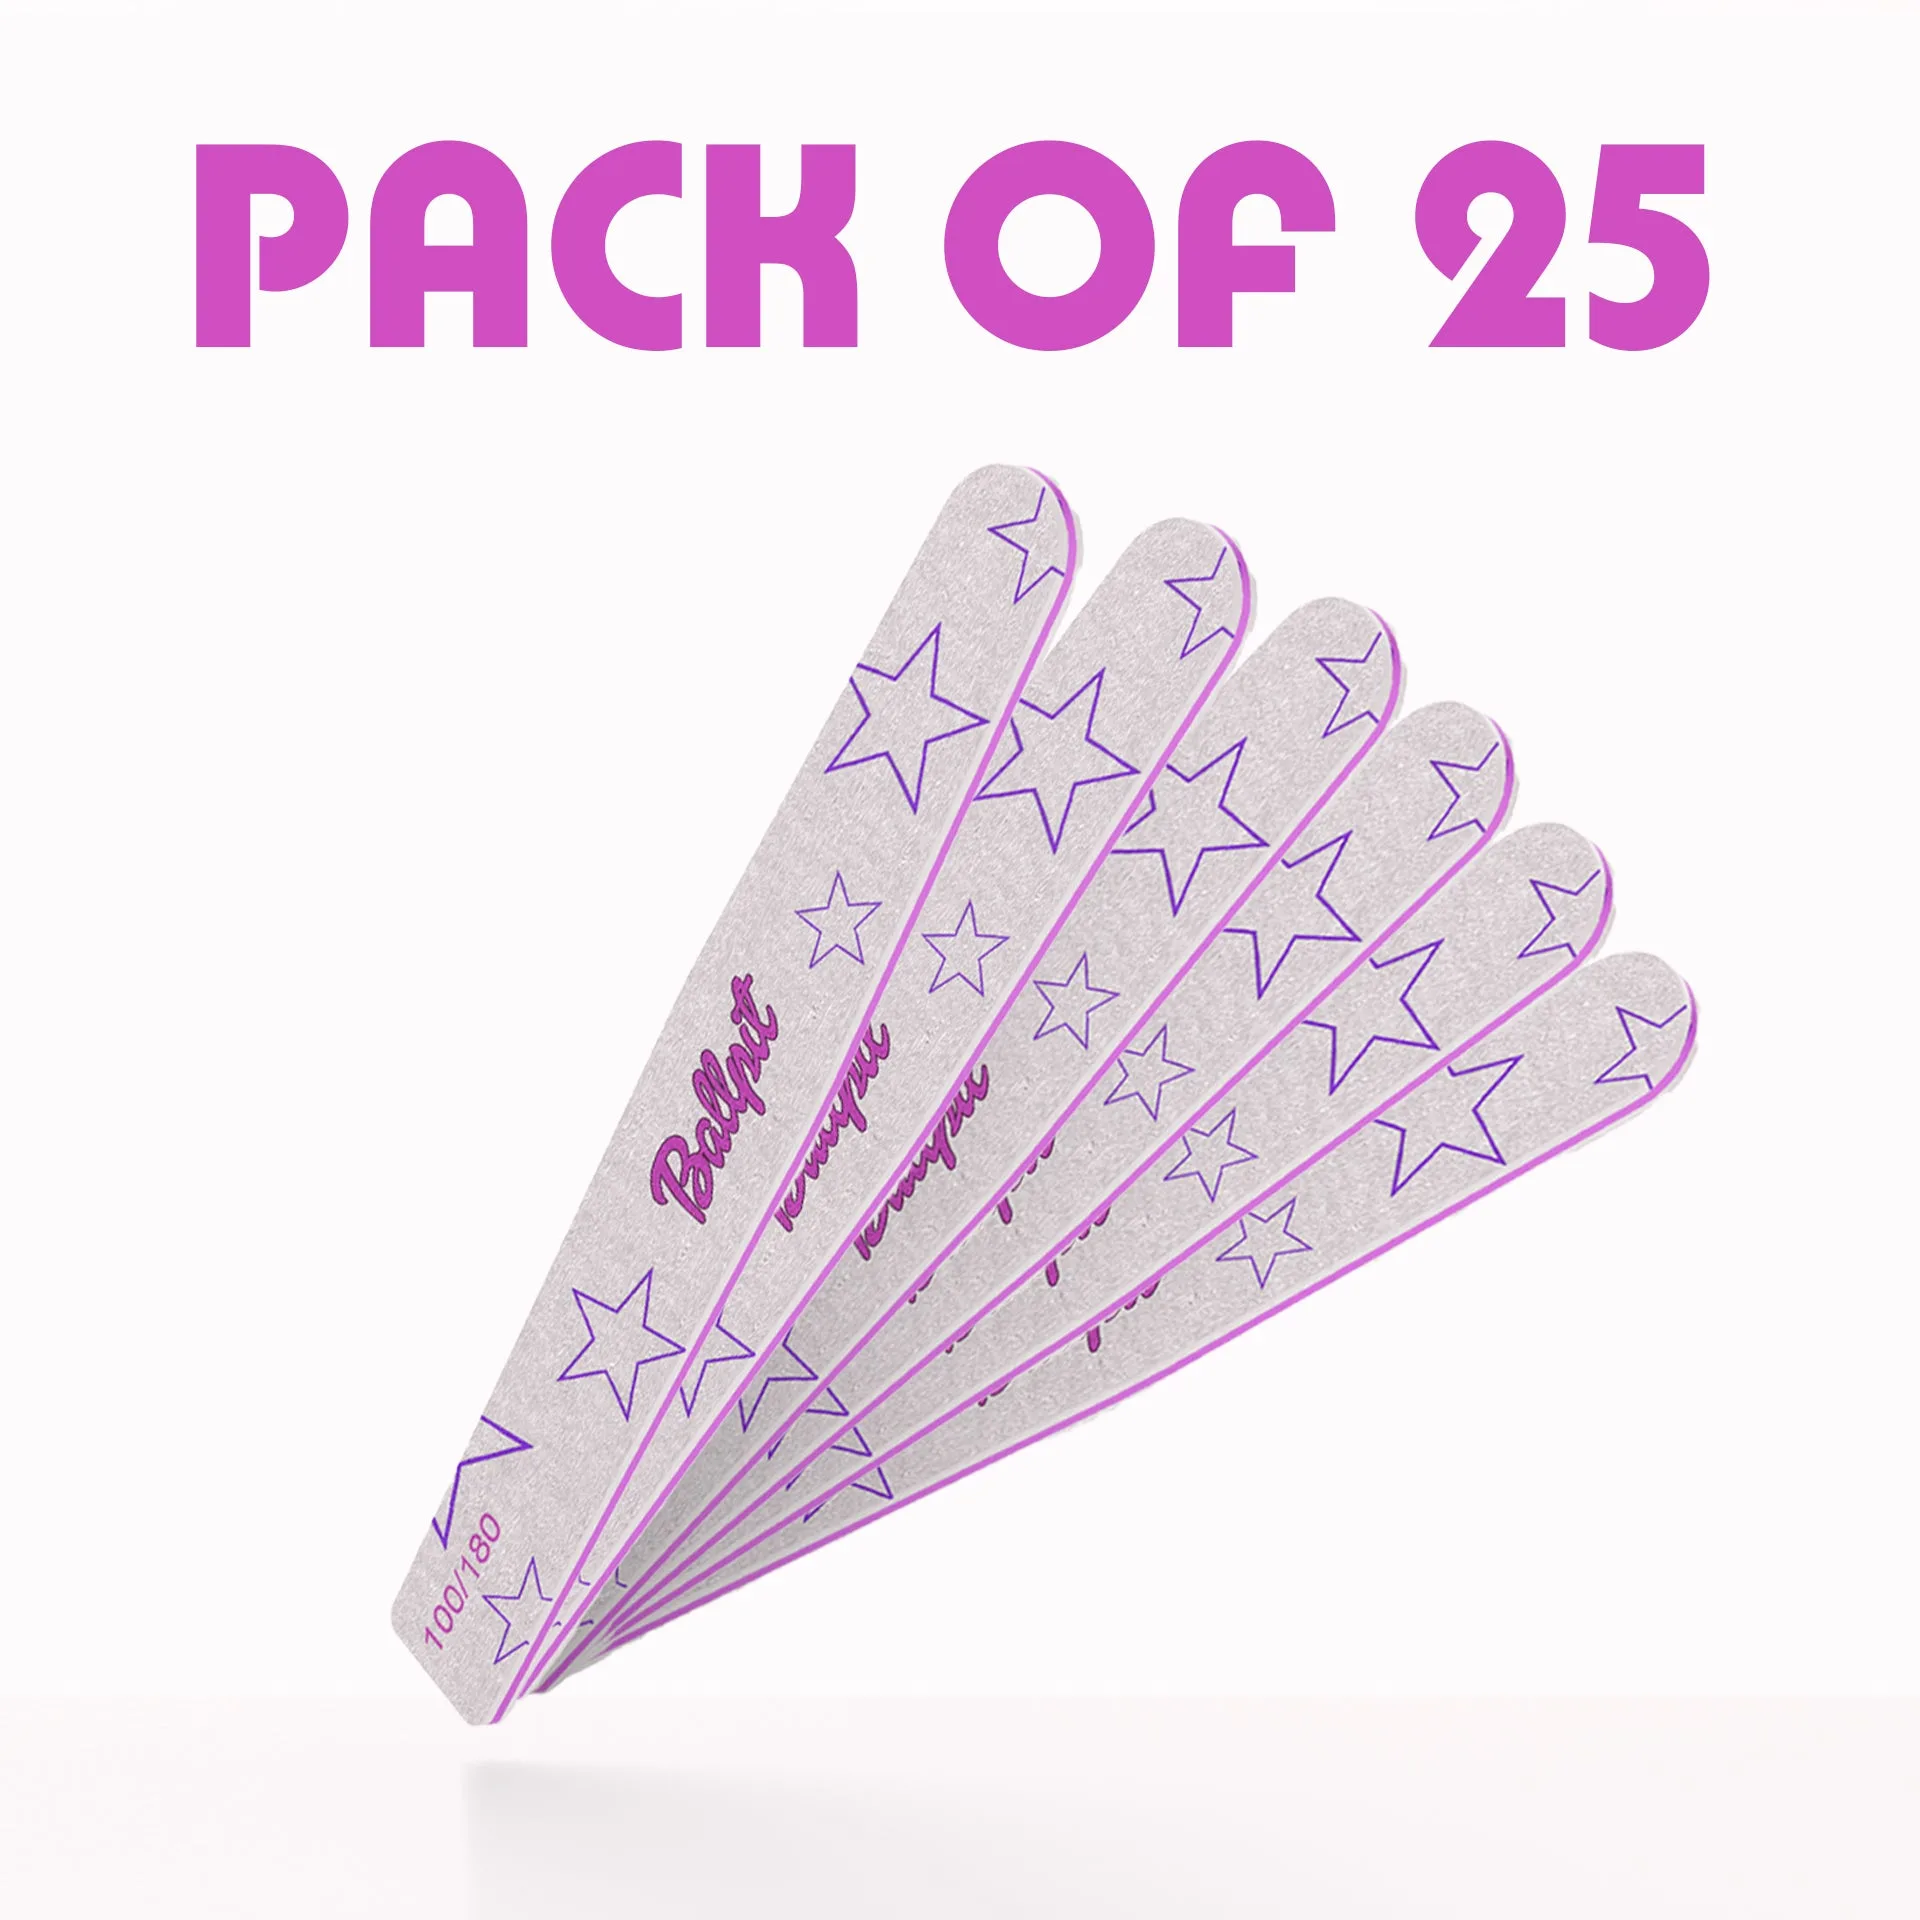
If you want to add dimension, consider a sculpting gel like Winter Sunset or Arctic Amethyst. These creamy gels have extreme pigment and anti-spread properties, so they stay where you place them. A pack of 100/180 grit nail files helps shape and smooth your nails before application.
- Always use a UV/LED lamp to cure gel polish properly.
- Work on one nail at a time to prevent the gel from moving before curing.
Step-by-Step Ombre Gel Nails Tutorial
Start with clean, shaped nails. Apply a base coat and cure. Then, paint a thin layer of your first color on the nail, leaving the tip slightly lighter. Before curing, use the blender end of the OGs X brush to gently feather the color toward the tip. Cure for 30 seconds.
Next, apply your second color to the tip, and use the blender to blend the two colors where they meet. Cure again. Repeat with a second thin layer of each color to build intensity. Finish with a top coat and cure. The key is to blend before curing each layer.
- Wipe your brush on a lint-free wipe between blends to avoid muddying colors.
- If the gradient looks patchy, add another thin layer and blend again.
Common Mistakes and How to Fix Them
One common mistake is using too much gel, which causes flooding and uneven blending. Use thin layers and build up gradually. Another is not curing between layers, which leads to smudging. Always cure after each blending step.
If your ombre looks streaky, your brush may be dirty or your gel too thick. Clean the brush with the cleanup end of the OGs X tool and use a lighter hand. For a smoother gradient, try a sculpting gel like Winter Sunset, which has anti-spread properties to keep lines crisp.
- Avoid over-blending, which can remove the base color entirely.
- Check your lamp's wattage; insufficient curing causes peeling.
Ombre Nails at Home: Step-by-Step
- Prep and base coat: Shape nails with a 100/180 grit file, push back cuticles, and apply a thin base coat. Cure for 30 seconds. Checkpoint: Nails should be clean, dry, and matte before gel.
- Apply first color: Paint a thin layer of your lighter color from cuticle to tip. Do not cure yet. Mistake: Using too much polish causes flooding.
- Blend with brush: Use the blender end of the OGs X brush to feather the color toward the tip in small strokes. Checkpoint: The color should fade smoothly, no harsh lines.
- Cure and repeat: Cure for 30 seconds. Apply a second thin layer of the lighter color and blend again. Cure. Mistake: Skipping curing between layers leads to smudging.
- Add second color: Paint your darker color on the tip, then blend where the two colors meet using the blender brush. Checkpoint: The transition should be seamless.
- Cure and top coat: Cure for 30 seconds. Apply a glossy top coat, cap the free edge, and cure for 60 seconds. Mistake: Not capping the edge causes chipping.
Products Used in This Tutorial
- OGs X Beginner Baddie Bundle: Dual-ended nail art brushes: a clean up brush / blender on one end, and a 9mm, 12mm and 15mm liner brush on the other. Lets you color block, line, blend, and erase mistakes with one tool, speeding up your ombre application.
- Nail files 100/180 Grit (Pack of 25): Double-sided with 100 grit on one side and 180 grit on the other, pack of 25. Coarse side shapes, finer side smooths, prepping nails for a flawless gel ombre.
- Winter Sunset - Winter Crystal sculpting gel: 5g UV/LED sculpting gel with classic creamy gel formula, extreme pigment and anti-spread properties. Anti-spread formula keeps the gradient crisp and prevents colors from bleeding.
- Peace & Love - Gel Polish: 15ml soak-off gel polish in mellow turquoise, for UV/LED curing, with extreme pigment and anti-spread formula. High pigment means you need fewer layers for opaque color in your ombre.
With the OGs X Ombre Bundle and a bit of practice, you can create beautiful ombre nails at home. Remember to work in thin layers, blend before curing, and use the right tools. Happy blending!