Quick Answer
Use Vallejo Model Color Tan and Brown Glazes to tint, shade, and blend acrylic paint layers on miniatures. Thin the glaze with water or medium, apply in thin coats, and let each layer dry fully to avoid a muddy finish.
Why Glazes Work Differently Than Washes or Layers
Glazes are translucent paints that modify the color underneath without obscuring it. Unlike washes that pool in recesses, glazes tint the entire surface, making them ideal for skin tones, armor highlights, or color transitions. Tan Glaze warms up a surface, while Brown Glaze adds depth and shadow. Both require patience: multiple thin coats build intensity, while one thick coat ruins transparency.
How to Apply Tan and Brown Glazes Step by Step
- Step 1: Thin the Glaze: Squeeze a small drop of Vallejo Model Color Tan or Brown Glaze onto your palette. Add two to three drops of water or acrylic medium and mix until the paint runs like skim milk. Too thick? It will leave streaks. Too thin? It won't tint at all. Test on your thumbnail: the glaze should be transparent but still deposit visible color after drying.
- Step 2: Load Your Brush and Wick Off Excess: Dip your brush into the thinned glaze, then touch the tip to a paper towel to remove excess liquid. A loaded brush that drips will flood the miniature and ruin the transparency. You want a damp brush, not a wet one. If the glaze pools in recesses, your brush is too wet—wick more off.
- Step 3: Apply a Thin Coat Over the Target Area: Brush the glaze evenly over the area you want to tint, using long, smooth strokes. Work quickly before the glaze dries to avoid visible brush marks. For a subtle shift, one coat may be enough; for a stronger effect, let it dry completely before adding another. Common mistake: applying a second coat while the first is still tacky, which lifts the previous layer and creates a patchy finish.
- Step 4: Build Depth with Multiple Layers: After the first coat dries (typically 2–3 minutes), apply a second or third coat to deepen the color. For example, start with Tan Glaze on a face to warm the skin, then add Brown Glaze near the jawline for shadow. Each layer should be as thin as the first. Patience is key—rushing layers leads to a chalky, opaque look instead of a smooth glaze effect.
- Step 5: Seal and Protect: Once you're satisfied with the glaze effect, let the miniature cure for at least 24 hours before handling or applying a varnish. Glazes are delicate until fully cured, and premature sealing can cause cloudiness. Use a matte varnish to preserve the glaze's transparency; gloss varnish may alter the color depth.
Our Recommended Glazes
-
Vallejo: Model Color, Glaze- Tan Glaze 17 ml.: Vallejo Model Color Tan Glaze has a matt, opaque finish with high pigment concentration in a water-based formula, designed for brush application. This high pigment load means you need less paint to achieve a visible tint, so your glaze stays thin and transparent—crucial for smooth blends.
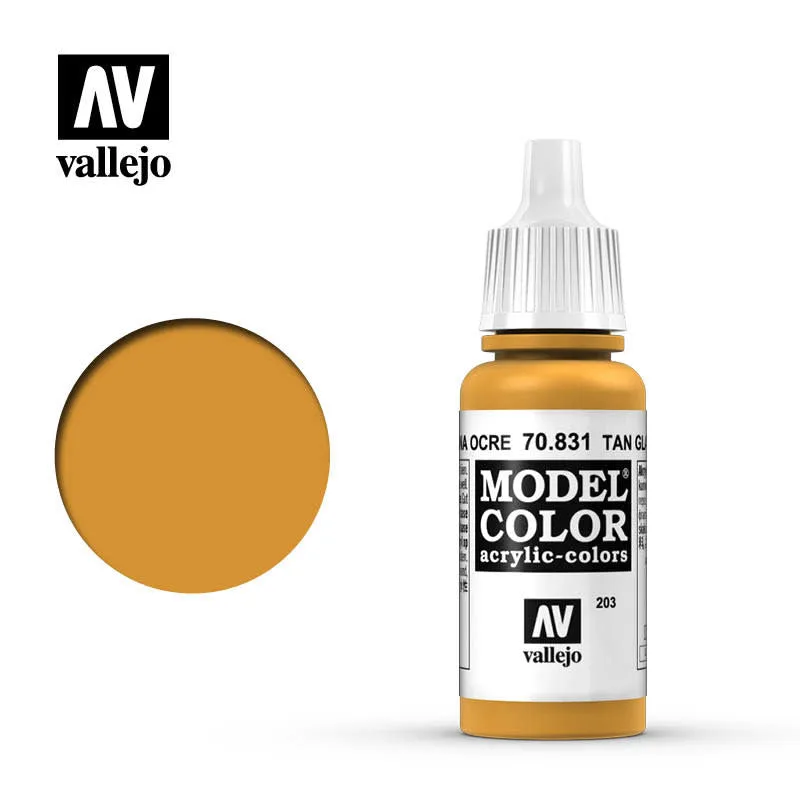
Vallejo: Model Color, Glaze- Tan Glaze 17 ml.
-
Vallejo: Model Color, Glaze- Brown Glaze 17 ml.: Vallejo Model Color Brown Glaze shares the same matt, water-based formula and brush-friendly consistency as the Tan Glaze. Using both glazes from the same range ensures consistent drying times and mixing behavior, which simplifies layering and avoids unpredictable reactions.
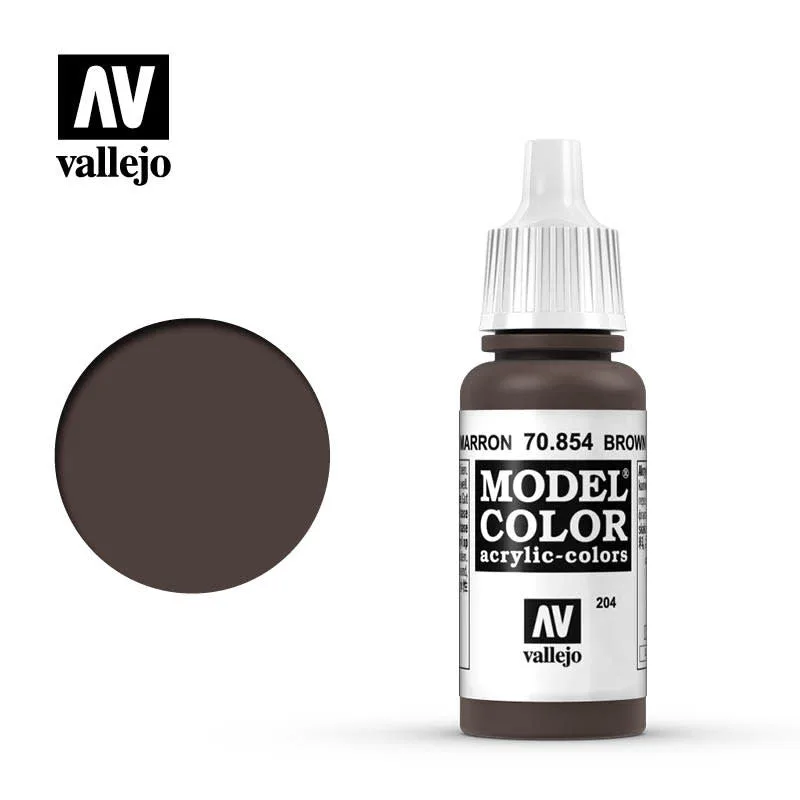
Vallejo: Model Color, Glaze- Brown Glaze 17 ml.