Tactical gear is more than just equipment; it's an extension of your identity, whether you're a professional handler, a dedicated hobbyist, or part of a team. Customizing your gear with patches and decals not only adds a personal touch but also enhances functionality through easy identification and unit cohesion. In this guide, we'll walk you through the best practices for applying patches and decals to your tactical gear, ensuring durability and a polished look.
From morale patches to unit insignias, the options are endless. We'll cover everything from choosing the right adhesive to proper placement, so your gear stands out in the field. Whether you're outfitting a new vest or refreshing an old one, these tips will help you achieve a professional finish that lasts.
Choosing the Right Patches for Your Gear
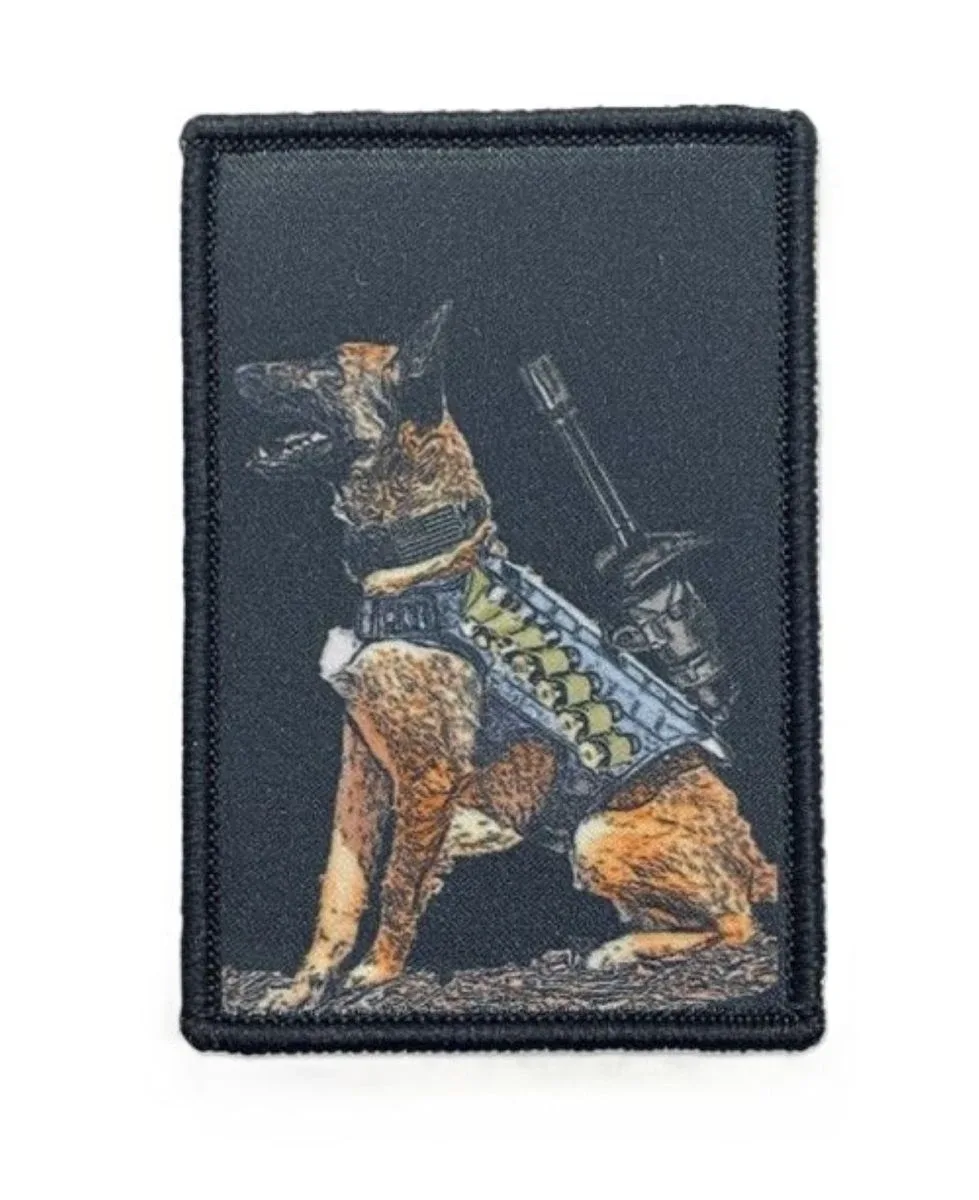
Patches come in various materials, including embroidered, PVC, and woven. Embroidered patches offer a classic, textured look, while PVC patches are durable, waterproof, and ideal for harsh conditions. Woven patches provide finer detail and a smoother surface. Consider the environment where you'll use your gear: PVC patches like the American Patriot PVC Morale Patch are excellent for outdoor and tactical use due to their resilience.
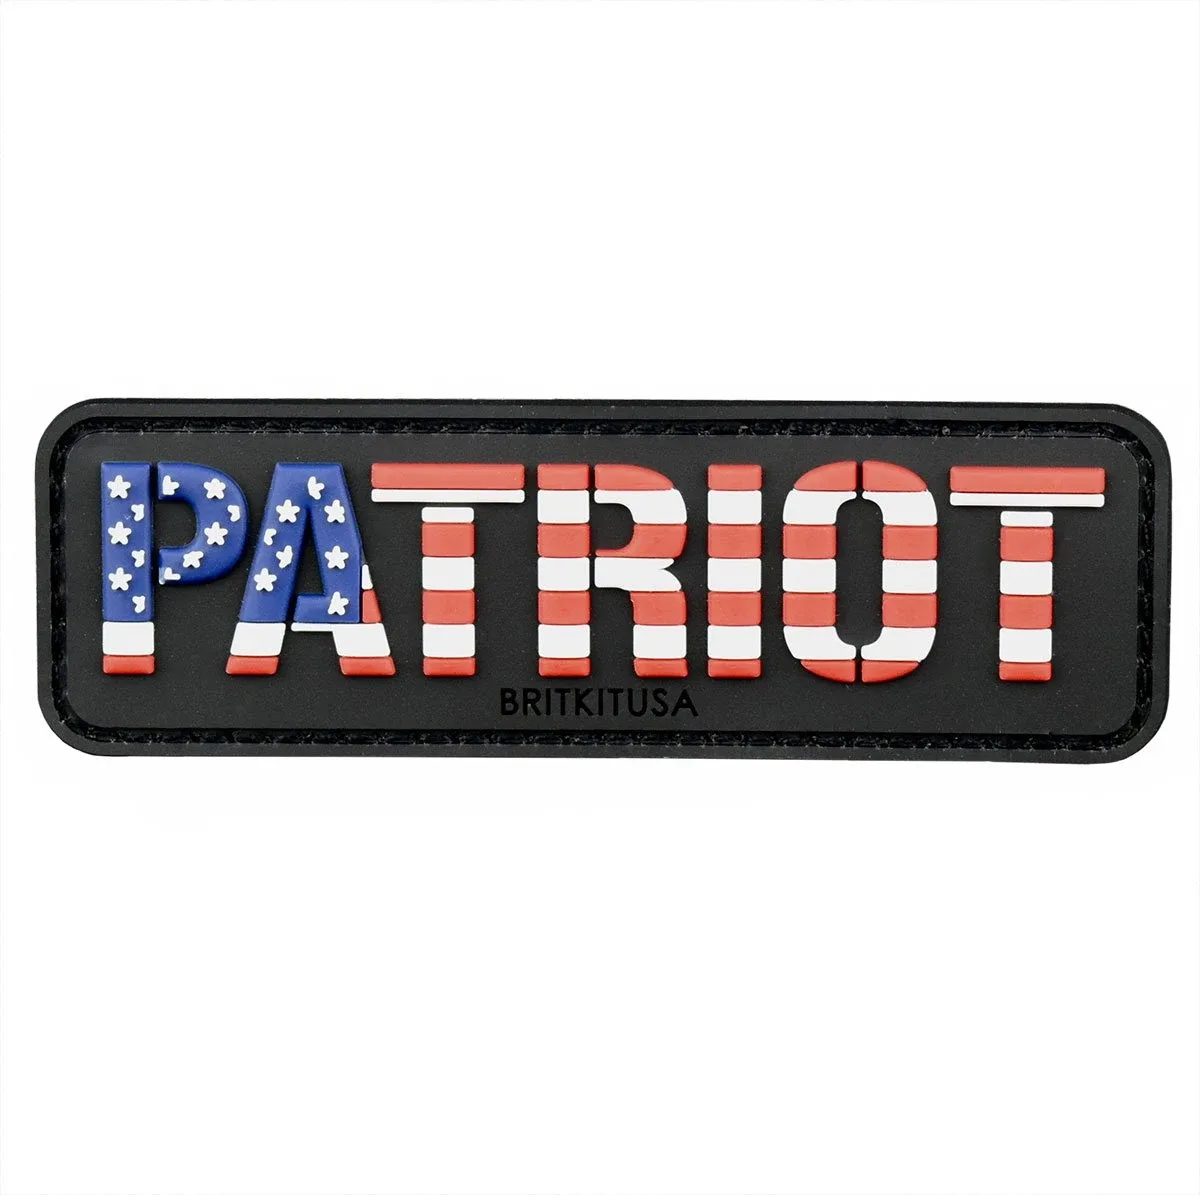
American Patriot PVC Morale Patch
When selecting patches, think about the message or identity you want to convey. Whether it's a unit patch, a motivational quote, or a humorous morale booster, ensure it aligns with your purpose. For a cohesive look, choose patches that complement the color scheme of your gear. Many tactical enthusiasts prefer a mix of subdued colors for a professional appearance, while others opt for vibrant patches to stand out.
- Consider material durability: PVC for extreme conditions, embroidered for classic look.
- Match patch colors with your gear for a cohesive aesthetic.
- Choose patches that reflect your unit, team, or personal brand.
Patch Placement: Where and How to Position
Proper placement is crucial for both aesthetics and functionality. Common areas include the chest, shoulders, and helmet. For vests, the front chest area is ideal for identification, while shoulders are perfect for unit patches. Helmets often have Velcro panels designed for patches. When placing patches, ensure they are centered and aligned with the gear's contours. Use a measuring tape or a patch placement guide to achieve symmetry.
For gear without Velcro, you may need to sew or iron on patches. Sewing provides the most secure attachment, especially for heavy-duty use. Iron-on patches are convenient but may not withstand rigorous activity. Always test the adhesive on a small area first to ensure it doesn't damage the fabric. For temporary placement, consider using hook-and-loop fasteners that allow you to swap patches easily.
- Use a patch placement guide or ruler for symmetry.
- Sew patches for maximum durability on high-wear items.
- Consider hook-and-loop backing for interchangeable patches.
Applying Decals to Tactical Gear
Decals are another popular way to customize gear, especially for hard surfaces like gun cases, laptops, and vehicle windows. Unlike patches, decals are typically adhesive vinyl and require a clean, smooth surface for proper application. Start by cleaning the area with rubbing alcohol to remove any oils or dirt. Peel the backing paper slowly and position the decal, using a squeegee or credit card to smooth out air bubbles.
For curved or textured surfaces, consider using a heat gun or hairdryer to make the decal more pliable. Apply gentle heat while pressing the decal into place. This technique helps the decal conform to contours and reduces the risk of peeling. After application, wait at least 24 hours before exposing the decal to water or extreme conditions to ensure the adhesive cures properly.
- Clean the surface with alcohol before applying decals.
- Use a squeegee to remove air bubbles.
- Heat curved surfaces for better adhesion.
Maintaining and Caring for Patches and Decals
To keep your customized gear looking sharp, regular maintenance is essential. For patches, check the stitching or adhesive periodically, especially after heavy use. If a patch begins to peel, reapply adhesive or reinforce with stitching. For decals, avoid using harsh chemicals or abrasive cleaners, as they can damage the vinyl. Instead, use a mild soap and water solution with a soft cloth.
When not in use, store your gear in a cool, dry place away from direct sunlight to prevent fading and adhesive breakdown. Proper care will extend the life of your patches and decals, keeping your gear functional and professional.
- Inspect patches and decals regularly for wear.
- Clean with mild soap and water; avoid harsh chemicals.
- Store gear away from sunlight to prevent fading.
Enhancing Your Gear with Functional Accessories
While patches and decals add personality, functional accessories can elevate your gear's utility. For dog handlers, items like the Dogtra E-Collar Remote MOLLE Pouch keep essential controls within reach, while the Biothane Multi-Use Lead offers durability and versatility. These accessories complement your customized look and improve operational efficiency.
When customizing, consider integrating accessories that match your patches and decals. For example, a collar like the Single Layer Biothane Collar can be paired with a morale patch for a cohesive team appearance. Remember, customization is about both style and function.
- Pair patches with functional accessories for a complete setup.
- Choose accessories that match your gear's color scheme.
- Prioritize functionality alongside aesthetics.
Customizing your tactical gear with patches and decals is a rewarding way to express your identity and improve functionality. By following the placement and application tips in this guide, you'll achieve a professional look that withstands the rigors of use. Explore our collection of patches, decals, and accessories to start personalizing your gear today.