Quick answer
Mount intake fans at the front or bottom and exhaust fans at the rear or top, then set the intake count slightly higher than the exhaust count for positive pressure. Follow the arrow on the fan frame to confirm push or pull direction, and test temperatures before adding more fans.
Map your case before you mount anything
Start by identifying every fan mount and its filter or mesh coverage. Front and bottom mounts usually sit behind dust filters, which makes them natural intake positions. Rear and top mounts are typically unfiltered, which makes them better exhaust positions. If your case has a solid front panel, front intake fans may struggle to pull air; in that situation, a bottom intake or a side mount can work better.
Match fan size to the mount, not the other way around
Measure the mounting holes before buying fans. A 120 mm fan and a 140 mm fan use different hole spacing, and adapters are rare. Larger fans move the same air at lower RPM, which usually means less noise, but only if the mount supports them. If a mount accepts both sizes, check the case manual for clearance around drive cages, cable bars, and graphics cards.
Plan push, pull, and pressure as one system
Push means the fan blows air through a heatsink or radiator; pull means it draws air through. For case airflow, the same logic applies to filters and mesh: a fan pushing through a dense filter works harder than one pulling through it. Positive pressure, where intake airflow exceeds exhaust, pushes dust out through gaps and keeps filters doing the work. Negative pressure, where exhaust exceeds intake, pulls dust in through unfiltered seams. Most builds are easier to maintain with slight positive pressure.
Cable routing and clearance checks
Before you tighten screws, route fan cables behind the motherboard tray where possible. A cable that crosses a fan blade can stop it or create a ticking noise. Check that the fan frame does not press against a graphics card backplate, a CPU cooler heatpipe, or a side panel. If a fan touches anything, remount it or choose a slimmer model rather than forcing it.
Step-by-step fan placement
- Step 1: Decide intake and exhaust zones: Mark front and bottom mounts as intake and rear and top mounts as exhaust. This uses filtered openings for incoming air and unfiltered openings for outgoing air. Checkpoint: if your case has no filtered front intake, plan to clean dust more often or add a filter.
- Step 2: Confirm fan orientation with the arrow: Every fan frame has a small arrow showing airflow direction. Point that arrow into the case for intake and out of the case for exhaust. Do not rely on which side the sticker faces. Common mistake: mounting a fan backward because the logo looked better, which reverses your pressure balance.
- Step 3: Install intake fans first: Mount front or bottom intake fans and connect them to a motherboard header or controller. Tighten screws in a cross pattern so the frame sits flat. Checkpoint: spin each fan by hand before powering on to confirm no cable or filter is touching the blades.
- Step 4: Install exhaust fans second: Mount rear and top exhaust fans. If you use a top-mounted radiator, its fans can serve as exhaust, but make sure the radiator is not starved of air by competing intake. Common mistake: setting every fan to full speed, which adds noise without improving temperatures once airflow is adequate.
- Step 5: Balance for slight positive pressure: Aim for one more intake fan than exhaust fan, or run intake fans slightly faster than exhaust fans. This keeps dust moving toward filters instead of into seams. Checkpoint: hold a tissue near an unfiltered seam. If it is pulled toward the case, you likely have negative pressure.
- Step 6: Test and adjust: Run a familiar game or stress test and note CPU and GPU temperatures. Change one fan speed or position at a time so you can tell what helped. Next step: if temperatures are fine but noise is high, lower fan curves before adding or replacing hardware.
Product facts
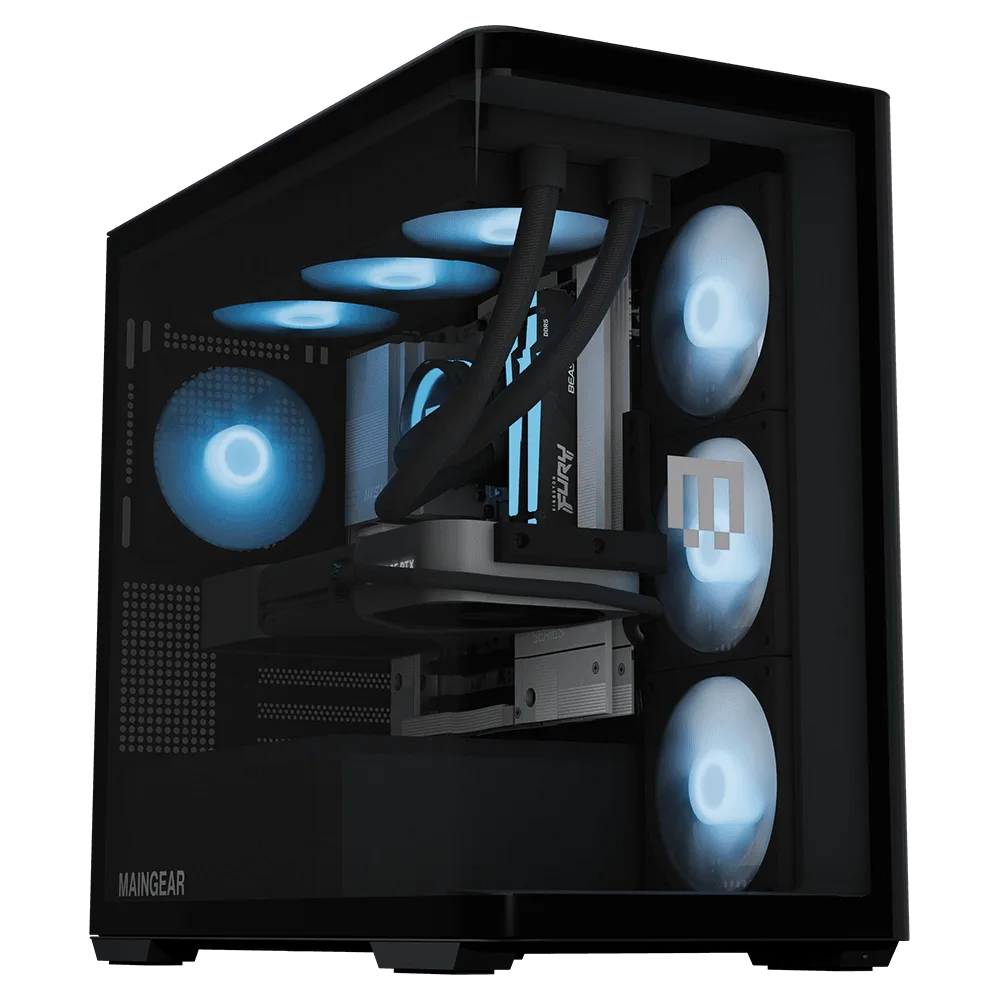
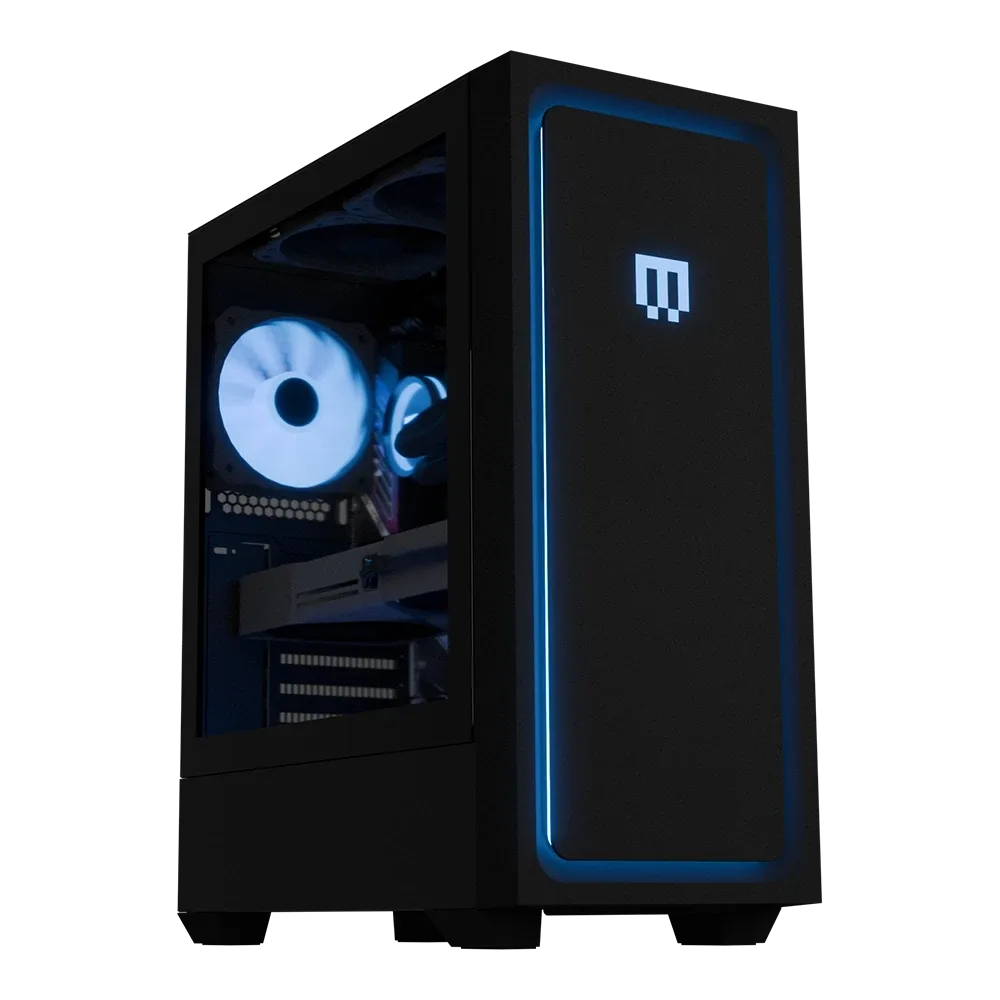
- Classic MG-1 | Ultimate: Classic MG-1 | Ultimate is a pre-configured PC with an NVIDIA GeForce RTX 5090, AMD Ryzen 9 9950X3D2 Dual Edition, and the MAINGEAR MG-1 Mk. I (Classic) case. A high-wattage GPU and CPU pair benefit from a deliberate intake and exhaust plan, especially when the case uses a classic front panel rather than an open mesh design.
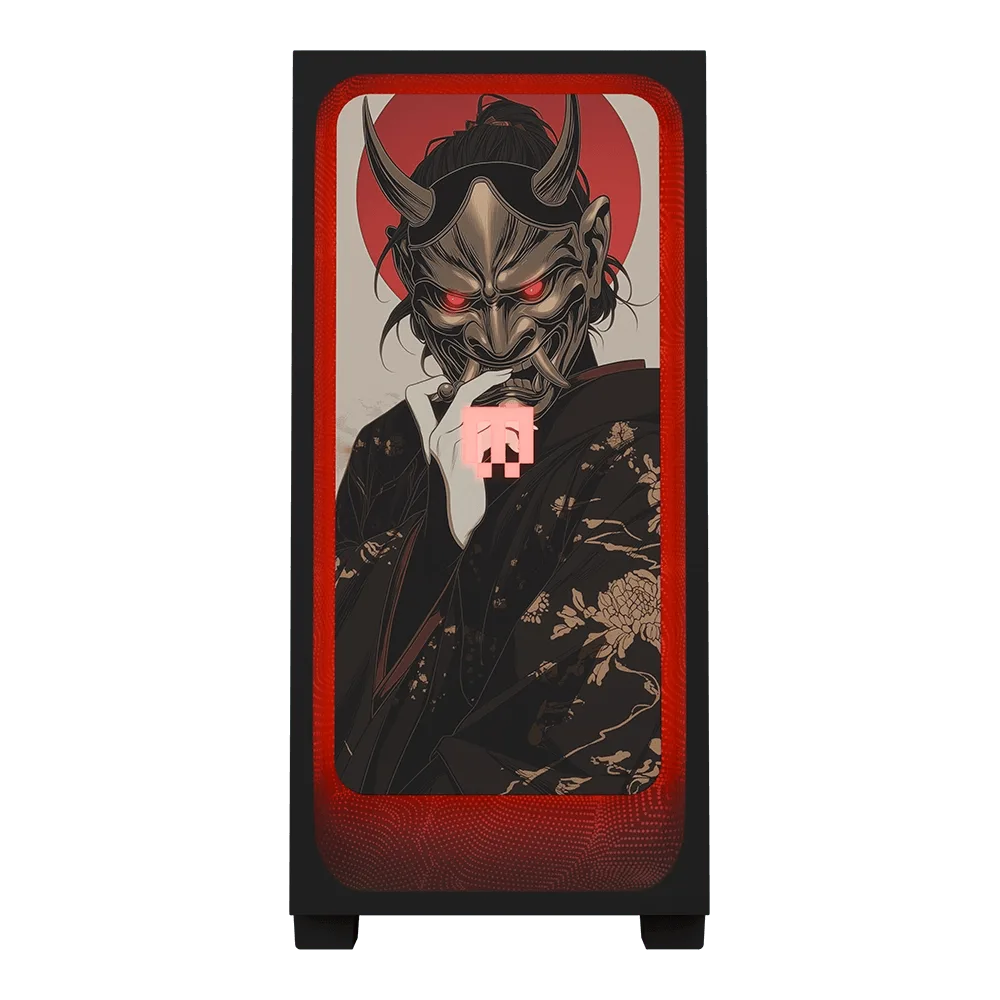
- Samurai: Samurai is a front panel option for the MG-1 that requires you to select your MG-1 model before ordering. Front panel choice affects how much air reaches your intake fans, so decide on the panel before you finalize fan placement.
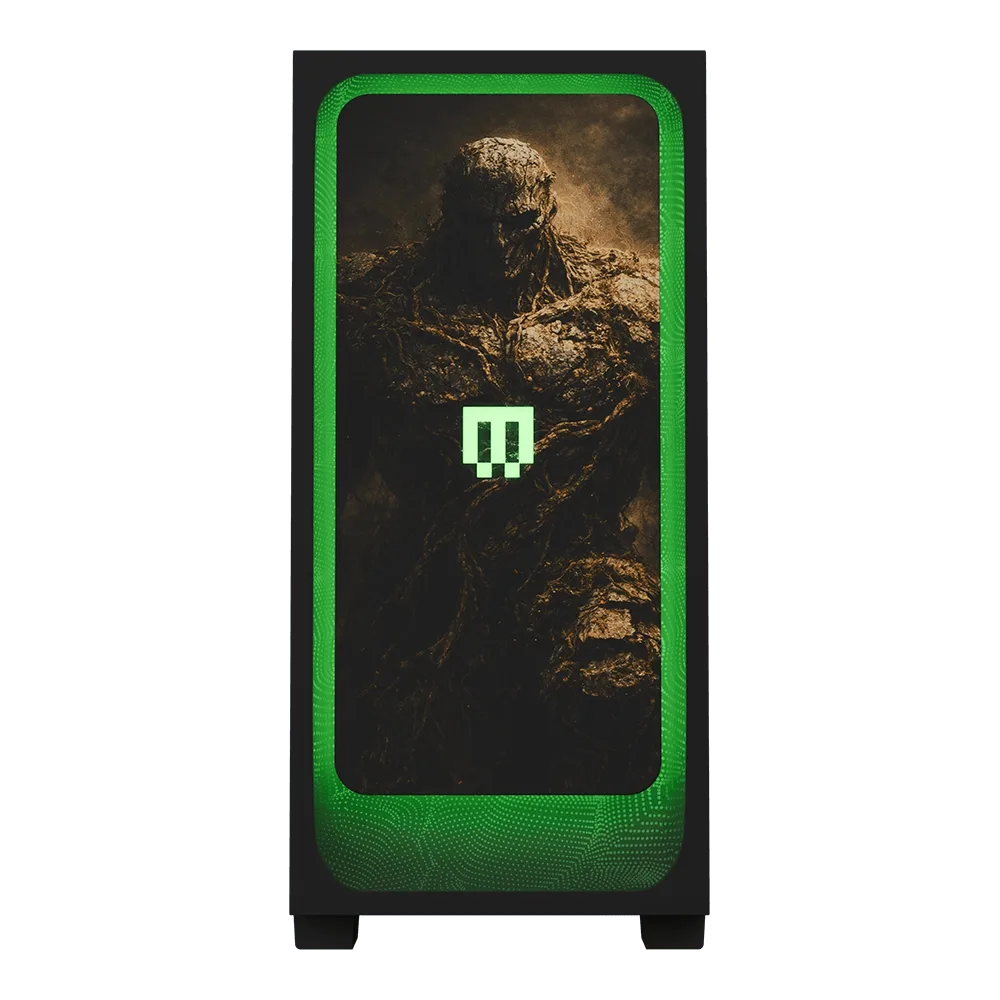
- Luna: Luna is a front panel option for the MG-1, also available in a limited Shiny Edition with textured finishes and gloss, and it requires you to select your MG-1 model before ordering. A decorative front panel can change airflow characteristics compared with a mesh panel, so plan fan speeds and pressure accordingly.