Quick answer
Set up a toddler play tent on a flat, stable surface, anchor it so it cannot tip, and keep the opening visible from where you sit. Rotate the tent between indoor and outdoor spots every few days, add one themed prop at a time, and pack it away when play winds down so it stays exciting.
Pick a spot that works for your space and your kid
Indoor play tent ideas work best in a corner or against a wall, where two sides are already blocked and the tent feels cozy rather than exposed. Leave at least a arm's length of clear floor in front of the opening so your toddler can crawl in and out without bumping furniture. For small spaces, measure the footprint before you commit; a tent that fits with room to spare gets used far more than one you have to squeeze past.
Outdoor play tent for kids setups need shade and a flat surface. Grass is softer but can be uneven; a patio or deck is flatter but gets hot in direct sun. Move the tent to a shaded spot in the afternoon, and bring it inside before dew or rain. If your yard is small, a balcony or a shaded driveway corner can work as long as the tent is stable and you stay nearby.
Set up the tent so it stays put
Follow the manufacturer's setup order, then test stability by pressing gently on the frame and the top. If the tent shifts, add weight inside or move it to a flatter surface. Never rely on a toddler to keep a tent upright. Keep the opening facing the room or yard so you can see inside without crawling in, and avoid placing the tent near stairs, heaters, or sharp corners.
For outdoor use, check the ground for sticks, rocks, and pet waste before you set the tent down. If the tent has ground stakes, use them only in soft ground and only when you can watch closely; stakes can be a hazard if a child pulls them up. When in doubt, skip the stakes and choose a spot where the tent cannot slide.
Add props in small batches
A toddler pretend play tent becomes a new world with just one or two props. Start with a soft blanket, a couple of board books, and a stuffed animal. After a few days, swap in a small basket of play food, a flashlight for a 'cave,' or a pad of paper for a 'secret clubhouse.' Rotating props keeps the tent interesting without turning it into a toy bin.
Avoid small parts that fit in a mouth, and skip anything with long cords or strings that could wrap around a neck. If you have older kids, give them their own prop box so the toddler's tent stays safe and simple.
Make cleanup part of the routine
Toddlers thrive on predictable endings. Ten minutes before you need to move on, announce that the tent is closing. Have your child help put props in a basket and pull the tent's opening closed. If the tent stays out, a quick reset—blanket folded, books stacked—takes a minute and makes the next play session feel fresh.
For outdoor tents, shake out crumbs and check for dampness before bringing it inside. Wipe the floor with a damp cloth if needed, and let the tent dry fully before folding or storing. A dry tent avoids mildew and keeps the fabric ready for the next sunny day.
Play tent setup steps
- Choose and clear the spot: Pick a flat, shaded indoor corner or outdoor area, then remove toys, cords, and sharp objects from the floor. Checkpoint: you can see inside the tent from your usual seat.
- Assemble the frame: Follow the maker's order, connect the frame fully, and fit the canvas cover without forcing any joint. Common mistake: skipping a connector makes the frame wobble later.
- Test stability: Press gently on the top and sides; if it shifts, move it to a flatter surface or add weight inside. Checkpoint: the tent stays put when your toddler leans on it.
- Set the opening and airflow: Face the opening toward the room or yard for visibility, and leave a gap for air if the tent has a closed back. Common mistake: pointing the opening at a wall, which makes the tent feel like a trap.
- Add one themed prop: Place a single prop—blanket, book, or play food—inside to spark a story, then rotate it every few days. Checkpoint: your toddler invents a role or a destination within the first few minutes.
- Reset at the end: Announce the closing, have your child help gather props, and wipe or air out the tent before storing. Common mistake: leaving snacks or damp fabric inside, which shortens the tent's life.
Product facts
- The Play Tent: Made from FSC Certified Beechwood and natural canvas, The Play Tent is easy to set up and will be the place for endless adventures and imaginative play. The wood-and-canvas build gives the tent a stable frame and a natural look that fits both indoor corners and shaded outdoor spots, so you can move it between rooms and the yard without it feeling out of place.
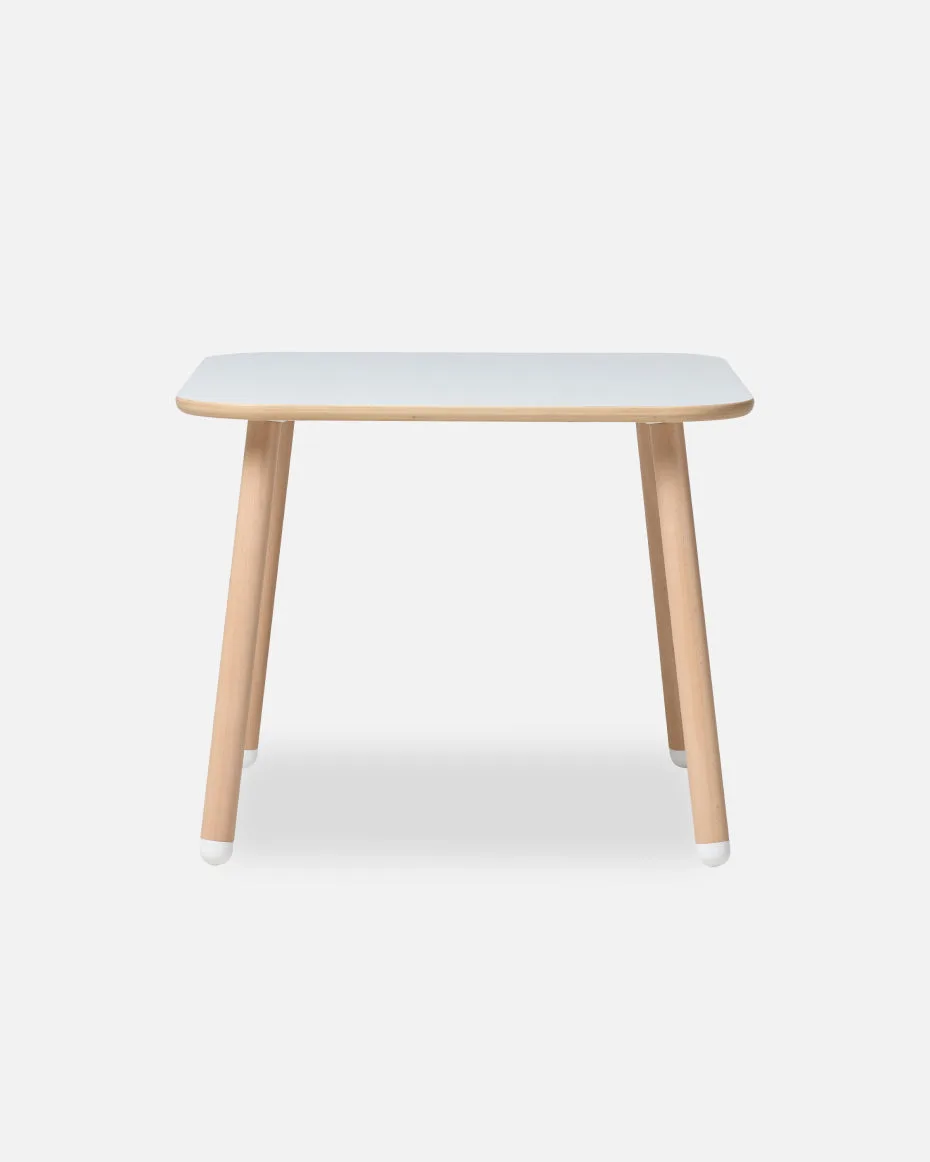
- Giant Coloring Sheets: A table surface saver and mess-free art project all in one. Sized to perfectly cover the Play Table or spread out on any surface to give young artists extra room to create. Each pack comes with 5 sheets with unique designs. When the tent becomes an art nook, these sheets protect the table underneath and give toddlers a defined space to color, which pairs well with a play tent setup on a rainy indoor day.