Quick answer
A prong collar should sit high on the neck, just behind the ears and below the jaw, where the links stay snug and the collar cannot slide down toward the shoulders. It should be snug enough that it does not rotate freely, but you should still be able to slip one finger between the links and the skin. If it hangs low or spins around the neck, the fit is wrong.
Prong collar placement is the difference between a training tool that communicates clearly and one that pinches, slips, or gets ignored. The collar has to sit in the right spot before any training session starts, because a collar that slides down the neck loses both precision and comfort.
This guide walks through the placement process step by step, including the high versus low position question, the fit mistakes that show up most often, and how to check your work before you attach a leash. If your dog's collar uses replaceable links, you will also need the right extra links to dial in the length.
Why position matters more than most owners expect
The neck is not uniform. Just behind the ears and under the jaw, the neck is narrow and the tissue is closer to the underlying structures, so a snug collar stays put and delivers a consistent, brief correction. Lower on the neck, near the shoulders, the neck widens and the collar has room to slide. A collar that sits low tends to rotate, hang, and deliver uneven pressure.
That is why trainers talk about high versus low prong collar placement so often. A high position keeps the collar from dropping when your dog pulls or turns. A low position lets the collar migrate, which means your timing and pressure become inconsistent from one moment to the next. Position is not a style preference; it changes how the tool works.
- Check placement before every walk or training session, not just the first time.
- If the collar ends up near the shoulders after a few minutes, it is too loose or too low.
How to check the fit without guessing
Fit and placement are linked. A collar that is too loose will not stay high no matter how carefully you position it, and a collar that is too tight can cause rubbing and discomfort. The working standard is snug: the links should sit close to the skin without pinching it, and you should be able to slide one finger under the collar with mild resistance.
Watch how the collar behaves when your dog moves. It should not spin around the neck, and it should not slide down when your dog lowers their head to sniff. If either happens, adjust the length before you continue. For collars built from replaceable links, that adjustment is a matter of adding or removing links rather than choosing a different collar.
- Test fit after exercise, not only when your dog is calm, since coat and neck position change.
- Never leave a prong collar on an unsupervised dog.
Common fitting mistakes and what they look like
The most frequent mistake is letting the collar hang low because it looks less severe. In practice, a low collar slides and rotates, which can cause inconsistent pressure and more irritation than a properly placed high collar. The second most common mistake is sizing by neck measurement alone and ignoring how the collar sits once the leash is attached.
Another mistake is adding links to make the collar easier to put on, then leaving those extra links in during training. Extra length almost always means a lower position. If you need more room to get the collar over your dog's head, adjust it for the session rather than training with a loose collar. Finally, owners sometimes tighten a collar to the point that it cannot move at all, which removes the limited movement the design relies on.
- A collar that needs constant repositioning during a walk is a fit problem, not a training problem.
- If you see hair loss or skin irritation, stop using the collar and reassess fit and placement.
Adjusting length with replacement links
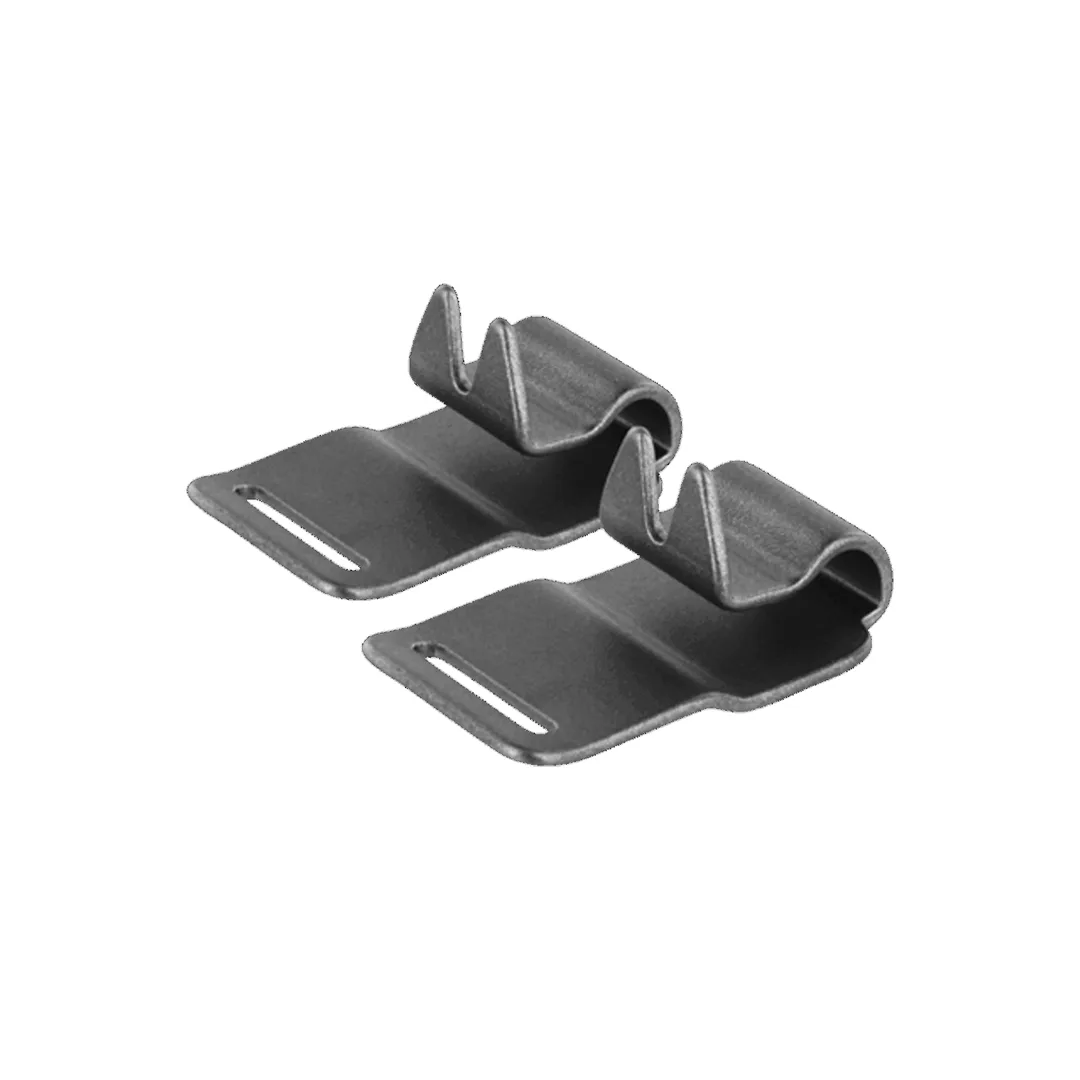
Many quality prong collars are built as link systems, which means you fine-tune the length instead of settling for the closest size. Herm Sprenger Ultra-Plus prong collars accept replacement links, and the 4.0mm Black Stainless Herm Sprenger Ultra-Plus Prong Training Dog Collar Replacement Links are designed to attach to existing links to add length. The blunt design is intended to be effective while attaching easily for a precise fit.
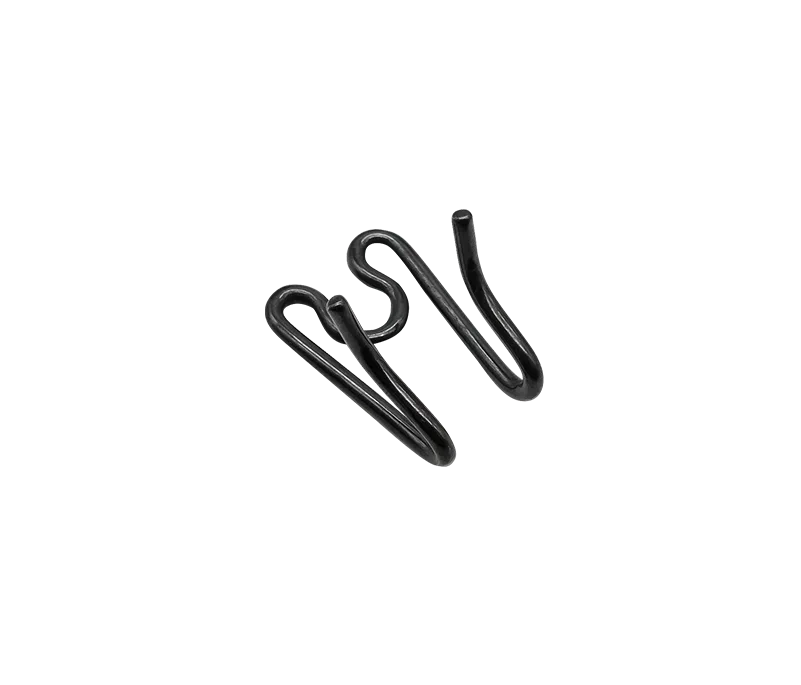
4.0mm Black Stainless Herm Sprenger Ultra-Plus Prong Training Dog Collar Replacement Links
For Neck-Tech style collars, the math is straightforward: each extra stainless steel link adds 1.25 inches (3 cm) to the total length. Herm Sprenger NeckTech Sport Black Stainless Links come in packs of two and are made of stainless steel to resist rust or corrosion, and the Herm Sprenger NeckTech Fun Extra Matte Black Stainless Links follow the same 1.25-inch per-link rule for the Fun collar line. Knowing the per-link length lets you plan adjustments instead of guessing.
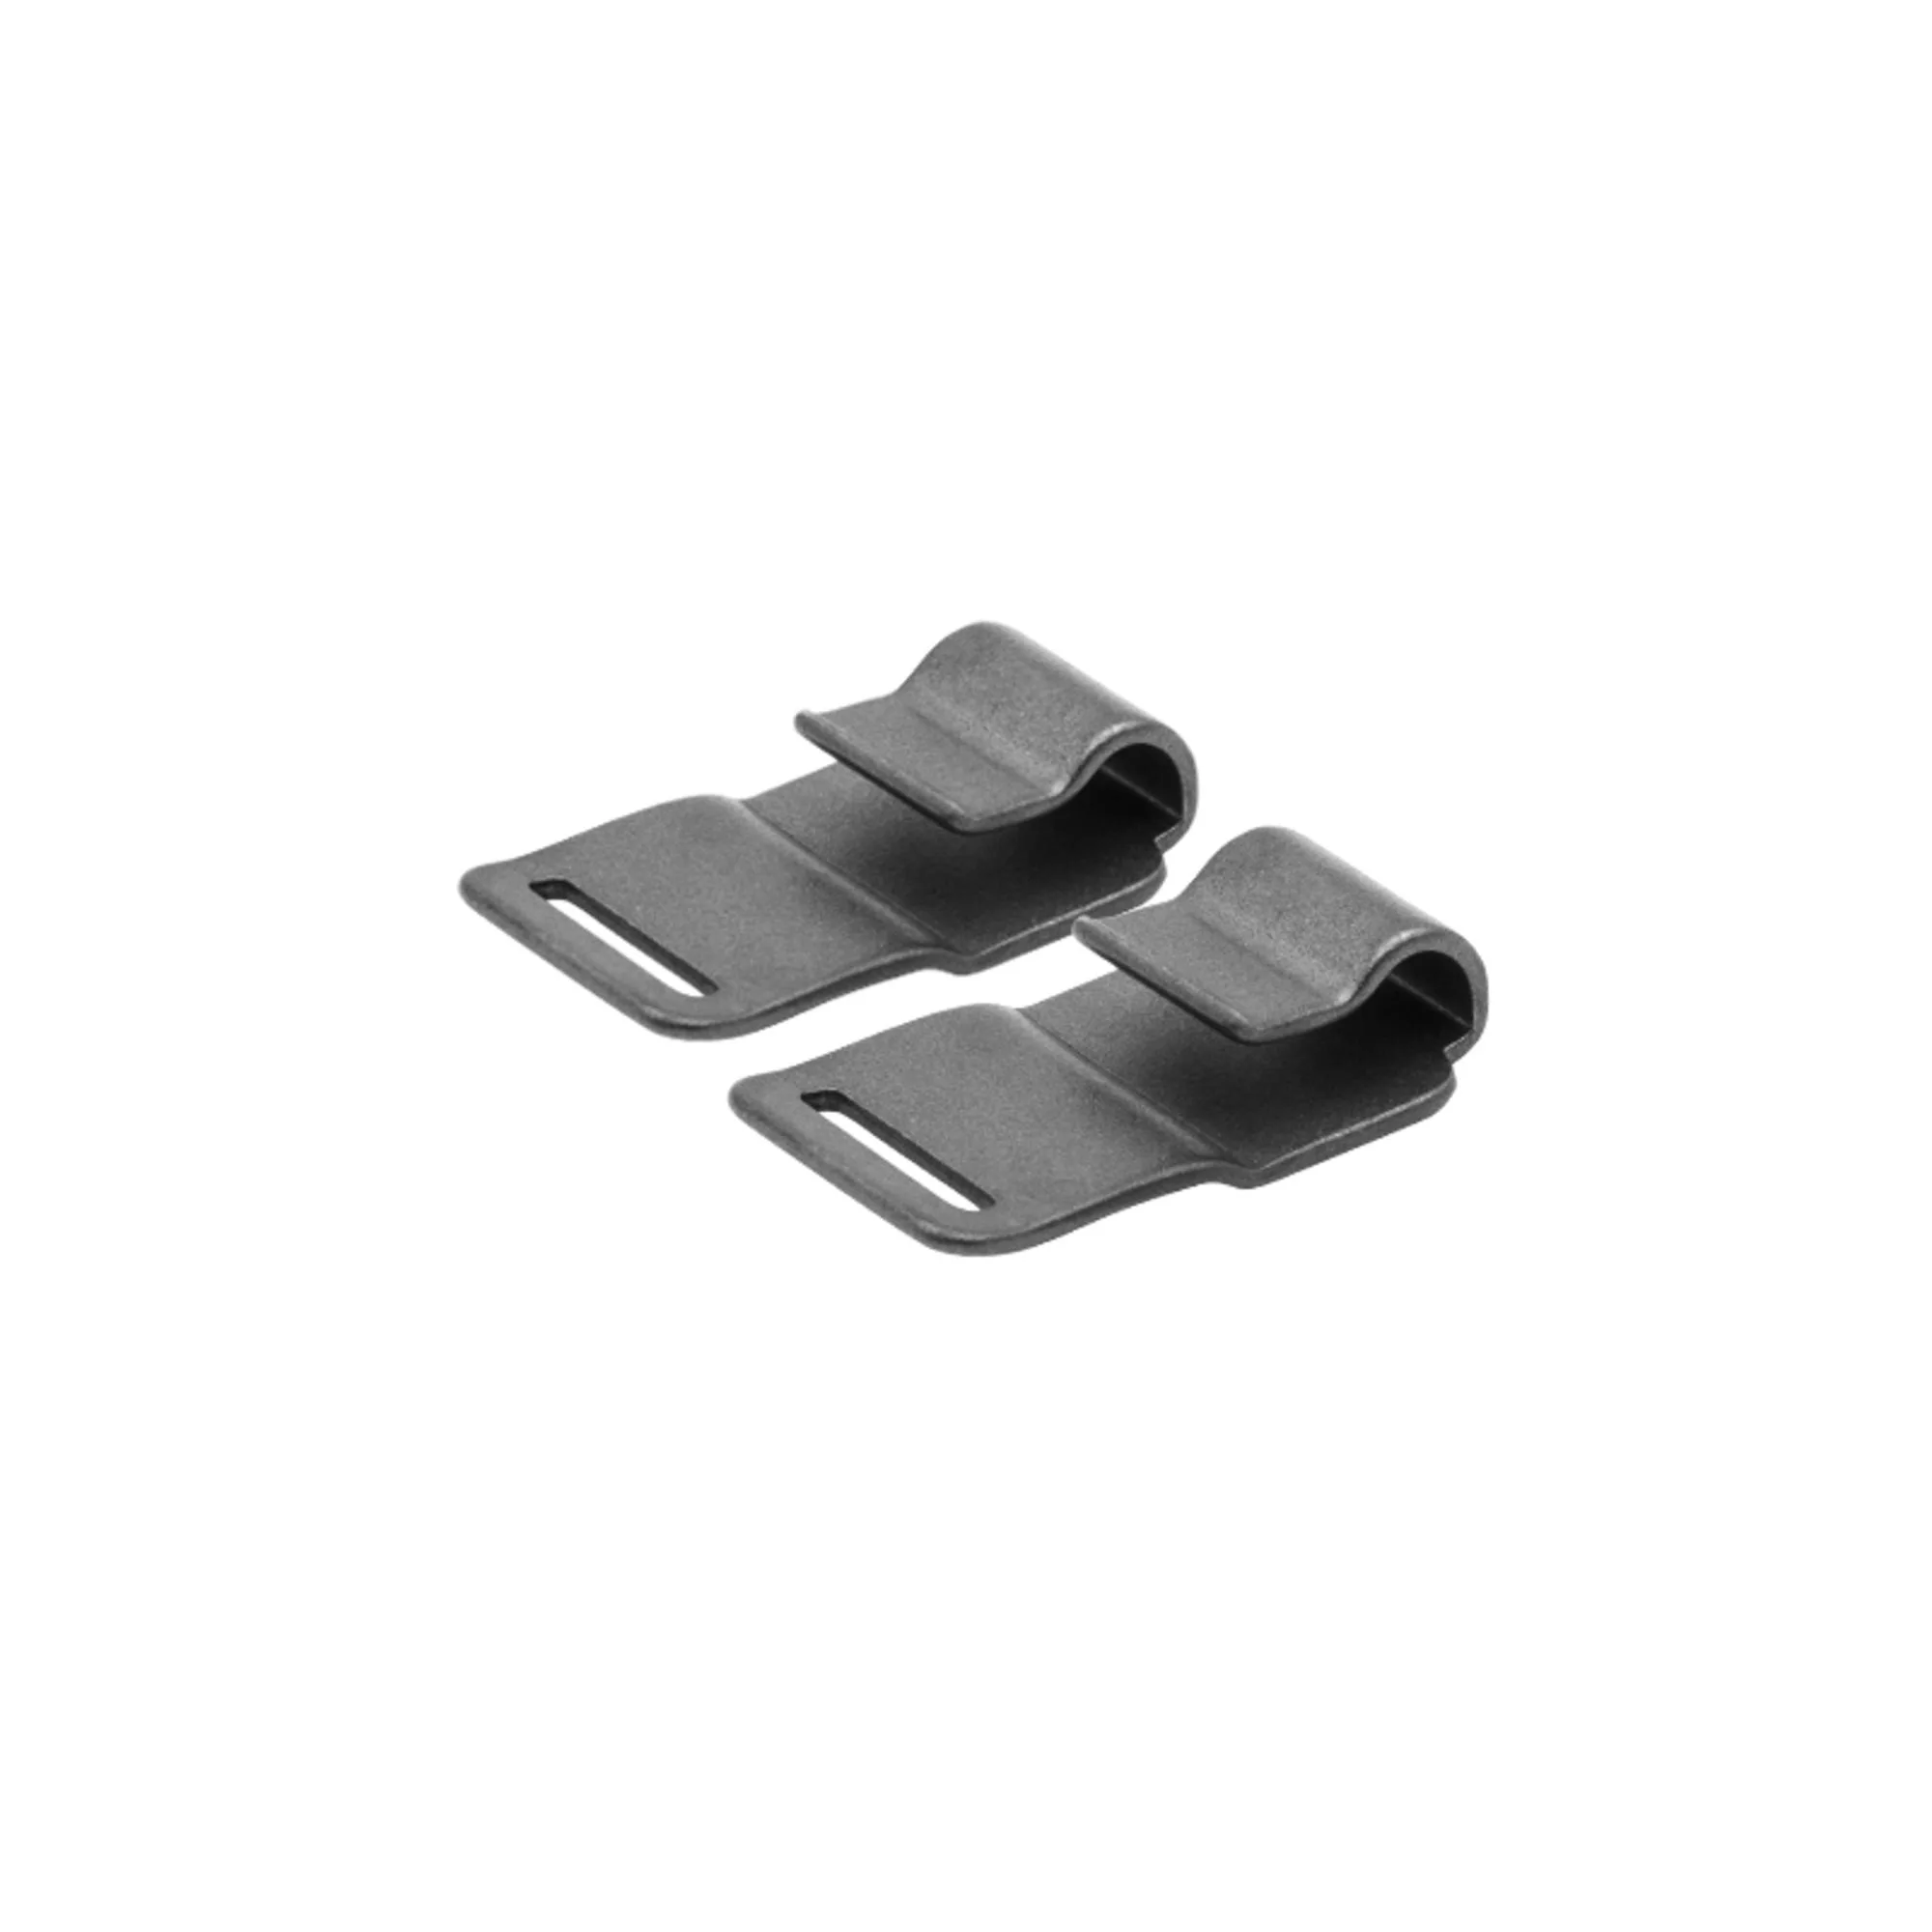
Herm Sprenger NeckTech Fun Extra Matte Black Stainless Links
- Add links one at a time and recheck placement before adding another.
- Stainless steel links resist rust and corrosion, which matters for a collar worn in wet conditions.
Placement during training and everyday use
Once the collar is positioned correctly, keep your sessions short and reward-based. A training collar is a communication tool, and its usefulness depends on timing and consistency, not on how much pressure it can apply. If your dog is already responsive to voice and treat-based training, a remote trainer may be a better fit for general obedience work.
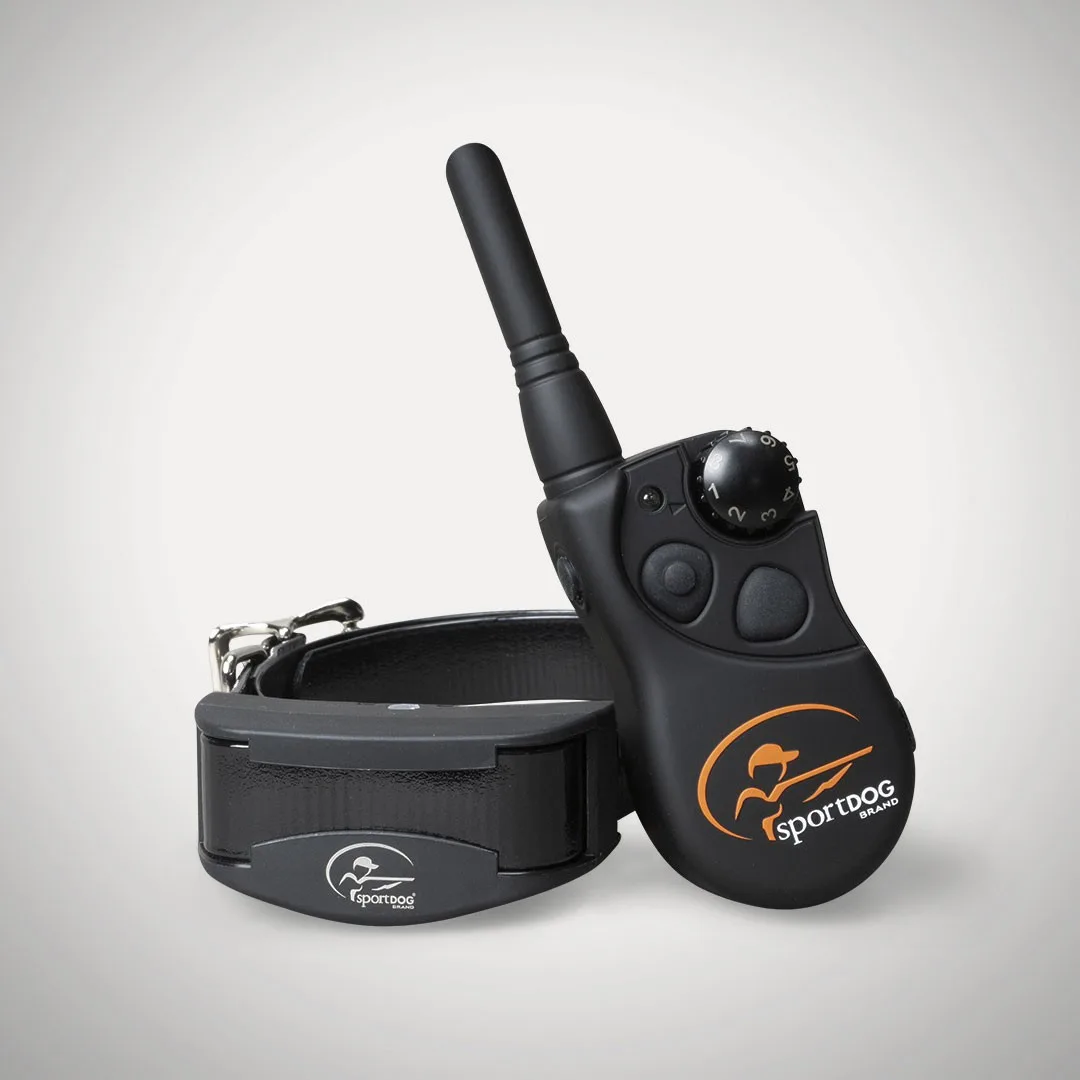
The YT-100S SportDOG Brand Yardtrainer 100S is built for more stubborn or easily distracted dogs, according to the product description, and the PetSafe 600 Yard Remote Trainer is designed to correct behavior with the push of a button for dogs that need help with manners on walks or at the dog park. These tools address different problems than a prong collar, which is primarily about leash communication and placement.
- Use the lightest effective pressure and release immediately.
- Pair corrections with clear, reward-based training so your dog understands what you want.
Prong collar placement: the step-by-step process
- Step 1: Position the collar high on the neck: Slide the collar up so it sits just behind the ears and below the jaw, where the neck is narrowest. This is the position where the collar stays put and delivers consistent pressure. Checkpoint: the collar should not rest on the shoulders. If it does, it is too low.
- Step 2: Check the snugness with one finger: Slide one finger under the collar. You want mild resistance, not a loose gap and not a tight squeeze. If the collar spins freely around the neck, it is too loose. Common mistake: tightening until the collar cannot move at all, which removes the limited movement the design relies on.
- Step 3: Adjust length with links, one at a time: If the collar is too long to sit high, remove a link. If it is too tight to place comfortably, add a link. Herm Sprenger Neck-Tech links add 1.25 inches (3 cm) each, so you can measure your adjustment. Checkpoint: recheck placement after every single link change.
- Step 4: Test placement during movement: Walk your dog, ask for a turn, and have them lower their head to sniff. The collar should stay high and not rotate or drop toward the shoulders. Common mistake: judging fit only while your dog stands still.
- Step 5: Inspect the skin after the session: Remove the collar and look for redness, rubbing, or hair loss. Some temporary marking can happen, but persistent irritation means the fit or position needs to change. Next step: if irritation continues, stop using the collar and consult a qualified trainer.
- Step 6: Keep sessions short and reward-based: Use the lightest pressure that gets a response, release immediately, and reward the behavior you want. Placement supports training; it does not replace it. Checkpoint: if your dog is not responding to leash communication, consider whether a different training tool fits the problem.
Product facts that help with placement and fit
- 4.0mm Black Stainless Herm Sprenger Ultra-Plus Prong Training Dog Collar Replacement Links: These links are used to add length to the Herm Sprenger Ultra-Plus Prong Training Dog Collars. The blunt design is effective and easily attaches to existing links for a perfect fit. If your collar sits too low, adding length is usually the wrong fix; if it is slightly too tight to place correctly, a single link can restore the snug-but-not-binding fit the high position requires.
- Herm Sprenger NeckTech Sport Black Stainless Links (2): Each extra link for stainless steel Neck-Tech collars adds 1.25 inches (3 cm) to the total length of the collar. Sold in packs of 2, made of stainless steel to prevent rust or corrosion. Knowing the exact length each link adds lets you adjust placement in measured steps rather than guessing, and stainless steel holds up to wet walks.
- Herm Sprenger NeckTech Fun Extra Matte Black Stainless Links: Each extra link for stainless steel Neck-Tech collars adds 1.25 inches (3 cm) to the total length of the collar. Made of stainless steel to prevent rust or corrosion. The same 1.25-inch per-link rule applies to the Fun line, so you can plan fit adjustments for that collar with the same simple math.
- YT-100S SportDOG Brand® Yardtrainer 100S: The YT-100S SportDOG Brand YardTrainer 100S was built for more stubborn and easily distracted dogs, and proper training may require the use of specialized tools so your dog responds to your commands. If your dog ignores leash pressure entirely, a remote trainer may address the training gap that collar placement alone cannot.
Correct prong collar placement comes down to three things: high on the neck, snug enough to stay there, and checked again after every adjustment. Get those right, and the collar does its job quietly. Get them wrong, and you will spend the walk repositioning instead of training.