Quick answer
Start with a plain, lightweight collar for identification the day your puppy comes home, usually around 8 weeks. Build leash and name recognition for several weeks before adding any training tool. Most puppies are not ready for a training collar until roughly 5 to 6 months, and only after basic cues and loose-leash manners are already in place.
Puppy gear gets bought in a hurry, and collars are where most owners overshoot. A young puppy does not need the same hardware as an adult dog who pulls, and putting a training tool on too early usually slows progress rather than speeding it up.
This puppy collar timeline walks through what to use at each stage, when to start puppy training collar work, and the one mistake that trips up most owners at every step. Treat it as a sequence, not a shopping list — each stage earns the next.
Stage 1: Fit a plain collar for identification
From the day your puppy comes home, a lightweight flat collar with an ID tag does one job: it tells a stranger who to call. Keep it snug enough that two fingers slide under it but it cannot slip over the head, and check the fit weekly because puppies grow fast. This is also the period to touch the collar daily — buckle it on, feed a treat, take it off — so handling never becomes a fight.
Skip anything with weight, prongs, or electronics at this age. A puppy's neck is still developing, and heavy hardware changes how they move and how they feel about being handled. If your puppy scratches at the collar for a day or two, that is normal; if they freeze or panic, loosen it a notch and reintroduce it in short sessions.
- Checkpoint: your puppy can wear the collar for a full day without pawing at it or shutting down.
- Mistake to avoid: leaving a collar on in a crate where it can catch on a bar.
Stage 2: Add a leash and name recognition (roughly 8 to 12 weeks)
Attach a light leash indoors and let your puppy drag it for a few minutes while you feed treats. Then pick it up and take three steps. Reward anything that looks like following you. This is where a puppy learns that pressure on the collar means 'come toward me,' not 'brace and pull.'
Keep sessions under five minutes and stop before your puppy loses interest. Name recognition comes from saying the name once, then rewarding the moment your puppy looks up. Repeat ten times a day rather than one long session.
- Checkpoint: your puppy turns toward you on their name and walks a few steps on a loose leash indoors.
- Mistake to avoid: repeating the name five times in a row — that teaches your puppy the cue is background noise.
Stage 3: Build loose-leash manners before any training tool (roughly 3 to 5 months)
This stage is where most of the real work happens. Practice in low-distraction places first, then a quiet sidewalk, then a park at a distance from other dogs. Reward your puppy for walking beside you, and stop moving the moment the leash goes tight. You are teaching that a tight leash ends the walk, which is the foundation every training collar later depends on.
If your puppy pulls hard enough to cough or gag, switch to a front-clip harness or a properly fitted no-pull harness for walks while you keep training. Aversive tools used before your puppy understands basic cues tend to create confusion, not obedience.
- Checkpoint: your puppy can walk 20 to 30 steps on a loose leash in a quiet area.
- Mistake to avoid: adding a training collar to fix pulling before your puppy knows what 'heel' means.
Stage 4: Decide whether a training collar is appropriate (5 to 6 months and older)
Some puppies never need more than a flat collar and consistent reward-based training. Others — especially strong, determined breeds heading into adolescence — benefit from a remote trainer or a prong collar used under guidance. The right time is when your puppy reliably responds to basic cues at home, has a stable temperament, and your veterinarian or trainer agrees the tool fits the dog in front of you.
For remote training, the PetSafe® 600 Yard Remote Trainer is designed to correct behavior with the push of a button, which suits owners who need range on walks or at the dog park. The YT-100S SportDOG Brand® Yardtrainer 100S is built for more stubborn and easily distracted dogs, according to the manufacturer. Neither replaces teaching the behavior first — they refine what your puppy already knows.
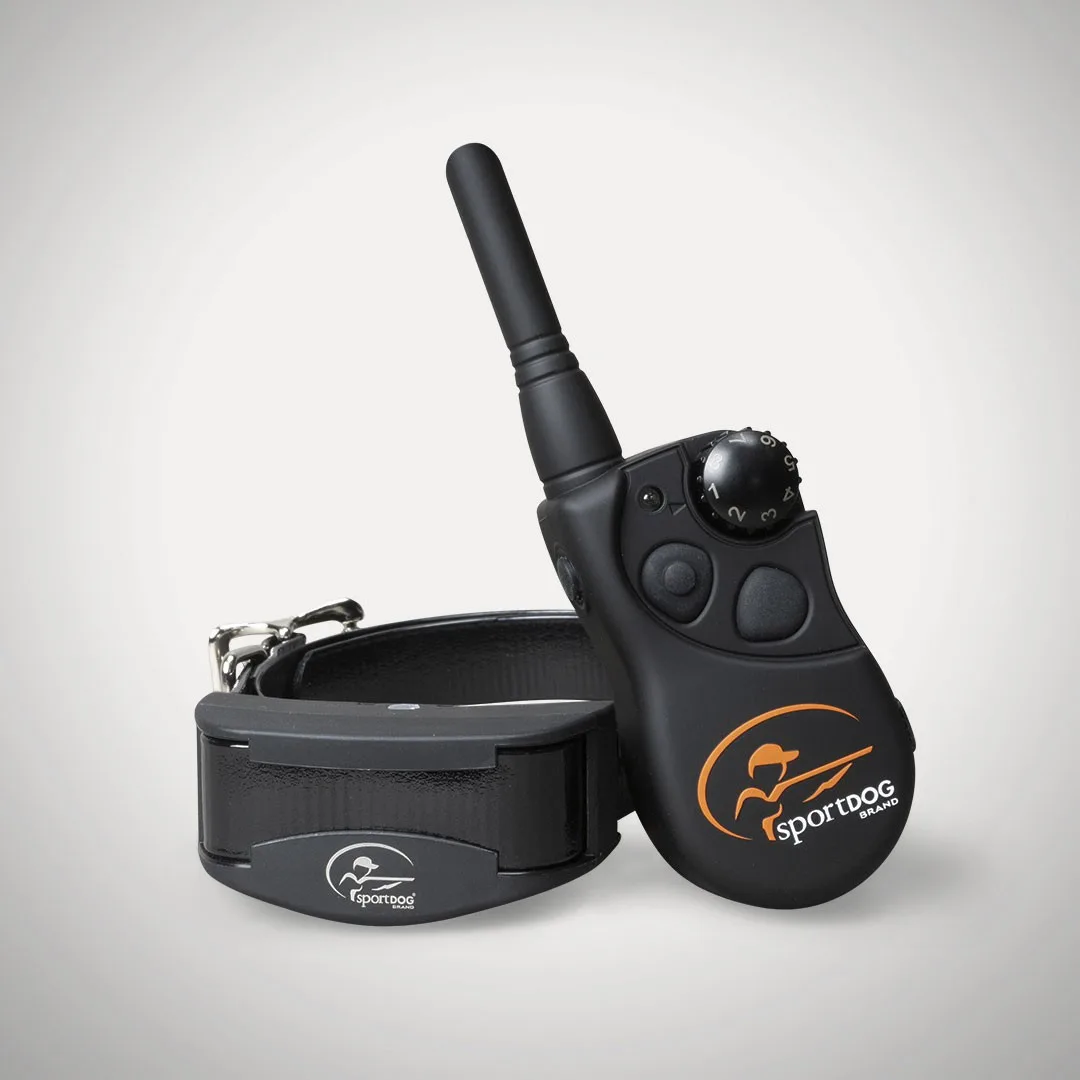
YT-100S SportDOG Brand® Yardtrainer 100S
- Checkpoint: your puppy responds to 'sit,' 'come,' and 'leave it' at home before you introduce any electronic or prong tool.
- Mistake to avoid: buying a remote trainer as a first step instead of a last step.
Stage 5: Fit the tool correctly and reassess monthly
Fit is where training tools succeed or fail. A prong collar should sit high on the neck, just behind the ears, and be snug enough that it does not slide down — not tight enough to restrict breathing. Remote trainers need a consistent contact fit, and the correction level should be the lowest your dog notices, not the highest the device offers.
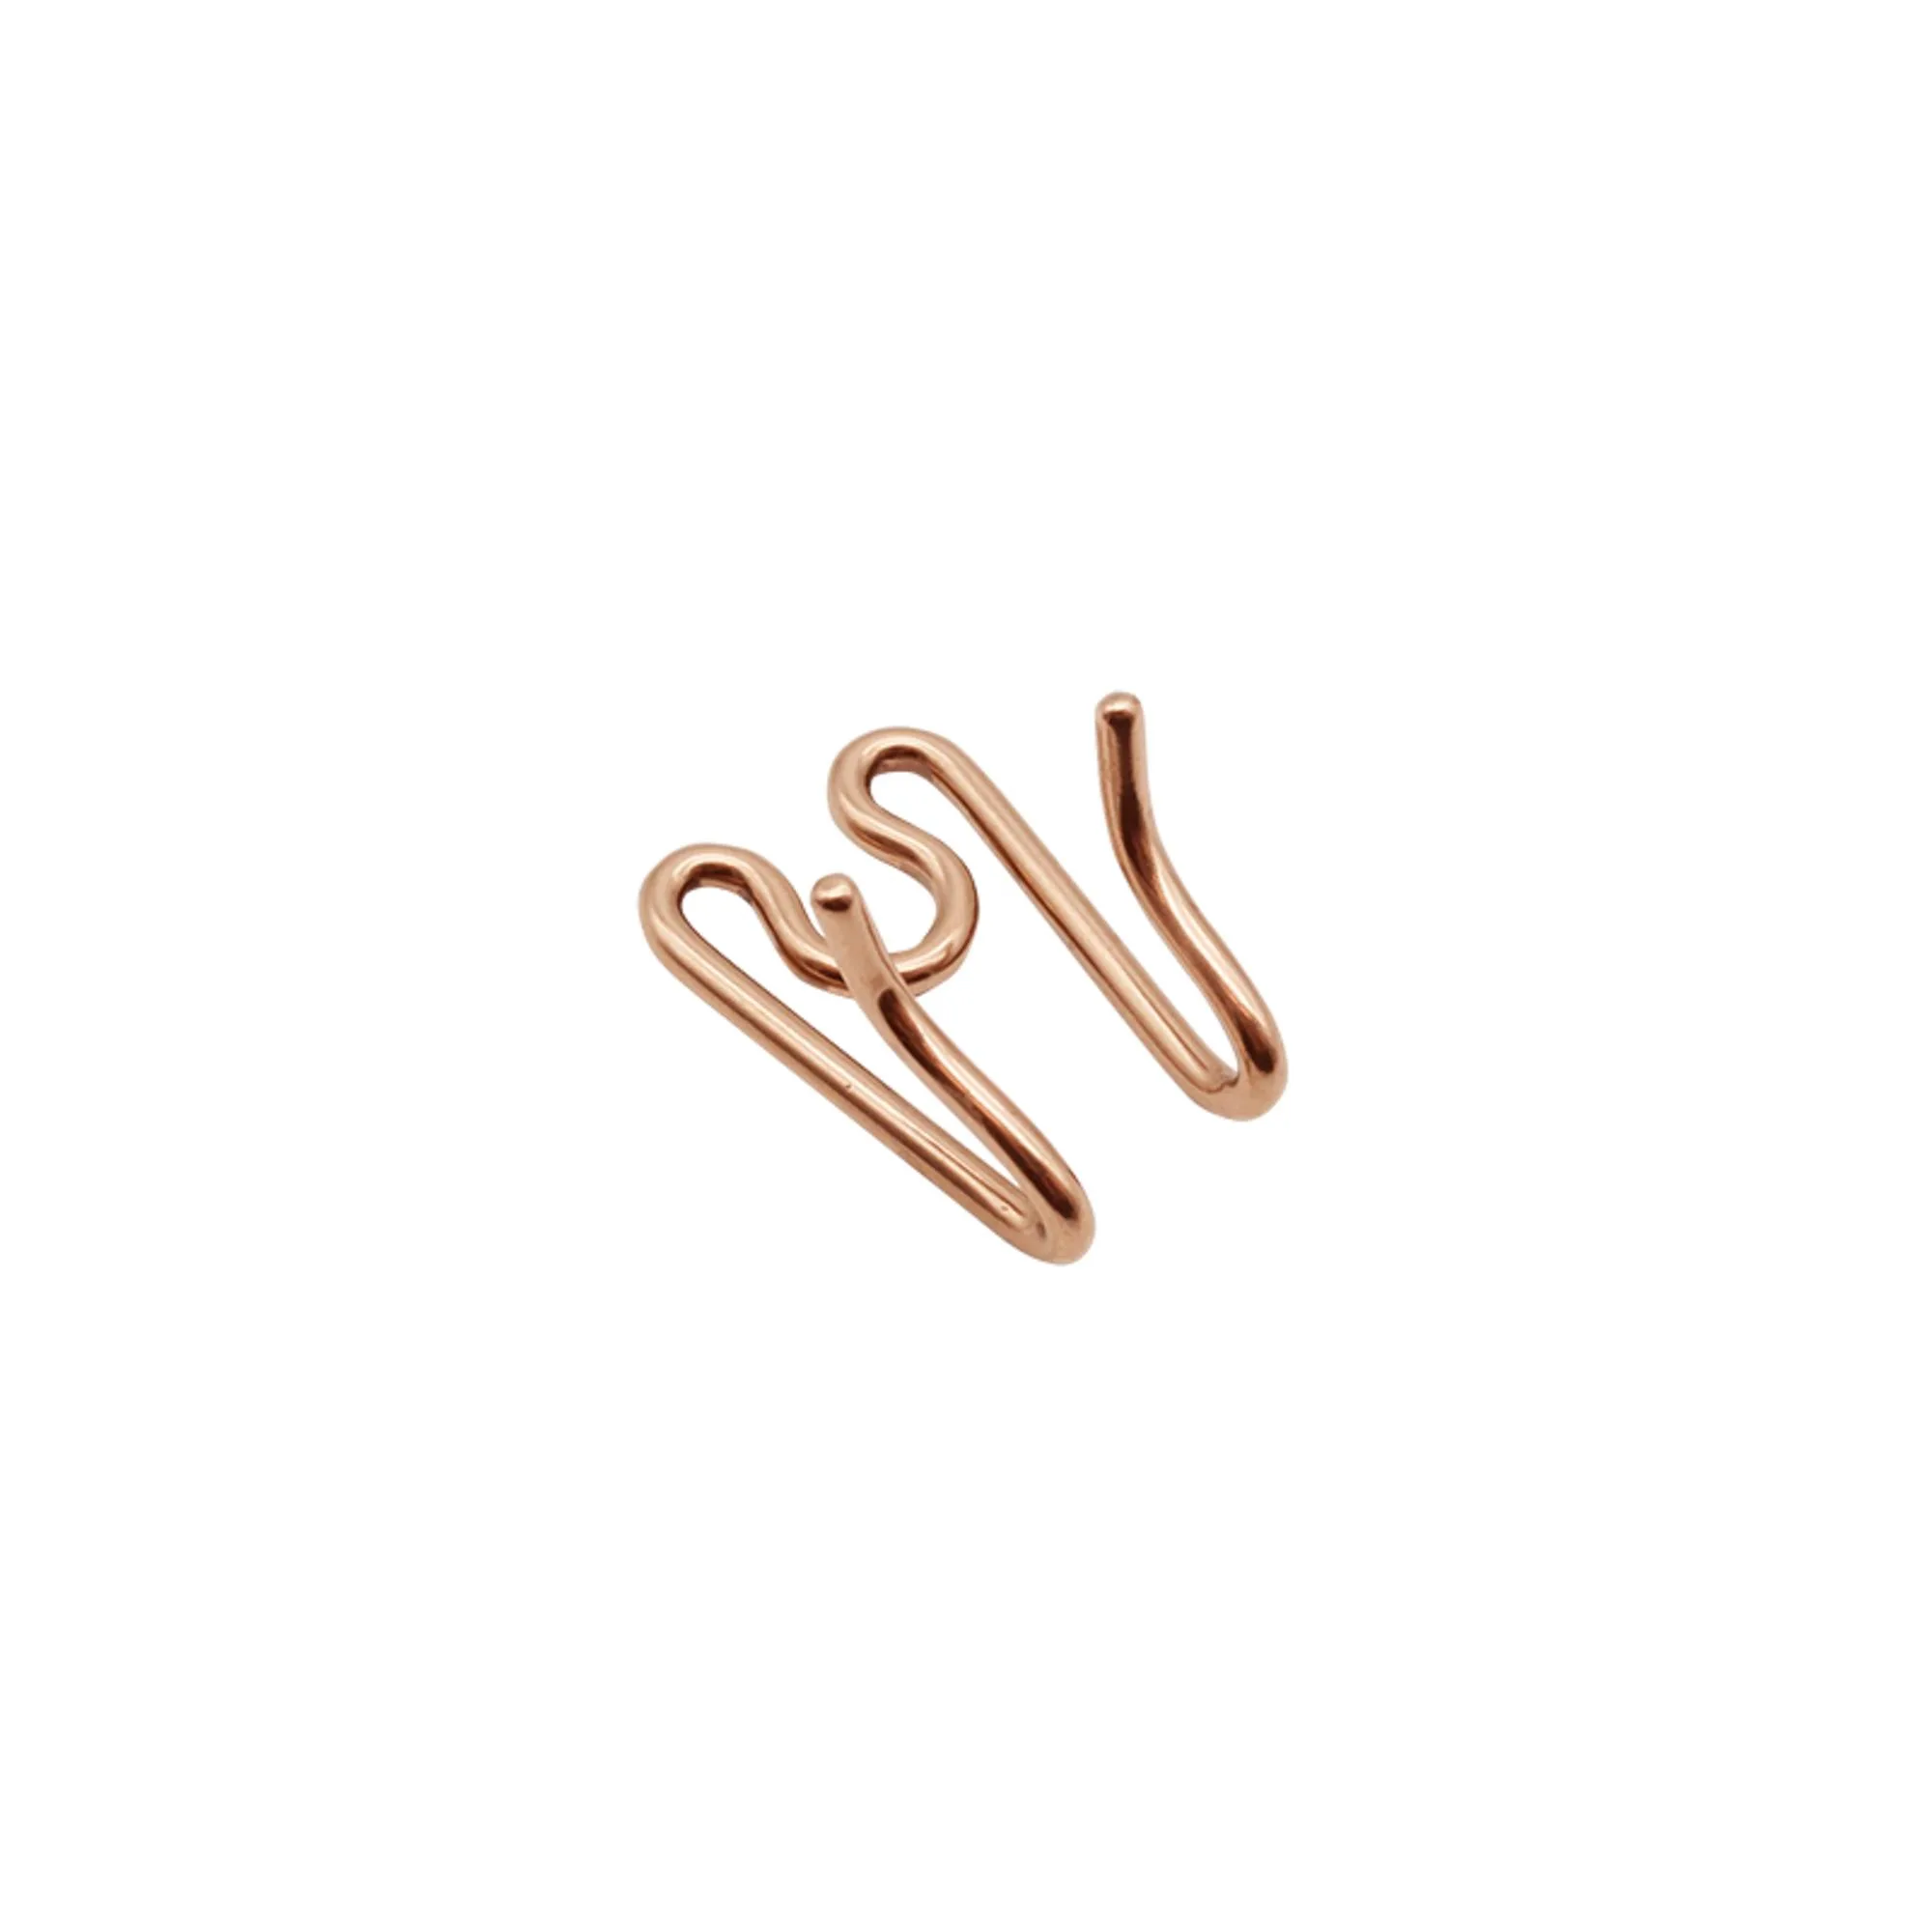
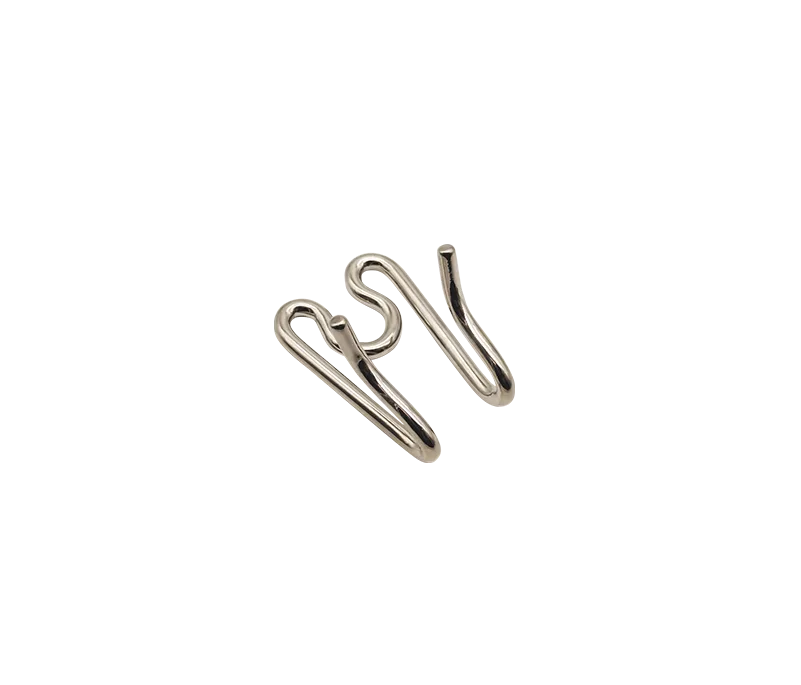
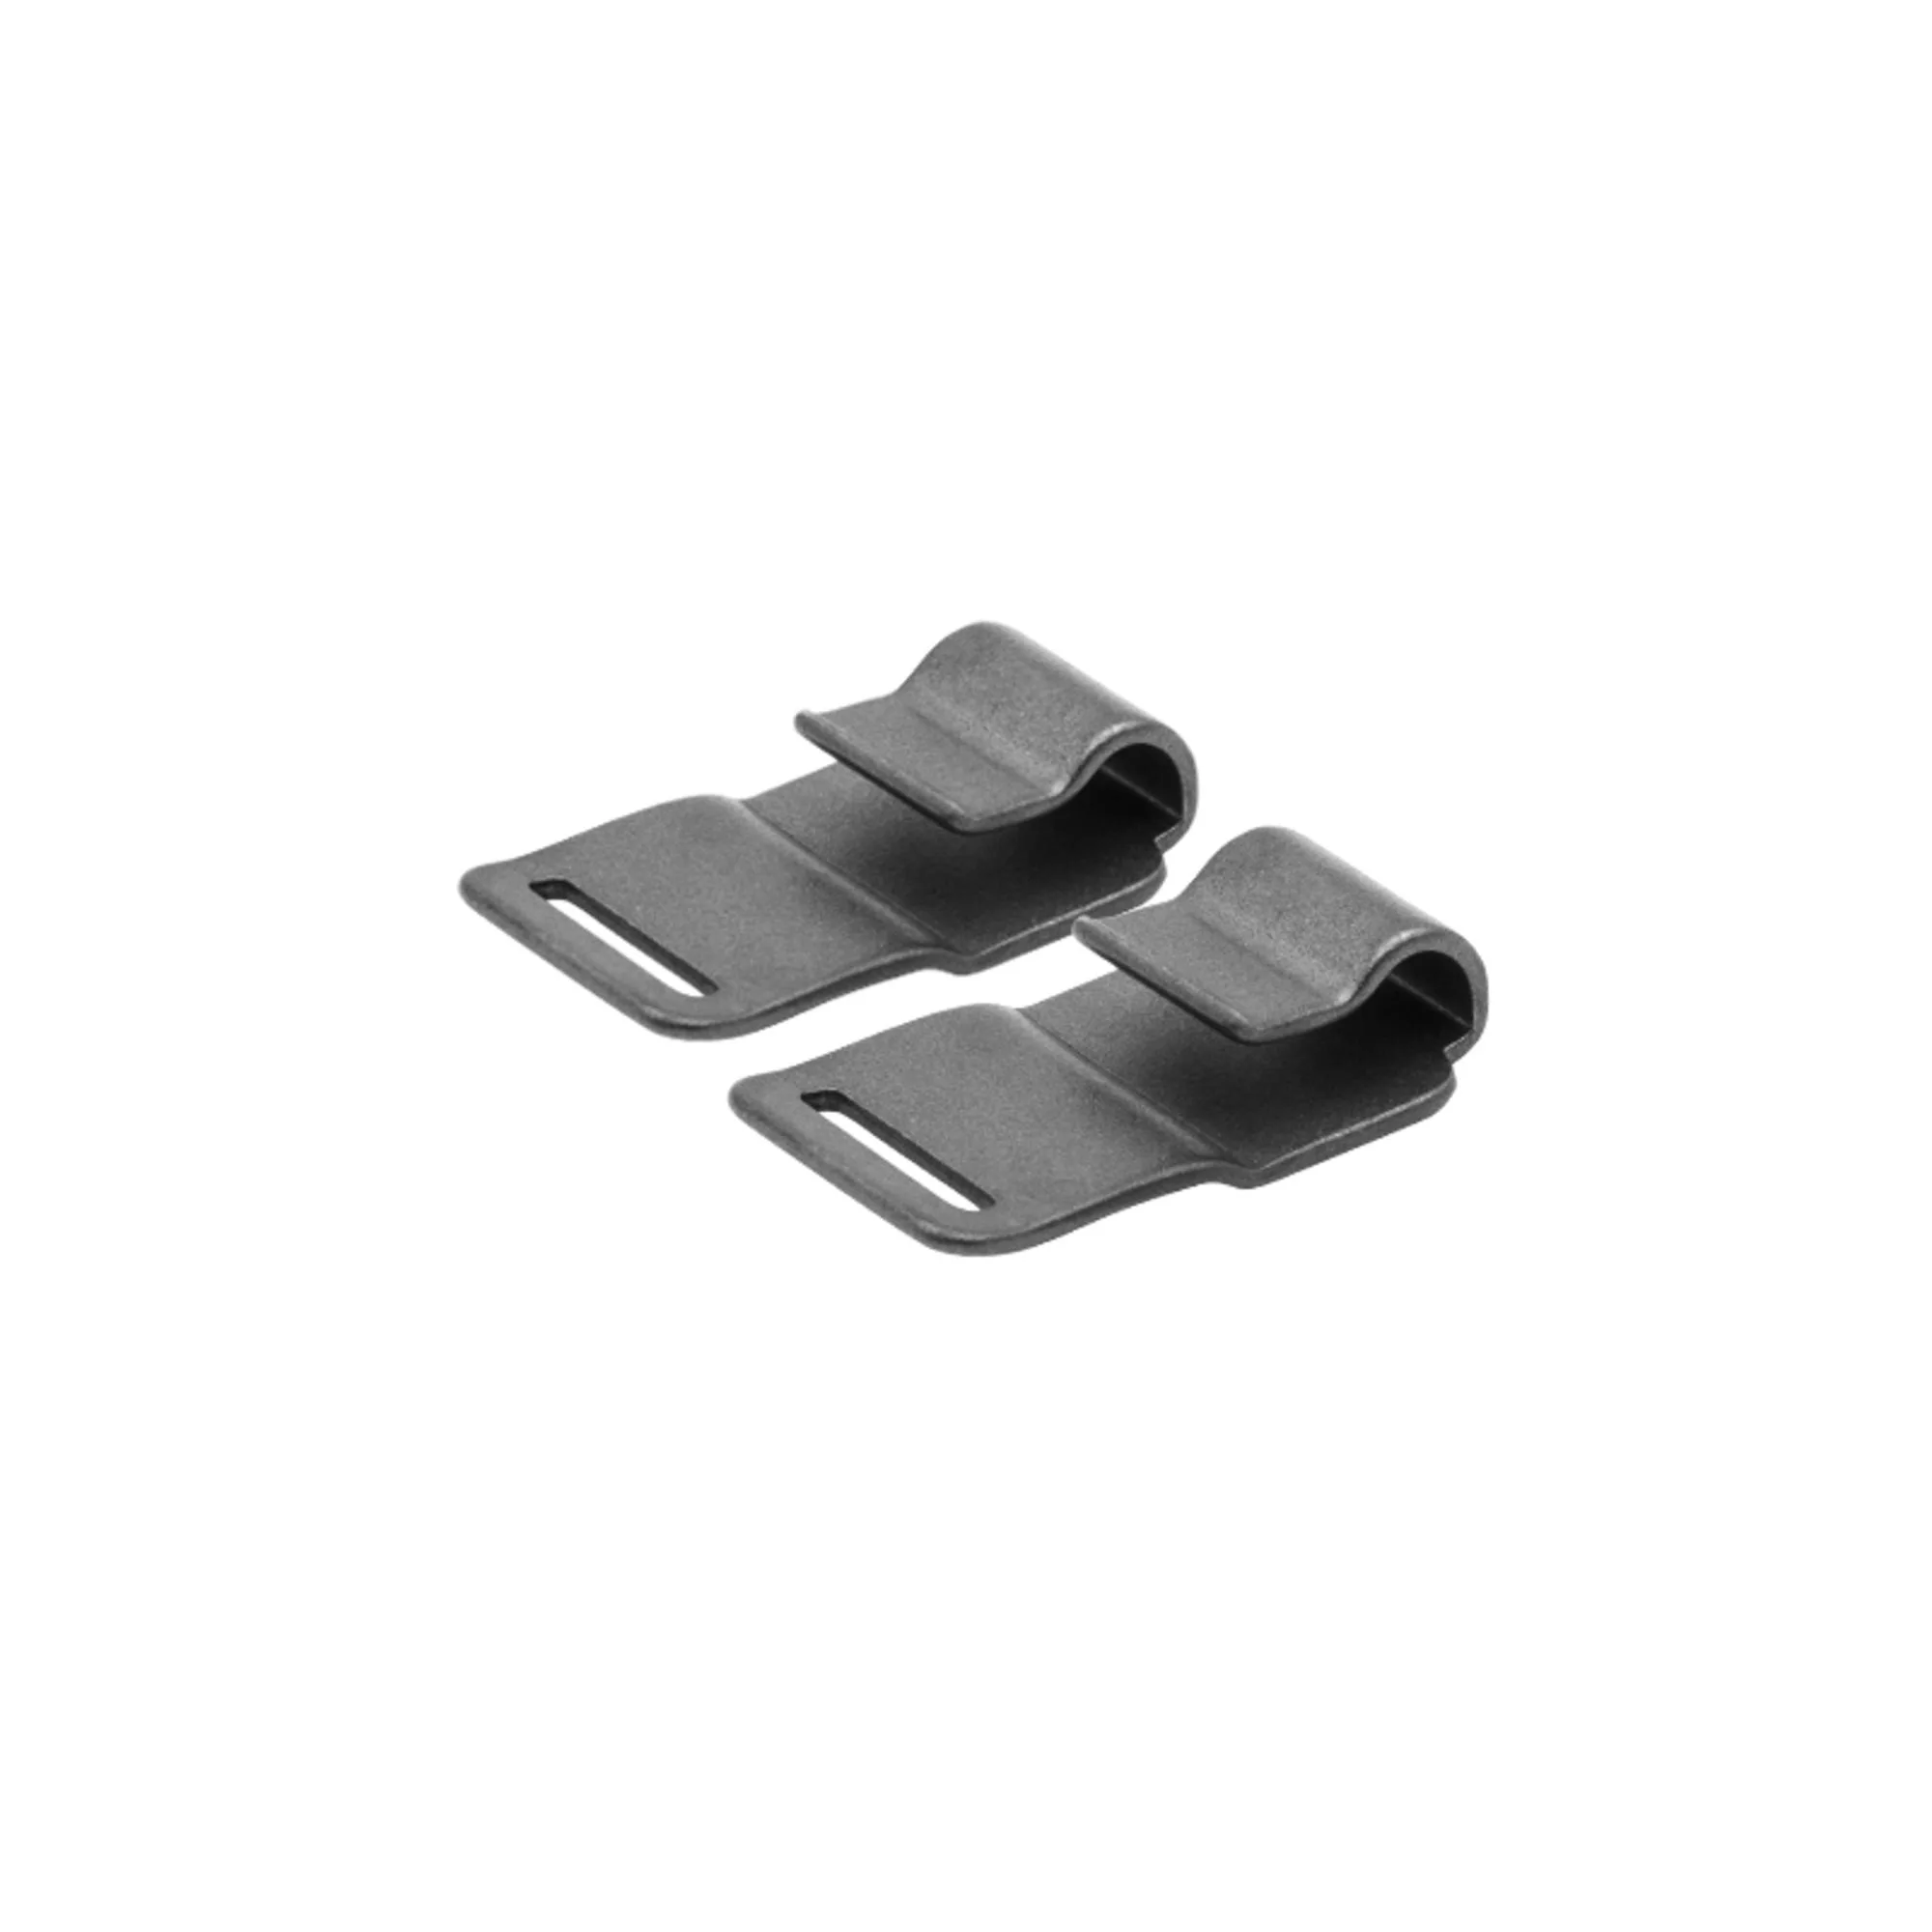
Puppies change shape quickly, so refit every few weeks. Herm Sprenger links let you adjust length without buying a new collar: the 3.25mm Curgoan Herm Sprenger Ultra-Plus Prong Training Dog Collar Replacement Links attach to existing links for a perfect fit, and the 3.25mm Stainless Herm Sprenger Ultra-Plus Prong Training Dog Collar Replacement Links do the same in stainless. If you use a Neck-Tech collar, the Herm Sprenger NeckTech Fun Extra Matte Black Stainless Links add 1.25 inches (3 cm) each and are made of stainless steel to prevent rust or corrosion.
- Checkpoint: you can slide two fingers under the collar, and it stays put when your puppy shakes.
- Mistake to avoid: leaving a prong collar on all day instead of using it only for training sessions.
Your puppy collar timeline at a glance
- Week 8: plain flat collar with ID: Fit it snug, check weekly, and handle the collar daily with treats so it stays neutral. Checkpoint: no pawing, no freezing.
- Weeks 8-12: leash and name games indoors: Short sessions, three steps at a time, reward every check-in. Checkpoint: turns on their name.
- Months 3-5: loose-leash manners in low-distraction places: Stop walking when the leash tightens. Use a front-clip harness if pulling is severe. Checkpoint: 20-30 loose steps.
- Months 5-6: evaluate whether a training collar is needed: Only after basic cues are reliable and with trainer or vet input. Checkpoint: 'sit,' 'come,' and 'leave it' at home.
- Ongoing: refit monthly and adjust links as needed: Use replacement links to add length rather than buying a new collar each growth spurt. Checkpoint: two fingers under the collar, no sliding.
Gear that supports each stage
- 3.25mm Curgoan Herm Sprenger Ultra-Plus Prong Training Dog Collar Replacement Links: These links are used to add length to the Herm Sprenger Ultra-Plus Prong Training Dog Collars. The blunt design is effective and easily attaches to existing links for a perfect fit. As your puppy's neck grows, you can adjust an existing prong collar instead of replacing it.
- 3.25mm Stainless Herm Sprenger Ultra-Plus Prong Training Dog Collar Replacement Links: These links are used to add length to the Herm Sprenger Ultra-Plus Prong Training Dog Collars. The blunt design is effective and easily attaches to existing links for a perfect fit. The stainless version is the better pick for dogs who swim or train outdoors in wet conditions.
- PDT00-16120 PetSafe® 600 Yard Remote Trainer: If your pet pooch has great intentions but needs to learn some social graces when they're on walks or playing at the dog park, the PetSafe® 600 Yard Remote Trainer can help you correct their behavior with the push of a button. Useful for adolescent puppies who already know cues but ignore them around distractions.
- YT-100S SportDOG Brand® Yardtrainer 100S: The YT-100S SportDOG® Brand YardTrainer 100S was built for more stubborn and easily distracted dogs. A reasonable option for owners of determined breeds who have finished basic training first.
The puppy collar timeline is really a training timeline — gear only works when it arrives after the behavior. Start simple, build the basics, and add a training tool only when your puppy already understands what you are asking. Refit as they grow, and the collar stays a piece of equipment rather than a source of confusion.