Quick answer
Store acrylic quilting rulers flat in a case or upright in a stand, never leaning loose against a wall or stacked under heavy tools. Clean them with a soft cloth and mild soap or a plastic-safe cleaner, not alcohol or acetone. Small scratches can be polished out, but deep gouges, chips, or a warped edge mean the ruler should be replaced because it will no longer give reliable measurements.
Acrylic quilting rulers are precision tools, but they are also the tools most likely to get tossed in a drawer, stacked under a rotary cutter, or wiped with the wrong cleaner. That casual handling is why so many quilters eventually notice a ruler that rocks on the mat, a faded marking line, or a scratch that catches thread.
The good news is that most ruler problems are preventable, and the ones that are not are easy to diagnose. This guide separates the symptom from the likely cause, gives you the corrective action, and tells you when to stop trying to save a ruler and replace it instead.
Why acrylic rulers fail in the first place
Most acrylic quilting rulers are made from cast acrylic, which is chosen for clarity and dimensional stability. That stability is what lets you line up a ruler edge with a seam and trust the measurement. But acrylic is also sensitive to heat, solvents, and uneven pressure. A ruler left on a sunny windowsill or in a hot car can warp. A ruler cleaned with alcohol or acetone can develop fine cracks called crazing. A ruler stored under a heavy iron or cutting mat can bow in the middle.
The failure modes are predictable: warping, scratching, clouding, and edge chipping. Each one has a different cause and a different fix. The key is to catch the problem before it affects your cutting or your machine quilting, because a damaged ruler does not just look bad, it can shift your seam allowance or catch your quilting foot.
- Keep rulers out of direct sun and away from irons, even when the iron is off.
- Never stack heavy tools on top of acrylic rulers.
- Use a dedicated ruler stand or flat case instead of a crowded drawer.
Symptom: the ruler rocks or slides on the fabric
If your ruler will not sit flat, the cause is usually warping from heat or uneven storage. Acrylic can warp when it is stored leaning against something in a warm room, or when it is left under a pile of fabric and books. A warped ruler is dangerous because the edge no longer contacts the fabric evenly, so your rotary cutter can slip under the ruler and nick your finger or skip across the fabric.
First, check whether the warp is permanent. Place the ruler on a known flat surface like a glass mat or granite countertop. If you can see light under the middle or a corner, the warp is real. Do not try to flatten it with heat or heavy books; acrylic has a memory, and forcing it can cause stress cracks. A slight warp on a small ruler might still be usable for marking, but a warped longarm ruler should be retired from machine quilting because it will not sit flush against the quilt top.
- Test flatness on a glass surface before every longarm session.
- Retire any ruler that rocks more than a hairline.
- Store rulers upright in a stand or flat in a case to prevent recurrence.
Symptom: scratches and cloudy spots
Fine scratches come from cutting on a dirty mat, sliding rulers across grit, or storing them loose with other tools. Cloudy spots often come from cleaning with the wrong product. Alcohol, acetone, and ammonia-based cleaners can attack the surface of acrylic and leave it permanently hazy. Once the surface is cloudy, you cannot polish it back to clear because the damage goes deeper than the surface.
For light scratches, a plastic polish designed for acrylic can help. Apply a small amount with a soft microfiber cloth and buff gently. Do not use abrasive household cleaners or scouring pads. If the scratch catches your fingernail, it is too deep to polish out safely. A deep scratch can catch thread or fabric and distort your measurement, so it is better to replace the ruler than to keep fighting it.
- Clean with mild soap and water or a plastic-safe cleaner only.
- Avoid alcohol, acetone, and ammonia on acrylic.
- Polish only shallow scratches; replace rulers with deep gouges.
How to store quilting rulers so they stay accurate
The best storage method depends on how many rulers you own and how often you use them. For a small collection, a flat case or a dedicated drawer with a nonslip liner works well. For a growing collection, a vertical ruler stand keeps edges from touching and makes it easy to grab the size you need. If you use longarm rulers, store them upright in a stand or hang them on a pegboard with padded hooks so the edges do not rest on hard surfaces.
Avoid storing rulers in a hot car, a garage, or an attic. Temperature swings are the enemy of acrylic. Also avoid storing them in a bag with rotary cutters, scissors, or pins. Even a short trip to a class can scratch a ruler if it slides against metal tools. A simple fabric sleeve or a plastic case with a soft lining prevents most travel damage.
- Use a ruler stand for upright storage and a flat case for travel.
- Keep rulers away from heat sources and direct sunlight.
- Never store rulers loose with metal tools.
Cleaning tips that protect the surface
Clean your rulers after every few cutting sessions. Lint, fabric dye, and starch can build up on the edge and affect accuracy. Use a soft microfiber cloth dampened with water and a drop of mild dish soap. Wipe both sides and the edges, then dry immediately with a clean cloth. Do not soak rulers in water, and do not put them in the dishwasher.
For sticky residue from fusible web or tape, try a plastic-safe adhesive remover or a little bit of rubbing alcohol on a cloth, but test it on a corner first. If the plastic turns white or feels tacky, stop immediately. A clean ruler is easier to read and less likely to slip, which matters when you are using rulers for machine quilting on a longarm.
- Wipe with mild soap and water, then dry immediately.
- Test any new cleaner on a corner before using it on the whole ruler.
- Clean both the surface and the edges to keep measurements true.
When to stop fixing and replace the ruler
There is a point where a ruler is no longer worth saving. If the warp is visible when you set it on a flat surface, if a chip or crack runs into the measurement area, or if the markings have worn off, replace it. A damaged ruler can cause inaccurate cuts, wasted fabric, and even injury if your rotary cutter slips. For longarm rulers, any damage that changes the edge profile should be a dealbreaker because it will affect how the ruler glides against the foot.
If you are unsure, compare the suspect ruler against a new one of the same size. If the old ruler does not match, it is time to let it go. Keeping a damaged ruler in your rotation is a false economy when you consider the cost of fabric and the risk of a miscut.
- Replace rulers with deep chips, cracks, or worn markings.
- Do not use warped rulers for rotary cutting or longarm work.
- Keep a known-good ruler for comparison testing.
Ruler problem diagnosis
- Ruler rocks on a flat surface: The acrylic has warped, usually from heat or being stored leaning against something. Do not try to flatten it with heat or weight. Retire the ruler from cutting and longarm work. Replace it if the warp is visible.
- Fine scratches or cloudy patches: Scratches come from grit or sliding against metal; cloudiness comes from alcohol or ammonia cleaners. Light scratches can be polished with acrylic polish. If a scratch catches your fingernail, stop polishing and replace the ruler.
- Ruler will not stay put on fabric: The edge may be worn, or the surface may have residue from fusible web or starch. Clean with mild soap and water, then dry. If cleaning does not restore grip, the ruler surface is compromised. Replace it.
Courses that put your rulers to work
- Structure Meets Whimsy - Ruler & Free-Motion Quilting On A Heart Quilt: In this 24-minute PNQ Academy video, professional machine quilter Natalia Bonner custom machine quilts a heart-themed quilt using a blend of ruler quilting and free-motion techniques, showing how structured crosshatching and straight-line ruler work complement free-motion swirly feathers. If you are learning to combine ruler work with free-motion quilting, this course shows how to keep your ruler edges accurate while you transition between techniques.
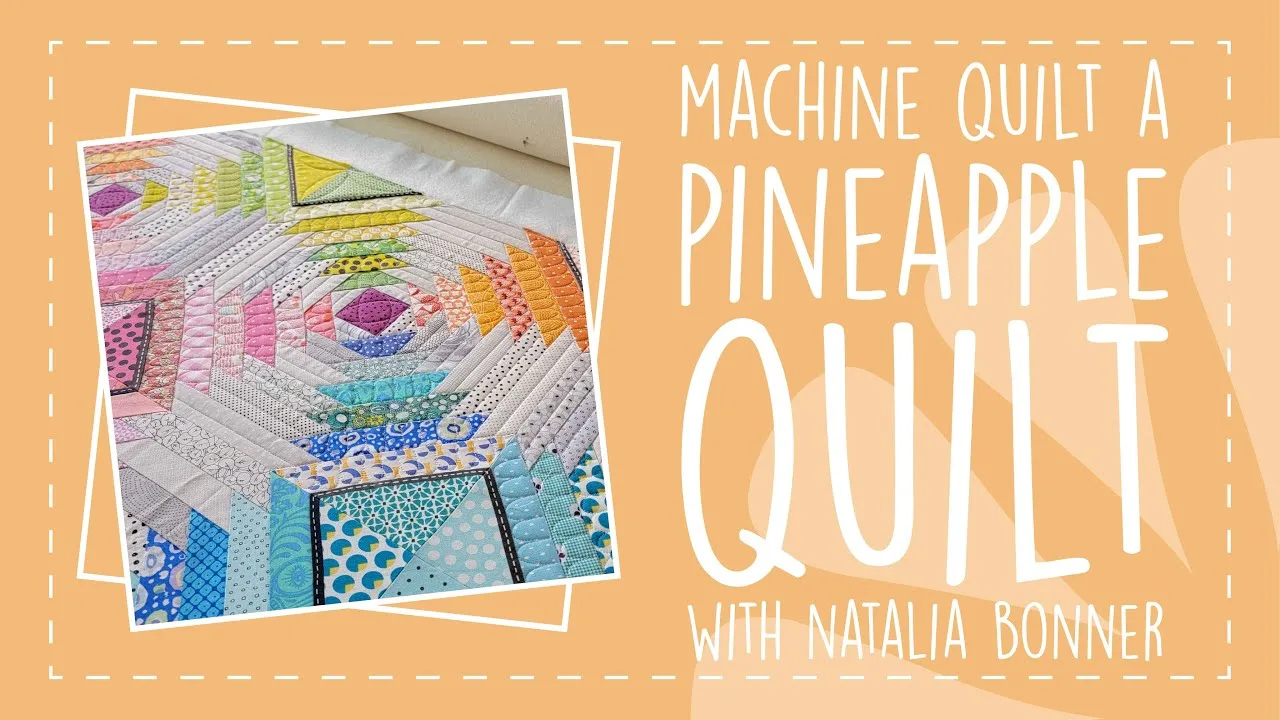
- Machine Quilt A Pineapple Quilt With Natalia Bonner: Join Natalia Bonner in this exclusive PNQ Academy video as she shares her step-by-step process of custom machine quilting a Pineapple quilt, demonstrating both free-motion quilting and ruler work using a variety of machine quilting rulers including the Mini 4N1, Sway 3, Sway 4, and Sway 5. Seeing how different ruler shapes are used in a real quilt helps you decide which rulers to keep within easy reach and how to store them for quick access.
Treat your acrylic rulers like the precision tools they are: store them flat or upright, clean them gently, and replace them when they warp or chip. A few minutes of care after each project keeps your measurements true and your ruler work safe.