Quick answer
A racerback bra converter clips your two bra straps together at the back, pulling them inward so they sit closer to your neck and stop sliding off your shoulders. It works best on bras with adjustable, detachable or standard strap loops, and it is a quick fix for wide necklines, sleeveless tops and racerback dresses. If your bra band is too loose, fix the band first with a Bra Extender Kits - 2 or 3 Hooks or a tighter hook setting, because a converter cannot replace a secure band.
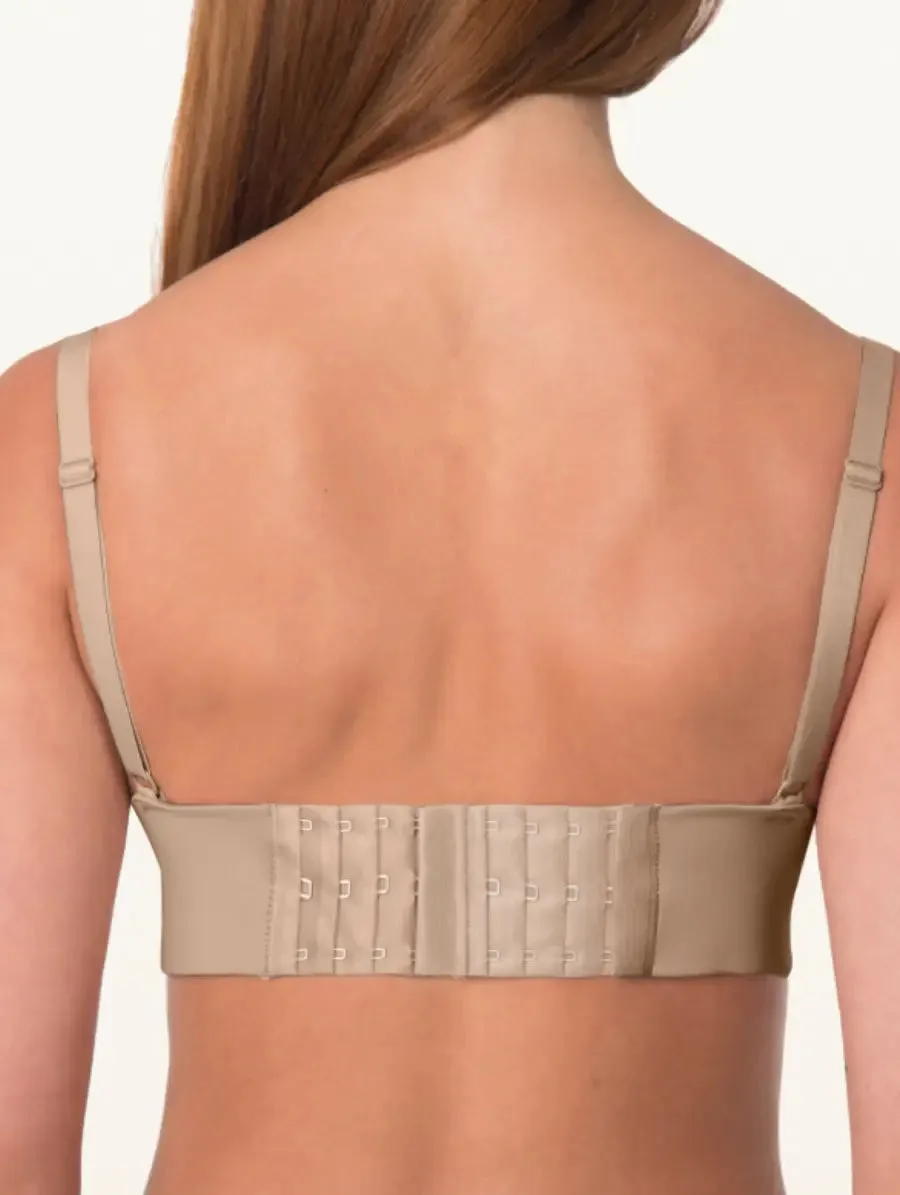
Bra Extender Kits - 2 or 3 Hooks
Struggling with straps that slip every time you move? A racerback bra converter is a small, inexpensive accessory that changes how your straps sit without replacing the bra itself. It clips the two straps together at the back and pulls them into a racerback shape, which keeps them closer to your neck and reduces the chance of them sliding down.
This guide walks through the exact steps to attach and wear one comfortably, the mistakes that cause pinching or slipping, and the situations where a converter genuinely helps. You will also see when a different fix, like a strapless style or a better-fitting band, makes more sense.
What a racerback bra converter actually does
A racerback converter is a small clip or strap with hooks on each end. You attach one end to each bra strap at the back, then slide the clip up or down to set how much the straps pull inward. The result is a Y-shaped back that mimics a racerback bra, which keeps straps from falling off narrow or sloping shoulders.
It is not a new bra and it does not change cup fit. It only changes strap position. That means it can help with strap slippage, visible straps under racerback tops, and the feeling that your bra is shifting when you lift your arms. It will not fix a band that rides up or cups that gap, so treat it as a strap accessory rather than a fit solution.
- Check that your bra straps can accept a clip or hook. Most standard adjustable straps can, but some very thin or silicone styles may not hold securely.
Step-by-step: how to attach and adjust a converter
Start with the bra on and the straps at a comfortable length. Attach one end of the converter to the left strap, then the other end to the right strap, keeping the converter low at first. Slide it upward in small increments until the straps sit close to your neck but do not dig in. Move your arms and shoulders to test it before you get dressed.
The most common mistake is setting the converter too high. That pulls the straps inward too sharply, which can make the band lift at the back and the cups tilt forward. If that happens, lower the converter one notch and check again. A converter should feel like a gentle guide, not a tight clamp.
- If your bra has a J-hook already, you may not need a separate converter. A J-hook does the same job on bras designed for it.
When a converter helps and when it does not
A converter is most useful when your straps slip because your shoulders slope or your tops have wide necklines. It is also handy for hiding straps under racerback dresses, tank tops and sleeveless styles. If you want a clean back line without changing bras, a converter is a low-cost way to convert bra to racerback in seconds.
It is less helpful when the real problem is a loose band. If your bra band rides up at the back, the straps will slip no matter where you clip them. In that case, tighten the band on a tighter hook or add a Bra Extender Kits - 2 or 3 Hooks to adjust length without replacing the bra. If you need zero straps showing, a Strapless Underwire Bra is a more reliable option than any converter.
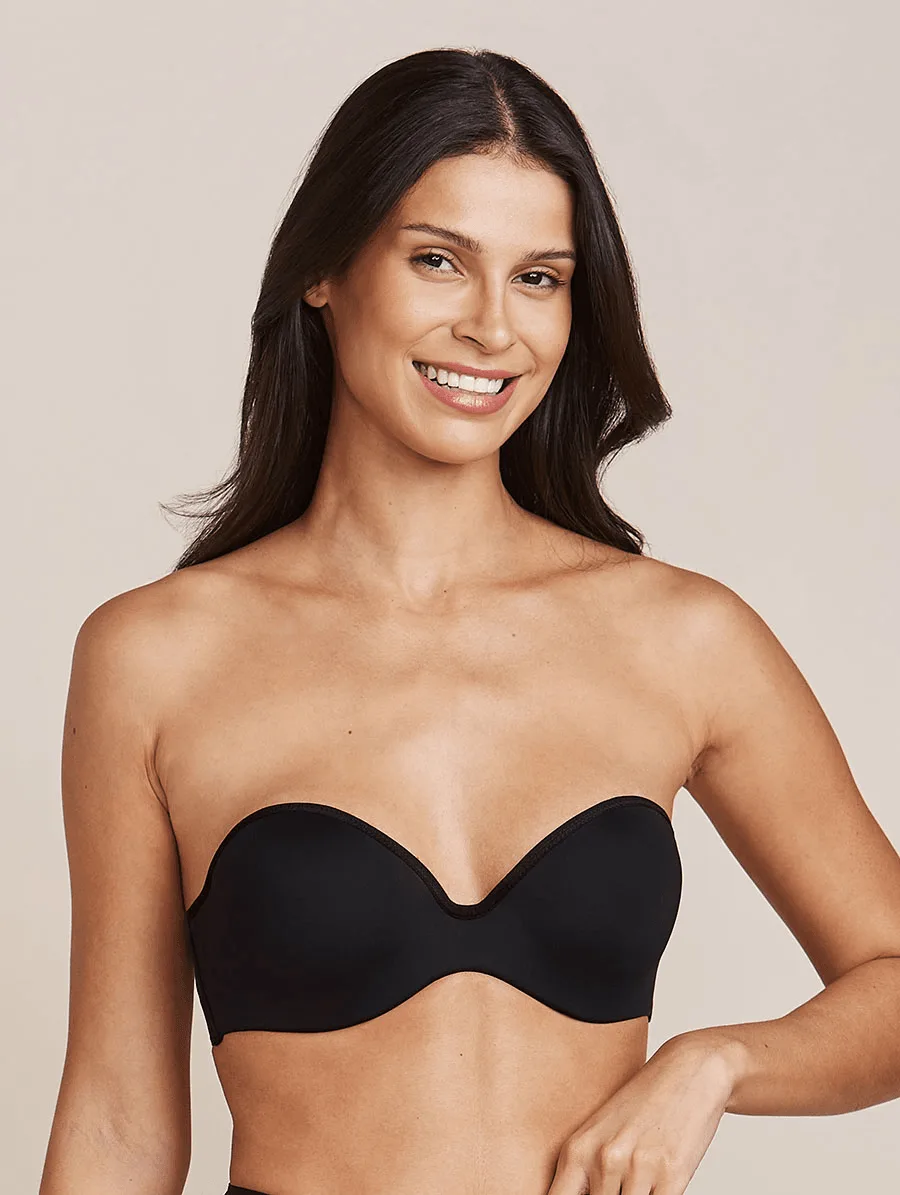
Strapless Underwire Bra
- Test the converter with the exact top you plan to wear. Some necklines still show the clip or the straps even after conversion.
Comfort tips and common mistakes
Keep the converter low enough that the straps stay flat against your back. If you feel pressure at the base of your neck, the converter is too high. Also check that the hooks are fully closed on the straps; a half-attached clip can pop off when you move. For all-day wear, choose a converter with a soft backing or rounded edges to reduce rubbing.
Another mistake is using a converter on a bra with stretched-out straps. If the elastic is worn, the straps will not hold their shape even when clipped together. In that case, replace the bra or choose a style with a built-in racerback design. A converter is a helper, not a repair for tired elastic.
- Take the converter off before washing your bra. It can snag lace or mesh in the machine.
Your 5-step racerback converter routine
- 1. Check your bra band first: Put the bra on and fasten it on the loosest hook that feels secure. If the band rides up when you lift your arms, tighten the hooks or add a Bra Extender Kits - 2 or 3 Hooks to adjust length. A stable band is the foundation for any strap fix. Checkpoint: the band should sit level and stay put before you attach anything to the straps.
- 2. Attach the converter low: Hook one end of the converter to the left strap, then the other end to the right strap. Start with the converter sitting low between your shoulder blades, near the middle of your back. Do not pull it tight yet. Checkpoint: both hooks should be fully closed and the converter should hang evenly.
- 3. Slide up in small increments: Move the converter upward one small step at a time. After each step, roll your shoulders and reach forward. Stop when the straps sit close to your neck but do not press into your skin. The goal is a gentle racerback shape, not a tight V. Checkpoint: you should be able to slide a finger under each strap without forcing it.
- 4. Test with your outfit: Put on the top or dress you plan to wear. Raise your arms, bend forward and twist gently. Check that the converter stays hidden, the straps do not pop off and the cups still sit flat against your chest. If the band lifts at the back, lower the converter one step. Checkpoint: no strap slippage and no visible clip from the front or side.
- 5. Remove before washing: Take the converter off your bra before you wash it. Store it flat or clipped to a hanger so the hooks do not snag lace or mesh. If the converter leaves marks on your skin after a few hours, try a lower position or a style with a softer backing. Next step: if comfort still fails, switch to a Strapless Underwire Bra or a racerback-style bralette instead.
Products that pair well with a converter
- Strapless Underwire Bra: Strapless, underwire construction offers lift, shape and secure support. Silicone grip along the band helps keep the bra in place without slipping. If your goal is to avoid visible straps entirely, a strapless bra removes the need for a converter and gives a clean back under racerback or off-shoulder tops.
- Bra Extender Kits - 2 or 3 Hooks: Adds extra length to bra bands for a more comfortable fit. Secure hooks to match standard bra closures. If your band is too tight or too loose, fix the band first. A converter cannot stop straps from slipping when the band is not stable.
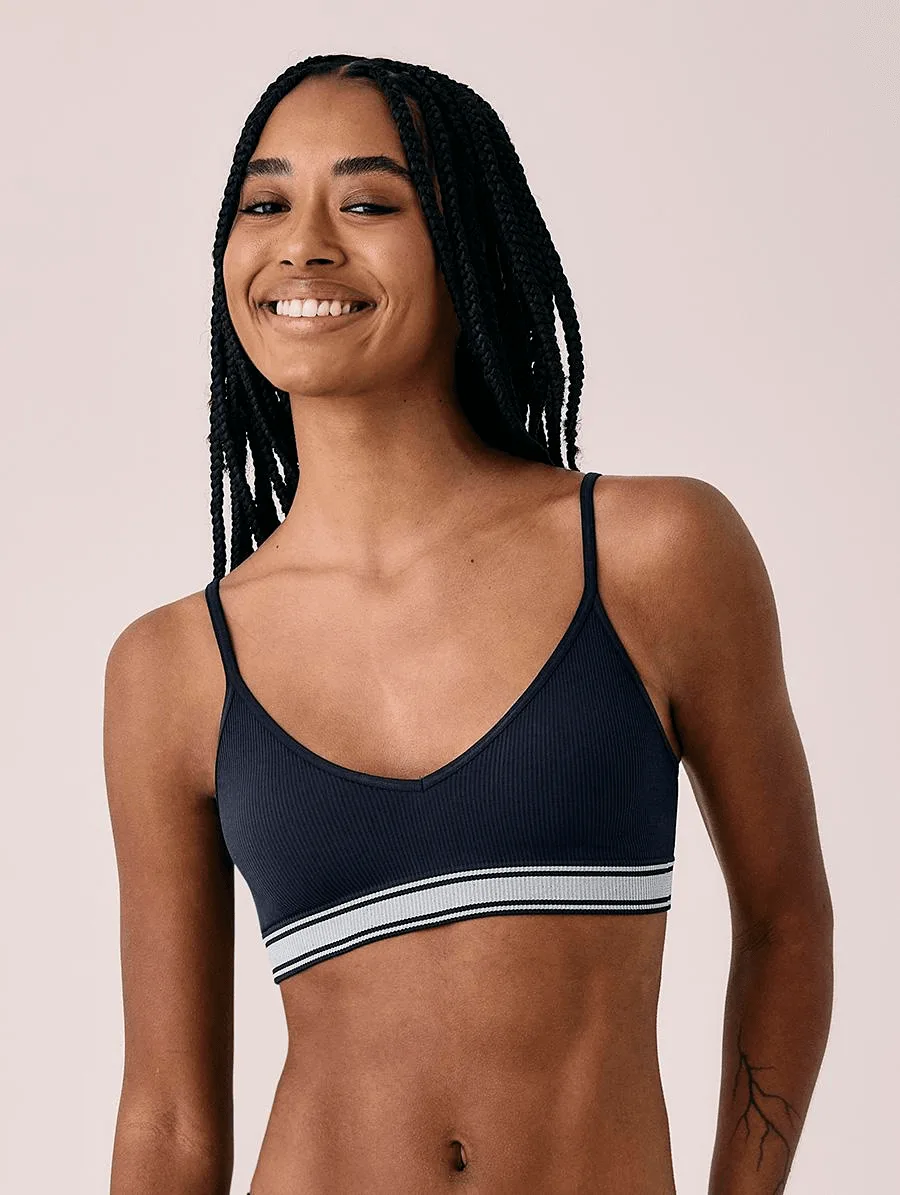
- Active Seamless Bralette: Wireless seamless design for active comfort. Breathable, quick-drying microfibre gives light, wire-free support that moves with you. A seamless bralette with a racer-inspired shape can be a converter-free alternative for low-impact days when you want light support and no strap fuss.
A racerback bra converter is a simple, low-cost way to stop straps from slipping and to hide them under racerback tops. Use it when your band already fits well and you just need a strap position change. If the band is the problem, fix that first with the right hooks or an extender, and consider a strapless or racerback-style bra when you want a completely clean back.