Quick answer
Reflective glitter polish is packed with tiny glitter particles that stay subtle in normal indoor light and flare into bright, mirror-like sparkle under a camera flash or direct sun. Wear it as a full-coverage color or as a one-coat topper, and always photograph it with flash on. If you want a low-effort first try, a silver reflective topper over any base color is the safest entry point.
Reflective glitter behaves differently from standard glitter, and most of the confusion around it comes from lighting rather than the polish itself. You can paint a flawless manicure, walk into a dim room, and wonder why the sparkle disappeared. Nothing is wrong. The particles are designed to bounce light straight back at the source, so they need a strong, direct light to perform.
Below are the questions that come up most often before someone buys their first bottle or tries to photograph a manicure for the first time. Each answer stands on its own, so you can jump to the one you need.
What is reflective nail polish?
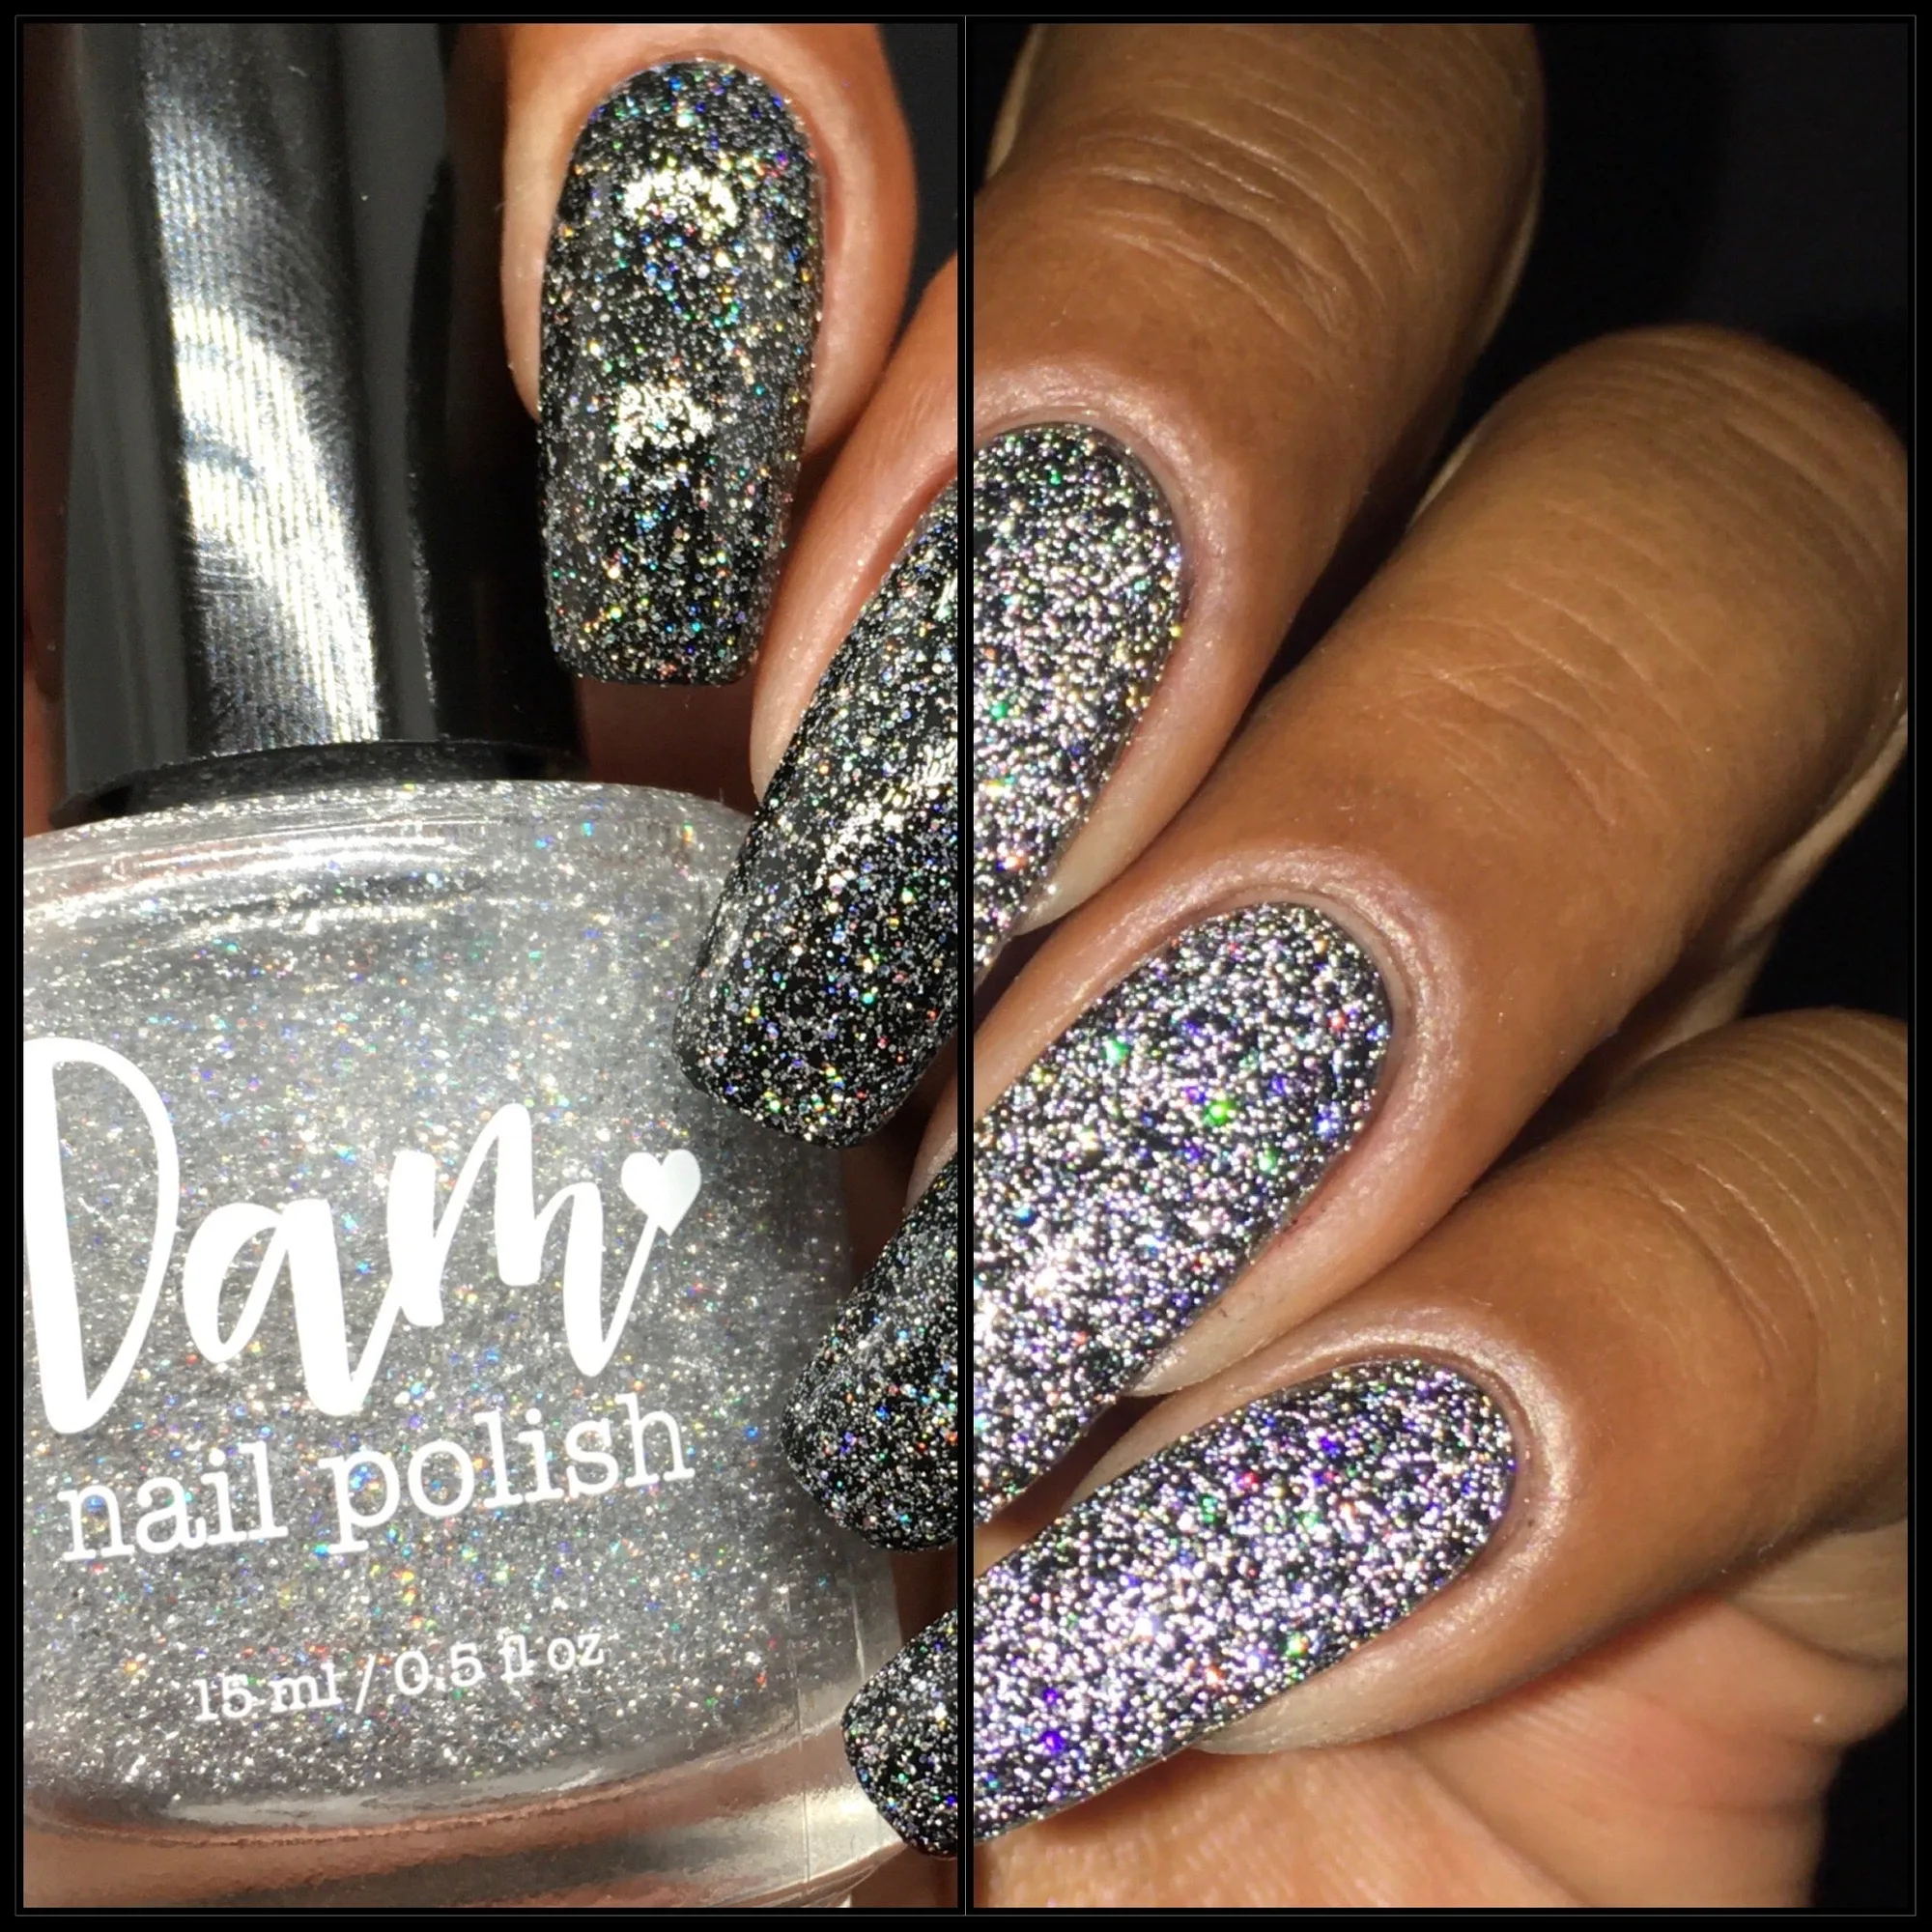
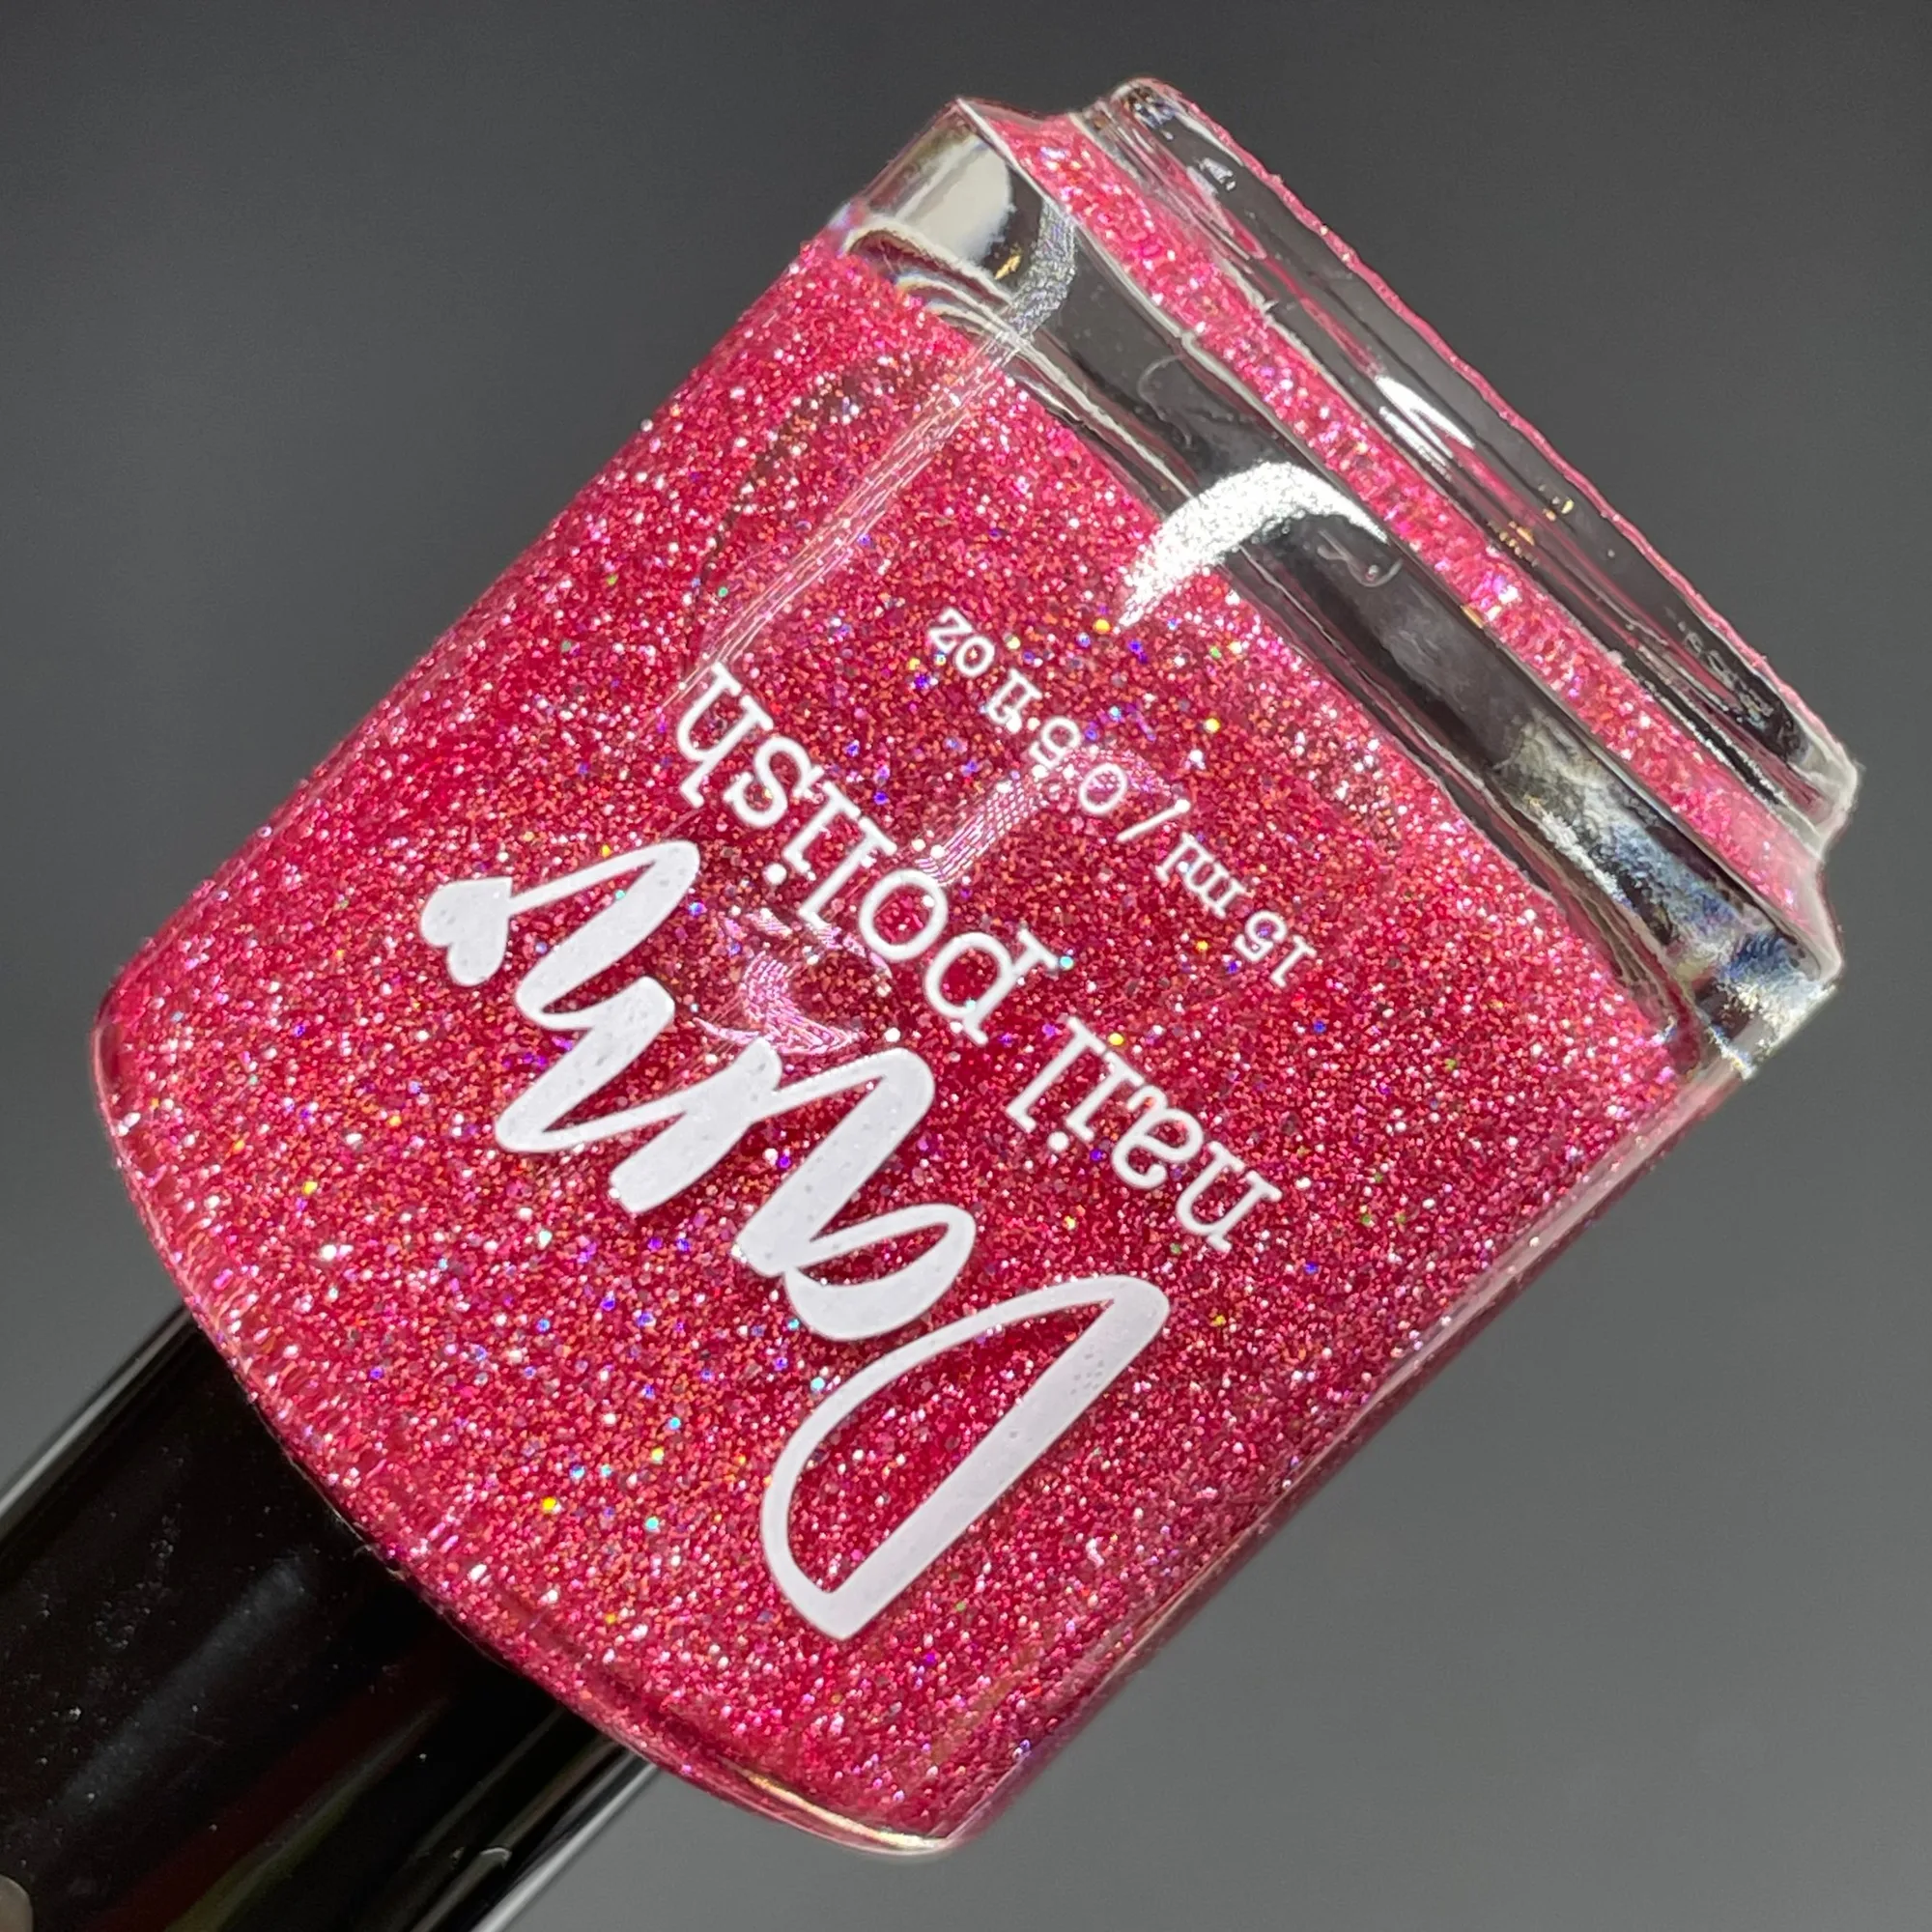
Reflective nail polish is a finish built around tiny glitter particles that reflect light directly back toward its source. In flat indoor lighting they read as a fine, slightly grainy shimmer. Point a phone flash or direct sunlight at them and they flare into a bright, almost metallic sparkle. This is why reflective polish often looks underwhelming in a bottle and dramatic in a photo. The particles are doing their job; they just need a strong light aimed at them.
It is not the same as holographic polish, which splits light into a rainbow. Reflective particles bounce light back in a single bright flash, closer to a mirror than a prism. Many reflective polishes also include holographic glitter alongside the reflective particles, so you get both effects in one bottle.
- Reflective particles need a direct light source; ambient room light will not trigger the effect.
- Holographic and reflective finishes can coexist in the same polish.
Is reflective polish the same as glitter polish?
No. Traditional glitter polish uses larger, irregular flakes that catch light from many angles and stay visible in most lighting. Reflective polish uses much finer particles with a mirrored coating, so the sparkle is concentrated and directional. A standard glitter polish looks festive on a cloudy day. A reflective polish can look almost plain on that same cloudy day and then blaze under flash.
That difference matters for application. Reflective particles are small enough to sit relatively flat, so a reflective polish usually needs fewer coats to look smooth than a chunky glitter. It also removes more easily than large-flake glitter, which tends to grip the nail surface.
- If you want all-day visible sparkle, choose standard glitter or holographic.
- If you want a photo that pops, choose reflective.
What is the best way to wear reflective polish?
The most reliable approach is a reflective topper over a solid base color. One coat over black, navy, or deep red gives you the full flash effect without building up multiple layers. If you want full coverage, a reflective polish with a colored base works on its own, usually in two coats. The trade-off is that full-coverage reflective shades can look flatter indoors than a topper over a contrasting base.
For a subtler look, apply reflective polish only to an accent nail or use it as a French tip. This keeps the effect as a surprise rather than the whole manicure. Finish with a glossy top coat; a matte top coat will scatter the light and kill most of the reflection.
- Topper over a dark base gives the strongest flash with the least product.
- Skip matte top coat if you want the reflective effect to survive.
How do you get reflective polish to show up in photos?
Turn the flash on. That is the single step that matters most. Reflective particles are designed to bounce light back at the source, so a phone flash positioned near the lens sends the sparkle straight into the camera. Without flash, you are photographing a polish in conditions it was not built for.
Shoot in a dim room so the flash is the dominant light source, and angle your hand slightly rather than pointing your nails straight at the lens. Direct sunlight works as a substitute if you shoot with the sun behind the camera. Avoid overhead indoor lighting, which washes out the effect and adds glare without sparkle.
- Use flash, dim the room, and angle the hand slightly.
- Direct sun behind the camera is the best natural alternative.
How many coats does reflective polish need?
It depends on whether you are using a topper or a full-coverage shade. A reflective topper is typically designed for one to three coats, and one coat is often enough over a base color. Full-coverage reflective polishes usually call for two coats, though some benefit from a third for even opacity. Check the recommended coat count on the specific bottle rather than assuming.
Apply thin coats and let each one dry slightly before the next. Thick coats of reflective polish can drag the particles and leave patchy areas where the reflection looks uneven. If you see streaks under flash, add one more thin coat rather than a heavy one.
- Thin coats prevent patchy reflection.
- If the flash reveals streaks, add a thin coat, not a thick one.
Does reflective polish need a special base or top coat?
No special base coat is required, but a smooth base helps. Reflective particles can settle into ridges, so a ridge-filling base coat gives you a flatter surface and a more even flash. A standard glossy top coat is the right finish. Matte, satin, and textured top coats diffuse light and will mute the effect significantly.
One practical note: reflective polishes can be slightly thicker than cremes because of the particle load. If yours feels goopy over time, a dedicated nail polish thinner can restore the consistency. Do not use nail polish remover as a thinner; it will break down the polish.
- Glossy top coat only if you want the reflection to read.
- Use nail polish thinner, never remover, to revive a thick bottle.
How do you remove reflective glitter polish?
Reflective particles are finer than chunky glitter, so removal is usually easier than a full-flake glitter manicure. Standard acetone-based remover and a cotton pad will handle most reflective polishes in the usual way. If you used multiple coats or a thick top coat, give the remover 20 to 30 seconds to sit before you start wiping.
For stubborn removal, soak a pad, press it against the nail, and wrap with foil for a few minutes. This is the same method used for glitter, and it works well here because the particles are small enough to break down without heavy scrubbing. Scrubbing too hard damages the nail surface, so let the remover do the work.
- Let remover sit before wiping to avoid scrubbing.
- Foil wrap for a few minutes handles multi-coat reflective manicures.
Reflective polish at a glance
Best lighting to see it
Direct phone flash or sunlight aimed at the nails. Ambient indoor light will make reflective polish look like plain shimmer. If it looks dull, change the light before you change the polish.
Best way to wear it
One coat of a reflective topper over a dark base, or two coats of a full-coverage reflective shade. Finish with glossy top coat. Matte top coat cancels the effect.
Best way to photograph it
Dim the room, turn on flash, and angle the hand slightly instead of pointing nails straight at the lens. Flash is the whole trick.
Removal expectations
Easier than chunky glitter because the particles are finer. Soak, do not scrub, and foil-wrap only if you used multiple thick coats. Patience beats scrubbing.
Reflective options worth knowing
- Go Fish - Silver Holographic Reflective Glitter Nail Polish: A silver reflective glitter topper with ultra holographic glitters, designed for use over a base color or as a standalone full-coverage polish, with a recommended 1-3 coats in a 15ml bottle. This is the most flexible entry point if you are unsure about reflective polish. One coat over black or navy gives you the full flash effect, and you can build it to full coverage if you like the finish.
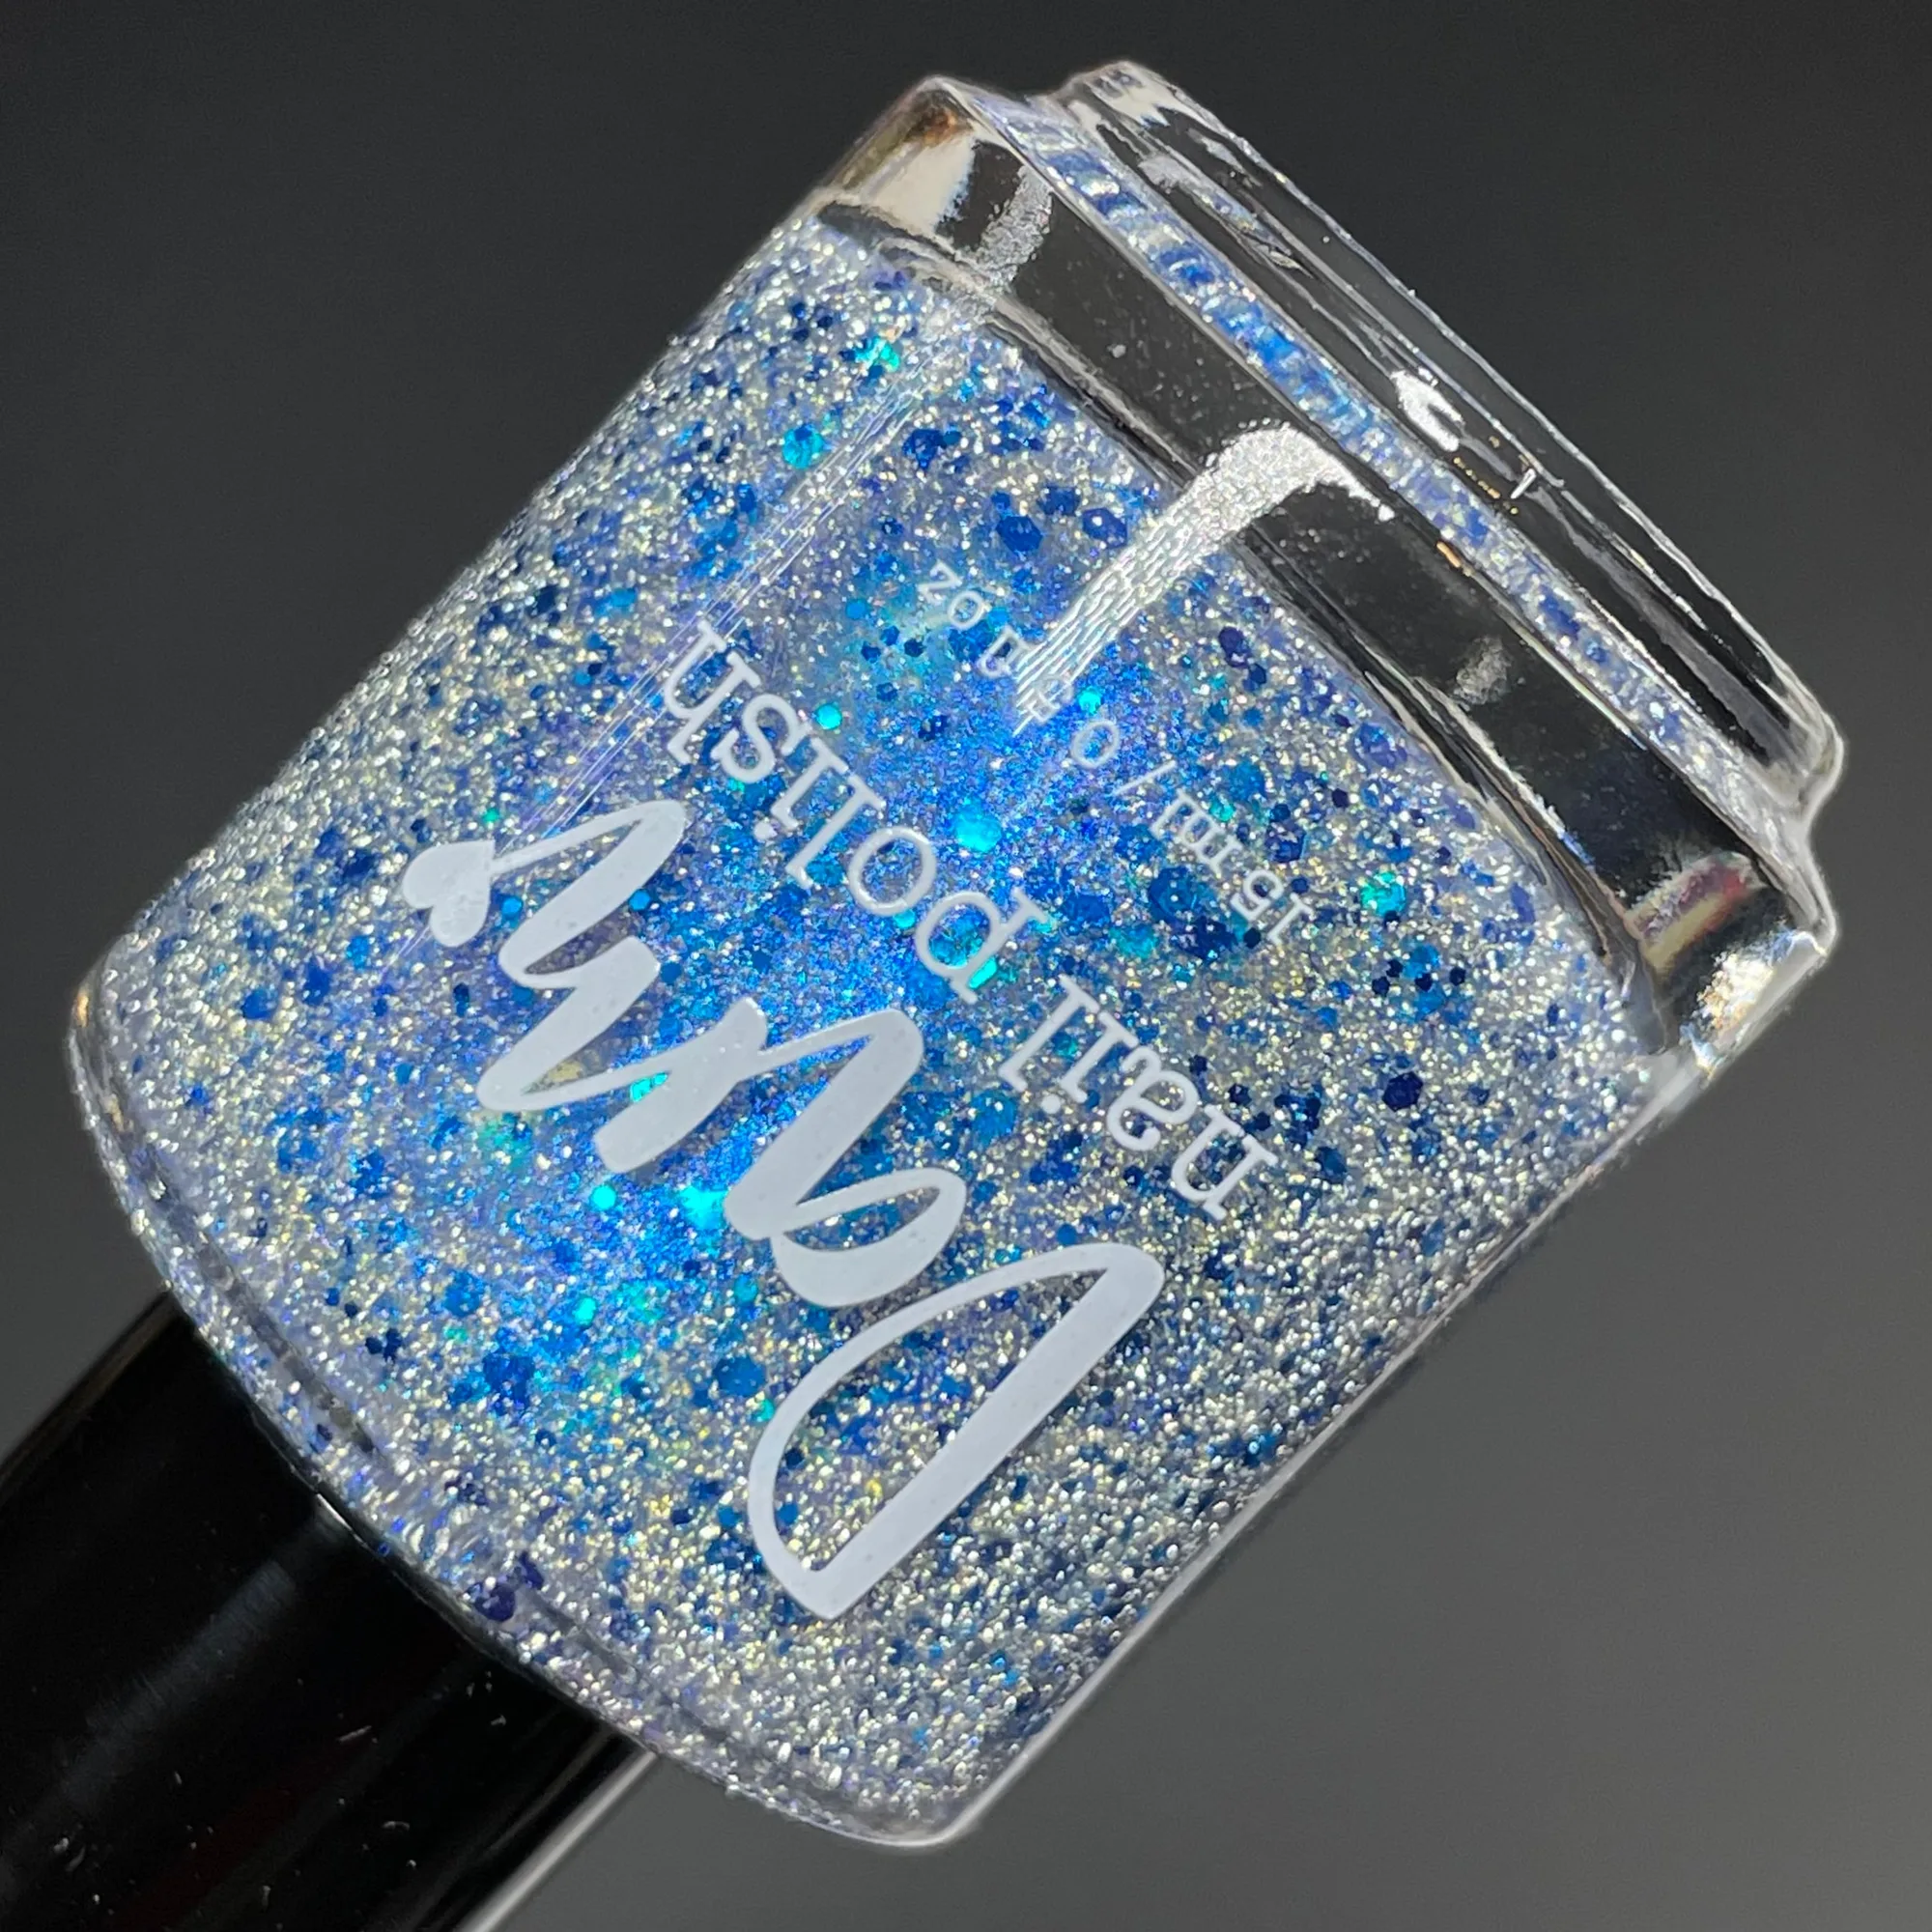
- Cotton Candy Shop - Silver Reflective Glitter Nail Polish with Blue Shimmer - Sugar Rush Collection: A silver reflective glitter base with blue and blurple shifting shimmer and assorted blue glitters, recommended at 2 coats in a 15ml bottle. A full-coverage reflective shade that adds a color shift on top of the flash. Good if you want the reflective effect without layering a separate base color underneath.
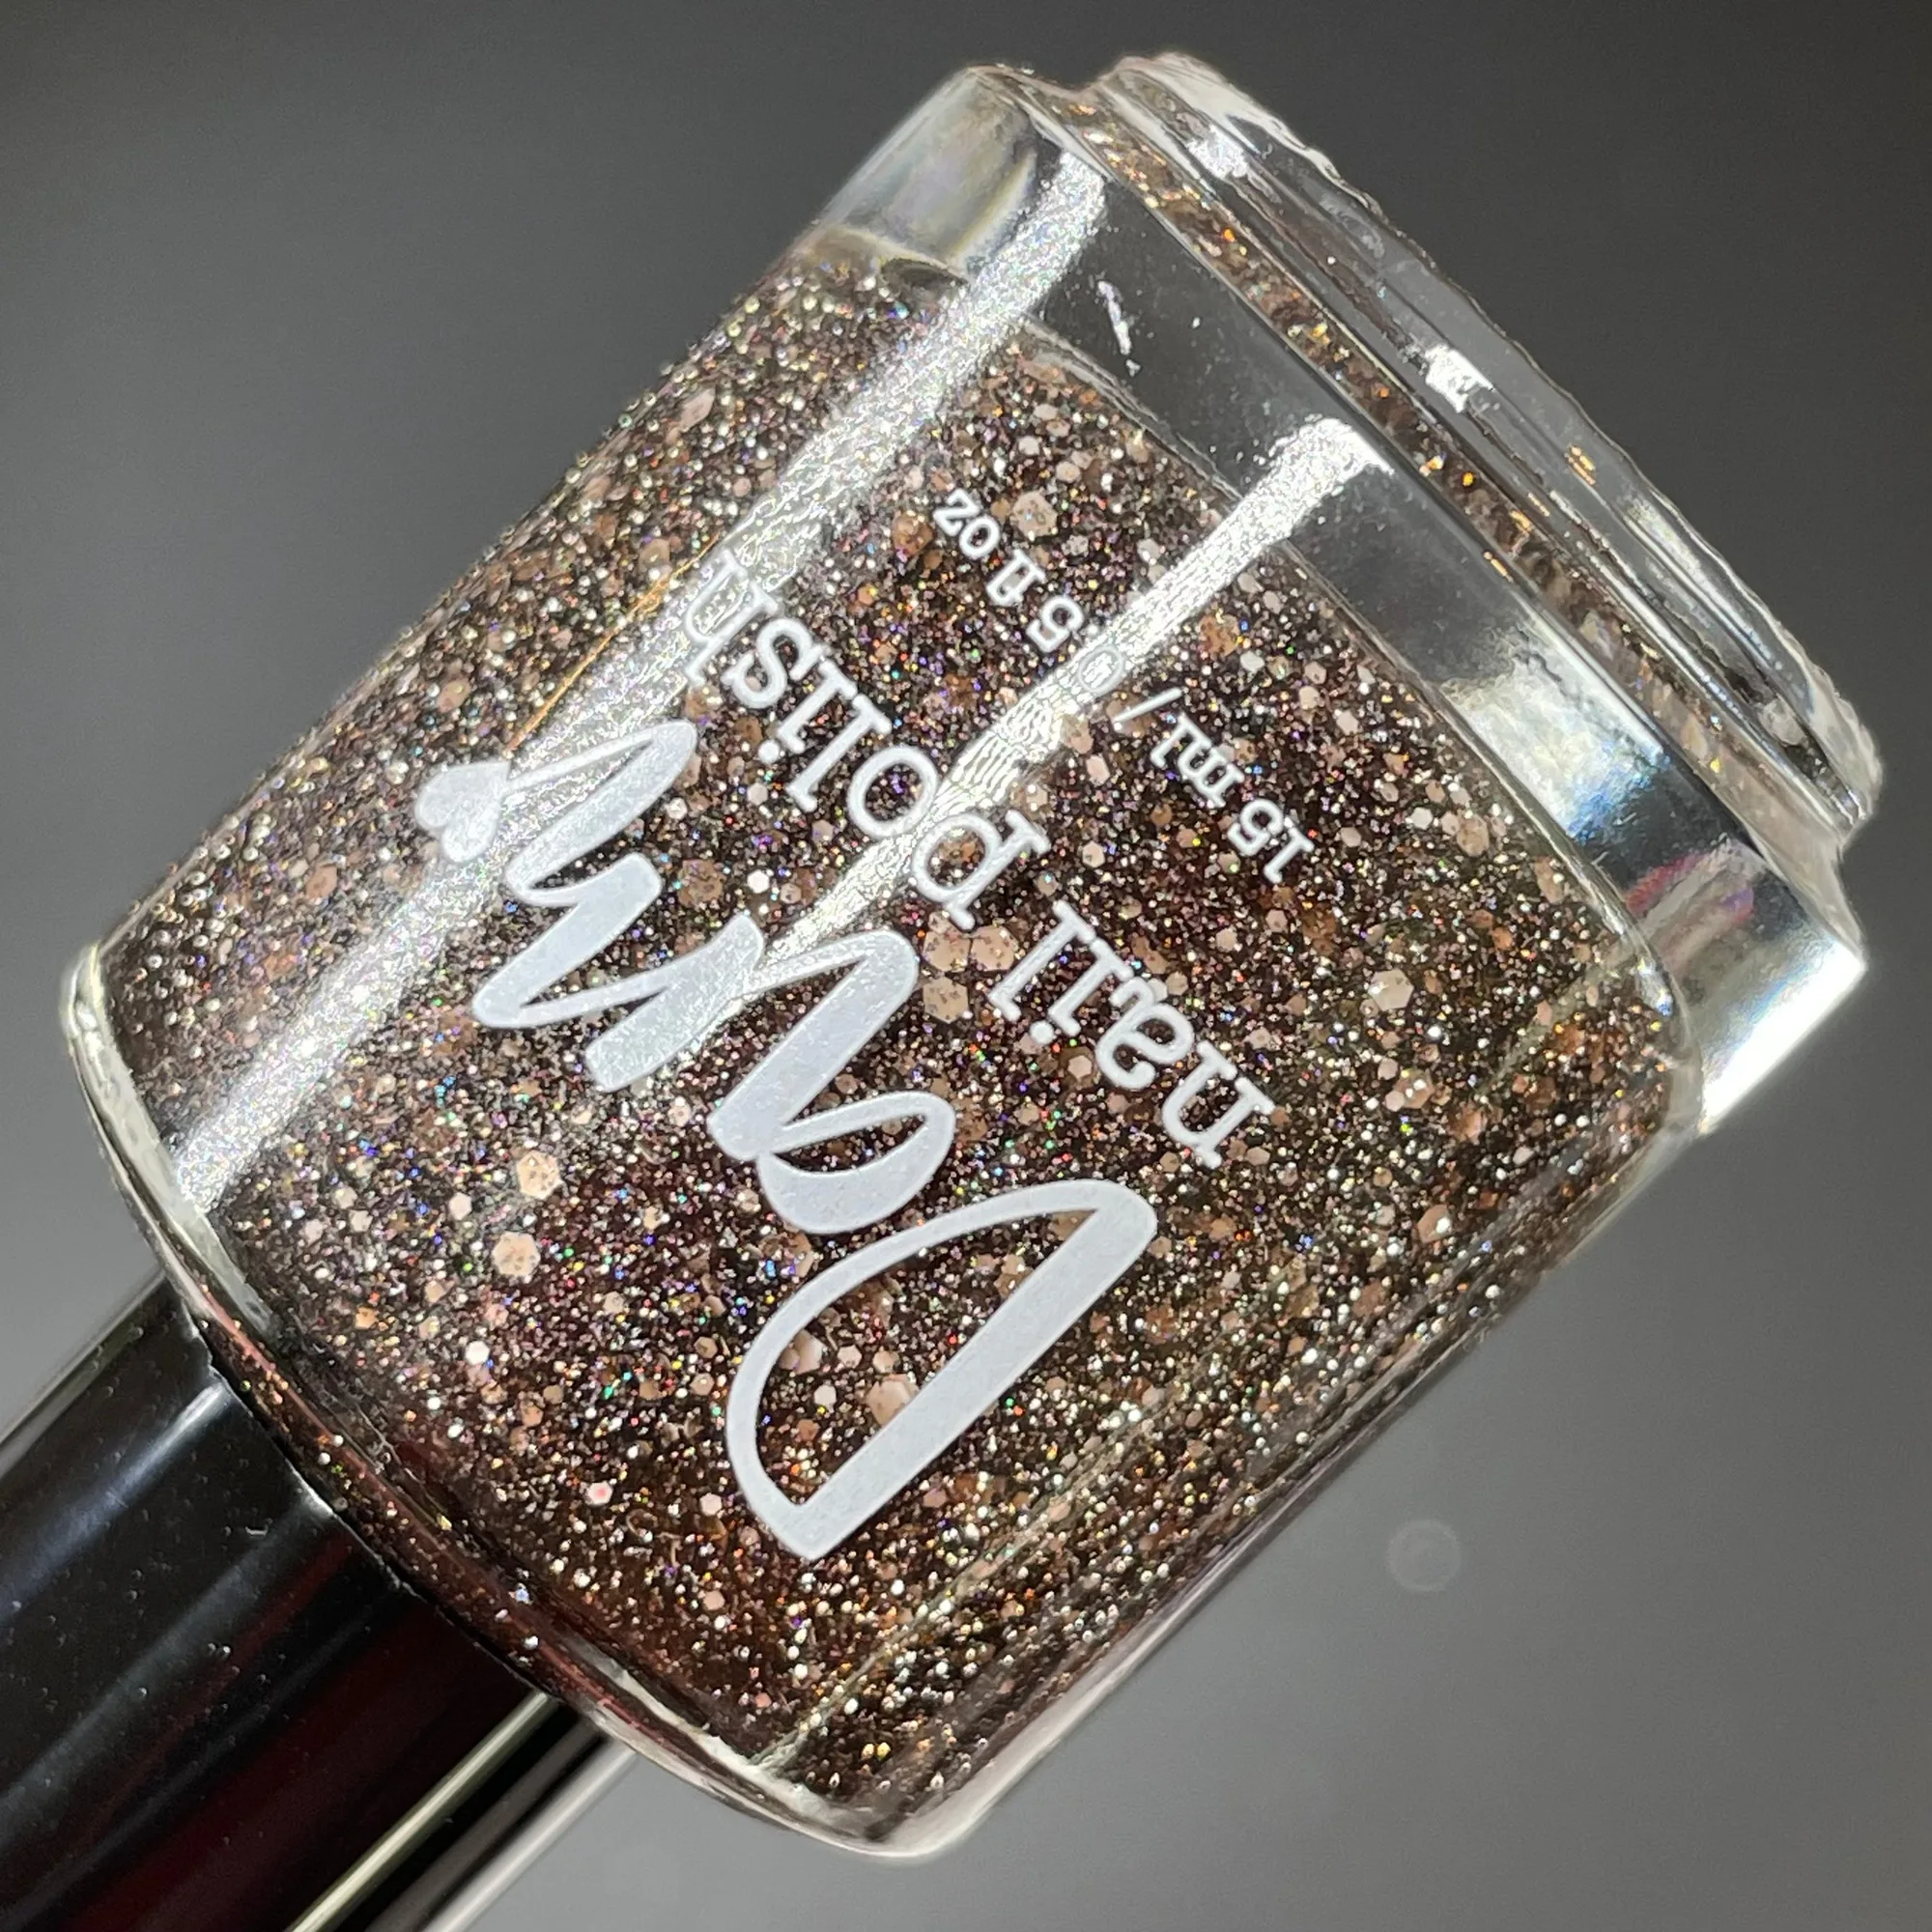
- Bear-ly Napped - Brown Reflective Glitter Nail Polish - Oops Batch: A deep brown polish with holographic reflective glitters and assorted white glitters, recommended at 2 coats in a 15ml bottle. This batch received too much pigment. The heavier pigment load means this one covers faster than a typical reflective shade, so two coats is realistic. It is also a good example of why batch notes matter: the same polish name can behave differently from batch to batch.
Reflective glitter polish rewards a small amount of know-how: thin coats, a glossy top coat, and a flash when you want the sparkle to show. Start with a topper over a base color you already own, and you will know within one manicure whether the finish suits you.