Quick answer
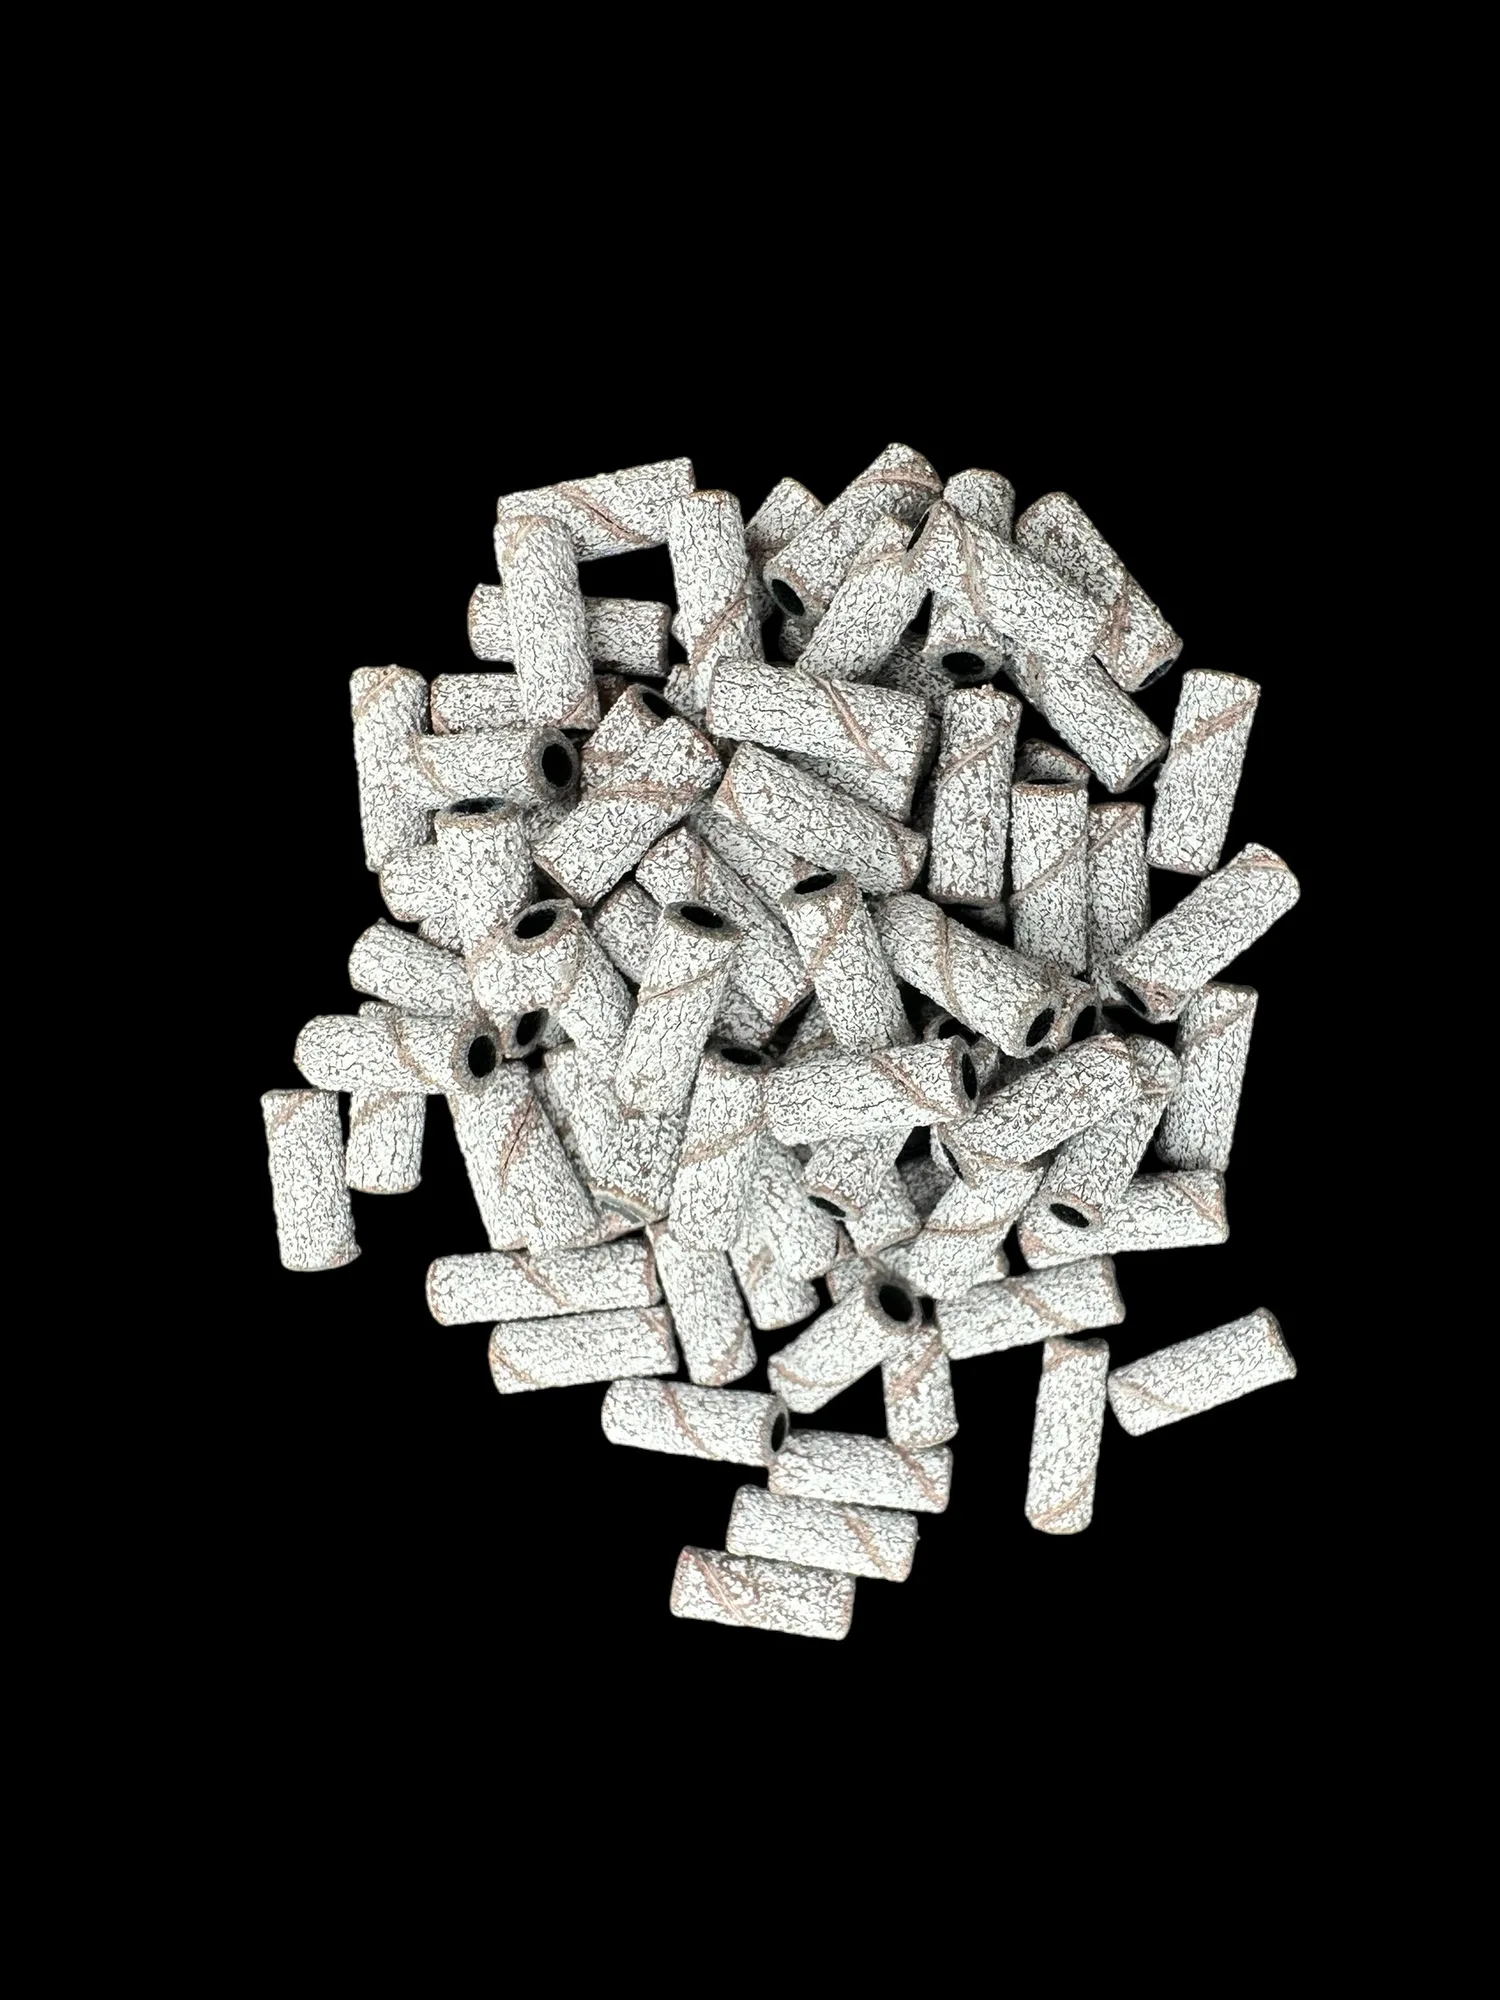
Match the sanding band grit to the task: coarse (80–100) for heavy acrylic removal, medium (120–180) for shaping and blending, fine (240+) for smoothing natural nails and finish work. Replace a band when it stops cutting, loads up with dust, or feels smooth. For small detail work, use Zebra Small Sanding Bands with a 3.1mm mandrel bit.
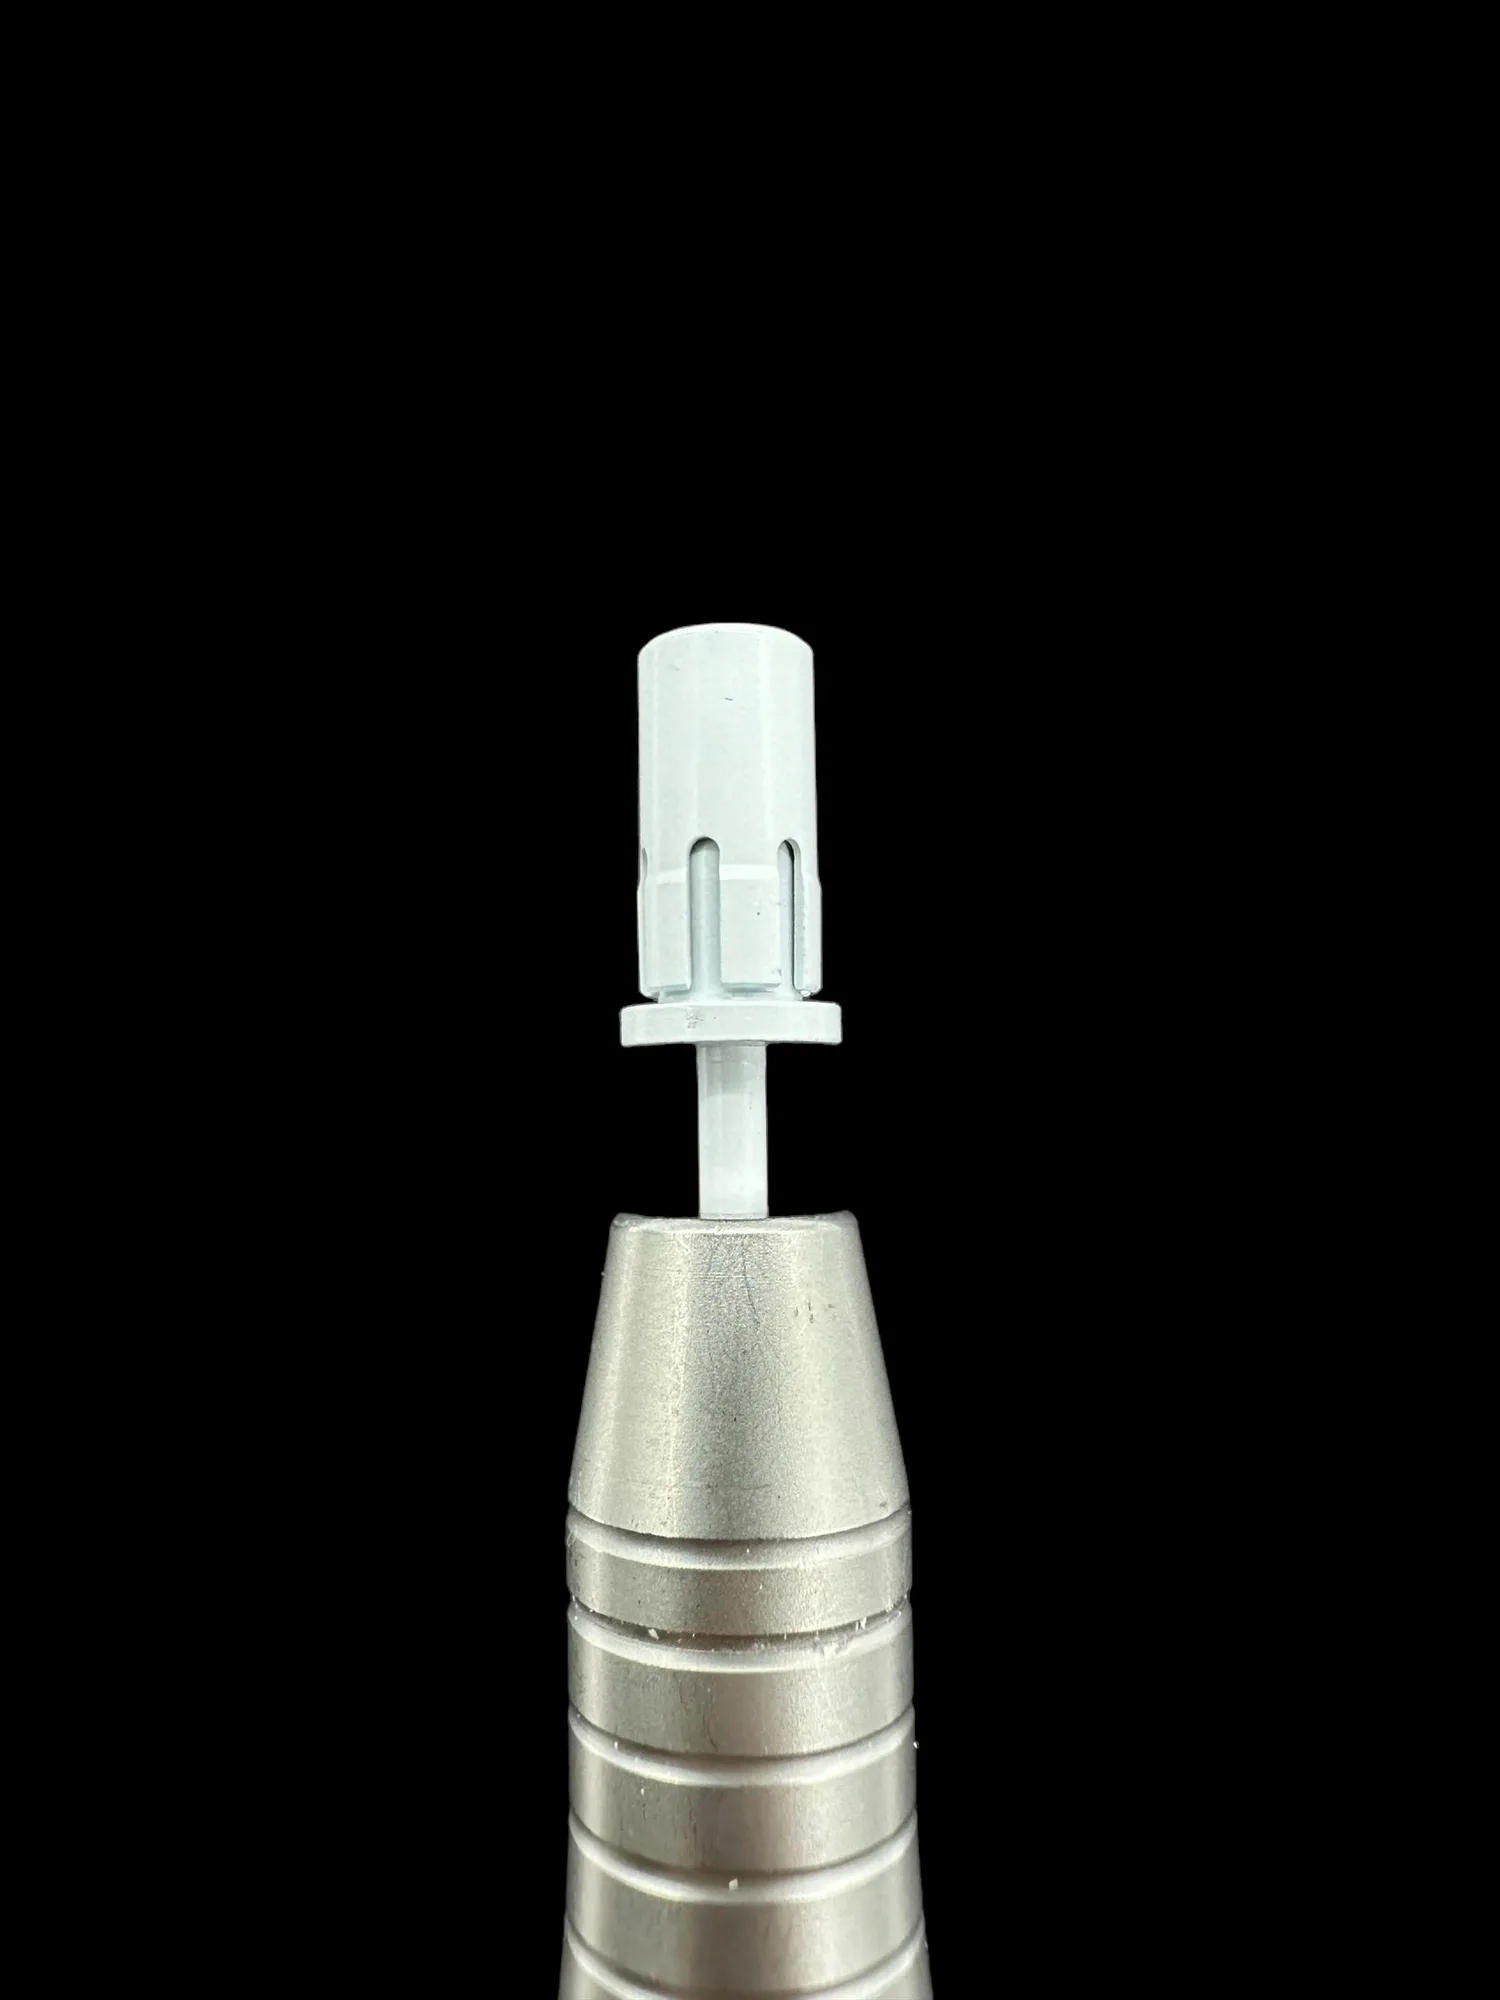
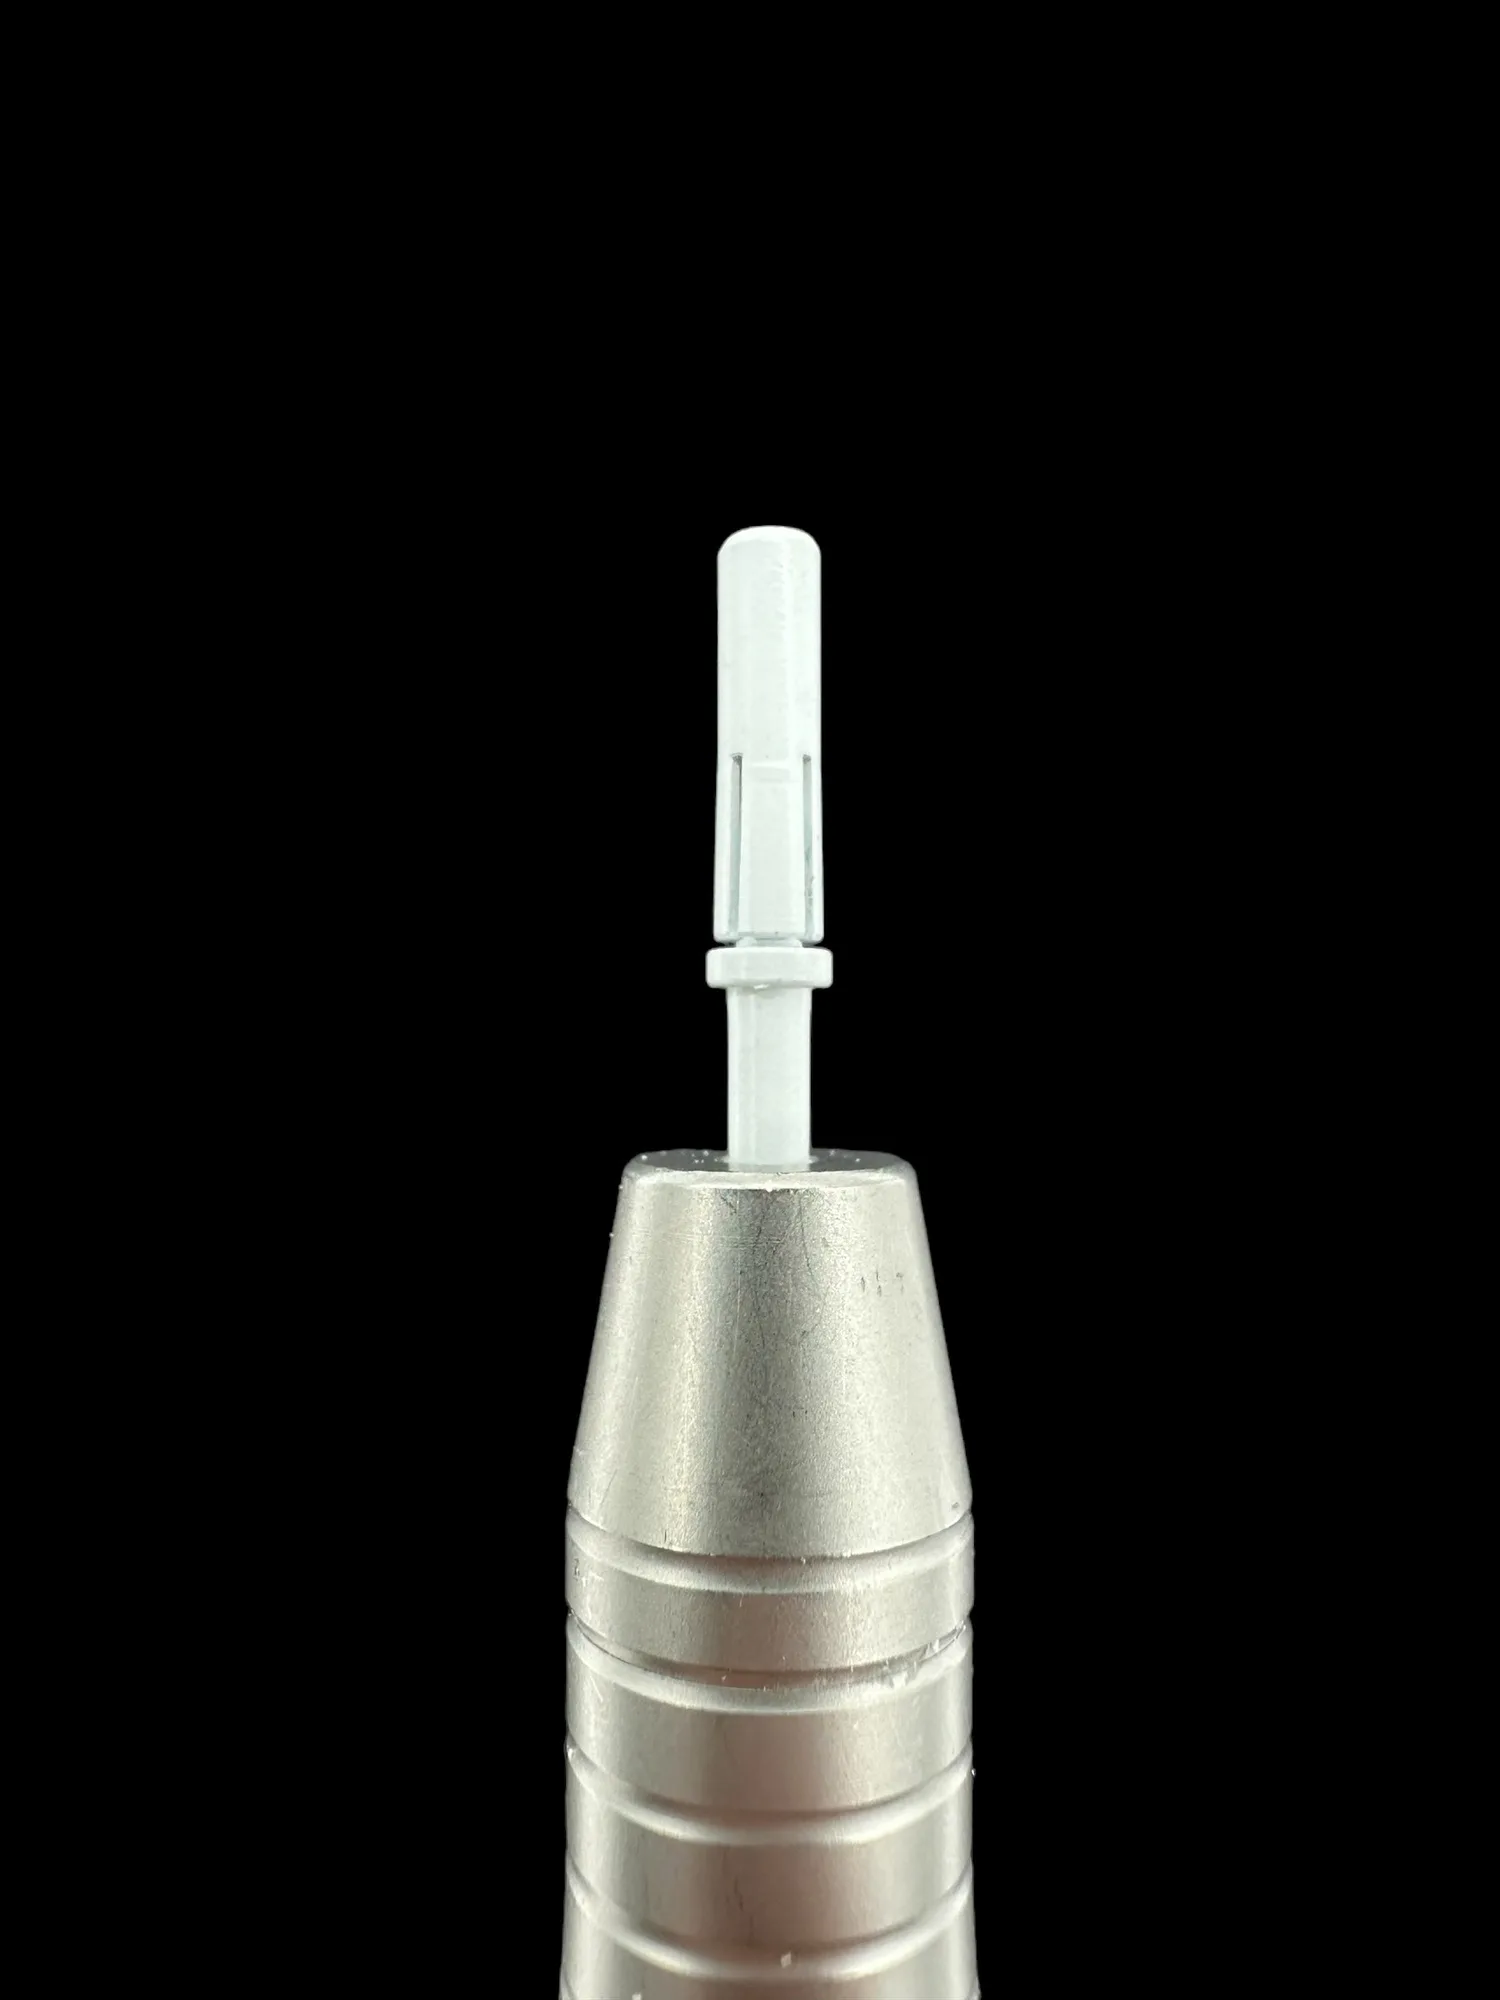
mandrel bit
Sanding bands are the workhorses of nail prep and refinement, but grabbing the wrong grit or running a worn band can cost you time and damage the natural nail. This guide breaks down grit ranges, practical uses, and the signs it's time for a fresh band.
You'll also find fit guidance for mandrel bits and a simple decision framework to choose between a sanding band and a drill bit for common salon tasks.
Nail sanding band grits: what the numbers mean
Grit refers to the abrasive particle size on the band. Lower numbers cut faster and leave deeper scratches; higher numbers refine and smooth. For nails, the practical range runs from about 80 grit (coarse) to 240+ grit (fine). A 120 grit band sits in the middle—aggressive enough to shape acrylic but controllable on natural nails when used with light pressure.
Color coding varies by brand, so always check the labeled grit rather than relying on color alone. If a band is unmarked, treat it as a general-purpose medium and test it on a tip before using it on a client.
- Coarse (80–100): backfill removal, product breakdown
- Medium (120–180): shaping, blending, surface prep
- Fine (240+): smoothing, natural nail prep, finish work
Sanding band uses: matching grit to task
For acrylic nails, start with a medium grit to reduce length and shape the free edge, then switch to a finer grit to blend the cuticle area and smooth the surface. Coarse bands are best reserved for removing old product or filing down thick enhancements—they can be too aggressive for natural nail plates.
On natural nails, use fine grit bands with low RPM and feather-light strokes. The goal is to remove shine and lift cuticle debris, not to thin the nail plate. If you see white flakes or feel heat, stop and switch to a higher grit or a hand file.
- Use light, sweeping strokes—let the band do the work
- Keep the drill moving to avoid friction heat
- Never use a coarse band on a natural nail plate
When to replace sanding bands
A sanding band is spent when it stops cutting efficiently or starts loading up with dust. You'll notice it takes more passes to shape, or the band feels smooth rather than gritty. Worn bands generate heat and can burn the nail, so replace them as soon as performance drops.
For hygiene, use a fresh band for each client. Even if a band looks clean, abrasive particles dull and can harbor debris. If you're doing a multi-step service, swap to a new band when you change grits rather than trying to stretch one band through the whole set.
- Replace when cutting slows or dust clings to the band
- Replace after each client for sanitation
- Replace immediately if the band tears or slips on the mandrel
Sanding band vs drill bit: which to use
Sanding bands are disposable abrasives that fit over a mandrel bit. They're ideal for shaping, blending, and smoothing because you can swap grits quickly and toss the band when it's worn. Drill bits (carbide, ceramic, or diamond) are reusable and better for precise cuticle work, removing hard product, or backfill cutting.
If you need to refine a shape or prep a natural nail, a sanding band is usually faster and more forgiving. If you need to cut a crisp smile line or remove a hard gel enhancement, a drill bit gives you more control. Many techs keep both on the desk and switch based on the task.
- Sanding bands: disposable, grit-specific, great for shaping and smoothing
- Drill bits: reusable, precise, better for cuticle work and hard product removal
Fit guidance: mandrel bits and band sizes
Sanding bands must match your mandrel bit diameter. Standard bands fit 3/32-inch (2.35mm) mandrels, while small bands like Zebra Small Sanding Bands pair with a 3.1mm small mandrel bit. A loose band wobbles and won't cut evenly; a band that's too tight can tear when you press it on.
Check your drill's mandrel size before buying bands. If you use a small mandrel for detail work, stock small bands separately. Always seat the band fully on the mandrel and spin the drill briefly before applying it to the nail to confirm it runs true.
- Match band diameter to mandrel diameter
- Small bands need a small mandrel—don't force a standard band
- Spin-test every new band before it touches the nail
Decision rules for buying sanding bands
- If you mostly shape acrylic enhancements: Buy 120–180 grit bands in standard size. They remove product efficiently without being overly aggressive on the natural nail. Start with a 120 grit assortment and add coarser only if you do a lot of backfills.
- If you work on natural nails or detail areas: Choose fine grit (240+) or small-diameter bands like Zebra Small Sanding Bands (120 grit) with a 3.1mm mandrel for precision. Small bands give you control around cuticles and sidewalls—keep a dedicated small mandrel on hand.
- If you're unsure when to replace: Replace when the band stops cutting, loads with dust, or feels smooth. For client services, use a fresh band per client. Buy in packs so you always have a fresh band ready—dull bands cost more time than they save.
Product facts
- Zebra Small Sanding Bands: 120 Grit; pairs perfectly with our small 3.1mm mandrel bit; safe to use on natural nails; helps with precision, detail, and speed. A 120 grit small band is a versatile choice for detail shaping and natural nail prep when used with the correct small mandrel.
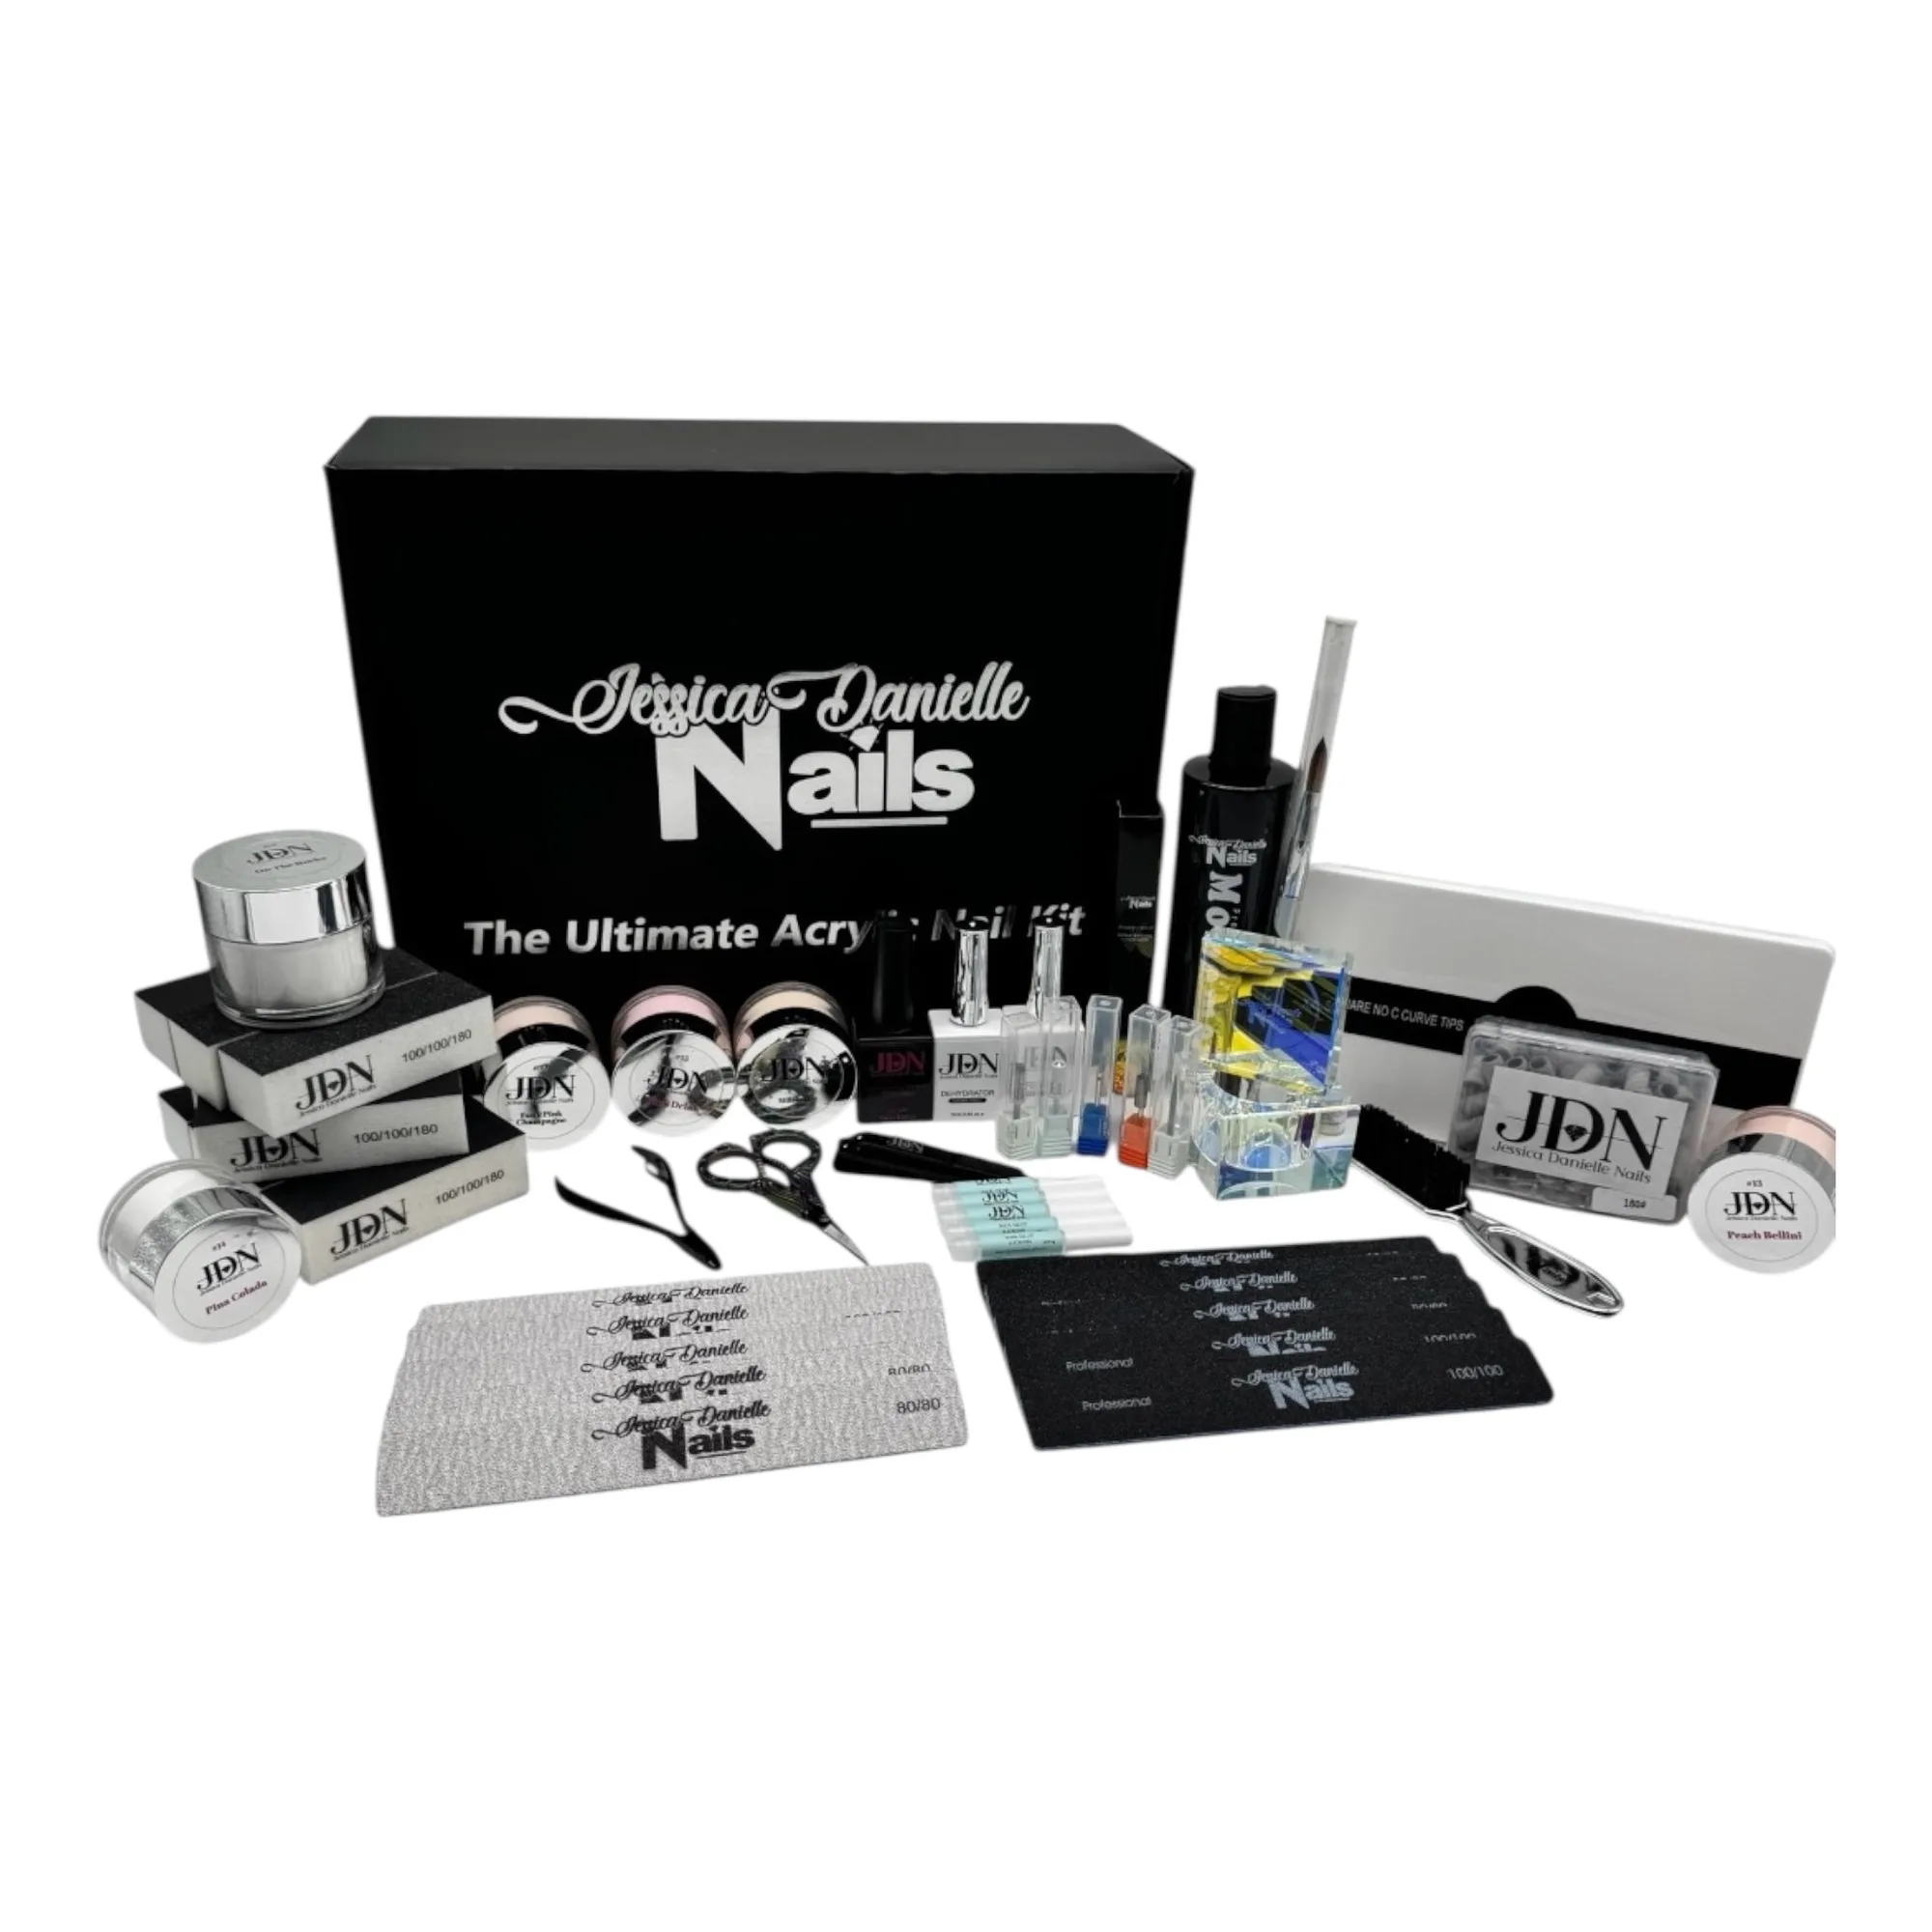
- Ultimate Acrylic Nail Kit: Professional full set with step-by-step instructions; includes high-quality acrylic nail products tested daily in the salon and trusted by nail techs; perfect for both beginners and professionals. If you're building a kit, this set covers the acrylic essentials and includes guidance, so you can focus on learning grit selection and drill technique.
Who should buy which sanding bands
Best for
- Nail techs who shape acrylics and need a reliable 120 grit workhorse
- Detail work on natural nails where a small 3.1mm mandrel fits
- Beginners building a kit who want clear grit guidance
Not for
- Heavy product removal where a coarse carbide bit is more efficient
- Users who don't know their mandrel size—check first or buy an assortment
Pick your grit by task, keep your mandrel size in mind, and replace bands the moment they stop cutting. A small stash of 120 grit and fine grit bands—plus the right mandrel—will handle most shaping and prep work without guesswork.