Quick Answer
To quilt scalloped borders successfully, you need a clear design plan, the right ruler or template, and a steady stitching rhythm. Start with simple scallop shapes on practice fabric before moving to your quilt, and always mark your scallop centers to maintain even spacing.
Choosing the Right Tools for Scallop Quilting
Scalloped borders can add an elegant touch to both modern and traditional quilts. The key to clean, consistent scallops is having the right tools on hand. A dedicated machine quilting ruler with scallop curves helps you maintain a uniform shape across the border. Look for a ruler that offers multiple scallop sizes so you can adapt the design to your quilt's proportions.
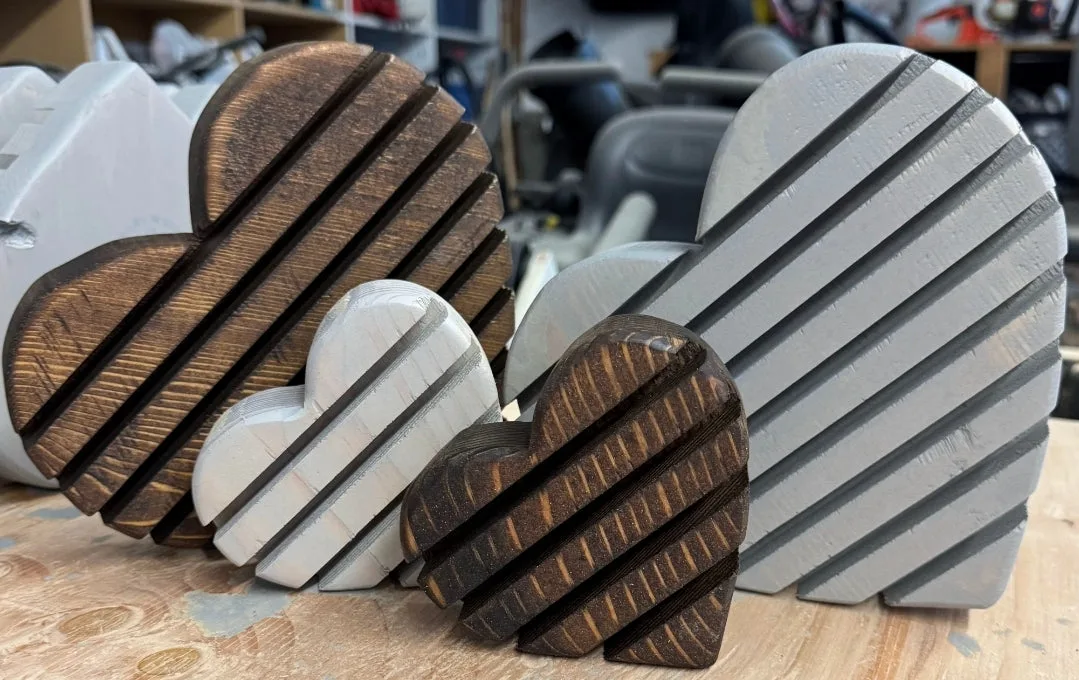
Beyond the ruler, consider a longarm quilting ruler stand to keep your rulers organized and within reach while you work. The Piece N Quilt Made with Love Longarm Quilting Ruler Stand, available in mini (4.5 inch) and regular (7.5 inch) sizes, holds up to four rulers and prevents them from sliding off your table. This simple addition reduces interruptions and helps you maintain focus on your stitching.
Designing Your Scallop Pattern
Before you start quilting, decide on the scallop size and spacing. Smaller scallops (2-3 inches wide) work well on smaller quilts or as accent borders, while larger scallops (4-6 inches) create a bolder statement on bed-sized quilts. Mark the center point of each scallop on your border using a water-soluble or chalk marker. This guide will help you keep each curve symmetrical.
A common mistake is making scallops too deep, which can cause fabric distortion. Aim for a depth that is about one-third of the scallop width. For example, a 3-inch-wide scallop should curve inward about 1 inch. Test your design on a scrap piece of fabric first to see how the quilt sandwich reacts to the curves.
Stitching the Scallop Border
When you are ready to quilt, start at one corner and work your way around the border. Use a walking foot or a free-motion quilting foot depending on your machine and the scallop size. For ruler-guided scallops, a ruler foot with a clear base lets you see your marked lines while keeping the ruler steady.
Stitch slowly and consistently. Rushing often leads to wavy curves or skipped stiches. If you are using a longarm machine, practice the scallop motion on a practice sandwich until your hand-eye coordination feels natural. Stop and reposition the ruler as needed; do not try to stitch the entire scallop in one pass if you are not comfortable.
Step-by-Step: How to Quilt Scallops on a Border
- Mark the scallop centers: Use a water-soluble or chalk marker to place a dot at the center of each scallop along the border. Space them evenly based on your desired scallop width. Checkpoint: Measure the distance between marks to ensure they are uniform. Uneven spacing will make the scallops look lopsided.
- Position your ruler and stitch the first curve: Place your scallop ruler so the curve aligns with the center mark. Stitch slowly from one end of the curve to the other, keeping the ruler steady with your non-dominant hand. Common mistake: Lifting the ruler mid-curve. Keep it pressed flat until you finish the entire scallop to avoid a wavy line.
- Move to the next scallop and overlap slightly: Reposition the ruler for the next scallop, overlapping the previous stitch line by about 1/8 inch to create a smooth transition. Checkpoint: After every third scallop, step back and inspect the overall curve flow. Adjust your overlap if you see gaps or sharp angles.
- Echo the scallop for a bolder look (optional): Once the first row of scallops is complete, stitch a second row 1/4 to 1/2 inch inside the first. Use the same ruler or a smaller curve template. Verdict: Echo quilting adds depth and makes the scallop border stand out, but it requires precise spacing. Practice on a scrap first.
Products That Help You Stitch Scallops
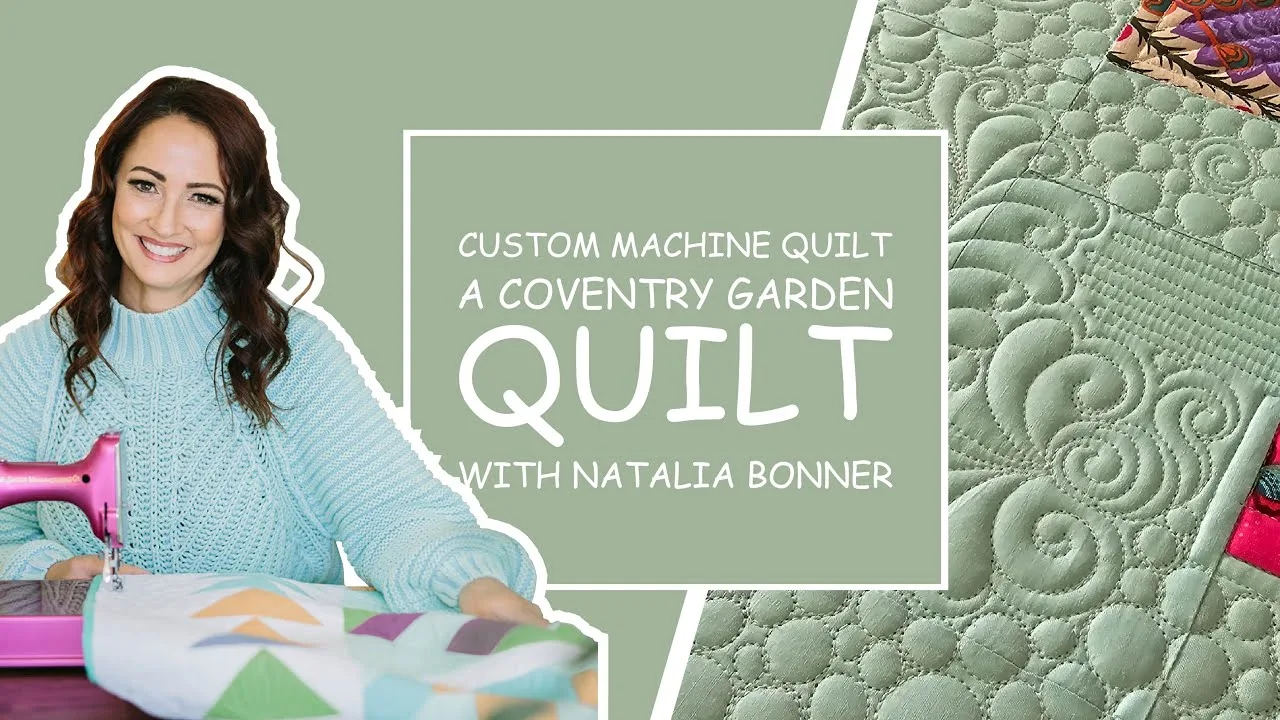
- Machine Quilt A Coventry Garden Quilt with Natalia Bonner: Join renowned machine quilting educator and author Natalia Bonner in this delightful and informative PNQ Academy video. Natalia will guide you through her process of using background fillers, feathers, geometric quilting, straight line quilting, ruler quilting, pebbles, swirls, flowers, and so much more to enhance a stunning Coventry Garden Quilt, explaining why she places her motifs where she does. This course shows you how to integrate scallop borders with other quilting motifs, giving you a complete design strategy rather than just a single technique.
- Let's Stitch Scallops: Scalloped borders can add an elegant touch to both modern and traditional quilts. In this engaging class, Natalia Bonner will guide you through the process of machine quilting 12 stunning scalloped border designs. Whether you prefer smaller or larger borders, this class has got you covered. Worried about needing multiple machine quilting rulers to create these designs? Look no further! Natalia will teach you how to... This dedicated class covers 12 different scallop designs, so you can expand your repertoire beyond basic curves and learn variations that suit different quilt styles.
- Made with Love Longarm Quilting Ruler Stand: Piece N Quilt - Made with Love Longarm Ruler Stand. Keep your machine quilting rulers organized and within reach with the Piece N Quilt - Made with Love Ruler Stand! Thoughtfully designed to comfortably and adorably hold your Piece N Quilt machine quilting rulers, this stand is the perfect addition to your quilting space. Two Sizes Available: Mini (4.5) – Holds up to 4 machine quilting rulers Regular (7.5) – Holds... A ruler stand keeps your scallop rulers accessible and prevents them from sliding off your work surface, saving time and reducing frustration during long quilting sessions.