Quick Answer
Start by pulling your fabrics and auditioning thread directly on the quilt top, not on a white table. If you want the quilting design to lead, choose a blending thread that matches the fabric value; if you want the stitches to be the design, choose a contrasting thread. Then stitch a test sample before committing to the full quilt.
Thread color is one of the few quilting decisions you can change in minutes but see across the whole quilt. A color that looks perfect on a spool can disappear or shout once it is stitched, so the safest approach is to test before you load the quilt.
This guide walks through a practical five-step process for how to choose thread color for quilting, including how to handle blending thread vs contrasting thread, how to match thread to piecing, and which So Fine! thread colors make good starting points for common fabric palettes.
Step 1: Pull Your Fabrics and Find the Dominant Value
Lay the quilt top flat or spread the main fabrics on a neutral surface. Step back and squint. The goal is to identify the dominant value, meaning whether the quilt reads light, medium, or dark overall, not which single print is your favorite. Thread color matching works best when you match value first and hue second.
A common mistake is auditioning thread on a white cutting table. White background makes every thread look darker and more saturated than it will on the quilt. Place thread directly on the fabric, then look again in daylight. If your quilt is mostly medium value, a medium thread usually blends; a light or dark thread will contrast.
- Checkpoint: if you cannot tell whether the quilt reads light or dark, sort your fabrics into three piles and count them.
Step 2: Decide Whether You Want Blending or Contrasting Thread
This is the decision that shapes the whole quilt. Blending thread hides stitch lines and lets the piecing or applique be the star; it is the safer choice for busy prints, complex piecing, and quilts where you do not want every wobble visible. Contrasting thread makes the quilting design the feature, which is ideal for solid fabrics, wide negative space, and showcase quilting.
There is no universally best thread color for quilting, only a best choice for the effect you want. If you are new to free-motion quilting, blending thread is more forgiving because small variations in stitch path are less obvious. If you have practiced a design and want it seen, contrast rewards the effort.
- Common mistake: choosing contrast thread on a quilt with many seams, where stitch lines can highlight every intersection.
Step 3: Match Thread to the Job, Not Just the Quilt
Piecing thread and quilting thread do different work. For thread color for piecing, match the thread to the darker of the two fabrics you are joining so seam lines stay hidden and the seam does not shadow through light fabric. For quilting, match the thread to the quilt top, not the backing, unless you deliberately want a different look on the back.
If you use the same thread in the bobbin as the top, color matching is simpler. If you prefer a dedicated bobbin thread, remember that the bobbin color can show through on the back, so keep it close in value to the backing fabric. A lint-free, smooth thread also keeps the tension more predictable while you are testing colors.
- Checkpoint: write down your top and bobbin choices on a scrap of paper and pin it to the quilt before you start stitching.
Step 4: Test Stitch on a Real Sample
Make a small quilt sandwich from the same fabrics, batting, and backing you will use. Stitch a few inches of the actual quilting design with each candidate thread. Then look at the sample from three distances: up close, at arm's length, and from across the room. The right thread usually looks good at all three.
This step is where thread color matching becomes real. A thread that blends perfectly on the fabric may still show as a slightly different sheen once stitched, especially with polyester on cotton. If the sheen bothers you, move one shade closer in value. If the design disappears too much, move one shade away.
- Common mistake: judging thread color under warm indoor lighting; take the sample to a window before deciding.
Step 5: Commit, Document, and Adjust
Once a thread passes the sample test, commit to it for the whole quilt rather than switching mid-project. Changing thread color partway through a quilting design creates a visible shift in sheen and stitch density. If you must change, do it at a seam or block boundary, not in the middle of a motif.
Document the thread number, needle size, and tension you used. That record turns a one-off success into a repeatable choice for the next quilt in the same palette. If the finished quilting looks flatter than expected, the fix is usually more contrast or a slightly heavier thread weight, not a different brand.
- Checkpoint: keep a labeled sample square in a notebook so you can compare future thread colors against a known result.
Your Five-Step Thread Color Checklist
- Pull fabric and find the dominant value: Spread the main fabrics on a neutral surface and squint to decide whether the quilt reads light, medium, or dark. Checkpoint: if you cannot decide, sort fabrics into three value piles and count them.
- Choose blending or contrasting on purpose: Blending thread hides stitch lines and suits busy prints; contrasting thread makes the quilting design the feature and suits solids and open space. Common mistake: using contrast thread on a seam-heavy quilt, where every intersection becomes visible.
- Match thread to the task: For piecing, match the darker of the two fabrics; for quilting, match the quilt top and keep the bobbin close in value to the backing. Checkpoint: record top and bobbin choices before you start stitching.
- Test stitch a real sample: Build a sandwich from the same fabrics, batting, and backing, stitch the actual design, and view it up close, at arm's length, and across the room. Common mistake: judging color under warm indoor light instead of daylight.
- Commit and document: Stick with one thread for the whole quilt, changing only at a seam or block boundary, and write down the thread number, needle, and tension. Checkpoint: keep a labeled sample square so future color choices have a reference.
Thread Facts That Help You Choose
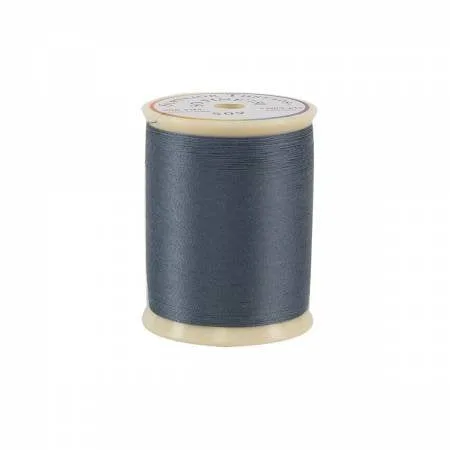
- https://piecenquiltcr.com/products/so-fine-thread-509-washed-denim-spool-c09400c7b2976d6e61ddd78f-1385324So Fine! Thread #509 Washed Denim - Spool: So Fine! #50 is a #50/3 lint-free and extra smooth all purpose polyester thread; each spool has 550 yards and it is recommended for quilting and sewing, and may also be used as bobbin thread. A 550-yard spool is a low-commitment way to test a color on a sample before buying a cone, and the lint-free polyester keeps tension consistent while you audition shades.
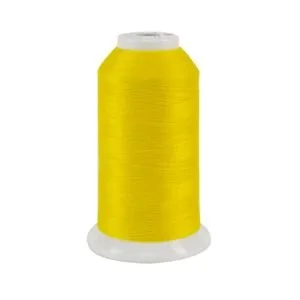
- So Fine! Thread #496 Summer Sun: So Fine! #50 is a #50/3 lint-free and extra smooth all purpose polyester thread; each cone has 3,280 yards and is excellent for sewing, serger, bobbin thread, and quilting. A 3,280-yard cone suits a full-size quilt in a single color, so if Summer Sun passes your sample test you can quilt the whole project without running out mid-design.
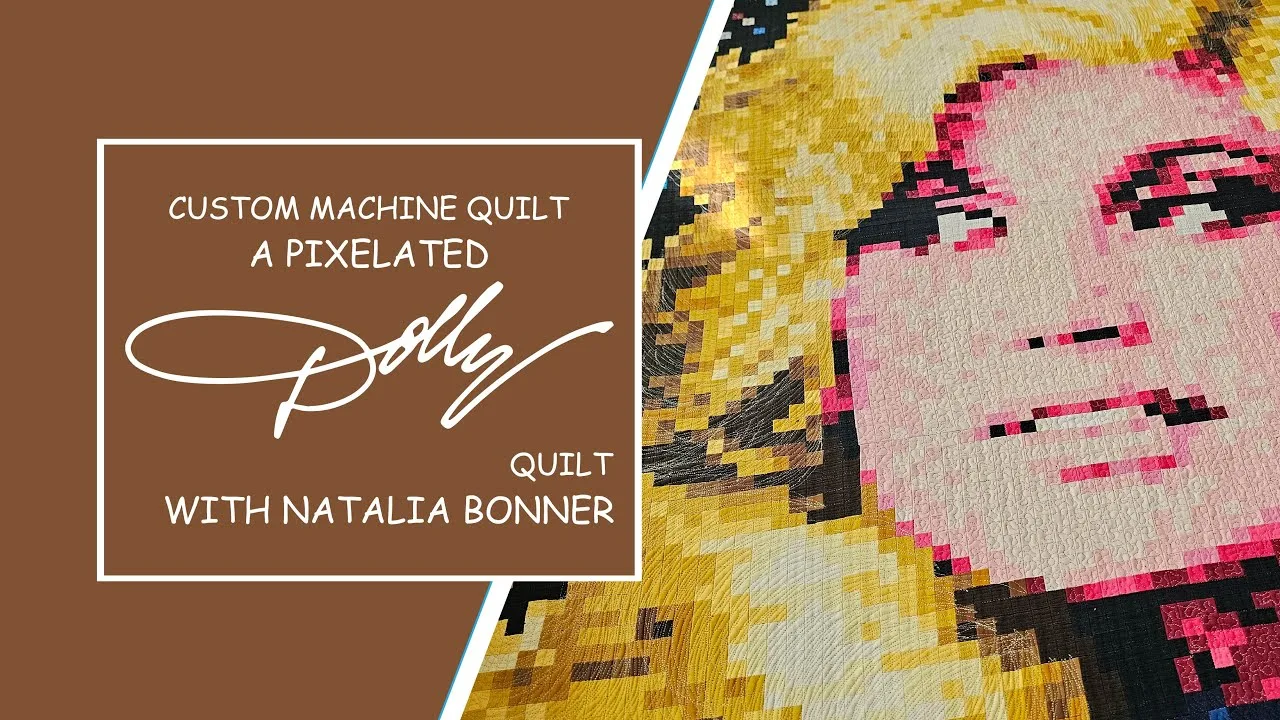
- Machine Quilt A Pixelated Dolly Quilt with Natalia Boner: In this PNQ Academy video, Natalia Bonner demonstrates hand-guided machine quilting on a Dolly Pixelated quilt using seven different So Fine! Thread colors and SuperBobs. Seeing seven thread colors used in one quilt is a practical way to study how blending and contrasting threads change a design before you choose your own palette.
Thread color is easier to choose when you treat it as a test, not a guess. Pull your fabrics, decide whether you want blending or contrast, stitch a real sample, and commit once it looks right at three distances. A small spool is a cheap way to audition a shade before you buy a cone.