Quick answer
Applying semi-cured gel nail wraps at home is straightforward: prep nails, select the right size, apply the wrap, cure under an LED lamp, and file away the excess. The result is a durable, glossy gel manicure that lasts up to two weeks.
What you need before starting
Semi-cured gel nail wraps require an LED lamp to cure and harden the gel. The lamp is sold separately, so make sure you have one before you begin. A standard 36W or higher LED lamp works well. You'll also need a nail file, cuticle pusher, and rubbing alcohol or nail dehydrator for best adhesion.
Choosing the right wrap for your style
The Instant Gel Manicure- Rose Garden wrap features delicate champagne cateye details with a light gold shimmer, perfect for celebrations and special moments. The Instant Gel Manicure- Champagne Flash wrap offers a touch of luxury with light gold and champagne tones accented by glitter for an ultra-shiny, glossy finish. Both are semi-cured gel wraps that cure under an LED lamp for exceptional durability.
Step-by-step application guide
- Prepare your nails: Remove any old polish, push back cuticles, and gently buff the nail surface to create a smooth base. Wipe nails with rubbing alcohol or a nail dehydrator to remove oils and dust. Skipping the dehydrator can cause the wrap to lift within days.
- Select the correct wrap size: Match each wrap to your nail width. If between sizes, choose the smaller size and stretch slightly. The wrap should cover the nail without overlapping skin. Using a wrap that is too large leads to wrinkles and poor adhesion.
- Apply the wrap to the nail: Peel the wrap from its backing and center it at the cuticle line. Press firmly from the center outward to smooth out any bubbles or creases. Gently stretch if needed to fit the nail shape. Avoid touching the sticky side with fingers—oils can reduce adhesion.
- Cure under an LED lamp: Place the hand under an LED lamp and cure for 60 seconds (or follow your lamp's instructions). The wrap will harden into a glossy gel finish. Cure each nail individually for best results. Do not skip the cure time—under-curing leads to peeling and chipping.
- File away the excess: Use a fine-grit nail file to gently file off the excess wrap at the free edge. File in one direction to avoid lifting the cured gel. Wipe away dust with a lint-free cloth. Filing back and forth can cause the gel to lift from the nail tip.
Product facts
-
Instant Gel Manicure- Rose Garden, Semi-Cured Gel Nail Wrap: LED lamp is required for application and is sold separately. Features champagne cateye details with light gold shimmer. You need an LED lamp before starting; the cateye effect adds elegant shimmer for special occasions.
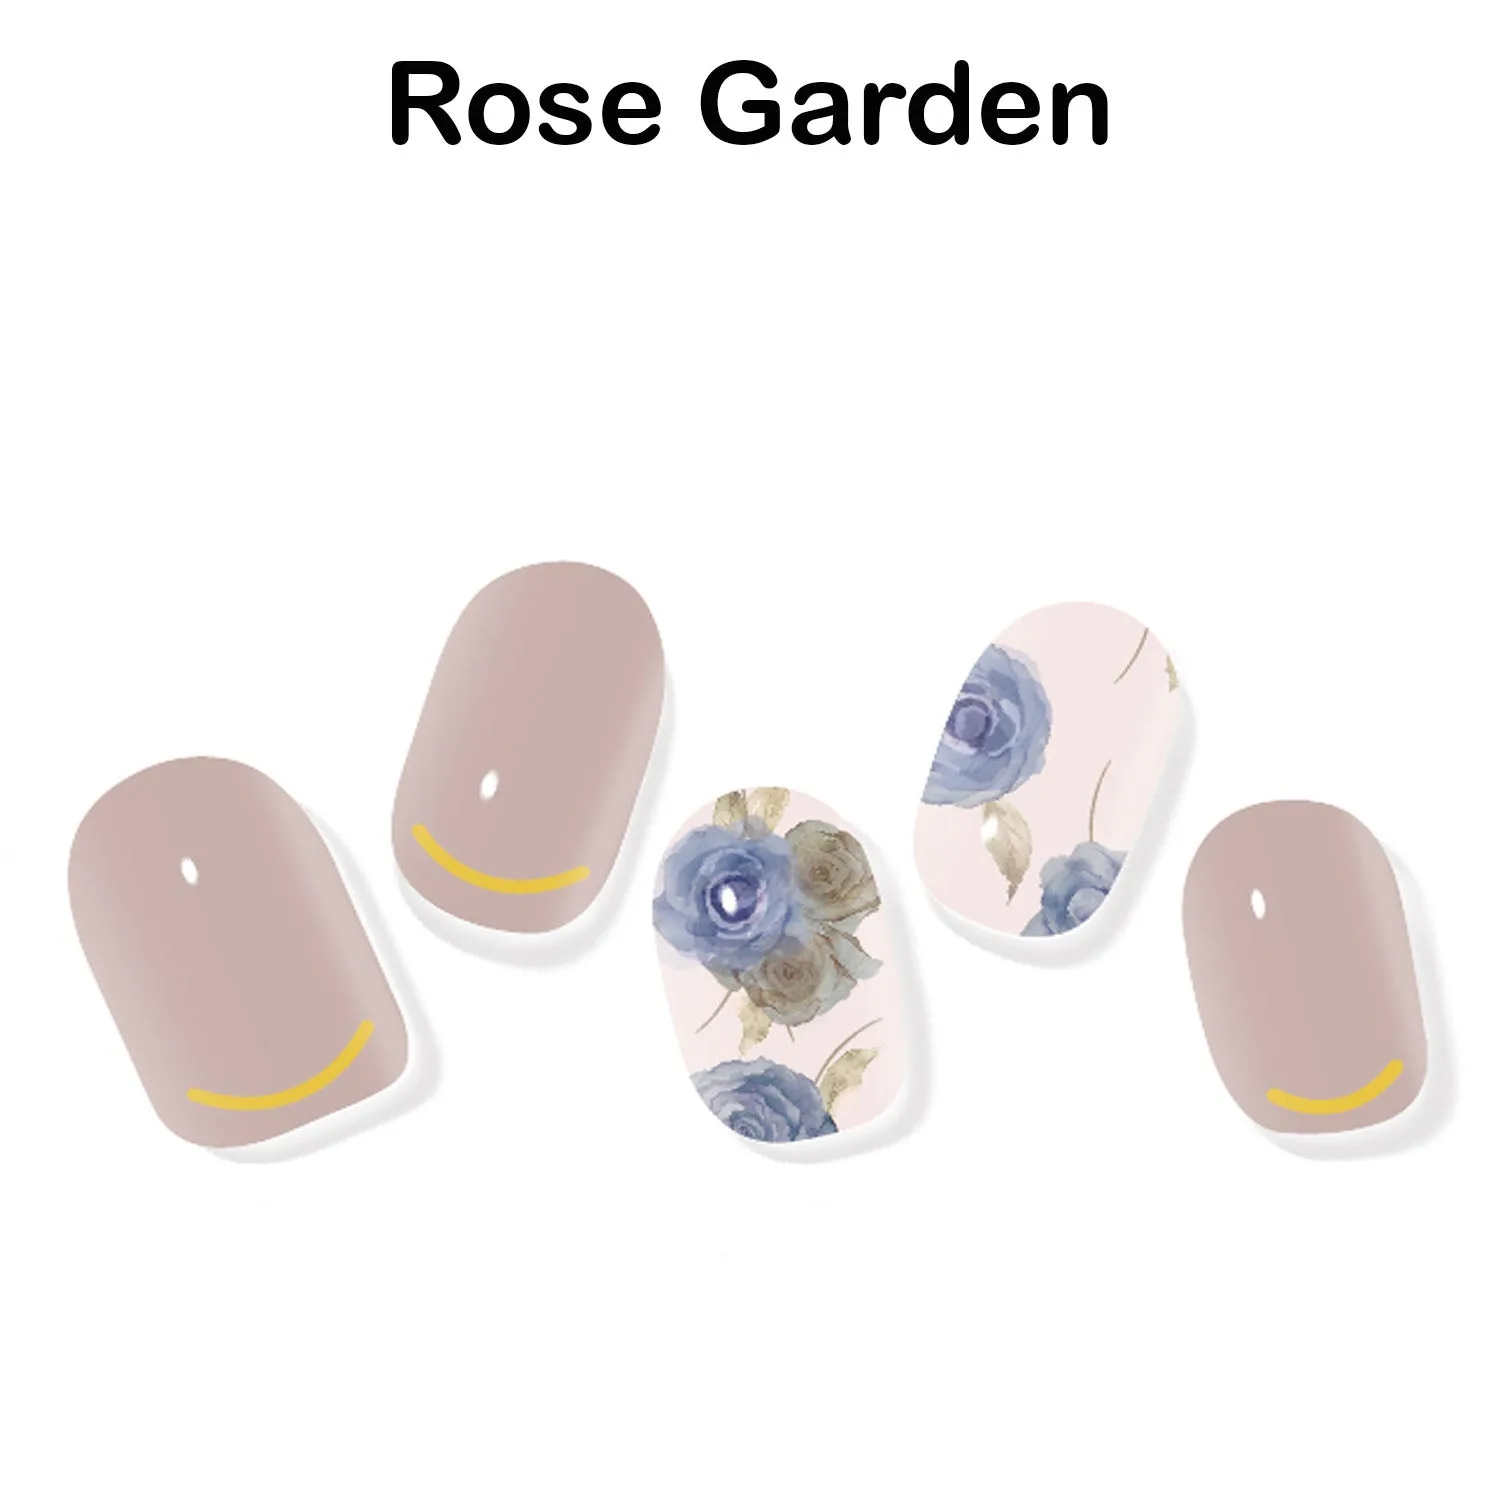
Instant Gel Manicure- Rose Garden, Semi-Cured Gel Nail Wrap
-
Instant Gel Manicure- Champagne Flash, Semi-Cured Gel Nail Wrap: LED lamp is required for application and is sold separately. Features light gold and champagne tones with glitter for an ultra-shiny, glossy finish. The glitter accent gives a high-shine, glamorous look that stands out at parties or events.
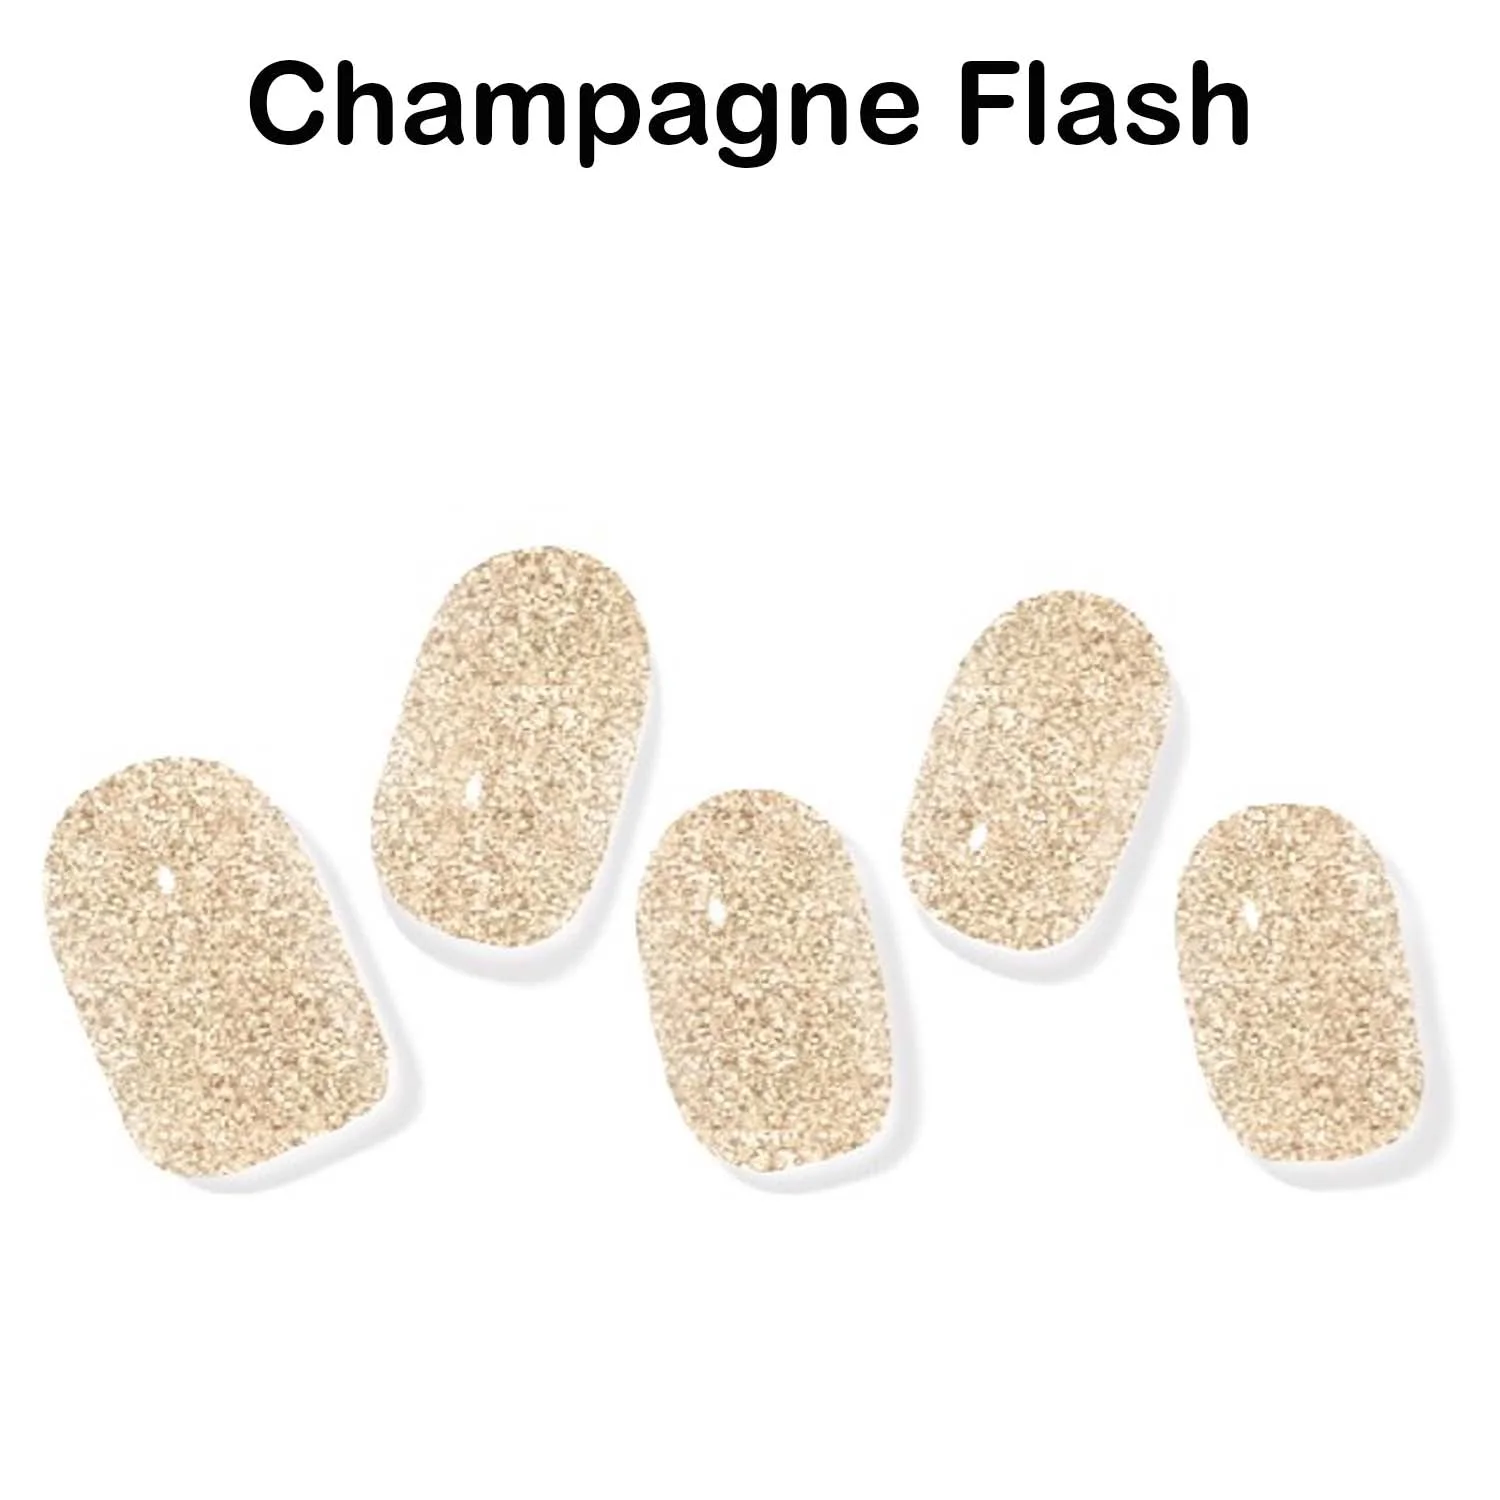
Instant Gel Manicure- Champagne Flash, Semi-Cured Gel Nail Wrap