Quick answer
A 12V DC exhaust fan is an energy-efficient, low-voltage solution to pull stale, humid air out of a dog kennel. The key is mounting it high on an exterior wall or gable, wiring it to a suitable power source, and sealing gaps to prevent air leaks.
Why a 12V DC fan works well for kennels
Low-voltage fans are safer in damp environments than standard 120V AC units, and they draw less power if you run them continuously. The 12-inch model with included gable shutters simplifies installation because the shutter opens automatically when the fan runs and closes when it stops, keeping out pests and drafts.
Choosing the right location
Mount the fan as high as possible on an exterior wall or gable end—hot, humid air rises, so pulling it out at the top is most effective. Avoid placing the fan near a fresh-air intake or open door that could short-circuit the airflow. If your kennel has multiple rooms, install one fan per zone.
Step-by-step installation
- 1. Choose and prepare the mounting location: Cut a rough opening in the wall or gable that matches the fan housing dimensions. Use a level to ensure the cutout is square. Common mistake: cutting the hole too large—trace the housing outline precisely and cut slightly inside the line so the housing fits snugly.
- 2. Run the low-voltage wire: Run 12-2 or 14-2 low-voltage wire from a 12V DC power supply (such as a battery or transformer) to the fan location. Use conduit or wire rated for outdoor or damp locations if the wire passes through unconditioned space. Common mistake: using standard extension cord or undersized wire, which causes voltage drop and slower fan speed. Check the fan’s amp rating (6.6 Amps) and size the wire for at least 8 Amps to account for startup surge.
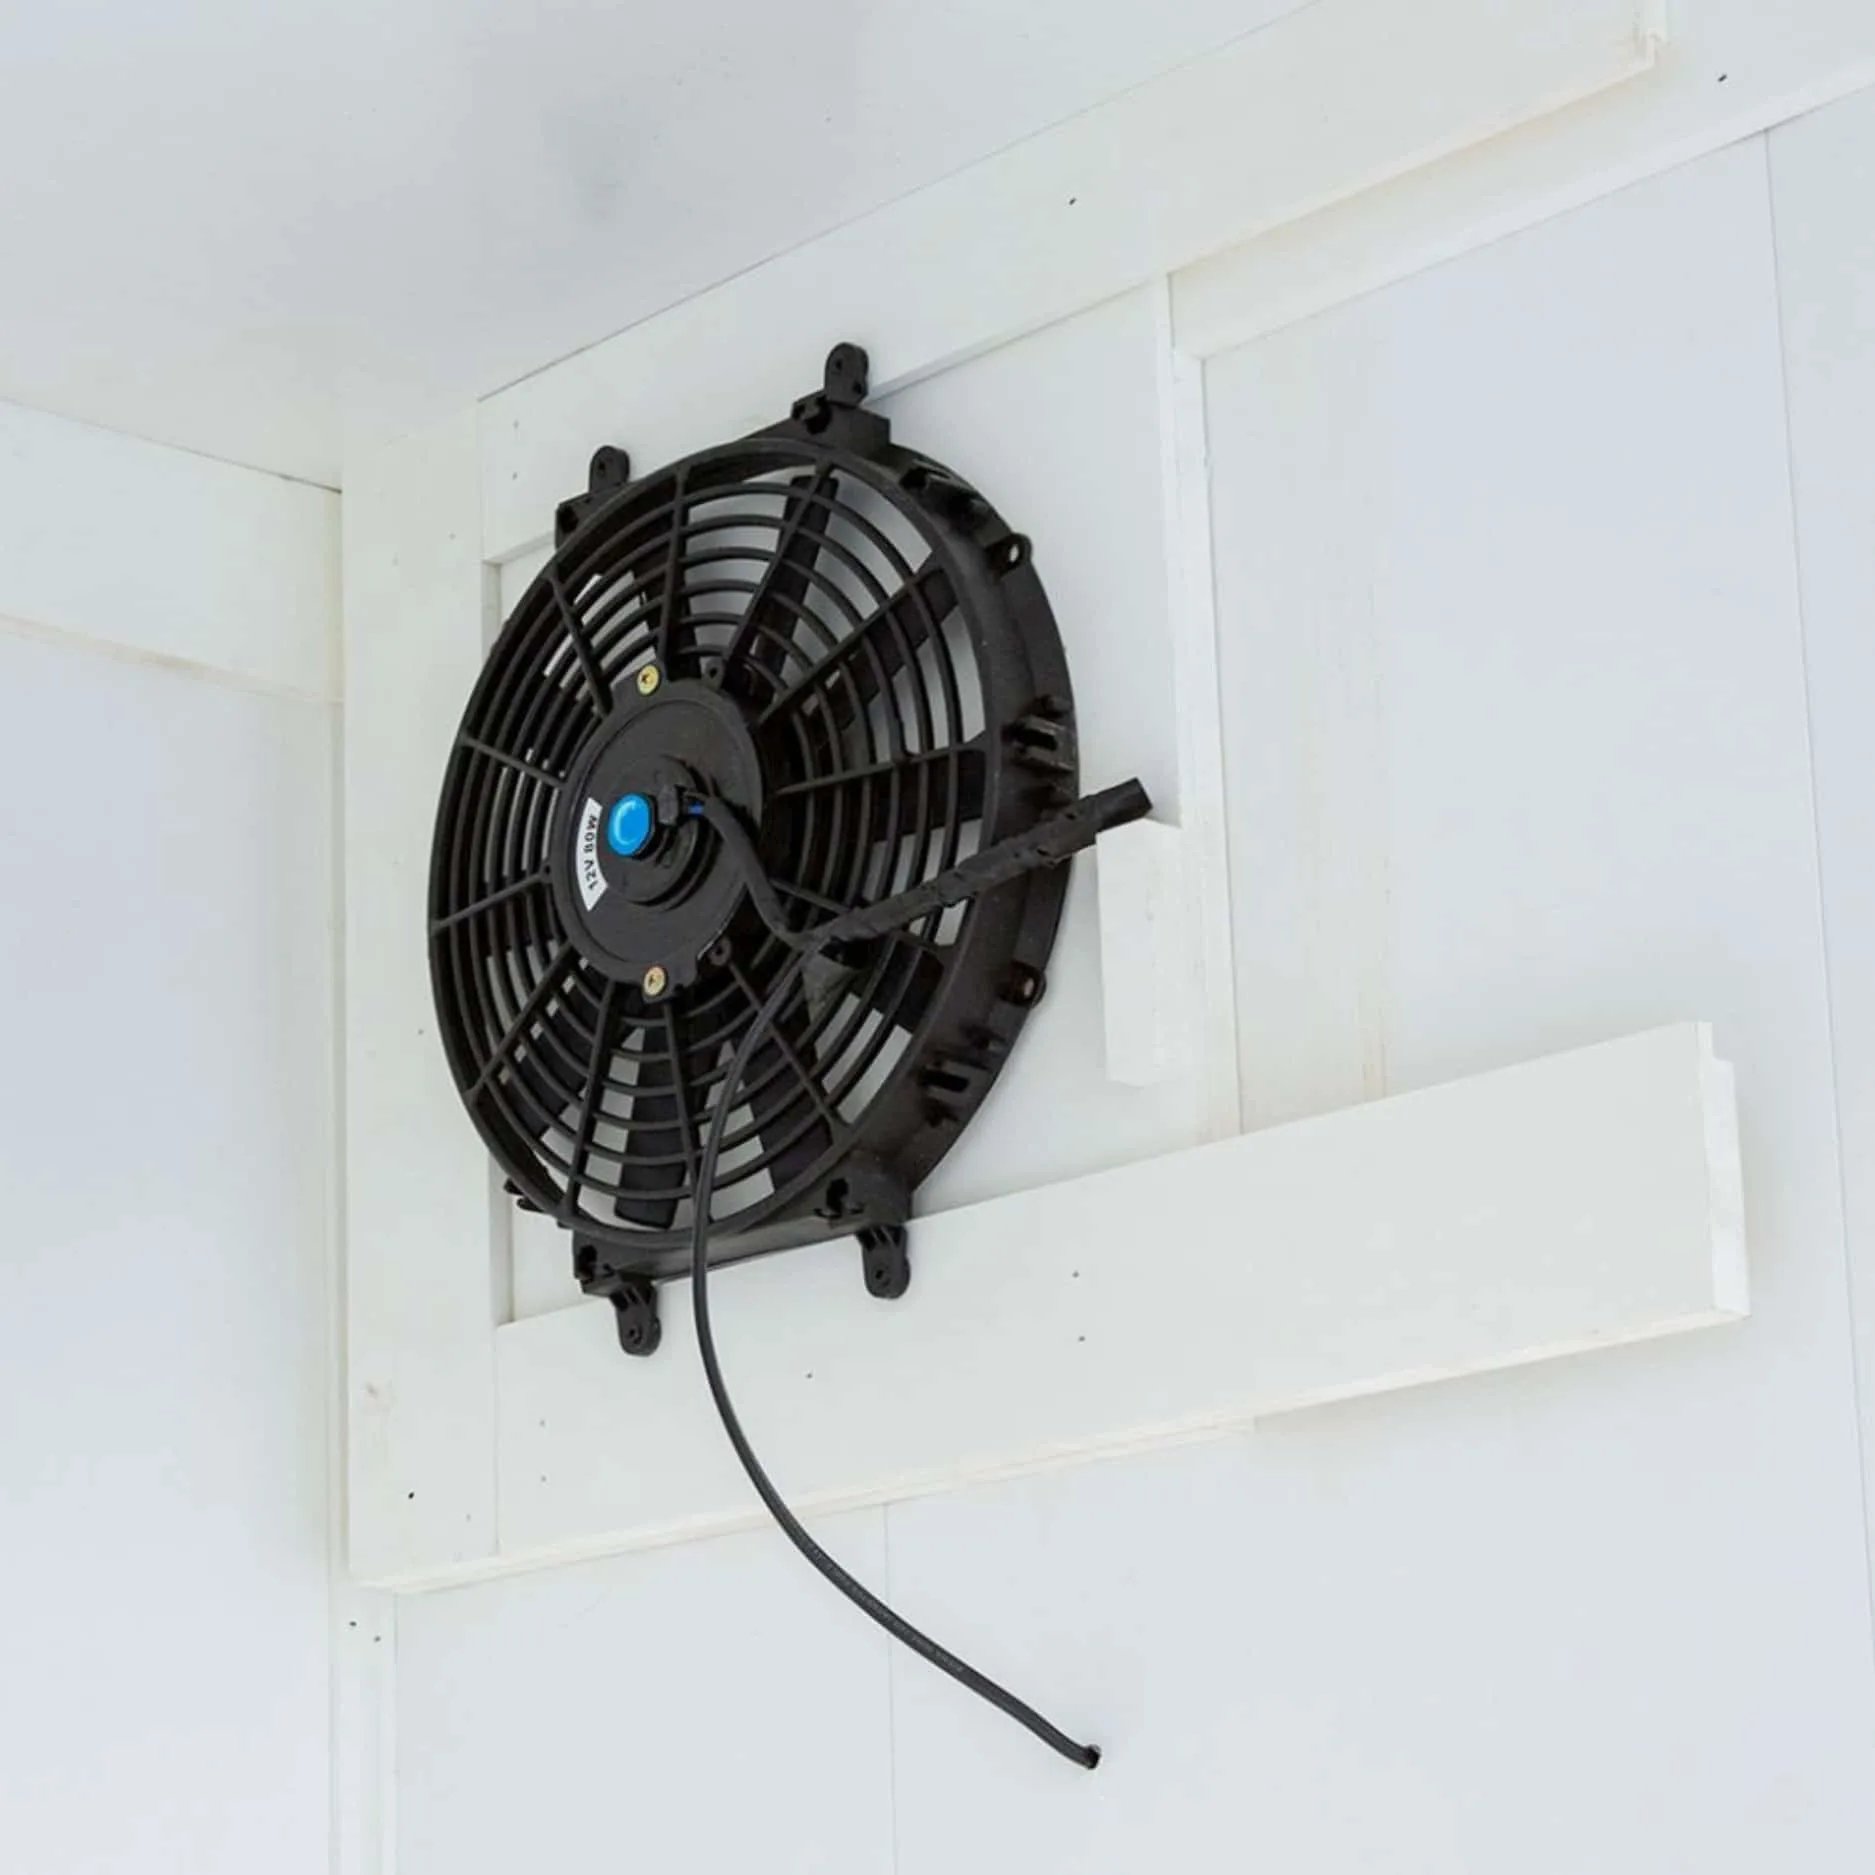
- 3. Mount the fan and connect the wiring: Slide the fan housing into the rough opening and secure it with screws through the mounting flanges. Connect the positive and negative wires to the fan leads, using waterproof wire connectors or heat-shrink tubing. Common mistake: reversing polarity—most 12V DC fans spin in only one direction, so test the polarity before finalizing connections. If the fan blows inward instead of outward, swap the two wires.
- 4. Install the gable shutters and test airflow: Attach the included gable shutters to the exterior side of the housing. Power on the fan and verify that the shutters open fully and close completely when the fan shuts off. Common mistake: forcing the shutters closed with paint or debris—leave the hinge pins clean so they move freely.
- 5. Seal gaps and add a thermostat or timer (optional): Use exterior-grade caulk or foam sealant around the housing to prevent air leaks. For automatic operation, wire a thermostat or timer switch in-line with the power supply. Common mistake: sealing the interior side only—seal both the inside and outside perimeter for maximum efficiency. A simple hygrometer or humidity controller can turn the fan on when relative humidity exceeds 60%, which is ideal for kennels.
Product used in this guide
-
12-V DC Exhaust Fan: 12 Inch Fan 12-V DC 6.6 Amps Includes Gable Shutters The built-in shutters eliminate the need for a separate louver or damper, saving installation time and ensuring the vent seals shut when the fan is off.
12-V DC Exhaust Fan