Quick Answer
For product photography, set up your softbox at a 45-degree angle to the subject, close enough for soft shadows, and use a second light or reflector to control contrast.
Why Softbox Setup Matters
The position of your softbox changes the quality of light more than any other factor. A softbox placed too far away produces harsh shadows; too close can cause uneven falloff. Understanding the relationship between distance, angle, and power gives you control over the final look.
Product photography often requires consistent, repeatable setups. Once you find a position that works, note the distances and angles so you can recreate it for future shoots.
Key Trade-offs
A larger softbox gives softer light but may be harder to position in tight spaces. A smaller softbox is easier to manage but may require more diffusion or a greater distance to avoid hard shadows.
Using a single softbox creates dramatic shadows that emphasize texture. Adding a reflector or second light softens those shadows and reveals more detail—choose based on the product's surface and the mood you want.
Softbox Setup Steps
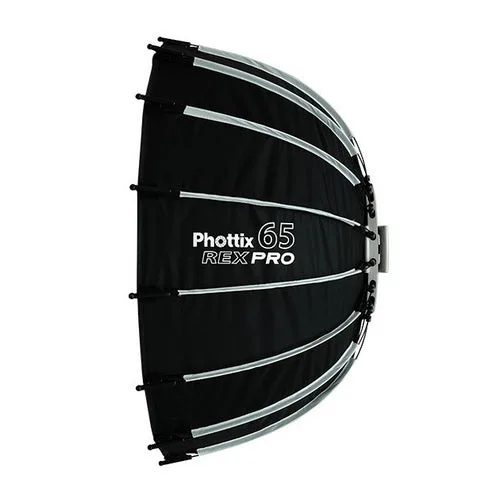
- Assemble the softbox: Unfold the softbox and attach it to a Bowens mount light. If you're using a quick folding model like the Phottix REX Pro, push the center to open it and lock the mount in place. Check that all ribs are fully extended and the fabric is taut before mounting.
- Position the softbox: Place the softbox at a 45-degree angle to the product, about 1.5 to 2 times the width of the softbox away. This creates soft shadows and dimension. If shadows are too deep, move the softbox closer; if they're too soft, move it farther.
- Set the light power: Start with a low power setting, such as 1/8 or 1/4, and adjust based on your camera's exposure. Use a test shot to check for highlights and shadows. Avoid clipping highlights by checking the histogram after the first test.
- Add fill light or reflector: Place a reflector or second softbox on the opposite side to fill shadows. Use a white reflector for a subtle fill, or a silver one for more contrast. Start with the fill light at a lower power than the key light to maintain a natural look.
- Adjust for the product: For shiny or reflective products, use a larger softbox or move it closer to create a broad highlight. For textured items, a more angled light will emphasize detail. Test with the actual product to see how the light interacts with its surface.
Recommended Softbox
-
Phottix REX Pro Quick Folding Softbox: The Phottix REX Pro Quick Folding Softbox collapses to a slim 50mm thickness and uses a one-push release button for effortless collapse. This makes setup and teardown fast, so you can reposition the light or pack up without losing momentum during a shoot.
Phottix REX Pro Quick Folding Softbox


