Quick Answer
To get a flawless stiletto manicure with XXL tips, focus on precise sizing, proper shaping, and secure application. Start by matching each tip to your natural nail width, then shape the sidewalls to create a sharp stiletto point, and apply with a thin layer of gel or glue to prevent lifting.
Choosing the Right Size for XXL Stiletto Tips
XXL stiletto tips make a bold statement, but the right fit starts with the base—not the length. Each tip should cover your natural nail from sidewall to sidewall without overhanging. If the tip is too wide, it will look bulky and lift easily; too narrow and it will pinch or leave gaps. Use a sizing guide or test a few sizes before committing.
Kiara Sky's Stiletto Nail Tips XXL come pre-shaped in a Double XL length, which means you get dramatic length without the shaping struggle. The half-coverage design sits over your natural nail, so the fit at the cuticle and sidewalls matters most. When in doubt, choose the size that matches your natural nail's widest point—you can always file down the sides slightly.
Shaping Stiletto Tips for a Sharp Point
Even pre-shaped tips need fine-tuning to create a consistent stiletto point. Place the tip on your nail and look at it from the top—the sidewalls should taper evenly toward the center. Use a coarse file to shape the sides, working from the base toward the tip, and check symmetry frequently.
A common mistake is filing only one side or rounding the point too early. Keep the tip sharp but not fragile; a very thin point can snap off. For a ballerina or almond variation, adjust the tip shape accordingly, but for a true stiletto, maintain a straight taper that ends in a pointed tip.
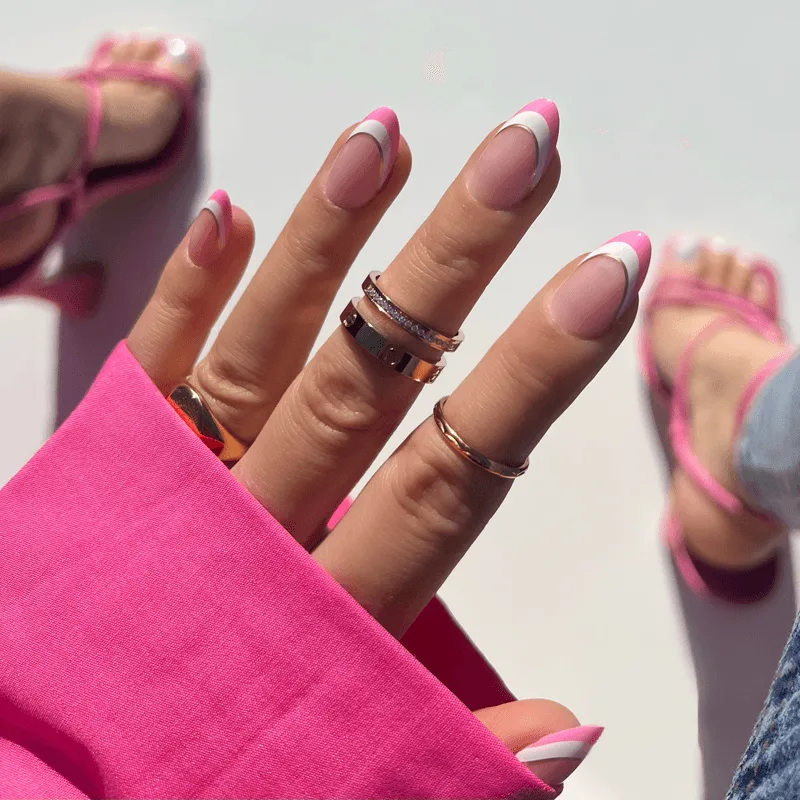
ballerina
Prepping Your Natural Nails Before Application
Long-lasting wear depends on how well you prep the natural nail. Push back cuticles, gently buff the surface to remove shine, and wipe with alcohol or a dehydrator to remove oils. This ensures the tip adheres firmly and reduces the chance of lifting.
Avoid over-buffing, which can thin the natural nail. A light buff is enough to create a rough surface for adhesion. If you have oily nail beds, use a primer or dehydrator for extra security.
Step-by-Step Application Process
- Prep your natural nails: Push back cuticles, lightly buff the nail surface, and cleanse with alcohol or dehydrator to remove oils and debris. Checkpoint: Nails should look dull, not shiny, before applying the tip.
- Select and size each tip: Match each tip to your natural nail width, ensuring it covers from sidewall to sidewall without overhang. Use a sizing guide if needed. Checkpoint: The tip should sit flush against the natural nail with no gaps.
- Shape the tips if needed: File the sidewalls to create a sharp, even stiletto point. Work symmetrically and avoid making the point too thin. Checkpoint: Both sides should taper evenly toward the center.
- Apply the tip: Apply a thin layer of gel or nail glue to the natural nail, then press the tip on at a slight angle, starting from the cuticle and pressing down to the free edge. Hold for a few seconds to secure. Common mistake: Using too much adhesive causes overflow and lifting. Less is more.
- Cure or dry: If using gel, cure under a lamp according to the product instructions. If using glue, allow it to dry completely before moving on. Checkpoint: The tip should feel firmly attached with no movement when gently pressed.
- Finish and refine: File the seam where the tip meets the natural nail for a smooth transition. Then apply your chosen gel polish or nail art. Checkpoint: Run a finger over the seam—it should feel smooth, not bumpy.
Product Highlight
- Stiletto Nail Tips XXL - Clear: Kiara Sky's Stiletto C-Curve Nail Tips are crystal clear, half coverage, and pre-shaped in a Double XL length, perfect for stiletto, ballerina, and almond nails. They feature a pre-prepped application surface and a deep c-curve. The deep c-curve helps the tip hug your natural nail, reducing the chance of air bubbles and lifting. The pre-shaped design saves time on filing, so you can focus on sizing and final shaping.