If you're a board game enthusiast who loves adding a personal touch to your gaming experience, creating your own stone golem miniature is a rewarding and fun project. Not only does it give you a unique piece for your collection, but it also allows you to express your creativity. Whether you're a seasoned hobbyist or a beginner looking to try something new, this guide will walk you through the entire process, from gathering materials to painting the final details.
Stone golems are iconic creatures in fantasy settings, often serving as formidable guardians or powerful allies. Building one yourself can be a fantastic addition to your board game sessions, serving as a memorable game piece or a decorative display. In this article, we'll cover everything you need to know about stone golem miniature DIY, including the essential tools, step-by-step instructions, and expert painting tips.
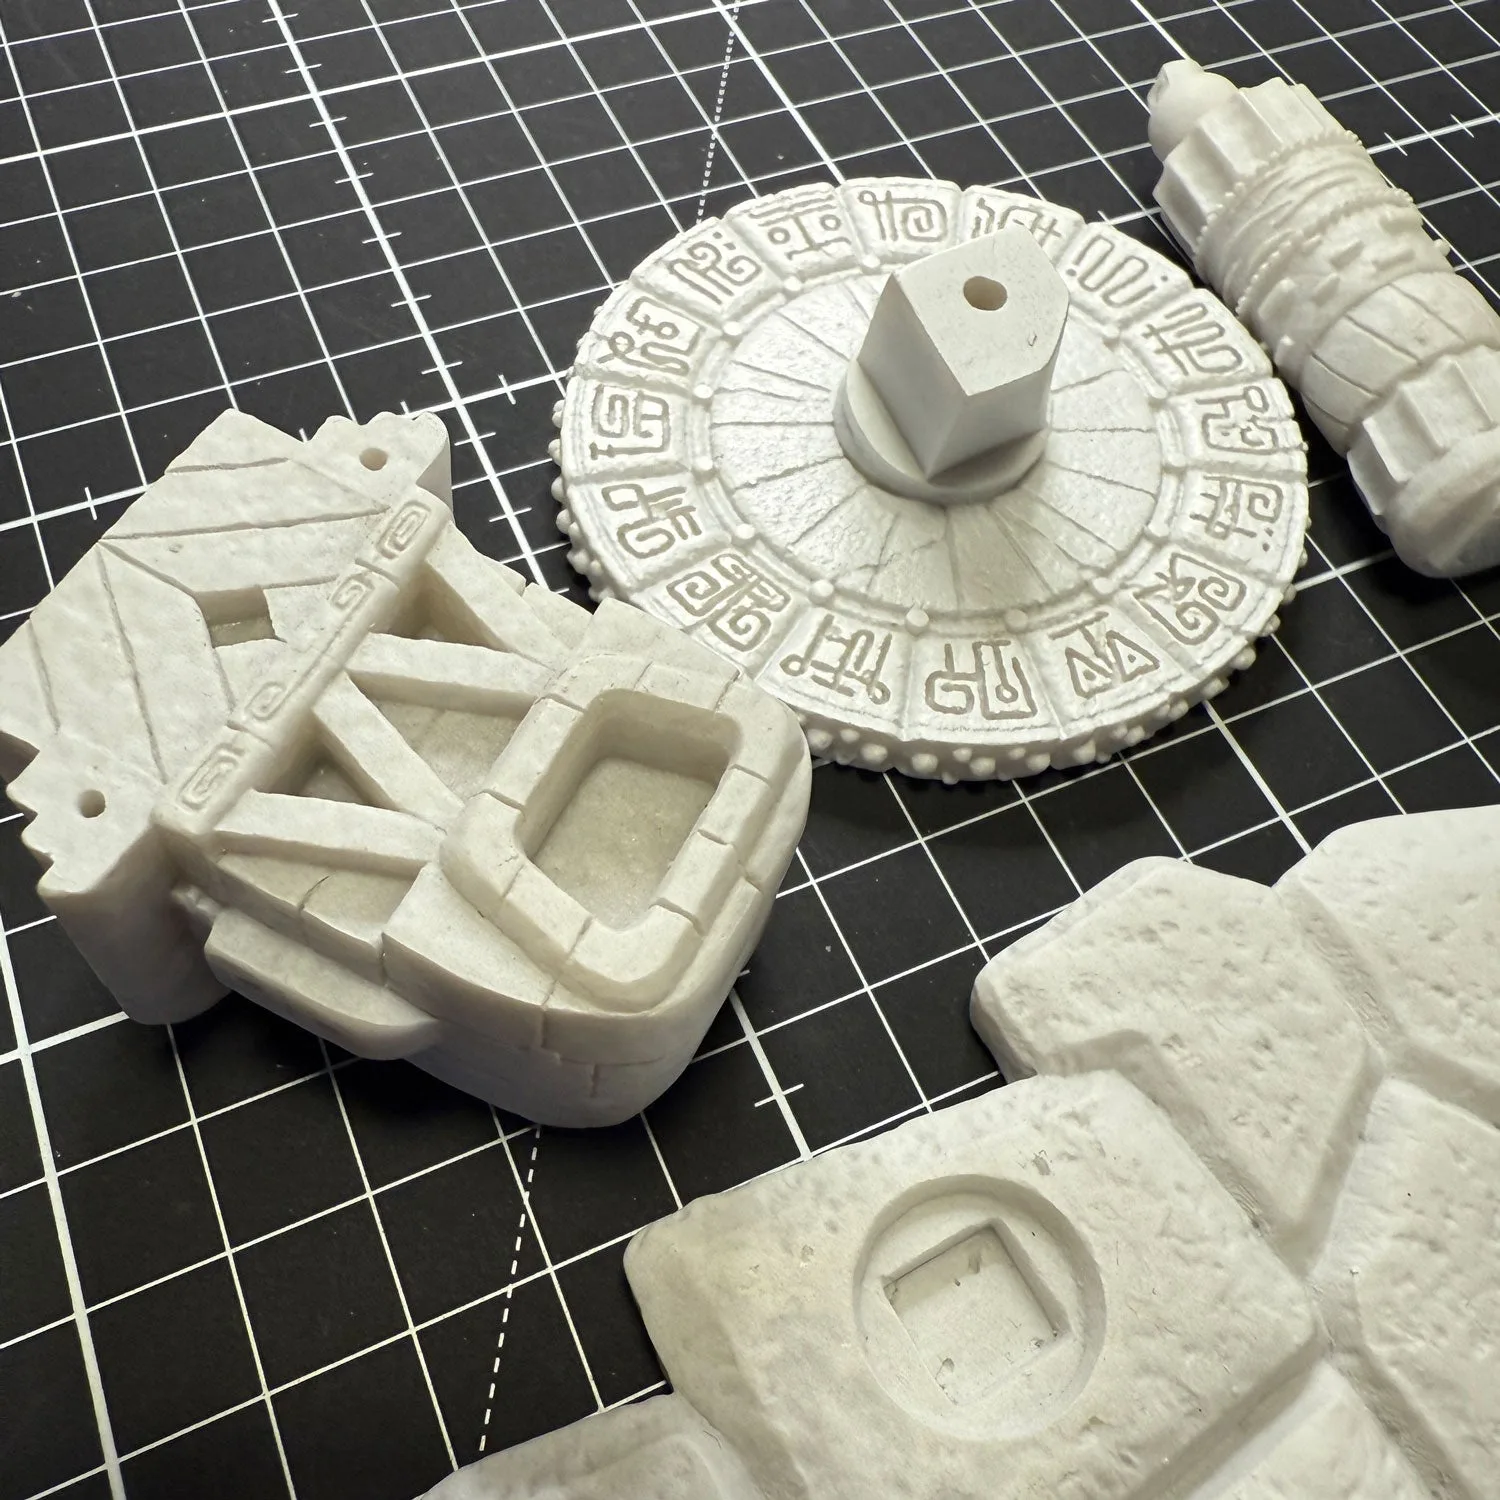
stone golem miniature DIY
Why Build Your Own Stone Golem Miniature?
Creating your own miniature offers a sense of accomplishment that store-bought pieces can't match. It allows you to customize every aspect, from the pose to the color scheme, ensuring your golem fits perfectly with your game's theme. Additionally, DIY miniatures are often more affordable than purchasing high-end pre-painted figures, making it a budget-friendly hobby.
Moreover, the process of building and painting a miniature is a relaxing and meditative activity. It's a great way to unwind after a long day, and the result is a tangible piece of art that you can proudly display or use in your next game night. For board game fans, having a unique stone golem can elevate the immersive experience, making your adventures feel more epic.
- Customize your golem's pose and details to match your game's lore.
- Save money compared to buying pre-painted miniatures.
- Enjoy a relaxing and rewarding hobby that improves your crafting skills.
Essential Tools and Materials for Stone Golem DIY
Before you start, gather the necessary tools and materials. You'll need a stone golem kit (or individual parts), which typically includes plastic or resin pieces. If you're using a kit, ensure you have a hobby knife, plastic glue or super glue, and a pair of sprue cutters. For painting, you'll need acrylic paints, a set of fine brushes, a palette, and a primer. A magnifying lamp or a good desk lamp can also be helpful for detailed work.
If you're feeling adventurous, you can sculpt your own golem from green stuff or polymer clay, but for this guide, we'll focus on assembling a standard kit. The Stone Golem Miniature DIY kit is an excellent choice for beginners and experts alike, offering high-quality details and easy assembly. Remember to work in a well-ventilated area and protect your workspace with newspaper or a cutting mat.
- Hobby knife and sprue cutters for removing parts from the sprue.
- Plastic glue or super glue for assembling the miniature.
- Acrylic paints, brushes, and primer for painting.
- Optional: Green stuff or milliput for custom sculpting.
Step-by-Step Assembly of Your Stone Golem
Start by carefully removing the parts from the sprue using your sprue cutters. Be cautious not to damage the pieces. Once all parts are free, clean up any excess plastic with your hobby knife. Dry-fit the parts together to see how they align before applying glue. This helps you identify any adjustments needed.
Apply a small amount of plastic glue to the joints and press the parts together. Hold them for a few seconds to ensure a strong bond. For larger parts, like the torso and legs, you may need to use super glue for a faster set. Allow the glue to dry completely before moving on to the next step. If there are any gaps or seams, you can fill them with green stuff or model filler, then sand smooth once dry.
- Use sprue cutters to remove parts cleanly.
- Dry-fit before gluing to ensure proper alignment.
- Fill gaps with green stuff for a seamless finish.
Painting Your Stone Golem: Tips and Techniques
Once your golem is assembled, it's time to paint. Start by applying a primer to the entire miniature. A gray or black primer works well for stone effects. After the primer dries, base coat the miniature with a mid-tone gray. Then, use a dry brushing technique with a lighter gray to highlight the raised areas, giving it a realistic stone texture.
For a more weathered look, you can apply a wash of dark brown or black to the recesses to create shadows. Then, dry brush with a pale gray or white to bring out the edges. Add moss or lichen effects by stippling green paint in patches. Finally, seal your work with a matte varnish to protect the paint. If you're a fan of the Madame Laveau series, you might appreciate the same attention to detail in your golem's paint job.
- Use a gray primer for a neutral base.
- Dry brushing is key to achieving a stone texture.
- Apply a wash for shadows, then dry brush highlights.
- Seal with matte varnish for durability.
Displaying and Using Your Stone Golem in Games
Your finished stone golem can serve as a stunning centerpiece on your board game table. Whether you're using it as a boss monster in a tabletop RPG or as a decorative piece in your collection, it's sure to impress. To display it, consider placing it on a custom base or in a display case. You can also use it as a paperweight or a unique gift for a fellow gamer.
If you're looking for other board game accessories to complement your new miniature, consider exploring the Bundles & Deals category on our site. You might find great additions to enhance your gaming experience. And don't forget to check out the Stone Golem Miniature DIY kit if you haven't already – it's the perfect starting point for this project.
- Use a custom base to enhance presentation.
- Pair with themed accessories for a complete setup.
- Showcase your work on social media or in a display case.
Building and painting your own stone golem miniature is a fulfilling project that combines creativity, skill, and passion for board games. With the right tools and a bit of patience, you'll have a unique piece that adds character to your gaming sessions. Whether you're a beginner or an expert, this DIY guide provides all the steps you need to succeed. So why not start today and bring your stone golem to life?