Quick answer
Sleeve each card before it goes anywhere else, keep plushy inserts flat and separate from the plush, and store the whole set in a rigid box away from heat and weight. The order matters more than the gear: sleeve first, then support, then store.
Why plushy inserts need a different routine
A plushy card insert is usually a hang tag or backing card attached to the toy, so it picks up the same risks as a trading card plus a few of its own: creases at the punch hole, dents from the plush pressing against it, and fading on the printed side. Treat the insert as a card that happens to live near fabric.
The most common mistake is leaving the insert attached to the plush on a shelf for months. The plush's weight and the tag's own hang point slowly bow the card. If you want to keep the insert with the plush, store them side by side in a box rather than hanging.
When a binder is the wrong home
Binders are excellent for flat cards you flip through often, but they are a poor fit for thick inserts, cards with textured or embossed surfaces, and anything you plan to keep attached to a plush. Page pockets press on the card's face, and a full binder stored upright lets pages sag against the rings.
For those pieces, use a rigid archival box with dividers instead. It costs more shelf space, but it removes the pressure points that cause bending.
Step-by-step: sleeve, support, and store
- 1. Sleeve the card before anything else: Slide the card into a clean, undamaged sleeve with the printed face away from the opening. Push it in by the edges, never by the center of the art. Checkpoint: if the sleeve has creases or grit inside, discard it, because trapped debris scratches the surface.
- 2. Add a rigid backing card: Place the sleeved card against a stiff backing card cut slightly larger than the sleeve, then put both into a top loader or a rigid holder. Checkpoint: the card should not shift when you turn the holder upside down. If it slides, the holder is too large.
- 3. Detach plushy inserts with care: If the insert is attached by a plastic loop or string, cut the loop rather than pulling the tag. Pulling tears the punch hole and creases the card face. Checkpoint: keep the cut loop with the insert so you remember how it was originally attached.
- 4. Store the insert flat, not hanging: Lay the sleeved insert flat in a rigid box with a divider above and below it. Do not hang it from a hook or clip, and do not stack heavy items on top. Checkpoint: the insert should rest with no point pressure on the punch hole.
- 5. Choose binder or box by card type: Use a binder with acid-free pages for standard flat cards, filling pages evenly so the binder closes without strain. Use a rigid box for thick, textured, or oversized inserts. Checkpoint: store binders flat or upright with pages supported, never leaning at an angle.
- 6. Control heat, light, and weight: Keep the storage box out of direct sun and away from radiators, and avoid stacking boxes of books on top. Checkpoint: feel the box after a warm afternoon. If the plastic sleeves feel soft or tacky, move the box to a cooler spot.
- 7. Inspect on a schedule: Every few months, open the box and check for bowing, corner wear, or condensation inside sleeves. Re-sleeve any card that shows grit or moisture. Checkpoint: if a card has started to bend, store it flat under a light, even weight rather than trying to flex it back.
Product note
-
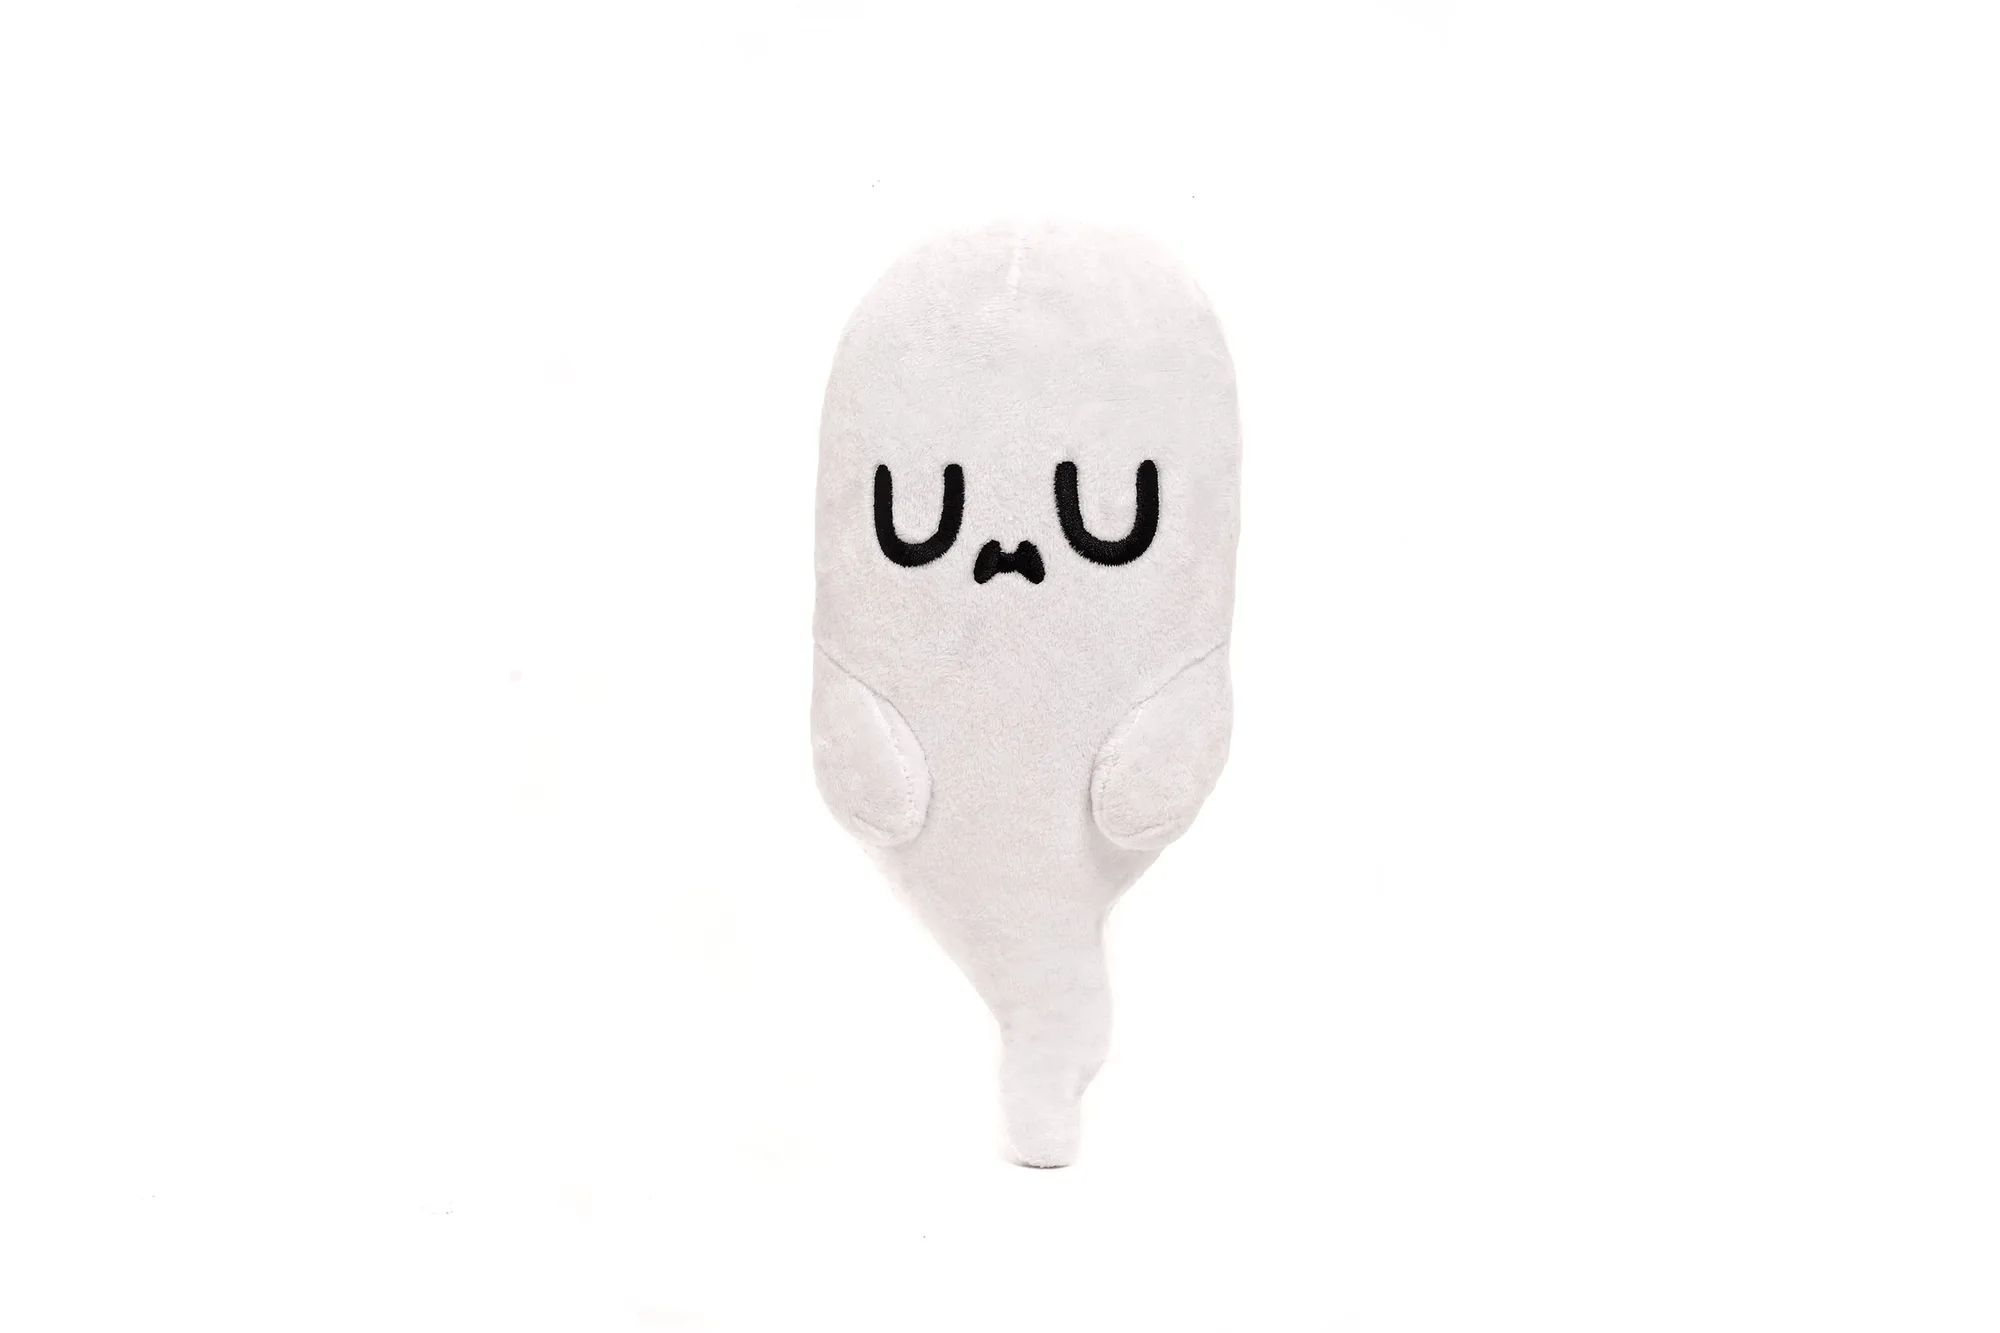
Aughostus Plushy: The Aughostus Plushy is an approximately 10-inch soft plush, and its card insert is not sold separately. Because the insert can't be replaced on its own, protect it before you display the plush rather than after.
Aughostus Plushy