Quick Answer
Most swing set slide installation problems come down to three things: the slide is mounted at the wrong height or angle, the mounting holes do not line up because the deck is not square, or the hardware is loose or over-tightened. Fix the deck and bracket alignment first, then adjust the slide angle, and only then tighten hardware. If the slide shell itself is cracked or warped, stop and replace it rather than forcing the install.
A slide that will not sit right can turn a weekend build into a frustrating puzzle. The good news is that most slide installation problems are predictable, and you can diagnose them in a logical order without special tools.
This guide walks through the common symptoms, what usually causes them, and the exact corrective action. It also tells you when to stop and consider a different slide, a different mounting approach, or professional installation.
Slide Mounting Holes Do Not Line Up
When the slide's mounting holes refuse to meet the bracket or deck holes, the cause is almost always an out-of-square deck or a bracket that was installed before the deck was leveled. Check the deck diagonals first: measure corner to corner, and if the two measurements differ by more than about 1/4 inch, the deck is racked. Loosen the deck fasteners, square it up, and retighten before touching the slide.
If the deck is square and the holes still miss, the slide bracket may be mounted at the wrong height or rotated. Remove the bracket, set the slide in place to mark the true hole positions, and re-drill only if the manufacturer allows it. Never enlarge holes in the slide shell itself, because that weakens the plastic and can void the warranty.
- Measure deck diagonals before assuming the slide is defective.
- Use the slide as a template to mark bracket holes rather than guessing.
- Do not drill new holes in the slide shell; drill the wood or bracket instead.
Slide Sits Too Steep or Too Shallow
A slide that feels too fast or too slow is usually an angle problem, not a slide defect. Most residential slides are designed to land at a specific exit angle, often around 30 to 40 degrees from horizontal. If the exit is steeper, kids pick up too much speed; if it is shallower, they stall halfway down. Check the manufacturer's specified deck height and slide length before adjusting anything.
To correct the angle, you can raise or lower the slide's top mounting point within the bracket's adjustment range, or add or remove a support leg at the exit. Make one change at a time and test with a lightweight object or a supervised child. If the slide is already at the limit of its adjustment range and still wrong, the slide length may not match your deck height.
- Confirm the slide is rated for your deck height before adjusting.
- Change one variable at a time and retest.
- If the slide cannot reach a safe angle, it is the wrong length for the deck.
Slide Wobbles or Feels Loose After Installation
A wobbling slide is a hardware or bracing issue, not a plastic issue. Check that all bolts are present, that washers are on the correct side, and that lock nuts are snug but not crushing the plastic. Over-tightening is a common mistake: it cracks the slide at the mounting points and creates a loose fit as the plastic fails. Tighten until the slide is firm against the bracket, then stop.
If the hardware is correct and the slide still moves, the bracket or the deck board it attaches to may be flexing. Add a backing block or a second fastener into a structural member. On longer slides, a mid-support leg is often required to stop flex. If the slide moves more than about an inch at the exit, do not let kids use it until you add bracing.
- Snug hardware, do not crank it down on plastic.
- Add a backing block if the mounting board flexes.
- Install a mid-support leg on long slides if the manufacturer specifies one.
Slide Sticks, Squeaks, or Kids Slow Down Mid-Ride
Sticking is usually friction, static, or a dirty slide surface. Clean the slide with mild soap and water, then dry it fully. Avoid waxes or silicone sprays unless the slide manufacturer explicitly approves them, because some plastics become tacky or degrade with certain products. If the slide is clean and still slow, check the angle again and look for a sag in the middle of the slide bed.
A sagging slide bed often means the slide is unsupported over its length or the exit is sitting on soft ground. Add a support leg or a paver at the exit so the slide keeps its designed curve. If the slide has a visible crease or white stress mark in the plastic, that is a structural warning sign and the slide should be replaced.
- Clean with mild soap and water; avoid unapproved lubricants.
- Support the exit so the slide keeps its curve.
- White stress marks or creases mean replace, not repair.
Slide Hardware Strips, Cross-Threads, or Will Not Tighten
Stripped or cross-threaded hardware usually happens when bolts are started by hand at an angle or when a power driver is used at full speed. Remove the bolt, inspect the threads, and replace any damaged hardware with the same grade and size. Do not substitute a longer bolt to grab more threads, because it can protrude into the play area or crack the slide.
If the hole in the wood is stripped, drill it out and glue in a hardwood dowel, then re-drill the pilot hole. For repeated failures at the same point, add a metal backing plate or through-bolt with a lock nut. If the slide's molded-in insert is stripped, that is a stop point: contact the manufacturer for a replacement slide or mounting kit.
- Start bolts by hand to avoid cross-threading.
- Use a clutch setting on power drivers, not full torque.
- A stripped molded insert in the slide is a replacement situation.
Slide Installation Diagnosis Chart
- Symptom: Mounting holes will not align: Likely cause is an out-of-square deck or a bracket installed before leveling. Corrective action is to square the deck, then use the slide as a template to reposition the bracket. If the deck is square and holes still miss, stop and check that the slide is the correct model for the deck.
- Symptom: Slide is too fast or too slow: Likely cause is an incorrect exit angle or a slide length that does not match deck height. Corrective action is to adjust the top mounting point or add a support leg at the exit, one change at a time. If the slide is at the limit of its adjustment and still wrong, choose a different slide length or deck height.
- Symptom: Slide wobbles or feels loose: Likely cause is loose or over-tightened hardware, a flexing mounting board, or a missing mid-support. Corrective action is to snug hardware, add a backing block, and install a mid-support leg if specified. If movement exceeds about an inch at the exit, stop use until bracing is added.
- Symptom: Slide sticks or squeaks: Likely cause is a dirty surface, an unapproved lubricant, or a sagging slide bed. Corrective action is to clean with mild soap and water, restore the exit support, and recheck the angle. If you see white stress marks or a crease in the plastic, replace the slide.
- Symptom: Hardware strips or will not tighten: Likely cause is cross-threading or a stripped wood hole. Corrective action is to replace damaged hardware, dowel and re-drill stripped wood holes, or add a backing plate. If the slide's molded insert is stripped, stop and contact the manufacturer for a replacement.
Playsets That Avoid Common Slide Fit Issues
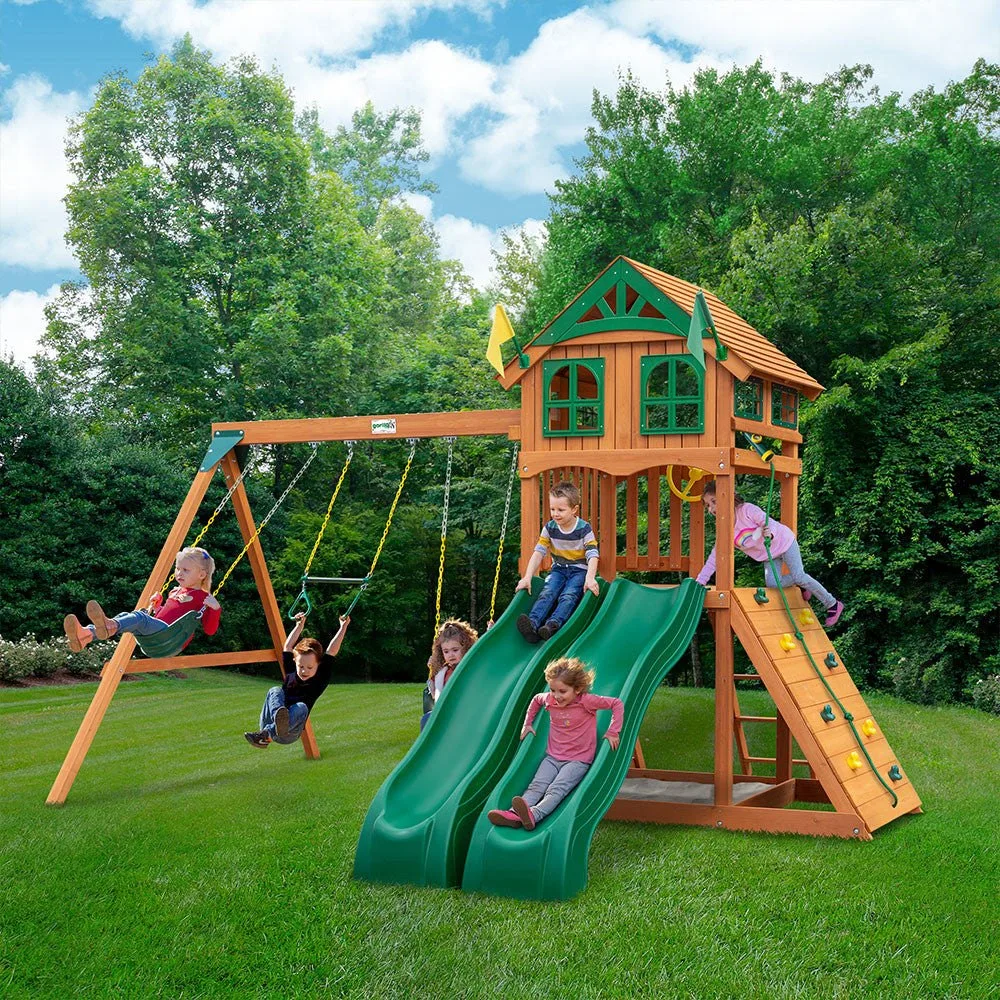
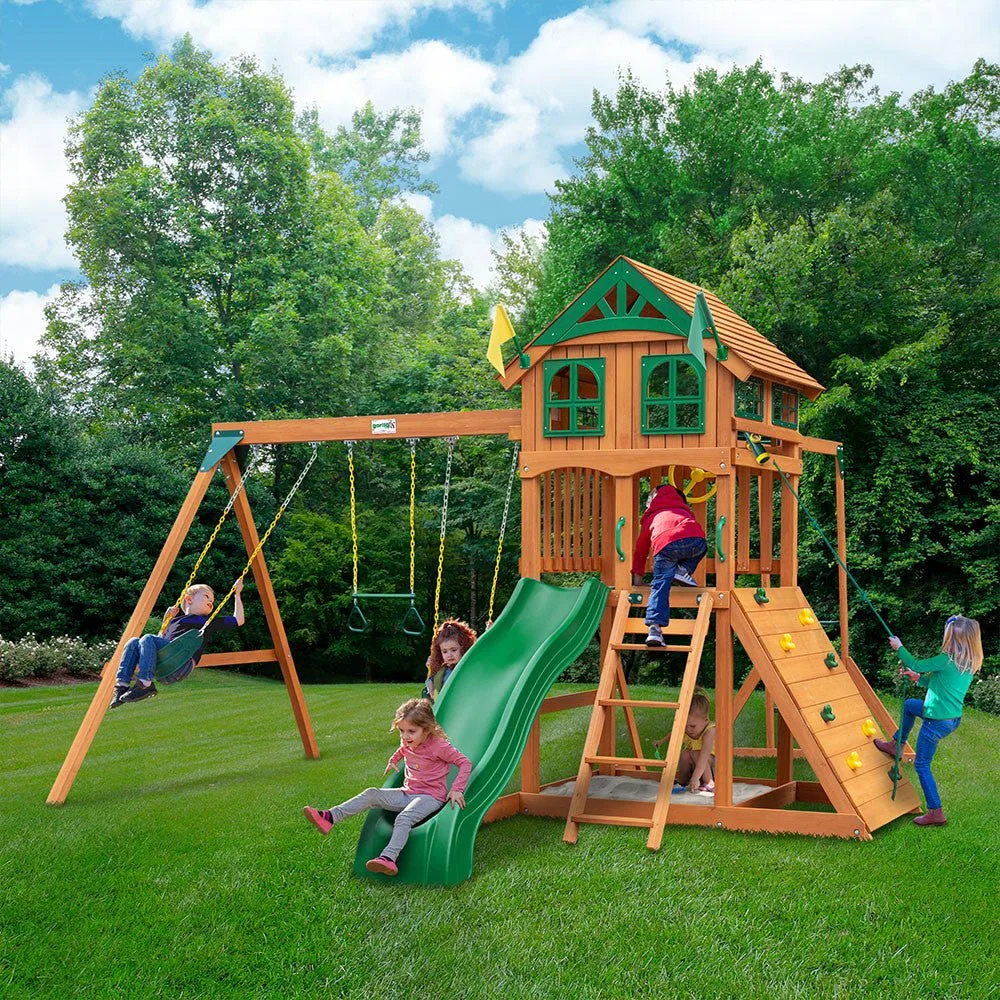
- https://gorillaplaysetsenm.com/products/outing-w-dual-slides-swing-set-e332c1617c418ec81d5b8d1d-1596683Outing Swing Set with Dual Slides: Features twin Alpine Wave slides, a telescope with compass, and a rock wall and climbing rope in a compact footprint with soft rubber grippy plastic coating on swing chains and recessed bolts. If you want dual slides without a custom mounting project, this set arrives with the slide mounting points already engineered into the deck, which removes most alignment and angle guesswork.
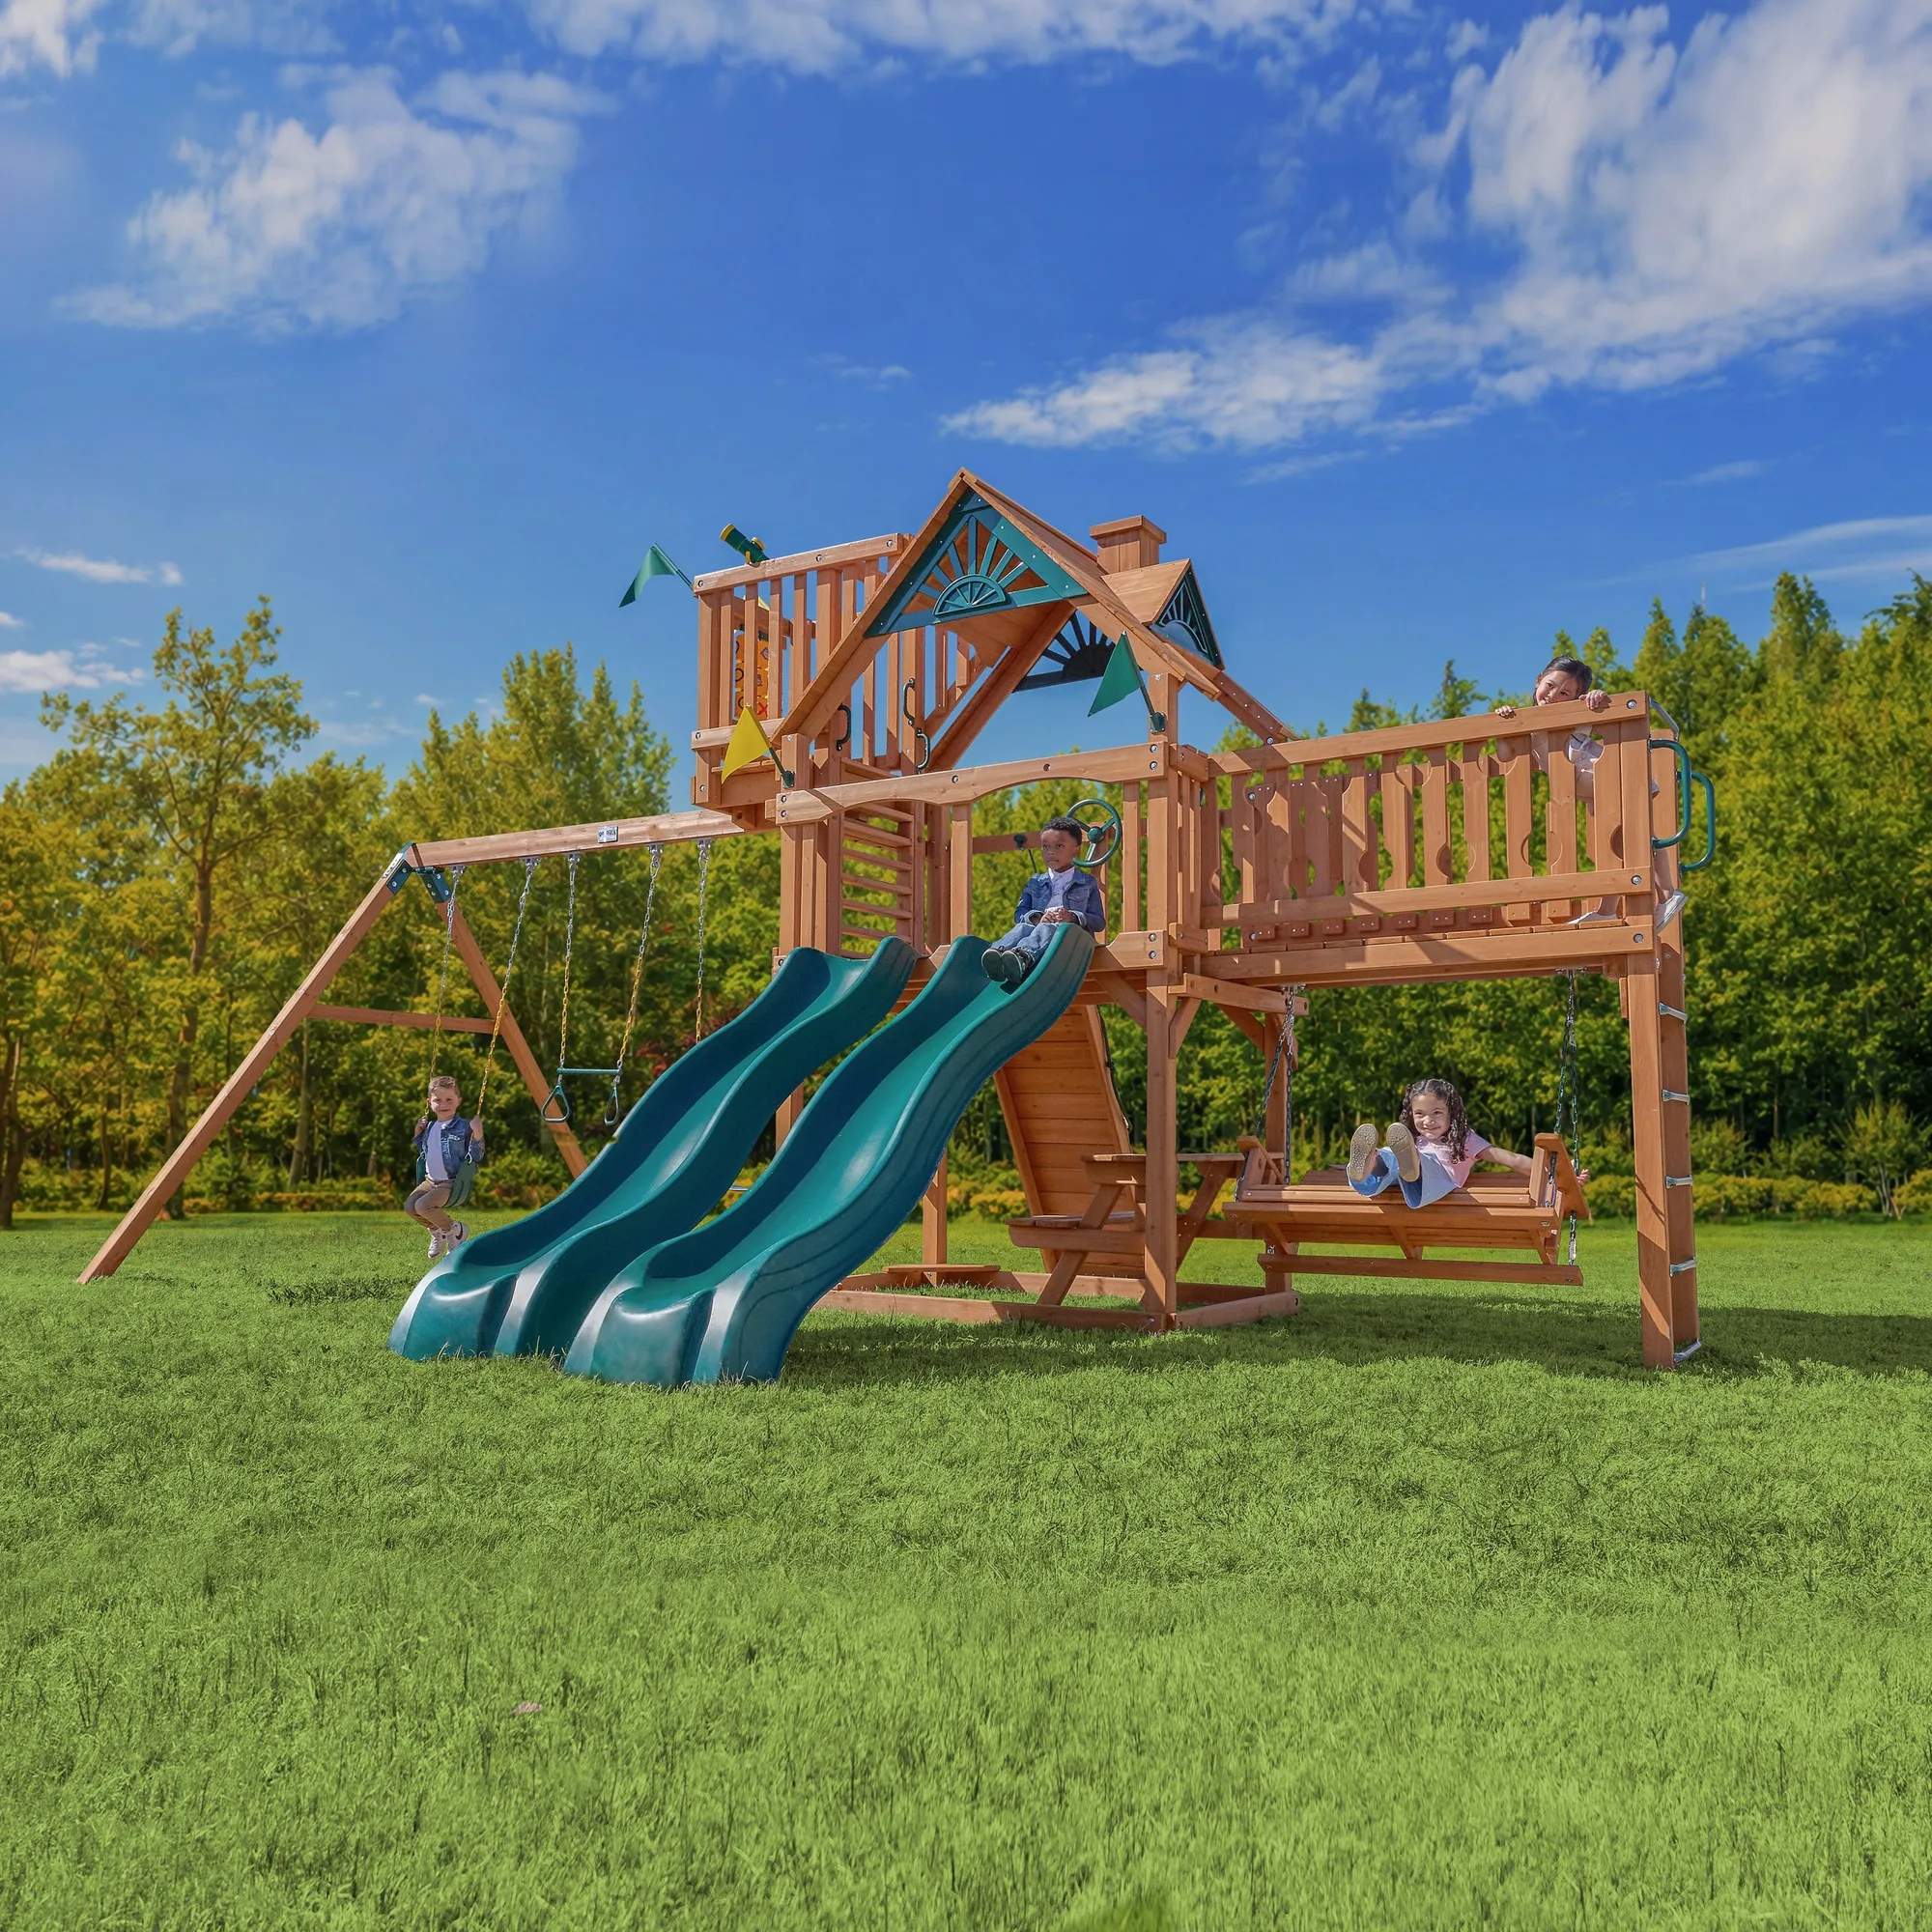
- Mountaineer Swing Set: Includes an Extreme Tube Slide, Alpine Wave Slide, rock wall with climbing rope, and a built-in picnic table, with roof options including wood roof, treehouse roof, deluxe vinyl canopy, and select models with an elevated Sky Loft. Two different slide types on one set means two different mounting and angle requirements; choosing the roof and loft options up front helps you plan deck heights so both slides land correctly.
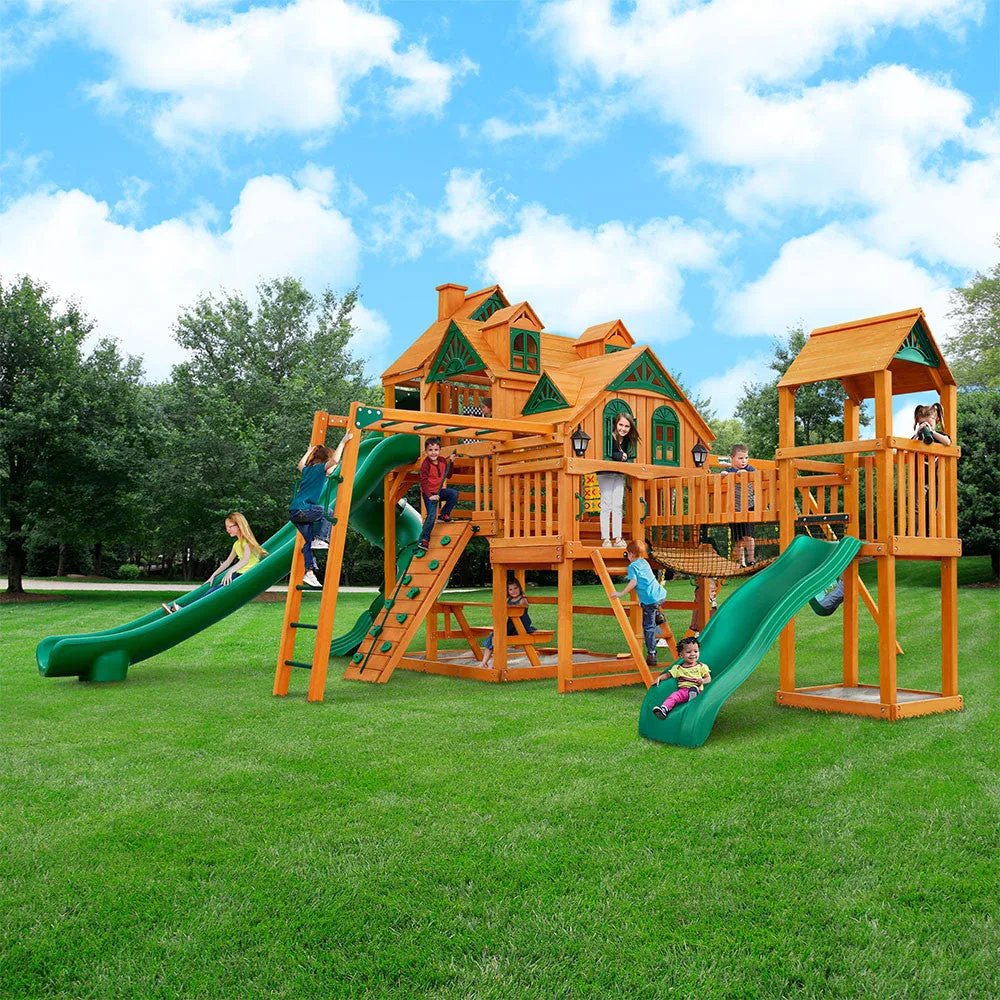
- Empire Extreme Swing Set: Has three play decks, over 50 sq. ft. of play space, three slides, monkey bars, a Clatter Bridge and Tower, and a rock wall with climbing rope, crafted from premium cedar that is pre-cut, pre-sanded, and pre-stained. With three slides across multiple deck heights, pre-cut and pre-drilled cedar reduces the risk of misaligned mounting holes, but you still need to verify each slide's exit angle during assembly.
- Summerville Deluxe Swing Set: Includes two Alpine Wave Slides with safer high-rail sides and a sloped edge for gentler landings, plus a rock wall with climbing rope and a hanging swing underneath for adults. The high-rail sides and sloped edge are designed to reduce exit-speed problems, so if you are troubleshooting a too-fast slide, this is a useful reference for what a gentler landing profile looks like.
Work through slide installation problems in order: square the deck, set the angle, then tighten hardware. Most issues resolve with those three steps. When the slide shell or its molded inserts are damaged, replacement is the safe call, not a workaround.