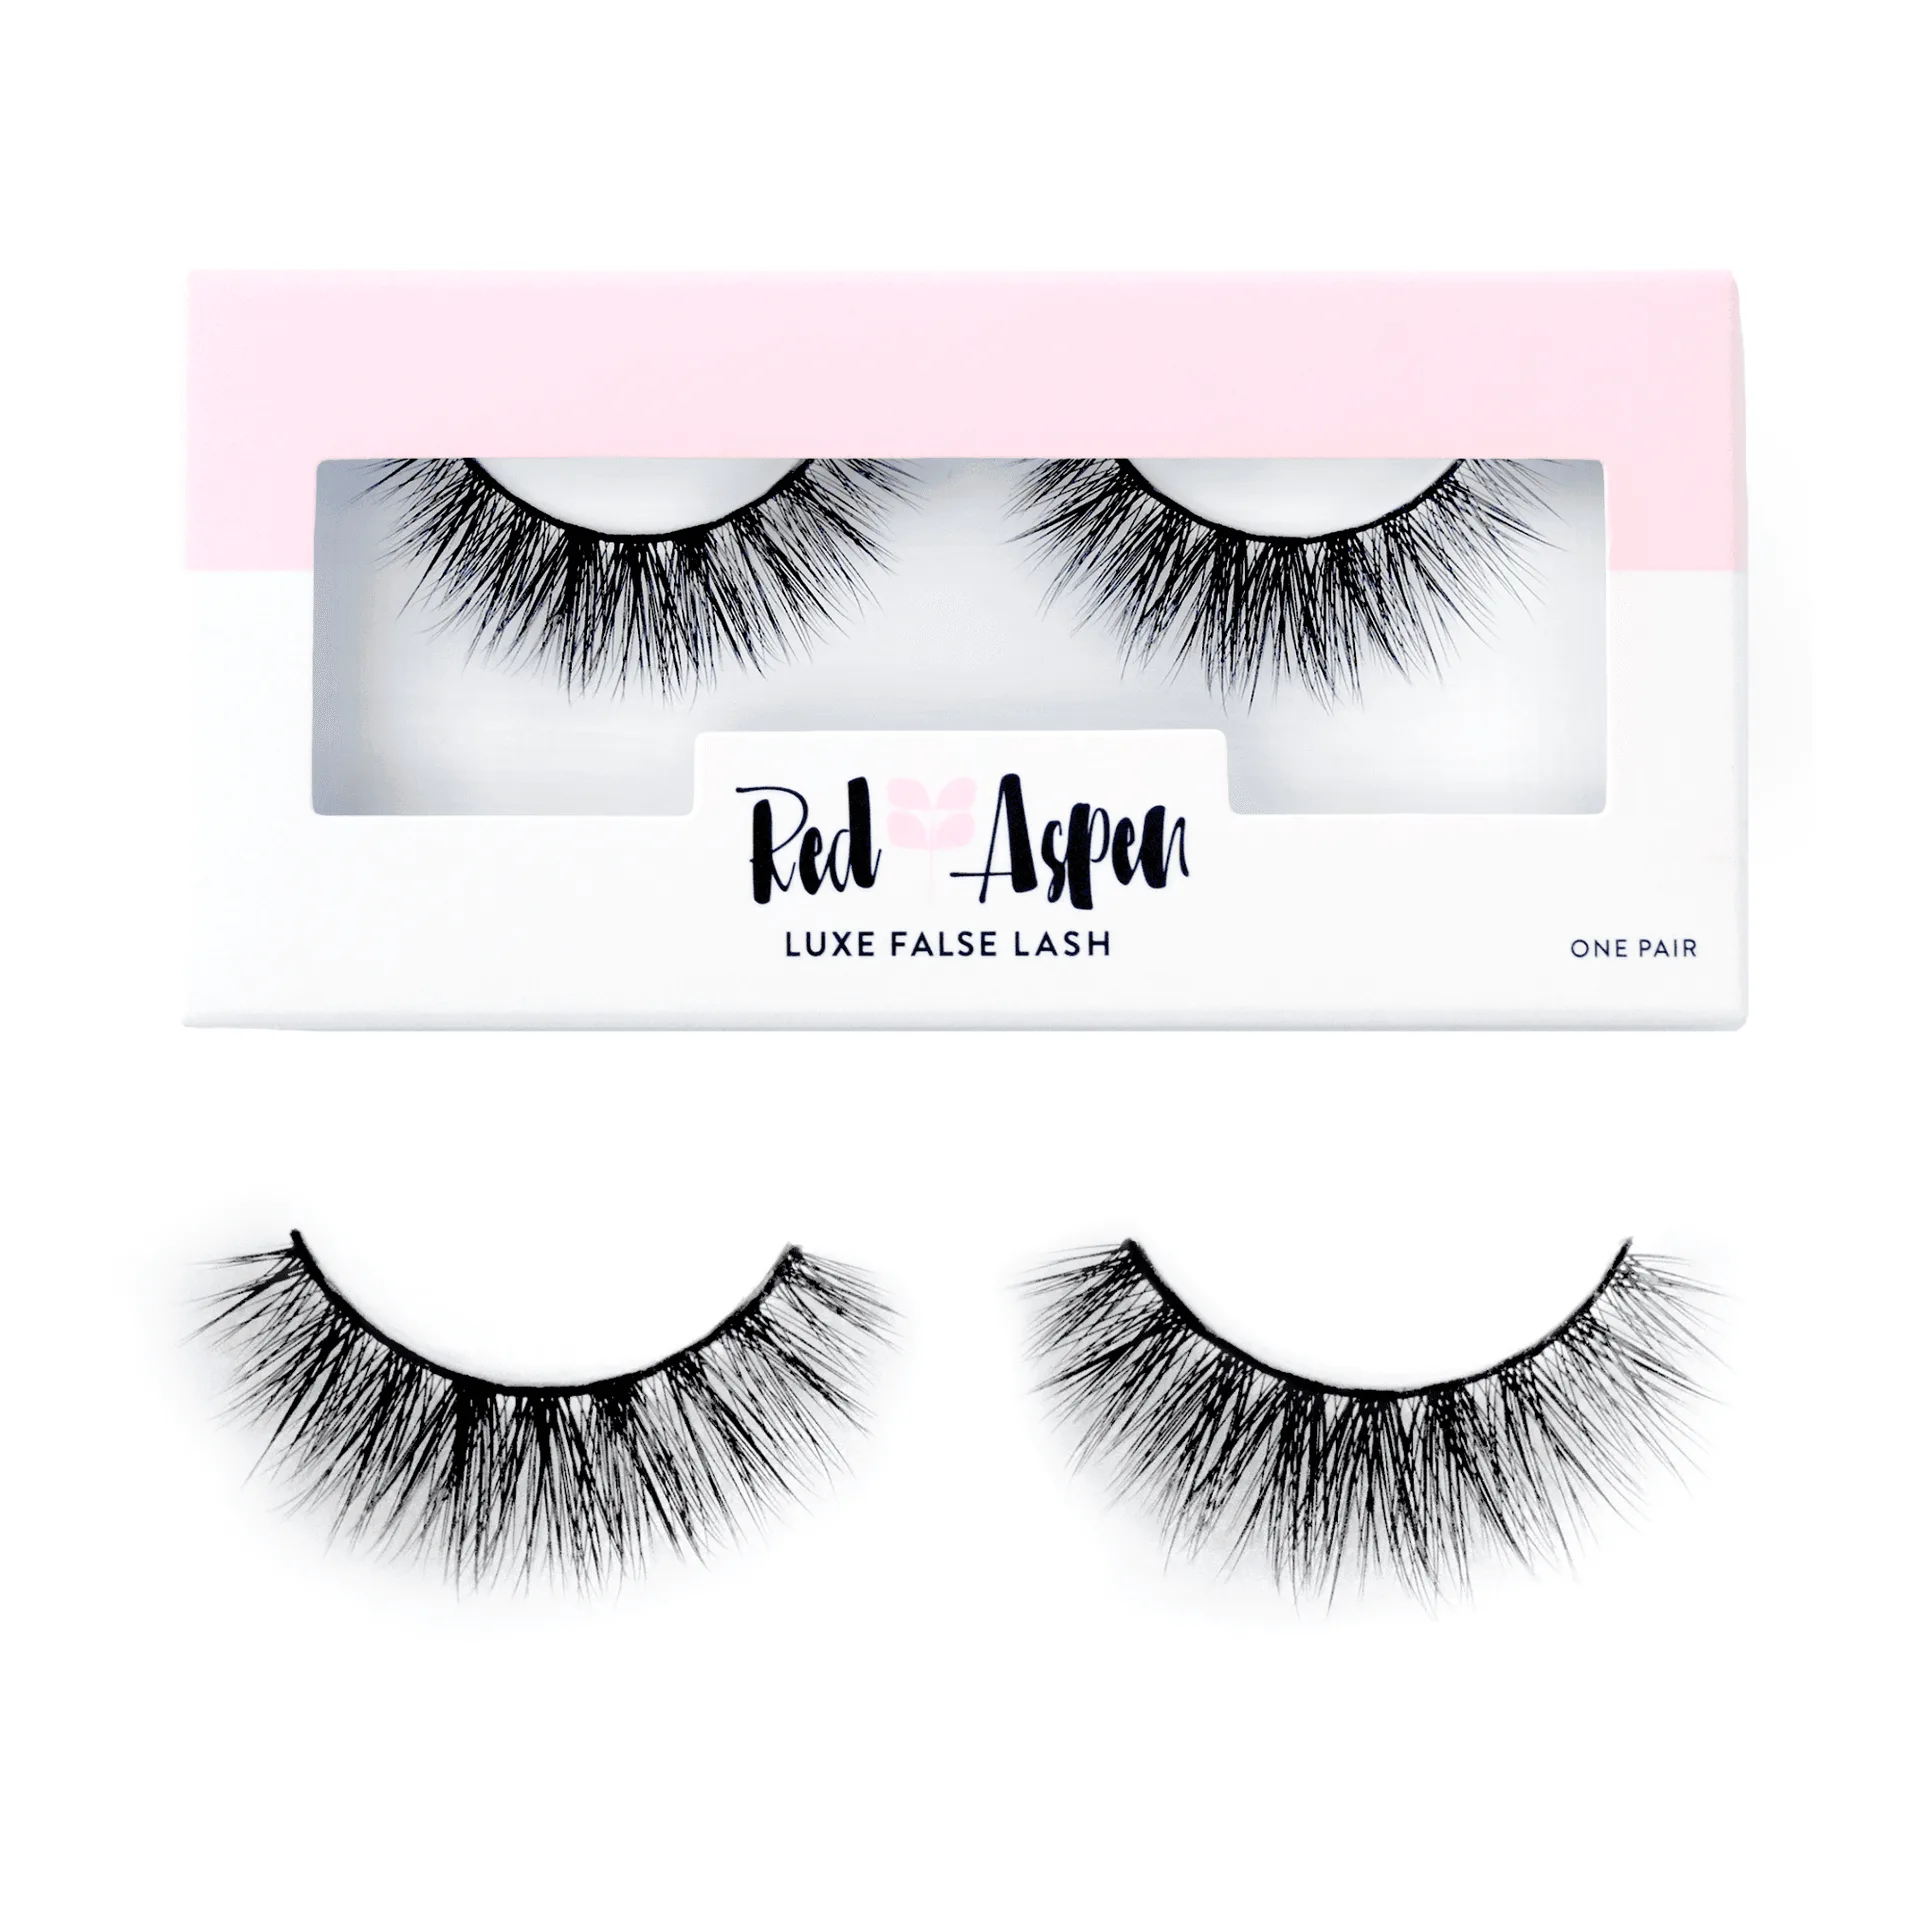
If you love collecting different Red Aspen lash styles—whether it's the fluttery Addison Lash for everyday wear or the dramatic Rachelle Rolled Snake Eyes for a night out—you know the joy of switching up your look. But nothing kills the mood faster than peeling off a lash only to find sticky glue residue clinging to the band. Over time, that buildup can make your lashes look clumpy, shorten their lifespan, and even irritate your eyes.
Rachelle Rolled Snake Eyes
The good news? With the right technique and a few simple tools, you can switch between lash styles without leaving a trace of glue. This guide will walk you through the best methods for removing old adhesive, cleaning your lashes, and storing them so they're ready to wear again. Whether you're a lash stacking pro or just starting to build your rotation, these tips will keep your Red Aspen lashes looking fresh wear after wear.
Why Glue Residue Builds Up and Why It Matters
Every time you apply a lash, the adhesive bonds to the lash band and your natural lash line. If you remove the lash without breaking that bond gently, some glue stays on the band. This is especially common with waterproof or extra-strength formulas. Over several wears, the residue hardens into a visible white or tacky layer that can prevent the lash from sitting flush against your eye, leading to lifting or uneven application.
Beyond aesthetics, glue residue can trap bacteria and oils from your skin, which may cause eye irritation or infections. It also makes it harder for fresh adhesive to stick, so your lashes won't last as long. By cleaning your lashes between each wear, you extend their lifespan—and your investment—significantly.
- Always remove lashes gently, never yank or pull.
- Check the lash band for residue after every removal, not just when it looks dirty.
Step 1: Remove Your Lashes the Right Way
The first step to a residue-free switch is taking off your lashes correctly. Start by holding the outer corner of the lash band and gently peeling it away from the outer edge inward. Do not grab the lash hairs or pull straight down. If you feel resistance, apply a warm compress or a few drops of oil-free makeup remover to the lash line to loosen the adhesive.
Once the lash is off, place it on a clean surface. Avoid rubbing the band with your fingers—this can push glue deeper into the fibers. Instead, use a pair of tweezers to hold the lash by the band's outer edge. This method keeps the lash shape intact and minimizes the risk of damaging the delicate hairs.
- Use an oil-free remover to avoid breaking down the lash's curl or shape.
- Never soak the lash in remover—just dampen a cotton swab and gently press along the band.
Step 2: Remove Old Glue from the Lash Band
After removal, you'll likely see a thin line of adhesive still attached to the band. To remove it without damaging the lash, use a pair of fine-tipped tweezers or a lash-cleaning tool. Gently pinch the glue at one end of the band and pull it away in a slow, continuous motion. The glue should come off in one piece if it's still pliable. If it's dried and crumbly, you may need to soften it first.
To soften stubborn residue, place the lash on a paper towel and apply a tiny drop of micellar water or an oil-free makeup remover to the band. Wait 10–15 seconds, then gently rub the glue with a cotton swab. Avoid using cotton balls—the fibers can snag on the lash hairs. For especially tough buildup, repeat the process once more. This method works beautifully for all Red Aspen lash styles, from the natural Addison Lash to the bold Rachelle Rolled Snake Eyes.
- Never use nail polish remover, alcohol, or acetone—these can melt the lash band.
- If glue is very stubborn, hold the lash under warm running water for 2–3 seconds before cleaning.
Step 3: Deep Clean the Entire Lash
Once the glue is gone, it's time to clean the lash hairs. Over time, mascara, eyeliner, and natural oils can accumulate on the lashes, making them look dull or clumpy. To refresh them, dip a clean spoolie or a soft toothbrush into a small amount of mild, oil-free soap or baby shampoo diluted with water. Gently brush the lash hairs from the base to the tips in a downward motion.
Rinse the lash under lukewarm water (not hot) until all soap is gone. Pat it dry with a lint-free cloth or paper towel, then reshape the band by curling it around a finger or a cylindrical object like a makeup brush handle. Let it air-dry completely on a clean surface before storing. This deep clean removes any leftover residue and restores the lash's natural curl and softness.
- Do not rub the lash hairs together—this can cause them to shed.
- Always let lashes dry fully before storing to prevent mold or bacteria growth.
Step 4: Store Lashes Properly Between Wears
Proper storage is just as important as cleaning. After your lashes are completely dry, place them back in their original tray or a dedicated lash case. This keeps the band curved and protects the hairs from dust, crushing, or deformation. If you're rotating multiple styles, consider labeling each tray with the lash name or style so you can grab the perfect pair in seconds.
Avoid storing lashes in humid environments like the bathroom, where moisture can weaken the band. A cool, dry drawer or vanity works best. With consistent care, a single pair of Red Aspen lashes can be reused 10–15 times or more, making your lash rotation both stylish and economical.
- Never store lashes with glue still on the band—it can harden and become impossible to remove later.
- For extra protection, place a sheet of tissue paper over the lashes before closing the tray.
Bonus Tips for a Smooth Lash Rotation
If you switch between lash styles daily, consider prepping two or three pairs at once. Clean and store them after each wear so they're ready to go when you need them. This is especially helpful for lash stacking—applying multiple pairs for a dramatic look—because you can alternate between shorter and longer styles without worrying about leftover glue.
Another pro tip: use a lash liner or a clear lash glue that peels off easily. Water-based adhesives tend to leave less residue than latex-based ones. And if you ever notice a lash band starting to fray or lose its shape, it's time to retire that pair and treat yourself to a fresh style. With proper care, your Red Aspen collection will stay beautiful and reusable for months.
- Keep a dedicated lash-cleaning kit with tweezers, cotton swabs, and oil-free remover handy.
- Rotate between lighter and heavier lash styles to give your natural lashes a break between wears.
Switching between Red Aspen lash styles doesn't have to mean dealing with sticky glue residue. With gentle removal, a quick clean, and smart storage, your lashes will stay fresh, fluffy, and ready to wear again and again. Ready to expand your rotation? Explore the full range of Red Aspen lashes, from everyday favorites to show-stopping styles, and find your next go-to pair.