Quick answer
The T1-M holster is designed for low-profile appendix or strong-side carry. Start by adjusting the clip to your preferred ride height, then practice your draw and reholster to confirm retention and comfort.
Why setup matters for the T1-M
The T1-M's single-clip design makes it easy to slip on and off, but getting the clip position and belt tension right is key to consistent draw and concealment. A common mistake is setting the clip too high or low, which can cause the grip to print or the holster to shift during movement.
Because the T1-M works for both appendix (AIWB) and strong-side (3–4 o'clock) carry, you'll need to decide your primary carry position before locking in the clip. The holster adapts well to either, but switching later means re-adjusting the ride height.
Step-by-step setup and carry tips
- 1. Choose your carry position: Decide between appendix (AIWB) or strong-side (3–4 o'clock). The T1-M works well for both, but the draw angle and clip position will differ. For appendix, the holster should sit just off-center of your belt buckle. For strong-side, align it with your hip bone. Checkpoint: Try both positions unloaded before tightening the clip to see which feels more natural.
- 2. Set the clip ride height: The single clip has multiple adjustment holes. Start with the middle hole for a neutral ride height. If the grip prints, move the clip up one hole to lower the holster deeper. If the draw feels too long, move the clip down one hole to raise the holster. Common mistake: Setting the clip too high (holster too low) can cause the grip to dig into your stomach when sitting. Adjust in small increments.
- 3. Adjust belt tension and cant: Thread your belt through the clip and tighten to a comfortable but secure level. The T1-M's clip allows a slight forward cant (tilt) for appendix or a neutral cant for strong-side. Experiment with the cant by rotating the holster slightly before fully tightening the clip screws. Checkpoint: The holster should not shift more than 1–2 inches when you bend or twist. If it moves too much, tighten the belt or move the clip to a tighter belt loop.
- 4. Practice the draw and reholster: With an unloaded firearm, practice drawing from the holster 10–15 times. Focus on a clean grip and a straight upward pull. Then practice reholstering—the T1-M's retention should click the firearm securely in place. If the draw feels sticky or the reholster is too tight, check for obstructions or adjust the clip position. Common mistake: Rushing the draw can cause the firearm to snag on the holster edge. Slow, deliberate practice builds muscle memory.
- 5. Wear and concealment check: Wear the holster for 30 minutes around the house. Check for printing (the outline of the firearm visible through clothing). For appendix carry, a slight forward cant and a claw (if using one) can reduce printing. For strong-side, a cover garment like an untucked shirt or jacket helps. Checkpoint: If you still see printing, try moving the holster an inch to the side or adjusting the cant. The T1-M's slim profile usually conceals well, but body shape affects the result.
Product details
-
T1-M: The T1-M (Tier 1 Minimalist) is our slimmest, most versatile holster—designed for low-profile carry without sacrificing performance. It features a single-clip design for easy on/off while maintaining solid retention. The slim profile and single clip mean less bulk on your belt, making it a good choice for everyday carry under a t-shirt or light cover garment.
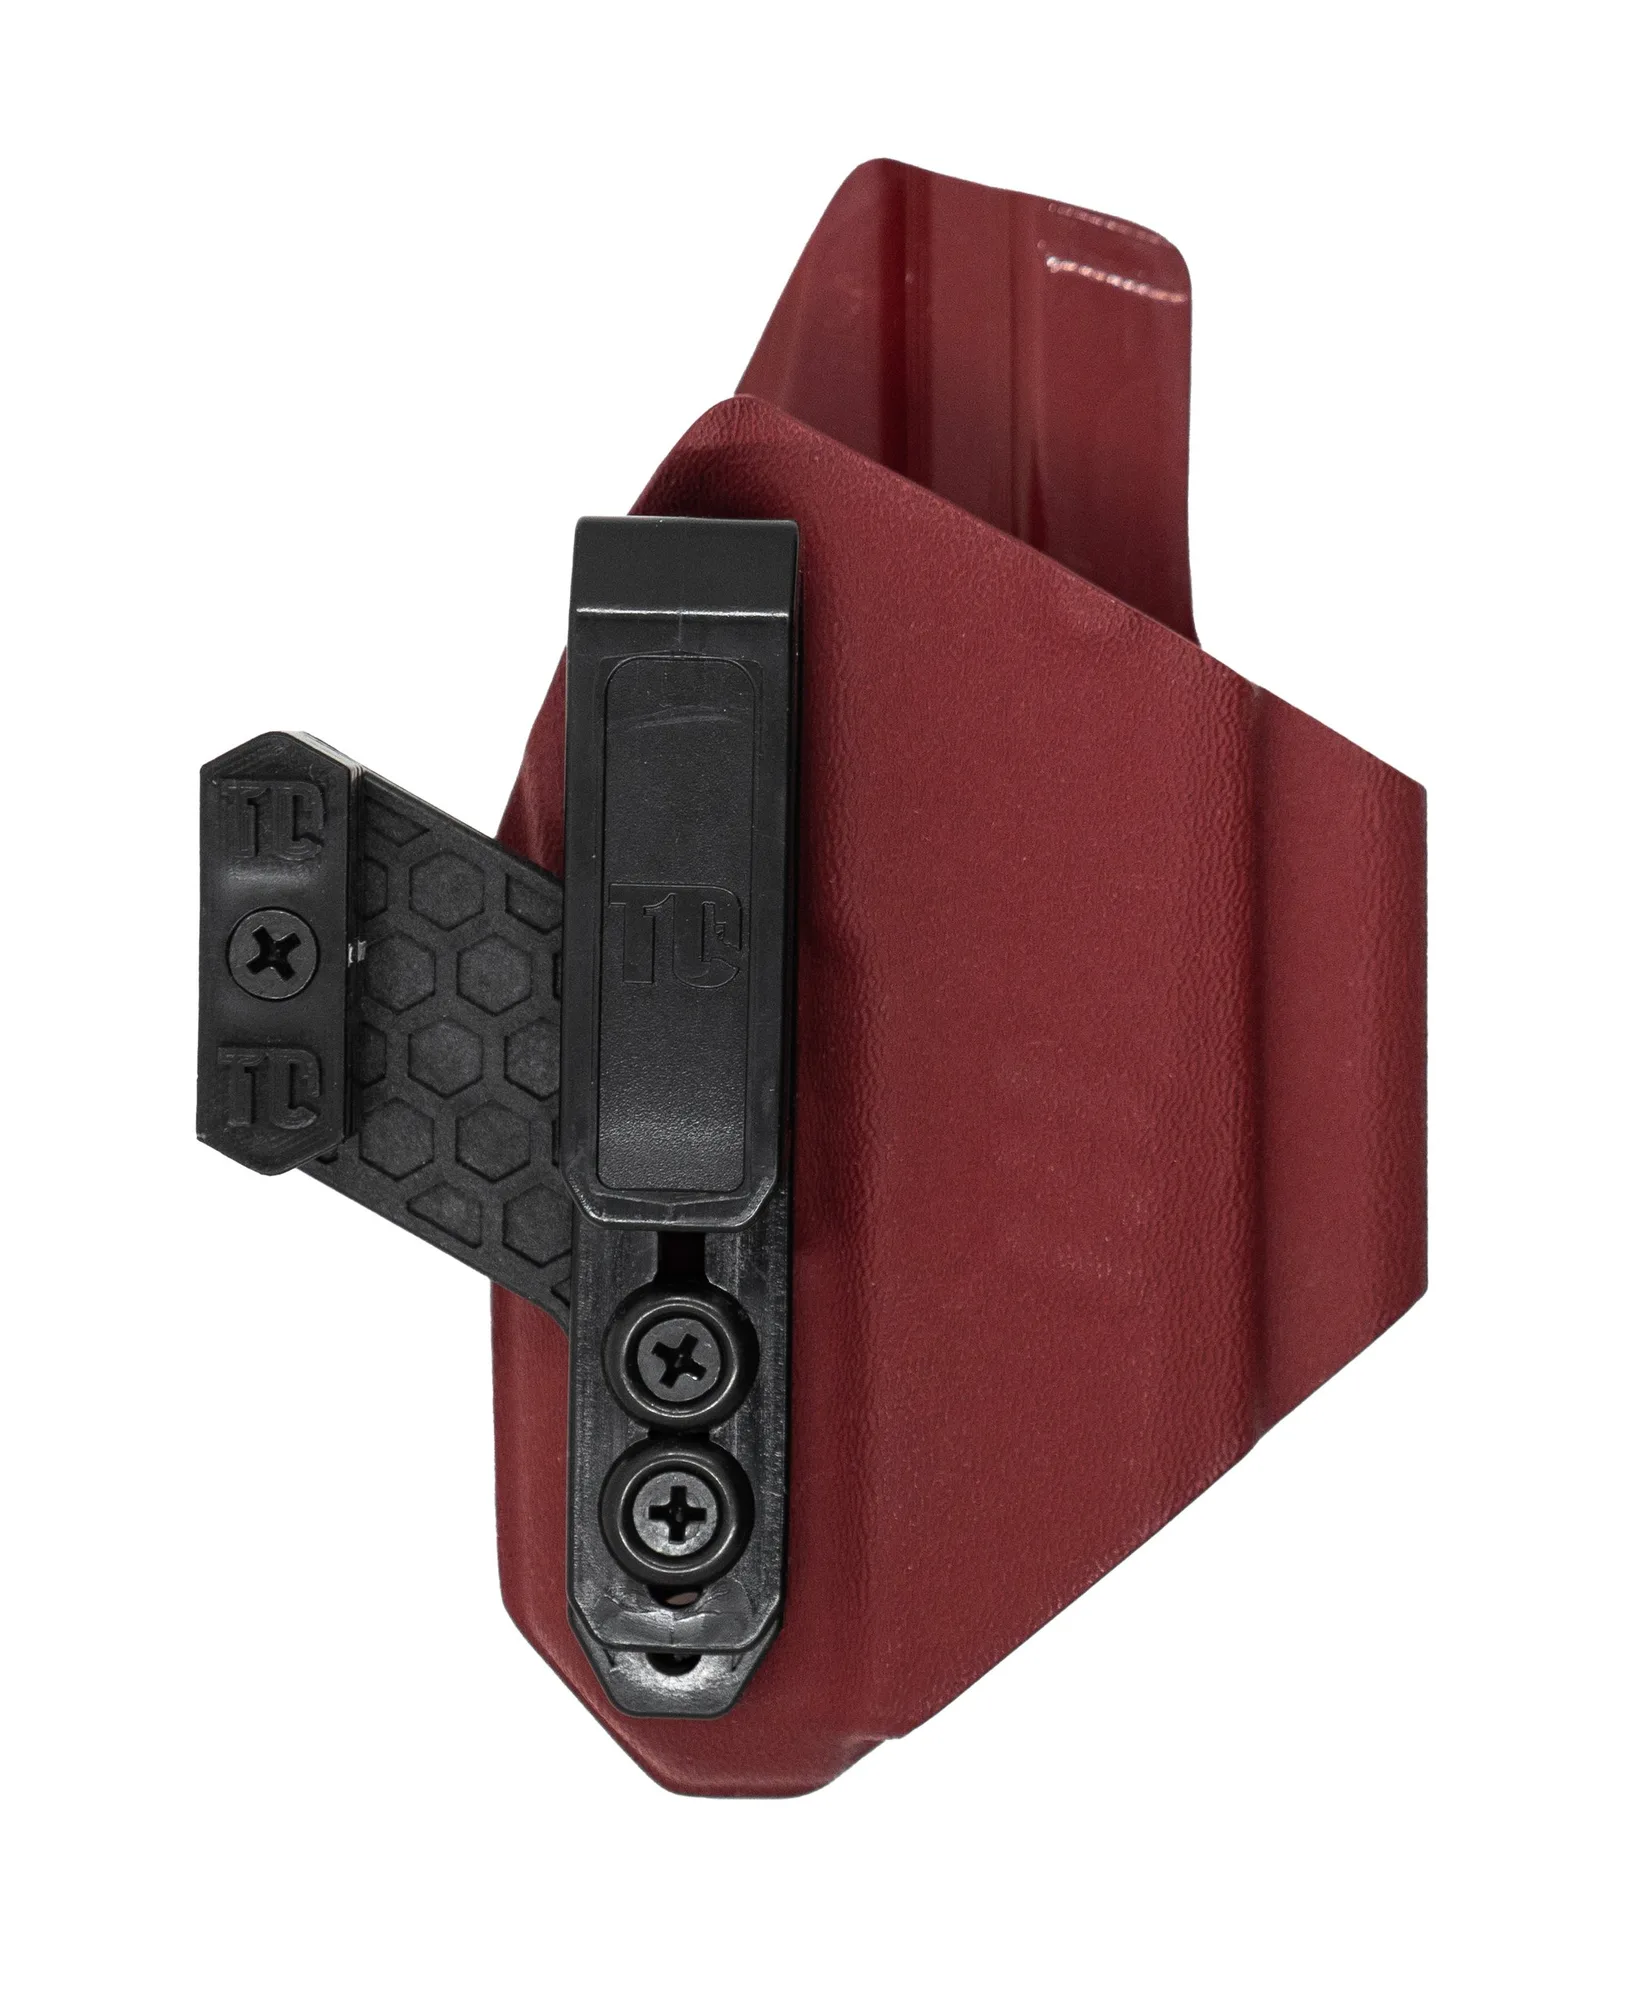
T1-M