Quick Answer
To fly the Terra Kids 19 Inch Hand Glider, hold it level, give it a gentle push forward, and let it glide. Choose an open outdoor space with light wind for the best results. This guide will walk you through each step.
The Terra Kids 19 Inch Hand Glider is a fantastic outdoor toy that encourages kids to explore the science of flight. Made from durable materials, this glider is designed for hands-on fun in the backyard, park, or beach. With a wingspan of 19 inches, it's easy to launch and provides hours of entertainment.
In this guide, we'll cover everything you need to know about flying the Terra Kids Hand Glider, from choosing the right location to mastering the launch technique. We'll also share common mistakes to avoid and safety tips to ensure a great experience.
Why Choose the Terra Kids Hand Glider?
The Terra Kids line from HABA is known for its durable and kid-friendly outdoor exploration tools. The 19 Inch Hand Glider is no exception, offering a robust design that can withstand the bumps and crashes of enthusiastic play. It's an excellent way to introduce children to basic aerodynamics and physics in a fun, engaging way.
Unlike many fragile toy gliders, the Terra Kids Hand Glider is built to last. Its lightweight yet sturdy construction makes it easy for small hands to launch, while its size provides a satisfying glide. Whether you're at the park or in your backyard, this glider is a great companion for outdoor adventures.
- Durable construction for rough play
- Easy to launch for kids ages 4 and up
- Great for teaching basic physics concepts
Choosing the Right Location
The key to a successful glider flight is choosing an open area free from obstacles. Look for a wide, flat space like a park, sports field, or large backyard. Avoid areas with trees, power lines, or buildings that could interfere with the glider's path.
Wind conditions matter too. A calm day with little to no wind is ideal for beginners. If there's a gentle breeze, you can use it to your advantage, but strong winds can make controlling the glider difficult. Always check the weather before heading out.
- Open spaces without trees or buildings
- Calm days are best for beginners
- Avoid flying near roads or water
Mastering the Launch Technique
Hold the glider by its fuselage, keeping it level with the ground. For a straight flight, give it a gentle push forward with a slight upward angle. Avoid throwing it too hard, as this can cause it to stall and dive.
If you want a longer flight, aim for a smooth, level release. Practice makes perfect, so don't be discouraged if your first few attempts don't soar. Watch how the glider responds to different launch angles and adjust accordingly.
- Hold the glider level
- Use a gentle push, not a hard throw
- Adjust angle for different flight paths
Safety Tips for Outdoor Play
While the Terra Kids Hand Glider is safe for kids, adult supervision is recommended, especially for younger children. Ensure that kids understand not to aim the glider at people or animals. It's also a good idea to establish clear boundaries for where the glider can be flown.
Check the glider regularly for any damage, such as cracks or loose parts. If it becomes damaged, it's best to replace it to avoid injury. Store the glider in a dry place when not in use to prolong its life.
- Supervise young children
- Set clear flying zones
- Inspect the glider before each use
Step-by-Step Guide to Flying Your Terra Kids Hand Glider
- Step 1: Choose the Right Location: Find an open area with no obstacles. Avoid trees, buildings, and power lines. A calm day with light wind is ideal. Check the weather forecast to ensure safe flying conditions.
- Step 2: Prepare the Glider: Inspect the glider for any damage. Make sure all parts are secure and the wings are not bent. A well-maintained glider flies better and lasts longer.
- Step 3: Hold and Aim: Hold the glider by the fuselage with your thumb and index finger. Keep it level, pointing slightly upward at about 10 degrees. A level launch gives a straight flight path.
- Step 4: Launch with a Gentle Push: Push the glider forward smoothly and release. Avoid throwing it with force; a gentle push is enough. If the glider stalls, reduce the launch angle or speed.
- Step 5: Observe and Adjust: Watch how the glider flies. If it dives, launch with a higher angle. If it loops, launch flatter. Experiment with different angles to find the sweet spot.
- Step 6: Safety and Supervision: Always supervise children and ensure they don't aim the glider at people or animals. Establish clear boundaries. Safety first ensures fun for everyone.
Related Products from HABA
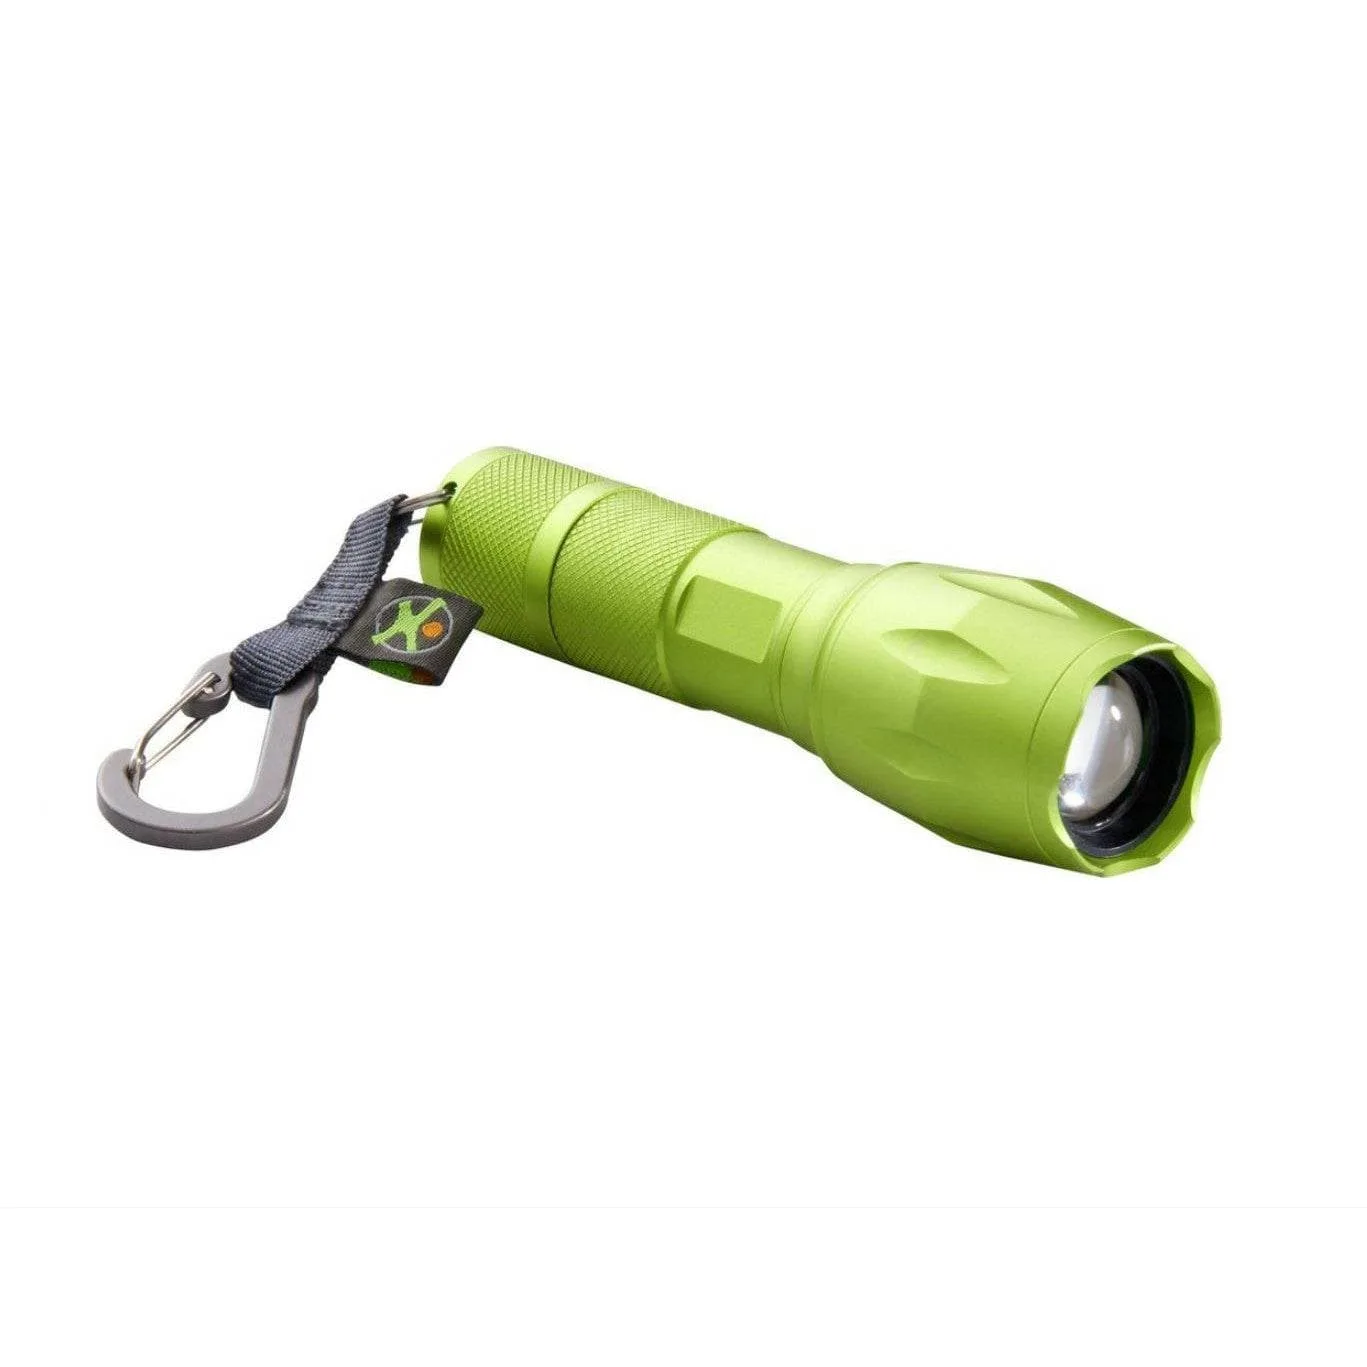
- Terra Kids 4-Way Flashlight: Light up your child’s outdoor adventures with the HABA Terra Kids 4-Way Flashlight, designed for explorers ages 4 and up! Whether they’re camping, hiking, or playing in the backyard, this durable and kid-friendly flashlight is a must-have. Pair the glider with this flashlight for extended outdoor play into the evening, ensuring safety and visibility.
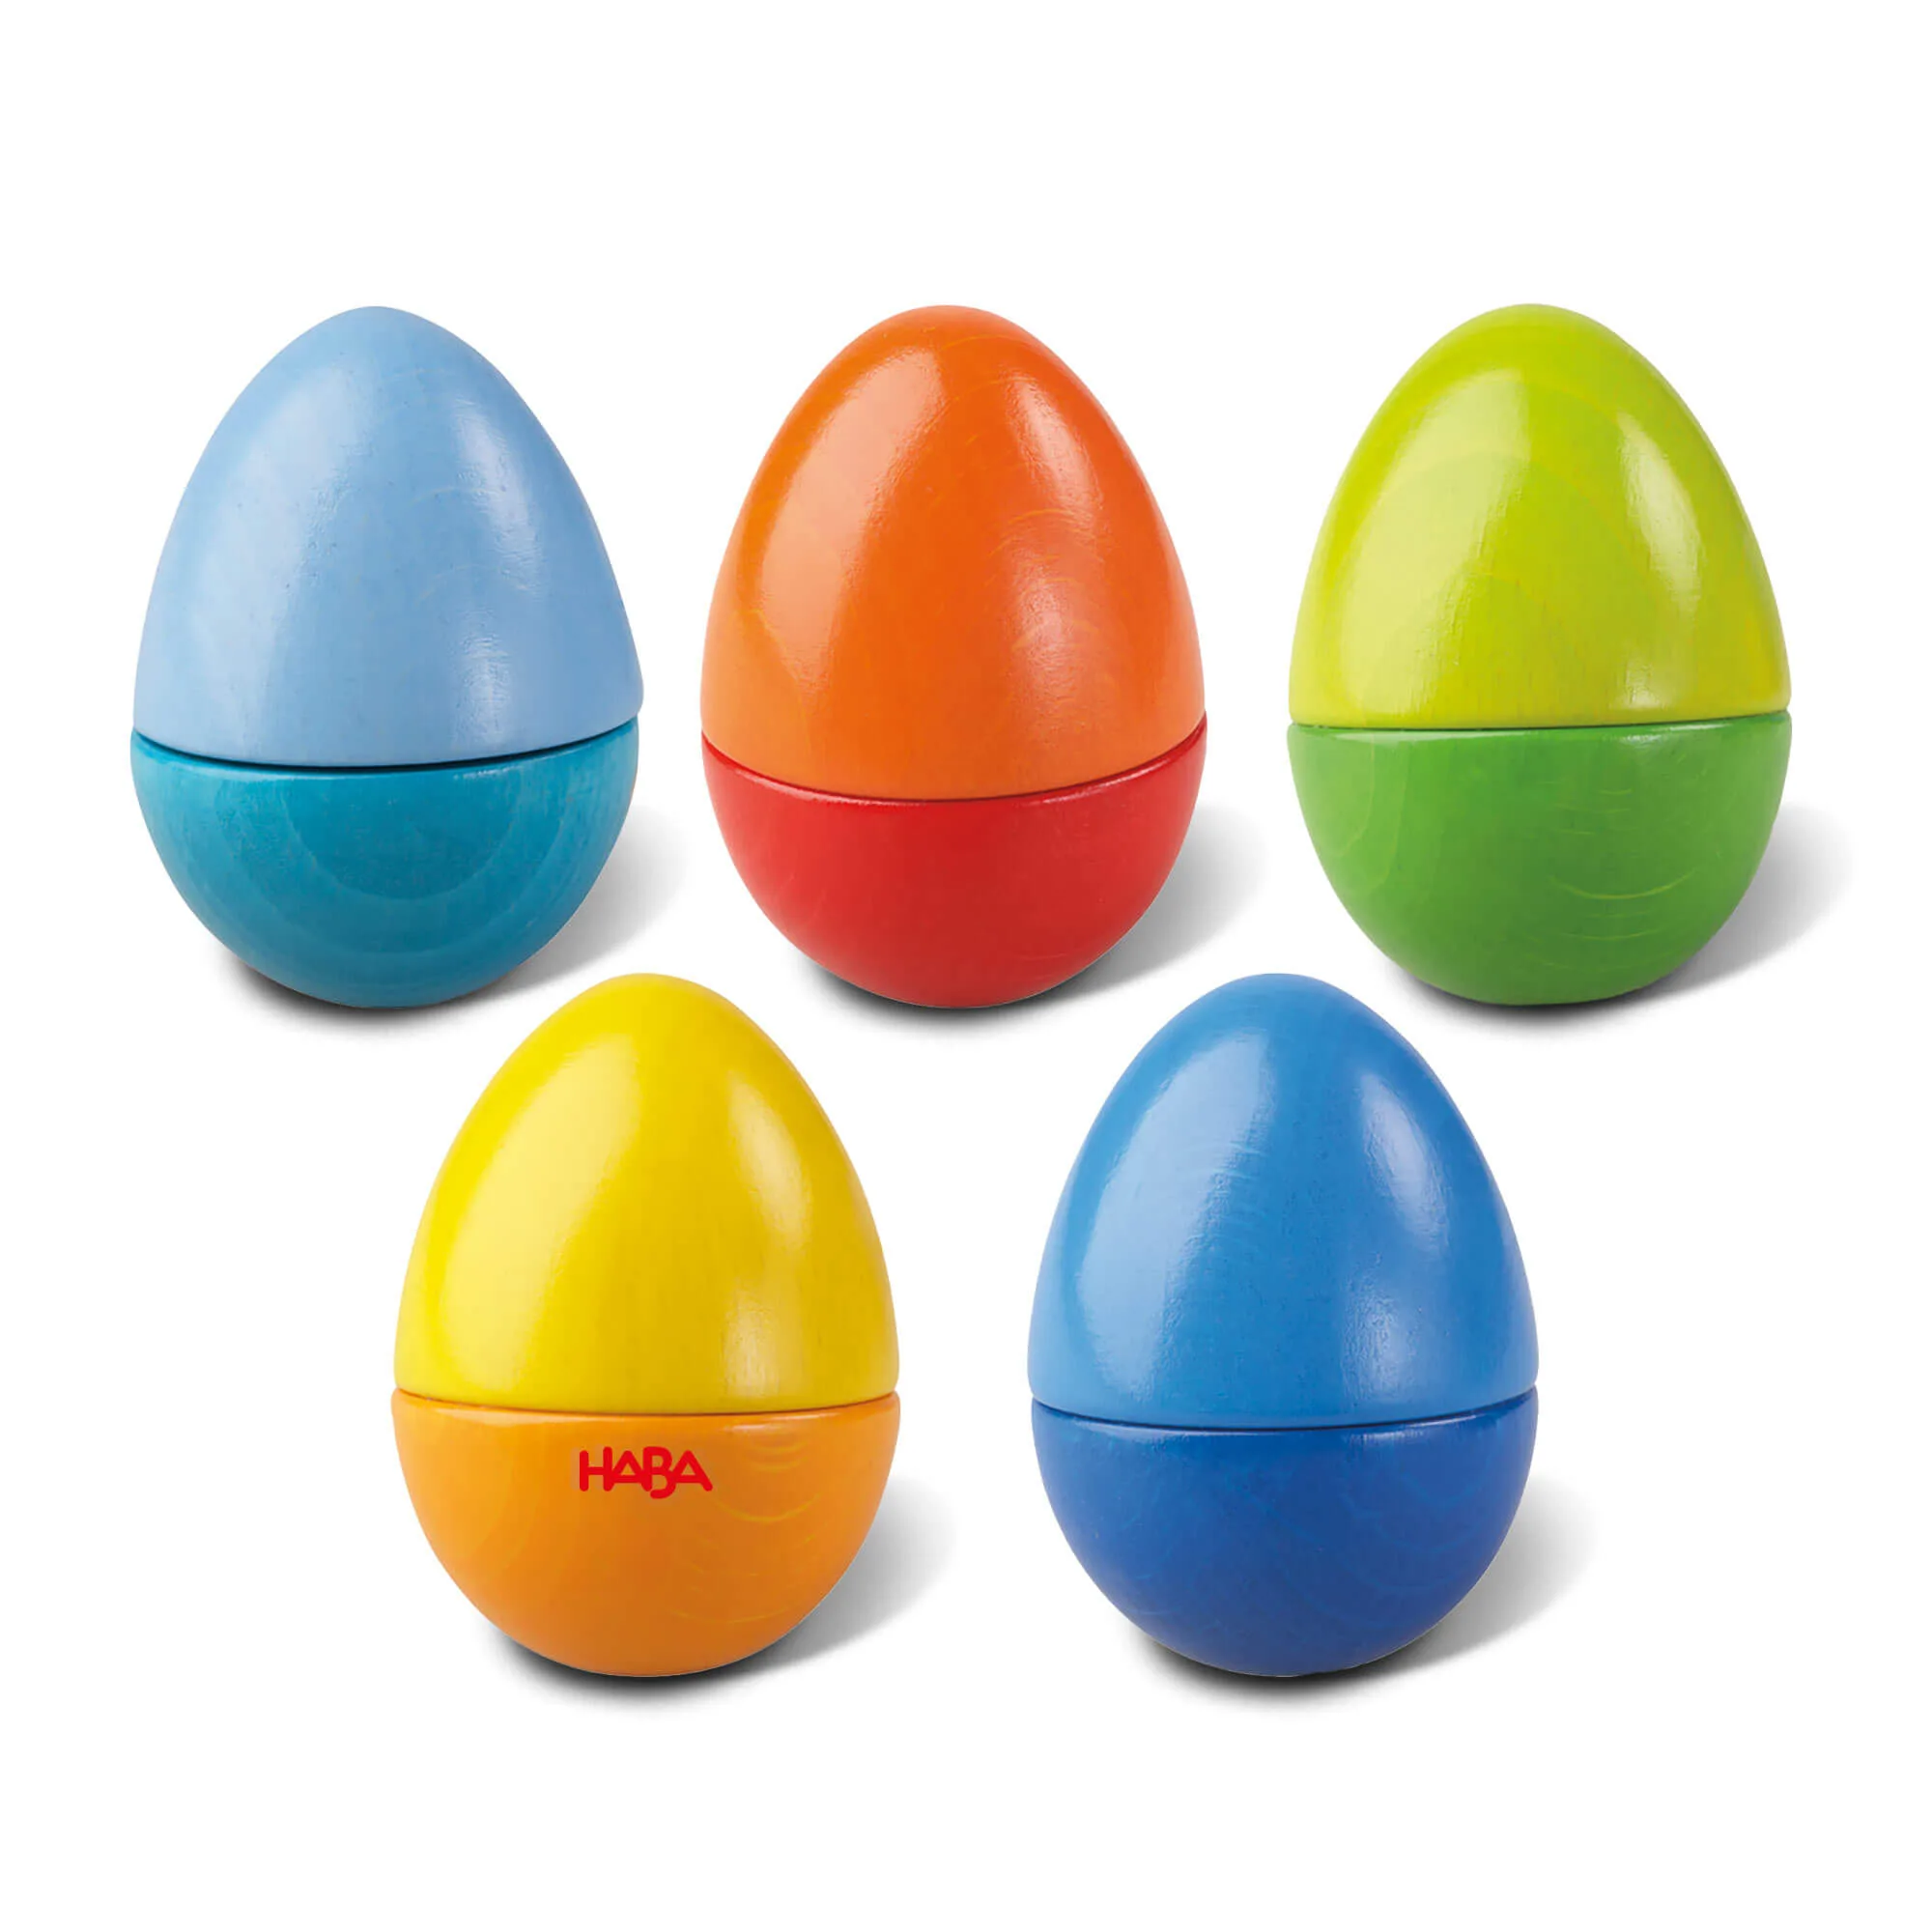
- Fun with Sounds Wooden Eggs: Shake, rattle, and play with Fun with Sounds Wooden Eggs! Introduce your little one to the joy of sound with this delightful set of rainbow-colored wooden sensory eggs. Each egg offers a unique acoustic surprise, from rattling and chirping to jingling and clicking. These eggs are a great indoor alternative for sensory play on days when the weather isn't suitable for outdoor glider flights.
With the right technique and a safe environment, the Terra Kids 19 Inch Hand Glider offers endless outdoor fun for kids. Remember to start with gentle launches, adjust based on wind and angle, and always prioritize safety. Happy flying!