Quick Recommendation
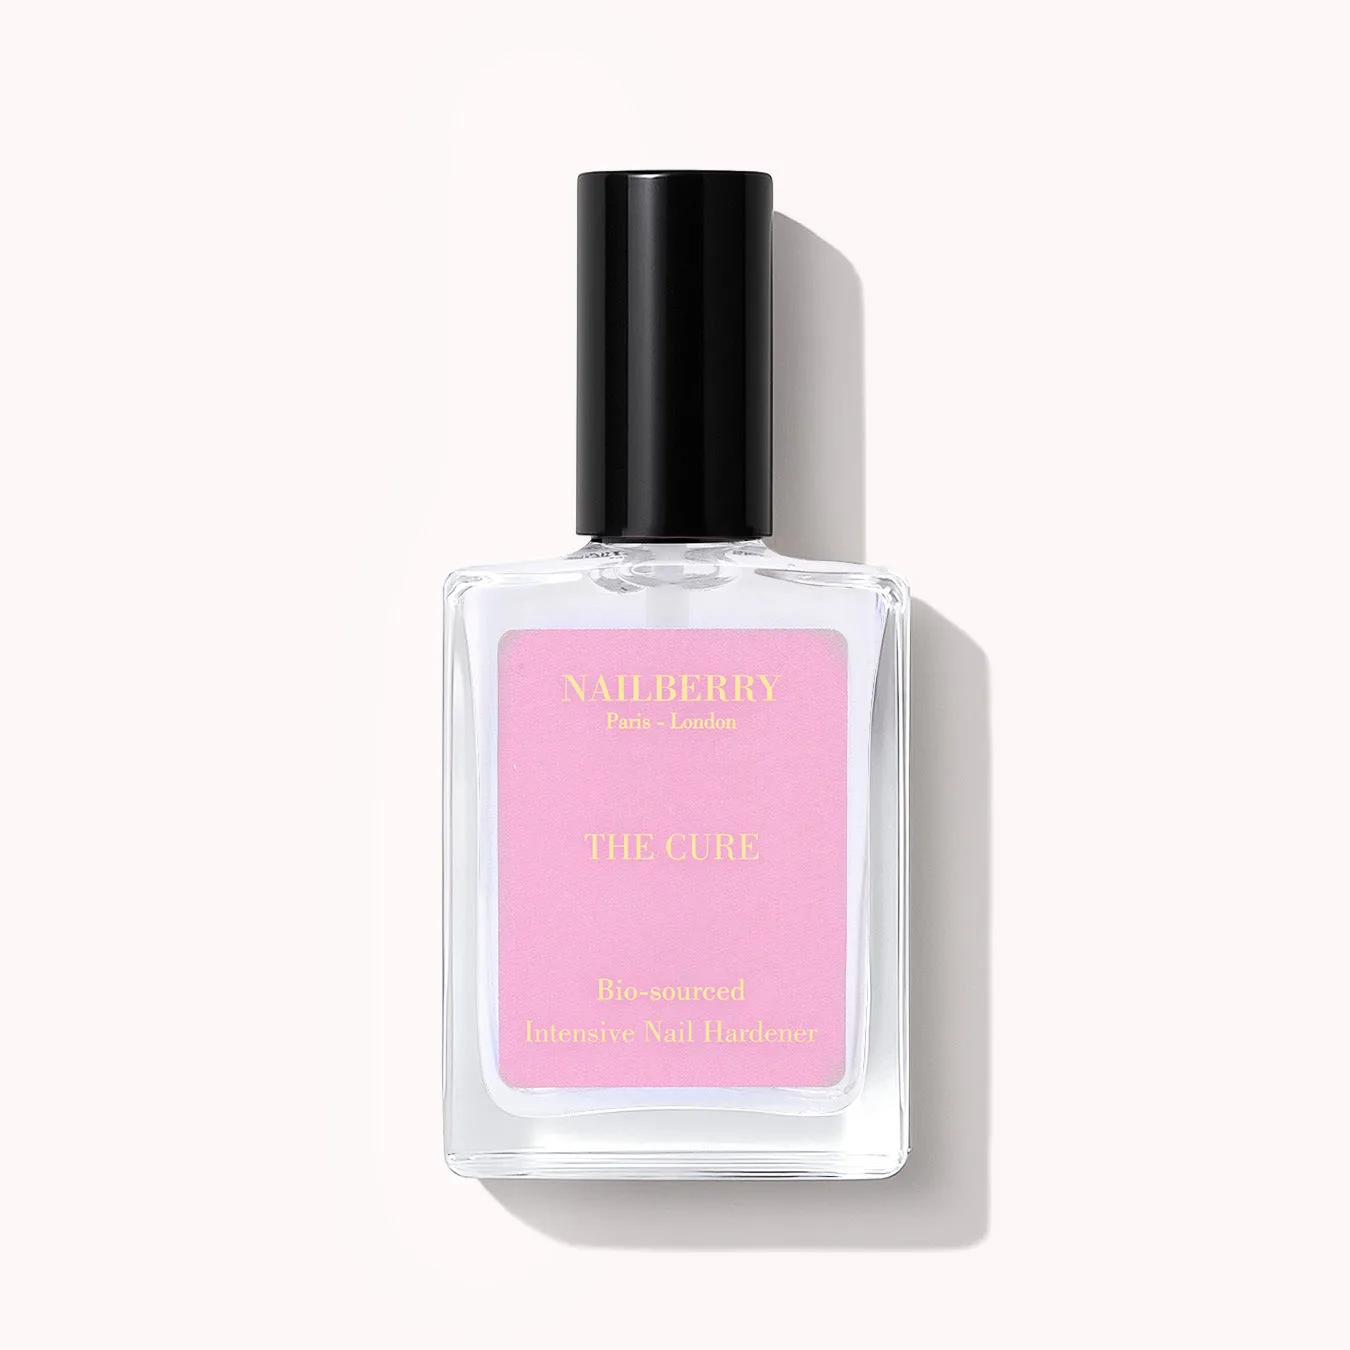
Apply The Cure nail hardener after a clean, dry base, let it cure fully, then seal with a top coat. This sequence maximises strength and helps prevent nail breakage.
clean
If you struggle with nails that split, chip or break easily, a dedicated hardener can be a game‑changer. The Cure nail hardener is formulated to reinforce the nail plate, creating a tougher surface that resists everyday stress without making the nail feel brittle.
This guide walks you through each stage of the hardening process, highlights common mistakes to avoid, and suggests complementary Nailberry London products that boost results for healthier, break‑resistant nails.
Why Use a Nail Hardener?
Nail hardeners work by filling microscopic gaps in the nail plate and forming a protective film that adds rigidity. Over time, this reduces the frequency of cracks and splits, especially for those who frequently use gel or acrylic extensions, or who have naturally soft nails. The Cure’s formula includes strengthening agents that bind to keratin, delivering a noticeable improvement in durability after just a few applications.
While hardeners improve strength, they must be used correctly to avoid over‑hardening, which can lead to brittleness. Pairing the hardener with moisturizing treatments keeps the nail flexible and maintains a natural look. Understanding the balance between reinforcement and hydration is key to long‑term nail health.
- Apply only on clean, oil‑free nails to ensure optimal adhesion.
Step‑by‑Step Hardener Routine
- 1. Prep the Nail: File to desired shape, push back cuticles, and clean with a lint‑free pad soaked in acetone‑free remover to eliminate oils and residue. A clean surface ensures the hardener adheres evenly and prevents premature lifting.
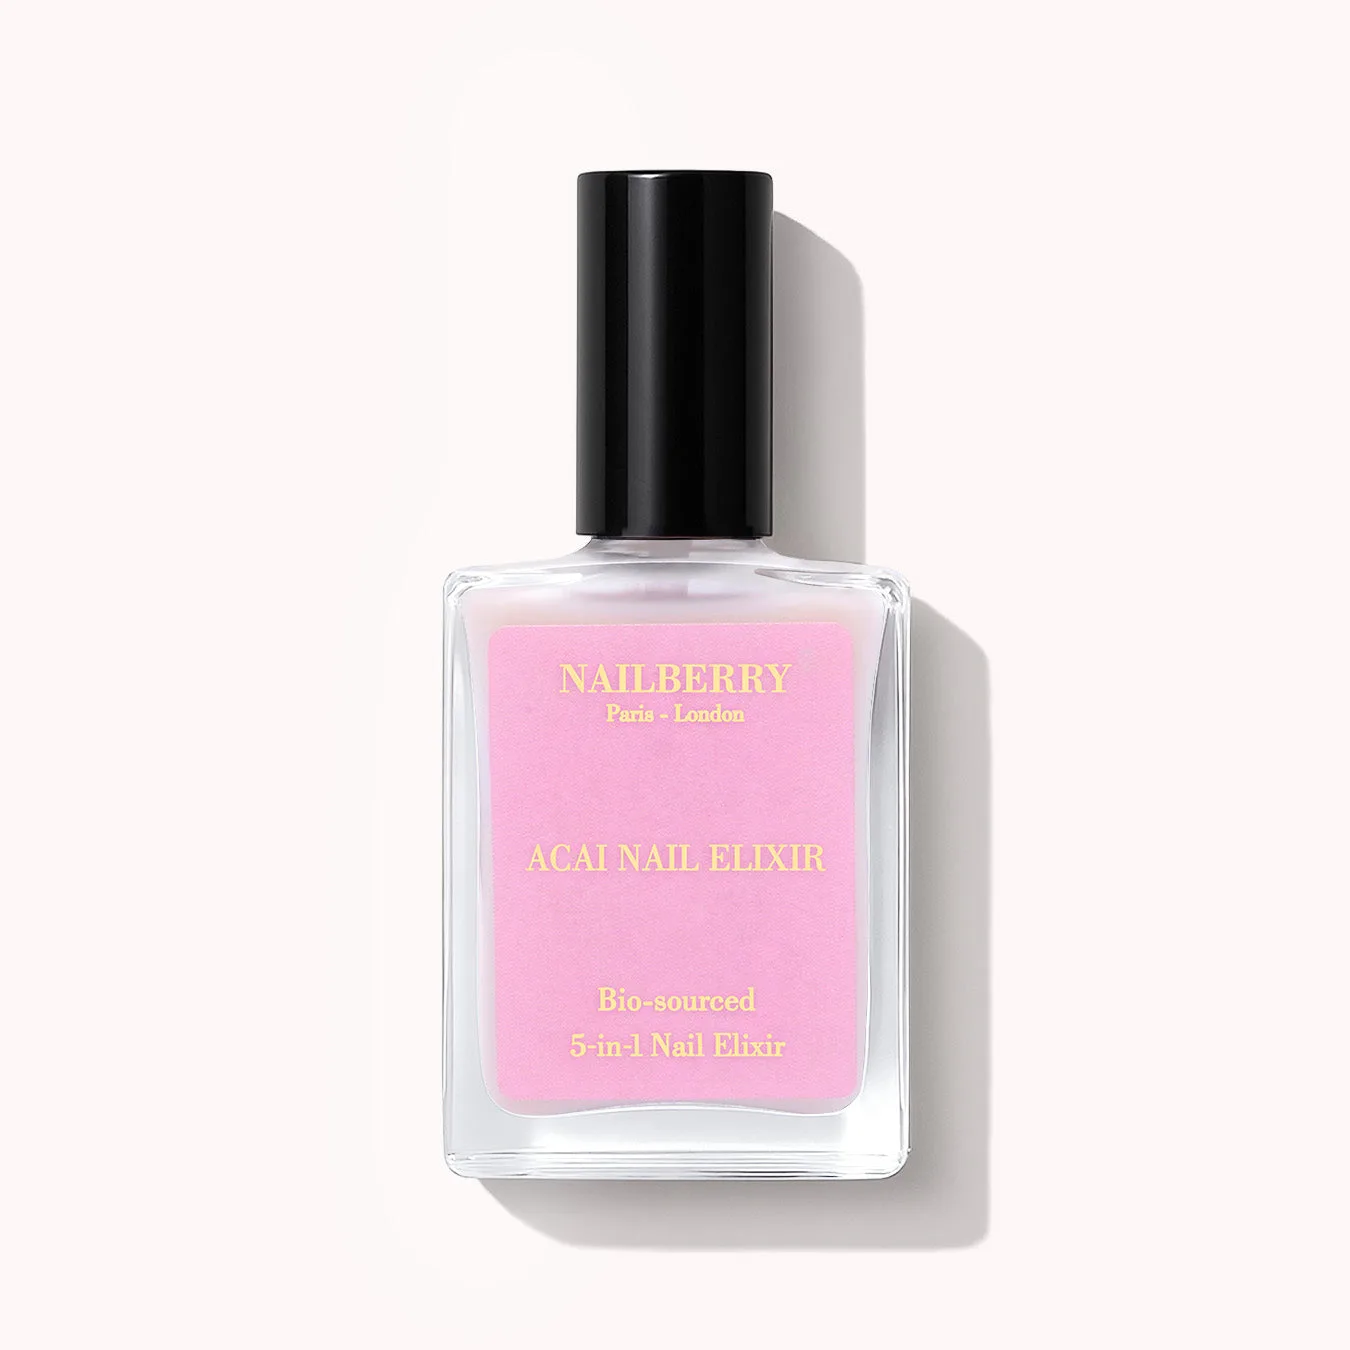
- 2. Apply Base Treatment: Swipe a thin layer of Acai Nail Elixir over the entire nail, focusing on the tip where stress is highest. Allow it to dry completely. The base treatment reinforces the nail and creates a smooth canvas for the hardener.
- 3. Apply The Cure Hardener: Brush a single, even coat of The Cure nail hardener onto each nail. Avoid pooling at the cuticle edge. Cure under a UV/LED lamp for the time recommended by the manufacturer. Proper curing locks in strength; under‑curing leaves the nail vulnerable, over‑curing can cause brittleness.
- 4. Seal with Top Coat: Finish with a clear top coat to lock in the hardener and add shine. Cure again if required. Sealing protects the hardener from wear and helps maintain a glossy finish.
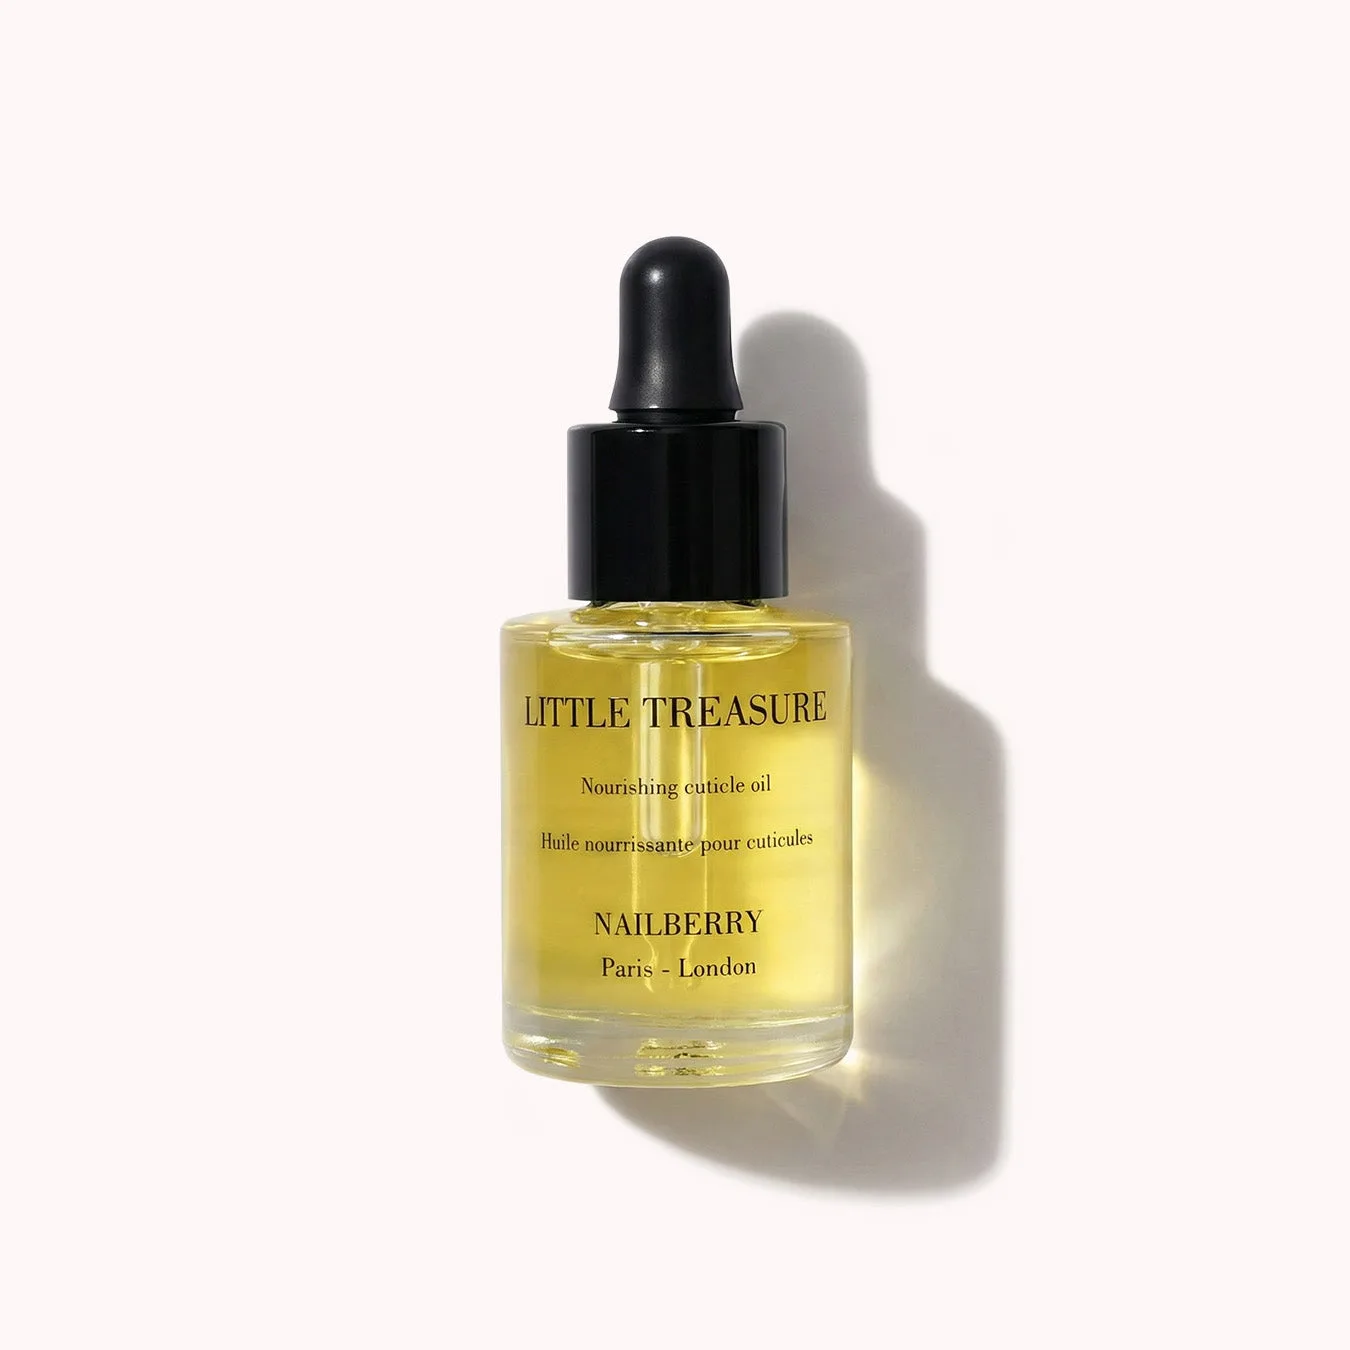
- 5. Hydrate Daily: Massage a drop of Little Treasure Nourishing Cuticle Oil onto each nail and cuticle each night. Consistent hydration balances the hardening effect, keeping nails strong yet flexible.
Complementary Products from Nailberry London
- Acai Nail Elixir: 5-in-1 Base Coat & Treatment Strengthen, nourish and protect nails with our powerful 5-in-1 base coat and treatment. 78.5% naturally derived and fortified with nourishing oils and antioxidant‑rich actives, this formula actively repairs and regenerates dry or damaged nails. Using the Acai Nail Elixir as a base before the hardener adds extra nourishment and creates a smoother surface for the hardener to bond, reducing lift and improving overall strength.
- Little Treasure Nourishing Cuticle Oil: Nourishing Nail and Cuticle Oil. Enriched with concentrated Sweet Almond Oil and a moisture‑restoring multivitamin complex, our intensely fortifying and deeply hydrating oil protects nails and cuticles from dryness and cracking. Regularly applying this cuticle oil after the hardening routine keeps the nail plate flexible, preventing the hardener from making nails too rigid and reducing the risk of breakage.
By following these steps and pairing The Cure nail hardener with nourishing Nailberry London products, you’ll enjoy nails that are not only stronger but also resilient and healthy‑looking. Stay consistent, and watch your break‑resistant nails transform over time.