Quick Answer
To paint Frosthaven miniatures, work in thin layers: clean mold lines, prime with a light coat, block in base colors, add depth with washes, highlight raised areas, and seal with varnish. Keep your workspace organized with a game insert so you can paint in short sessions without losing pieces. For solo practice, the Frosthaven: Solo Scenarios book helps you learn each class before you commit paint to the tabletop.
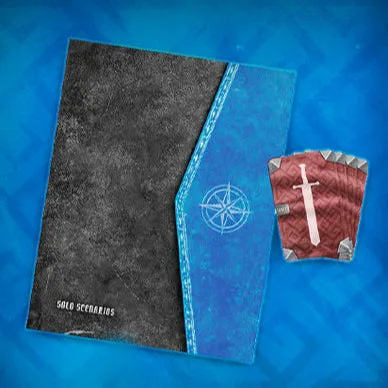
Frosthaven: Solo Scenarios
Painting Frosthaven miniatures is one of the most rewarding parts of the hobby, but it can feel intimidating if you are new to it. The good news is that you do not need a studio full of supplies or years of experience. A few core techniques, applied in the right order, will get your miniatures looking tabletop-ready and give you a real sense of progress.
This guide walks through the full process step by step, from prepping the model to protecting the finished paint job. Along the way, I will point out the mistakes that trip up most painters and how to avoid them. If you want to paint Frosthaven miniatures with confidence, start here.
Gather Your Supplies and Set Up
Before you open a single pot of paint, gather everything you need: a hobby knife, files or sanding sticks, a primer suited to your paint line, a few brushes (a size 0 and a size 2 round will cover most work), a palette, water pot, paper towel, and a good light. A magnifier or reading glasses help with fine details. Work in a well-ventilated area, especially when priming or varnishing.
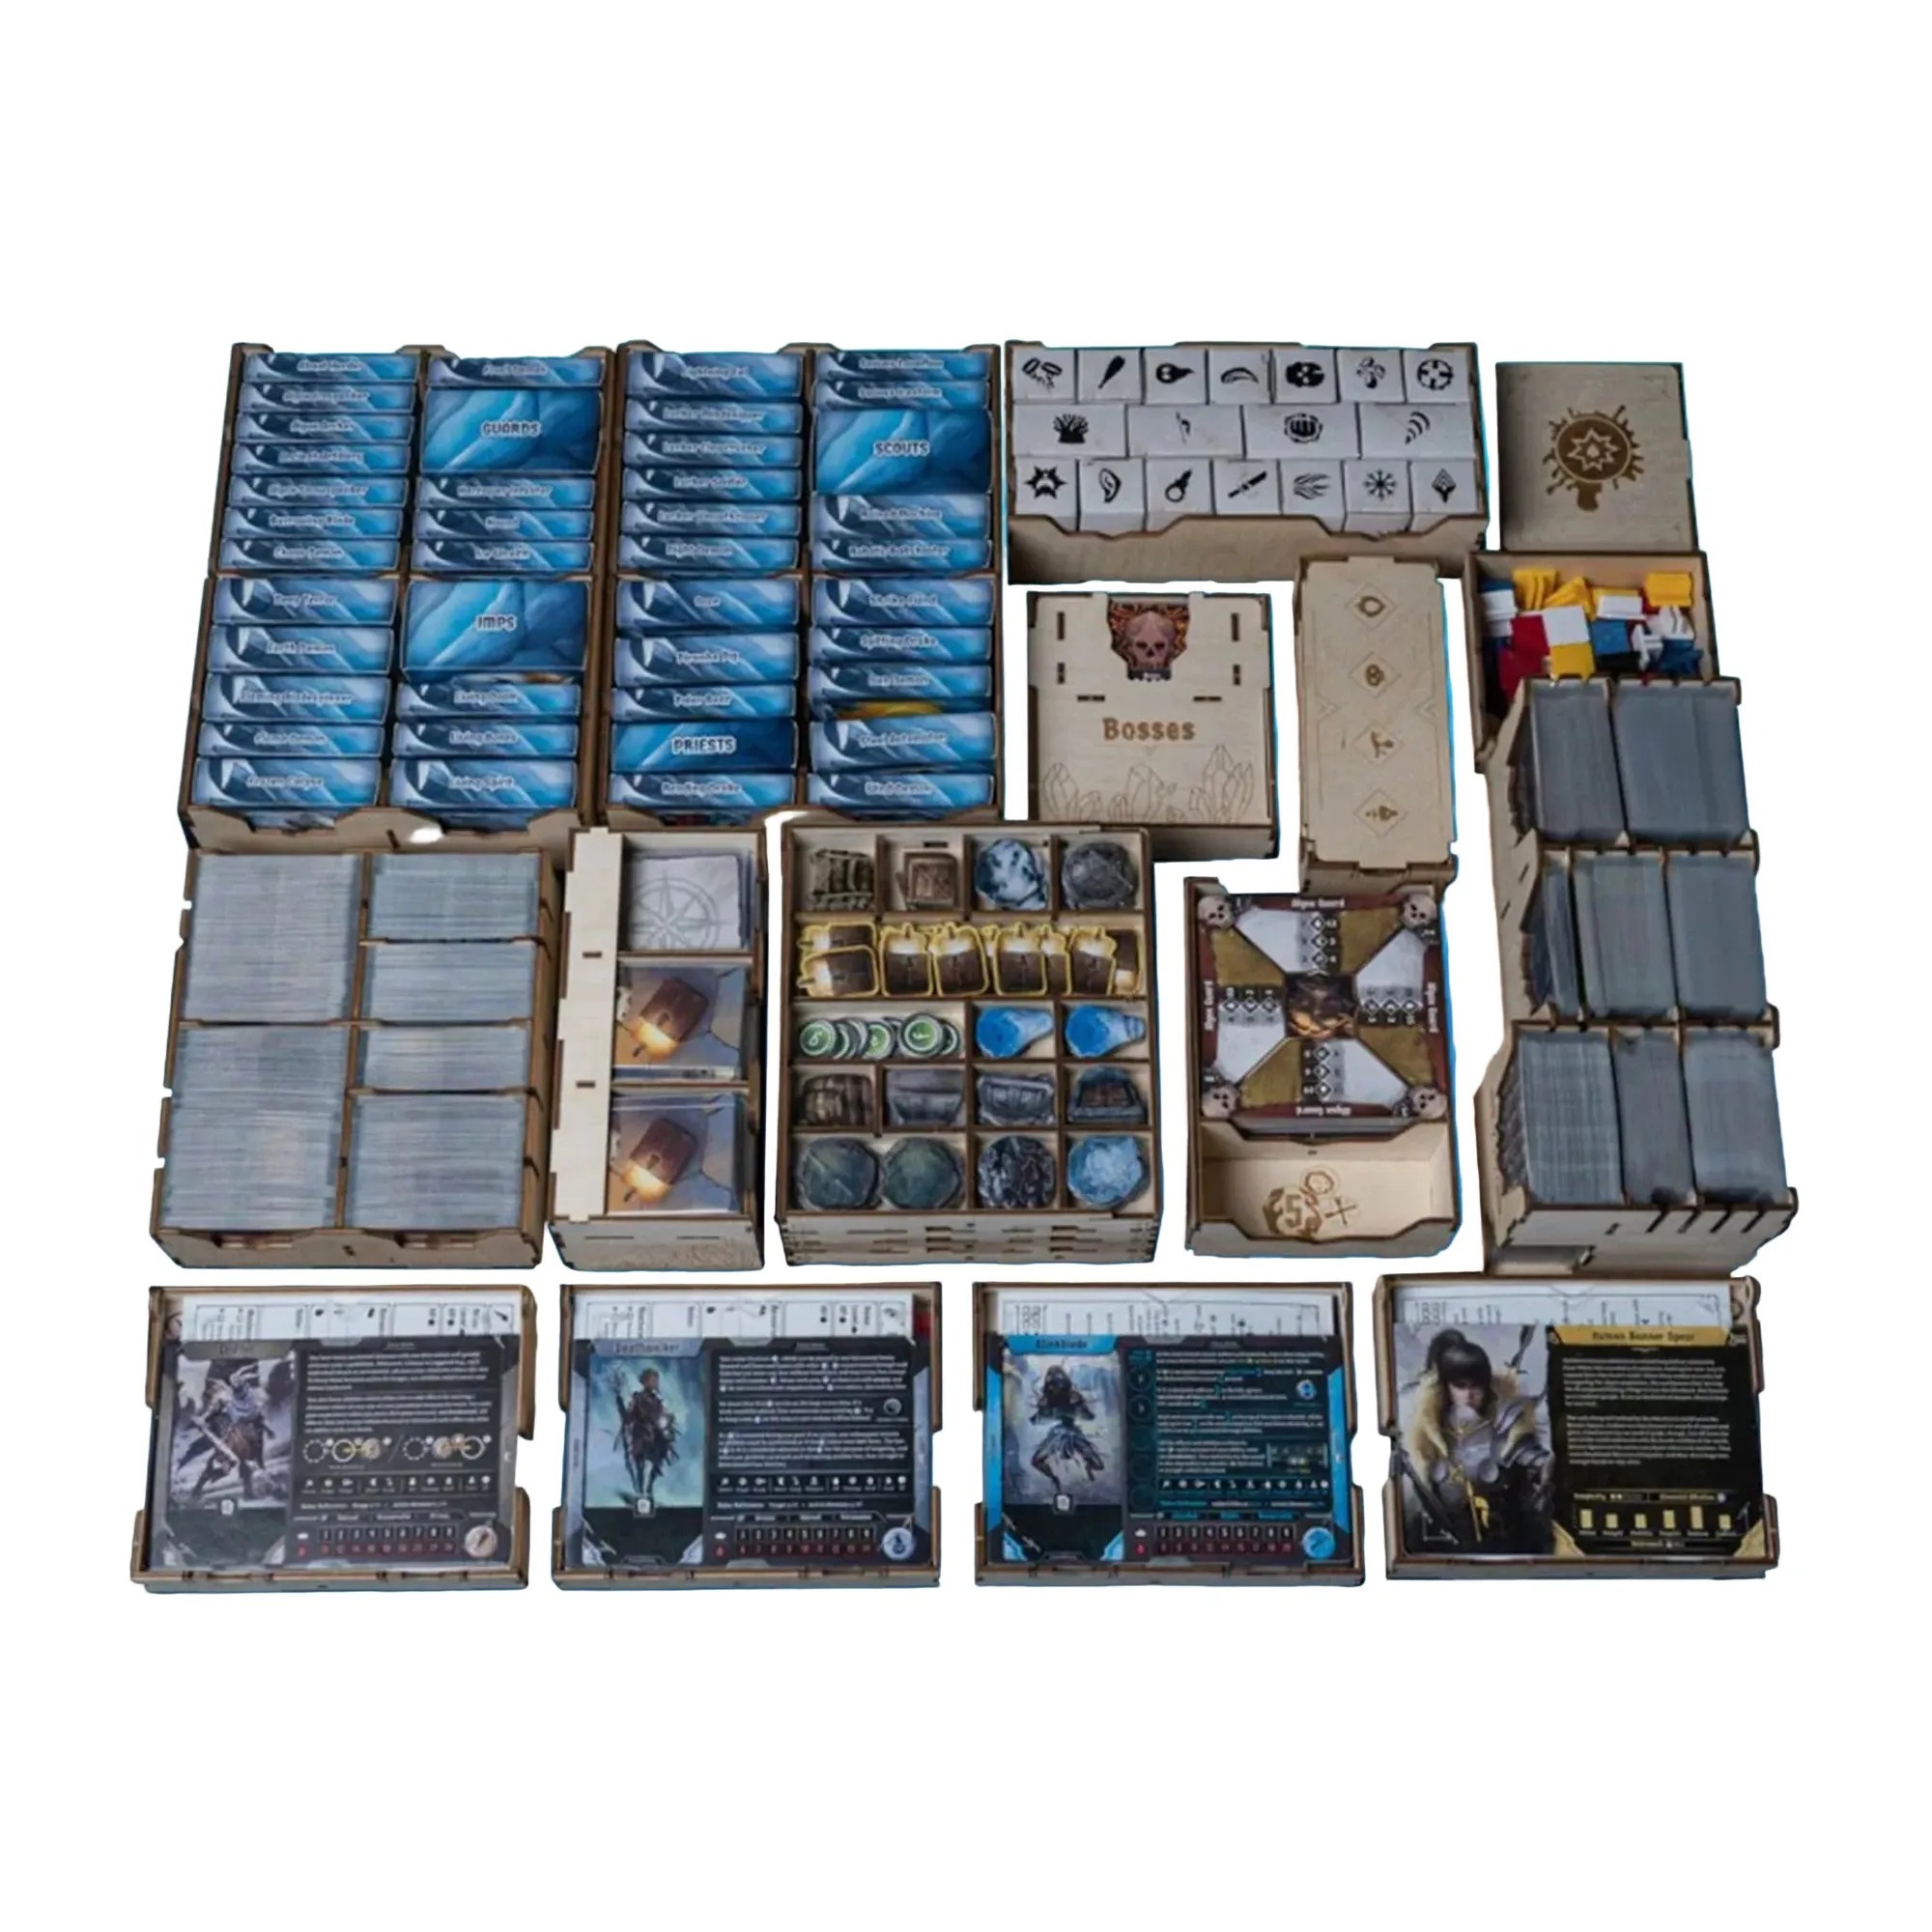
Organization matters more than you might think. Frosthaven has a lot of components, and losing a miniature or a card mid-project kills momentum. A dedicated insert keeps everything sorted so you can paint in short sessions and still find your place. The Frosthaven: Folded Space Game Insert is a lightweight foam core option that holds trays you can pull out during play, which makes it easy to grab just the miniatures you are working on.
- Keep a dedicated painting tray for the miniatures you are actively working on.
- Label your paint pots or use a swatch card so you can repeat colors later.
Step 1: Clean and Prep the Miniature
Start by removing mold lines and flash with a hobby knife held at a shallow angle, then smooth the area with a fine file or sanding stick. Wash the miniature in warm soapy water, rinse, and let it dry completely. This removes mold release agent that can cause paint to bead up. If the model has gaps, fill them with a tiny amount of epoxy putty or superglue before priming.
Common mistake: skipping the wash. Even a small amount of release agent will make primer and paint pull away from the surface. Checkpoint: run your finger over the model after cleaning. If you feel any ridges or bumps, keep smoothing before you prime.
- Use a soft toothbrush for crevices.
- Let the model dry for at least an hour before priming.
Step 2: Prime with Thin Coats
Priming gives paint something to grip. Use a primer designed for miniatures, and apply it in short bursts from about 6 to 8 inches away. Start with a light dusting, let it dry, then add a second thin coat if needed. You want full coverage without obscuring detail. If you are using a brush-on primer, apply it in thin layers and avoid pooling in recesses.
Common mistake: spraying too much primer at once. That fills in fine details and creates a rough texture. Checkpoint: after priming, the miniature should look evenly colored but still show all its sharp edges and textures.
- Shake the primer can thoroughly before use.
- Avoid priming in high humidity or extreme cold.
Step 3: Block in Base Colors
Basecoats establish the main colors of each area. Thin your paint with a little water or medium so it flows smoothly, then apply two thin coats rather than one thick one. Work from the largest areas to the smallest: skin, cloth, armor, then details like belts and pouches. If you are painting a class you have not played yet, the Frosthaven: Solo Scenarios book can help you understand its strengths and weaknesses, which often suggests a color scheme.
Common mistake: not thinning paint enough. Thick paint obscures detail and leaves brush marks. Checkpoint: your basecoat should look smooth and even, with the miniature's texture still visible underneath.
- Keep a damp paper towel to wipe excess paint from the brush.
- Paint similar colors together to save time and reduce cleanup.
Step 4: Add Depth with Washes
A wash is a thin, watery paint that flows into recesses and creates shadows. Apply it with a brush, then wick away any pools that form on flat surfaces with a clean, damp brush. Let it dry completely before moving on. Washes are the fastest way to make a miniature look three-dimensional, and they are forgiving for beginners.
Common mistake: letting wash pool on flat areas. That creates tide marks and an uneven finish. Checkpoint: after the wash dries, the recesses should be darker and the raised areas should still show their base color.
- Use a dedicated wash brush you do not mind staining.
- If the wash looks too strong, you can glaze over it with a thin layer of base color.
Step 5: Highlight Raised Areas
Highlighting adds brightness to the edges and raised surfaces, which makes the miniature pop. Use a lighter version of your base color and apply it with the side of your brush, focusing on edges, folds, and top surfaces. Keep the paint thin and build up gradually. You do not need to highlight every edge; pick the most prominent ones.
Common mistake: using too much paint on the brush. That leads to sloppy lines and a chalky look. Checkpoint: highlights should look like a natural extension of the base color, not a separate layer.
- For a softer look, mix your highlight color with a little medium.
- If you make a mistake, you can touch it up with base color and try again.
Step 6: Finish and Protect
Once you are happy with the paint job, seal it with a matte or satin varnish to protect against handling and wear. Apply in thin coats, just like primer, and let it dry fully. If you want a specific finish, you can use gloss varnish on gems or eyes and matte on the rest. Store your painted miniatures in a way that prevents them from rubbing against each other.
Common mistake: skipping varnish. Paint will chip over time, especially on miniatures that get handled a lot. Checkpoint: after varnishing, the miniature should feel dry to the touch and the colors should look the same as before.
- Varnish outdoors or in a well-ventilated space.
- Let varnish cure for 24 hours before packing miniatures away.
Keep Your Frosthaven Hobby Organized
Painting is only one part of the Frosthaven hobby. Between sessions, you need a way to store miniatures, cards, and tokens so nothing gets lost or damaged. A good insert reduces setup and cleanup time, which means more time for painting and playing. The Frosthaven: Laserox Wooden Game Insert is a wooden option that sorts cards and tokens and includes a five-level monster box, so you can keep your painted miniatures safe and ready for the next scenario.
If you want to upgrade multiple parts of your game at once, the Frosthaven Bundle includes several accessories, though solo scenarios and card sleeves are not included. For a lighter storage solution, the Frosthaven: Folded Space Game Insert uses foam core trays that double as in-game organizers. Both approaches help you protect your painted work and keep the campaign moving.
- Store painted miniatures in a cool, dry place away from direct sunlight.
- Use foam or compartment boxes to prevent paint rubbing during transport.
Step-by-Step Painting Process at a Glance
- Prep and clean: Remove mold lines, wash the miniature, and let it dry completely. Checkpoint: no visible ridges or shiny spots before priming.
- Prime: Apply thin, even coats of primer from a suitable distance. Checkpoint: detail is still sharp and no pooling in recesses.
- Basecoat: Block in main colors with thinned paint, two thin coats. Checkpoint: smooth coverage with visible texture.
- Wash: Apply wash to recesses and wick away excess from flat areas. Checkpoint: shadows are darker, raised areas still show base color.
- Highlight: Use lighter paint on edges and raised surfaces with a light touch. Checkpoint: highlights blend naturally with the base.
- Varnish: Seal with thin coats of matte or satin varnish. Checkpoint: dry to the touch and colors unchanged.
Frosthaven Products That Support Your Hobby
- Frosthaven: Solo Scenarios: A set of scenarios specifically designed for strategic solo play - scenarios that highlight the strengths and weaknesses of each class and forces players to really get under the hood and learn to play each class masterfully. This includes a 24-page scenario book of 17 all-new solo scenarios and a deck of 17 item cards - rewards for completing each of the missions. Learning a class deeply can inspire your color choices and give you a reason to paint each miniature with care.
- Frosthaven: Laserox Wooden Game Insert: The Frostbox wooden insert from Laserox and Cephalofair Games makes your Frosthaven adventures much easier and smoother to get to the table. It sorts and stores all the cards and tokens you need for your gameplay with a reduced setup and cleanup time. This insert is the "Monster Box" version that lets you store the monsters in a big, 5-level box. Keeps your painted miniatures organized and protected between sessions, so you spend less time sorting and more time painting.
- Frosthaven: Folded Space Game Insert: Official full-color foam core insert compatible with Frosthaven® by Folded Space. The design provides both efficient storage and improved game play, while keeping your Frosthaven box as light as possible. The trays can be utilized during the game, and they greatly aid set-up and clear-away times. A lightweight storage option that doubles as a painting station organizer if you use the trays to hold miniatures in progress.
Painting Frosthaven miniatures is a skill you build one step at a time. Start with a single miniature, follow the order above, and do not worry about perfection. With practice, your tabletop will look better and your connection to the game will grow. Keep your supplies and miniatures organized, and enjoy the process.