Quick answer
Apply transfer foil over a fully cured gel top coat that still has a tacky layer, press the foil firmly onto the nail with a silicone tool, then peel it back in one quick motion. Work one nail at a time, and seal the design with a thin layer of no-wipe top coat so the animal print stays put.
Why transfer foil works differently on gel
Transfer foil is a thin film that releases its printed design when pressed onto a tacky surface. On gel nails, that tacky surface is the uncured dispersion layer left after curing a gel top coat. If you wipe that layer off first, the foil has nothing to grab onto and the animal print will only partially transfer or not at all. This is why foil application on gel is a timing exercise, not a glue-based craft.
Prep and base color choices
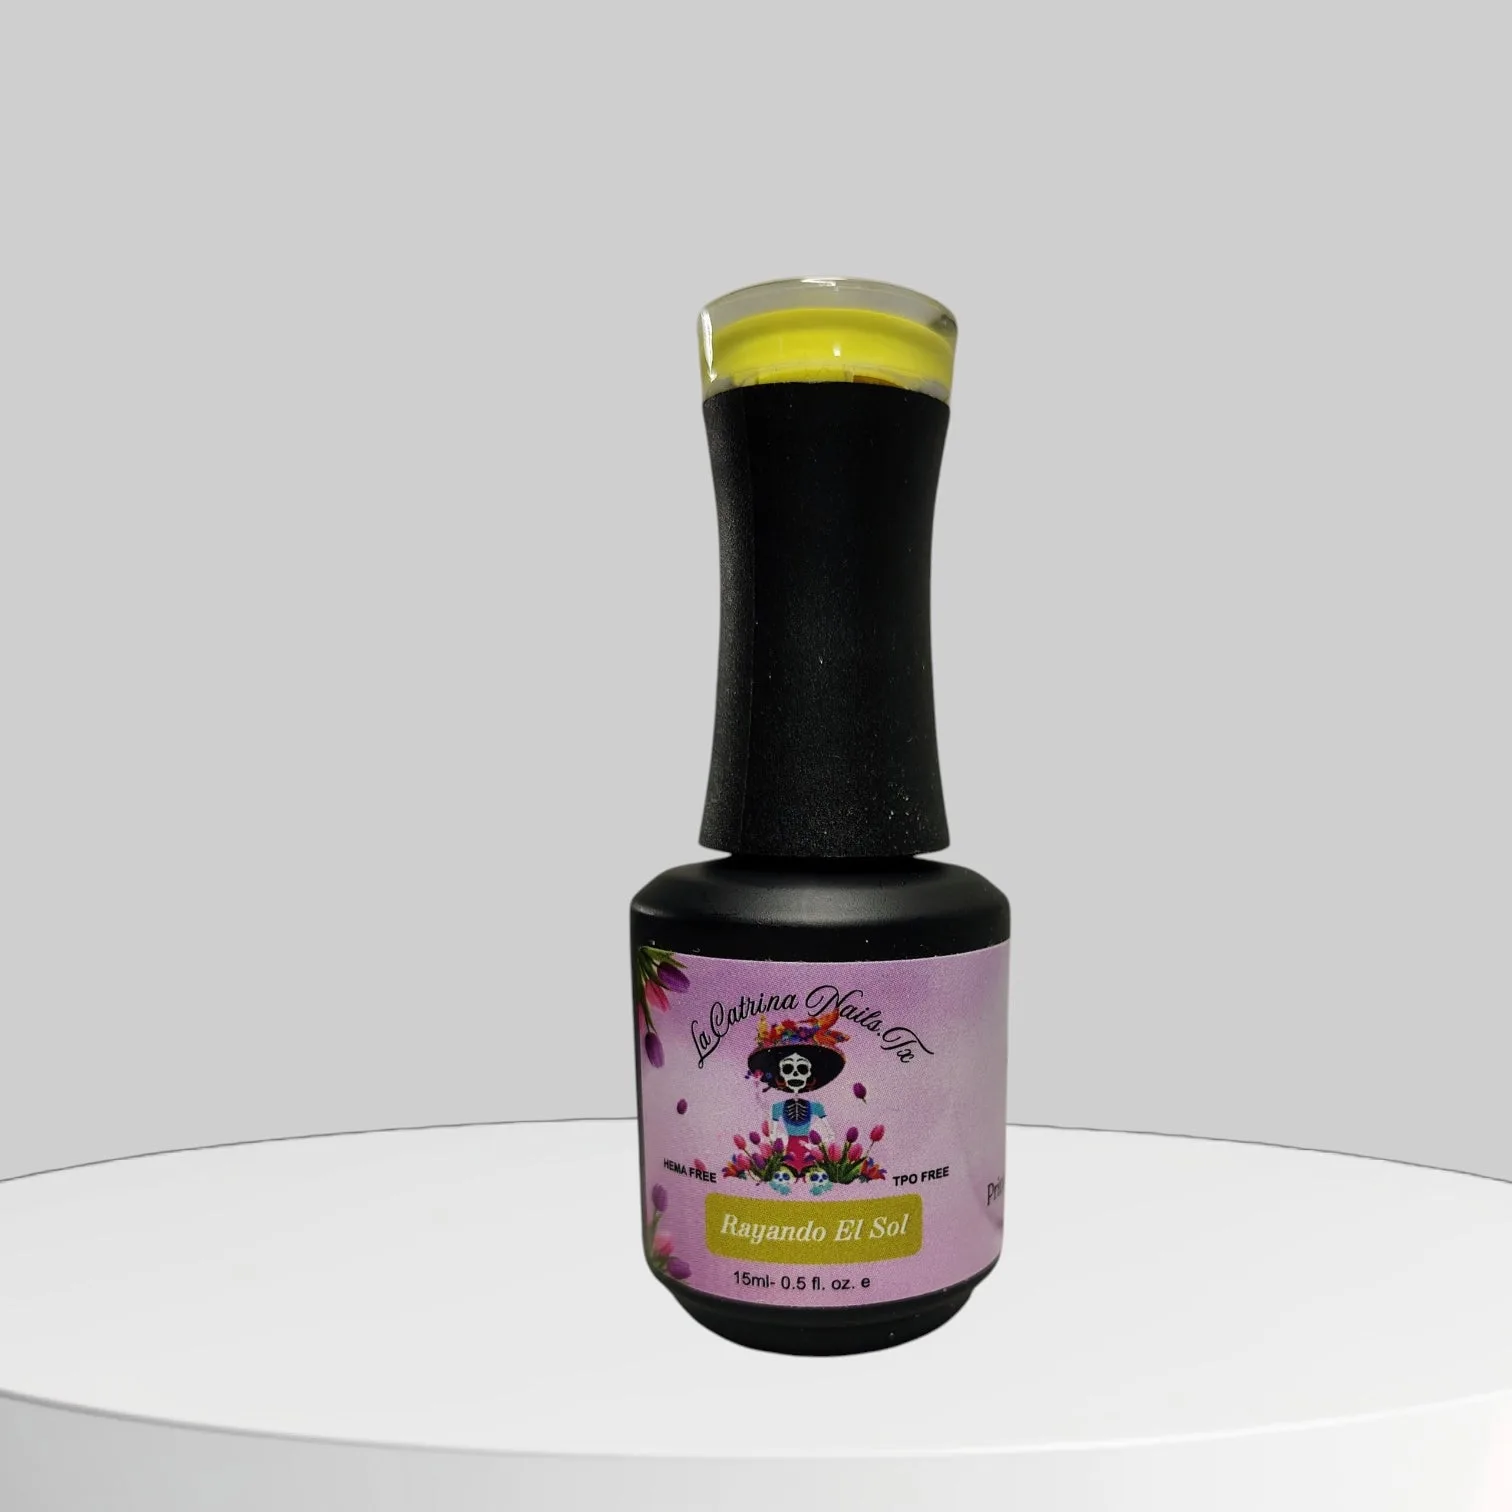
Start with a fully cured gel base and color coat. A high-contrast base makes animal print read clearly: black or dark brown spots show best over a nude, tan, or bright yellow base. For example, Rayando El Sol / Bright Yellow is a full-coverage yellow that can act as a vivid backdrop for a leopard-style foil. Keep the base coat thin and cap the free edge so the final design does not lift at the tip.
Choosing and testing your foil
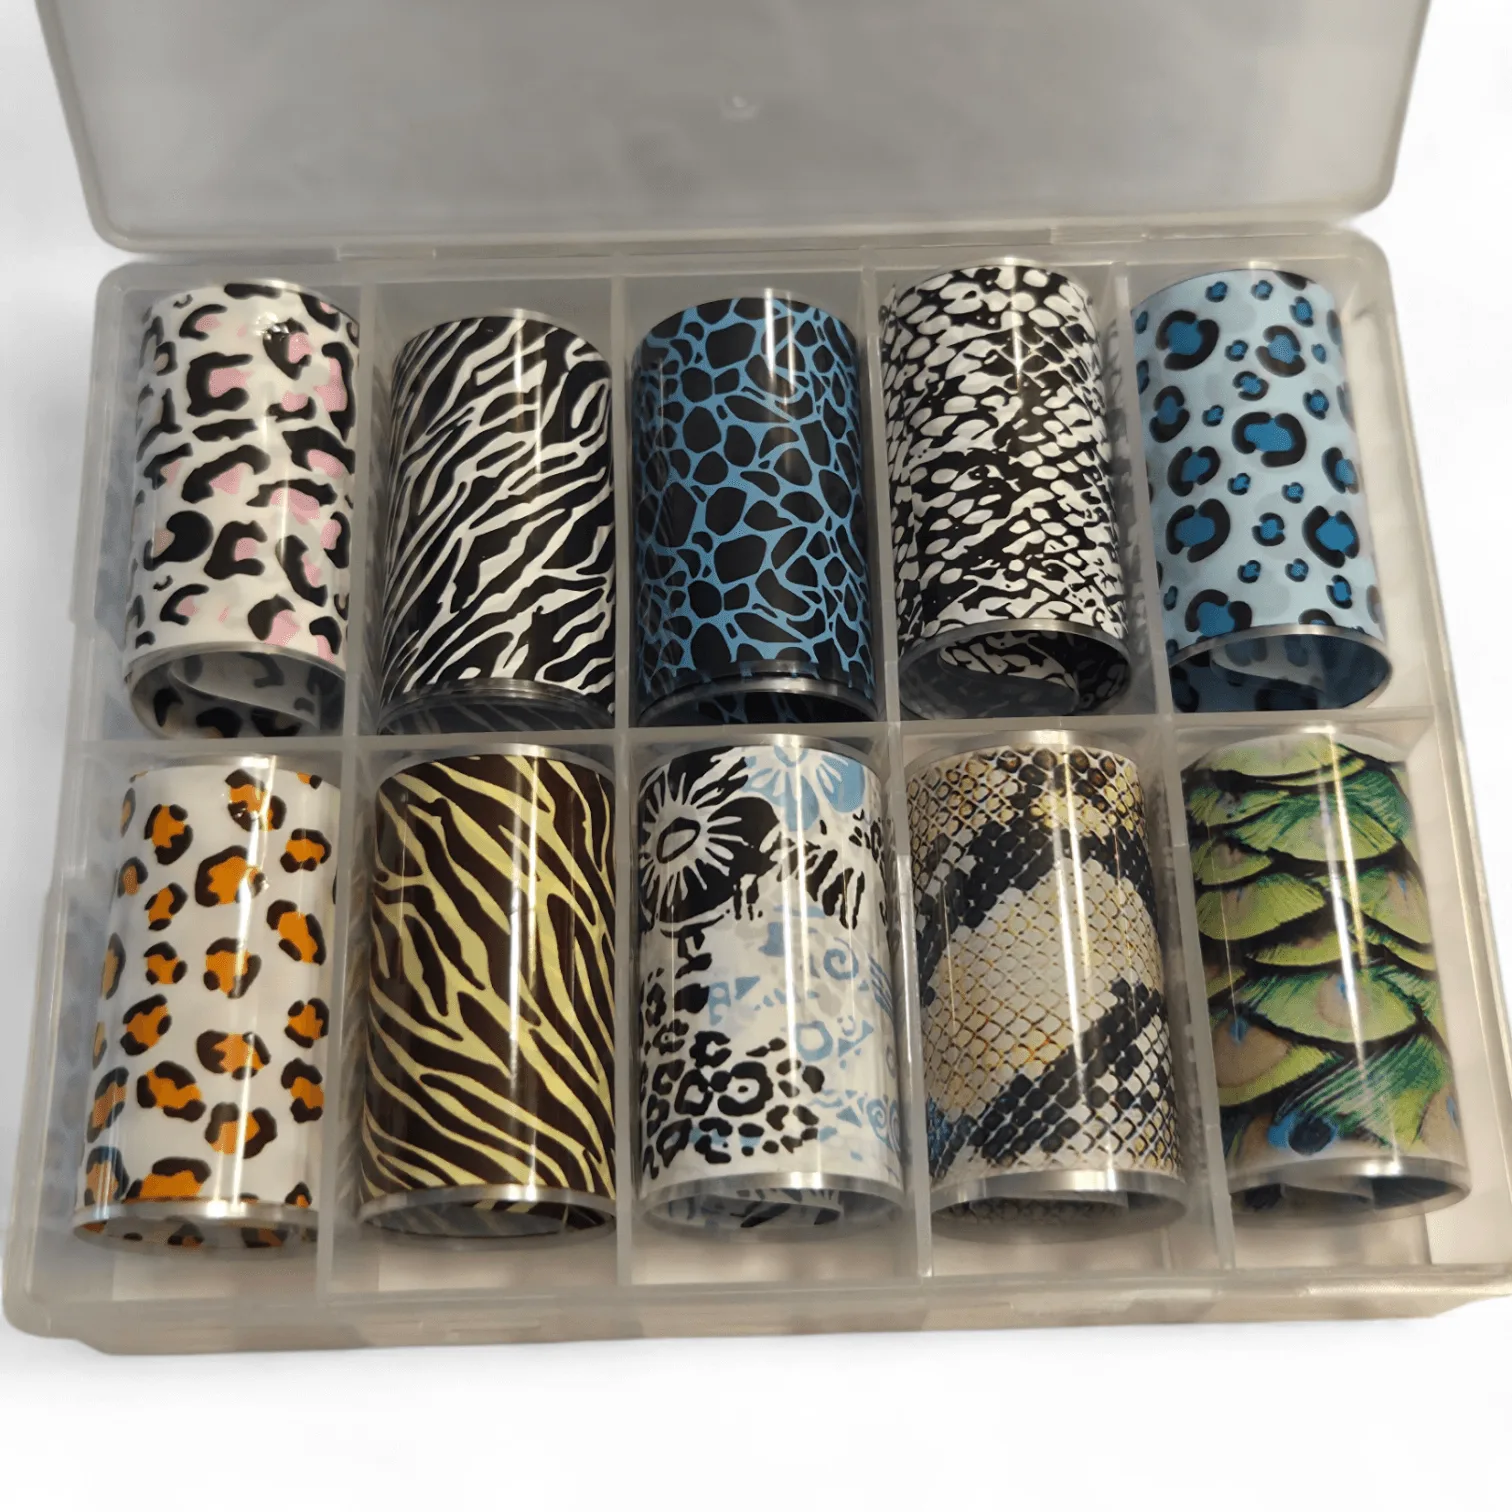
Animal print foils vary in how much design they release per press. Cut a piece slightly larger than the nail and test it on a swatch or on one nail before doing a full set. If the pattern looks sparse, you can layer a second press with a fresh section of foil. Animal Print #5 Transfer Foil is a dedicated animal print film, so treat it as a one-press-per-section product rather than reusing the same area.
Sealing and finish
After the foil transfer, apply a thin no-wipe top coat over the entire nail and cap the edge. Foil can create a slightly raised texture, so keep the top coat thin to avoid bulk. If you want a matte animal print look, use a matte top coat instead, but expect the foil to look slightly less reflective. Avoid filing the foil directly; file only the free edge before sealing.
Step-by-step foil application
- 1. Cure the base color completely: Apply your gel color in thin coats and cure each coat fully. A partially cured base can shift under pressure when you press the foil. Checkpoint: the surface should be hard and cool before you move on.
- 2. Apply a thin top coat and cure: Use a gel top coat and cure it according to the manufacturer's instructions. Do not wipe the nail afterward; the remaining tacky layer is what grabs the foil. Mistake to avoid: wiping with cleanser before foiling removes the tack and kills the transfer.
- 3. Press the foil onto the nail: Cut a piece of Animal Print #5 Transfer Foil larger than the nail, place it pattern-side down, and press firmly with a silicone tool or your finger. Work from cuticle to tip. Checkpoint: hold steady pressure for a few seconds rather than rubbing back and forth.
- 4. Peel the foil back in one motion: Lift the foil from one corner in a single quick pull. Slow peeling can drag the pattern and leave a smeared animal print. If the pattern is patchy, press a fresh section of foil onto the same nail and peel again.
- 5. Seal with top coat and cure: Apply a thin no-wipe top coat over the foil, cap the free edge, and cure fully. Keep the layer thin so the foil texture does not look lumpy. Next step: wait for the top coat to cool before applying cuticle oil.
Products used in this method
- Animal Print #5 Transfer Foil: Animal Print #5 Transfer Foil is a nail care accessory designed for transfer foil application with an animal print design. A dedicated animal print foil gives you a repeatable pattern to press onto a tacky gel layer, so you can plan placement instead of guessing.
- Rayando El Sol / Bright Yellow~ 2026~HEMA-Free and TPO Free Gel polish: Rayando El Sol / Bright Yellow is a HEMA-Free and TPO Free gel polish with a creamy, full-coverage formula and ultra-glossy finish. A bright, opaque yellow base makes dark animal print foil stand out and reduces the number of color coats needed before foiling.