Quick answer
Before every treat dispenser toy session, do a five-point check: confirm the toy is the right size for your dog, inspect for cracks or missing pieces, verify the treat opening is wide enough to release food but not trap a tongue, confirm the material still flexes instead of feeling brittle, and supervise the first few minutes of use. If any step fails, retire the toy. This routine takes under a minute and catches most rubber chew toy hazards before they become injuries.
Treat dispenser toys fail in predictable ways. A rubber wall thins at the seam, a treat opening widens just enough to catch a tooth, or a nylon edge chips after weeks of grinding. None of those problems announce themselves. You find them by checking.
This guide gives you a repeatable inspection process for any treat-dispensing chew toy, whether it is a rubber pumpkin, a nylon peanut, or a floating fetch toy. It also covers the size and material decisions that make the biggest difference in chew toy safety, so you can hand over a toy with confidence instead of hope.
Why treat dispenser toys need a different safety check
A standard chew toy has one job: survive teeth. A treat dispenser toy has two jobs, and the second one creates risk. The cavity that holds kibble or paste also creates thin walls, internal corners, and an opening your dog will work with tongue, teeth, and paws. Those features wear faster than a solid rubber block.
The opening is the part most owners overlook. If it is too tight, treats jam and your dog escalates from licking to biting and prying. If it is too wide, small treats fall out instantly and the toy becomes boring, which pushes some dogs to chew the rim instead. Check the opening against the treats you actually plan to use, not the ones pictured on the package.
- Test the opening with your own finger: if you can hook a fingertip under the rim, a dog tooth can too.
- Match treat size to the opening before the first session, not after your dog gets frustrated.
Size, material, and chew style: the three decisions that matter most
Size is the first filter. A toy small enough to fit fully behind the molars is a choking risk, and a toy too large to grip gets abandoned or chewed at the weakest point. As a working rule, choose a toy that is wider than the space behind your dog's last molar and long enough that at least an inch stays outside the mouth during normal chewing.
Material matters just as much. Rubber flexes and absorbs some of the bite force, which suits dogs who gnaw steadily. Nylon is harder and resists aggressive chewing, but it does not give, so it suits power chewers who destroy softer toys rather than dogs who prefer to lick and nuzzle. If your dog has worn down a rubber toy quickly in the past, a tougher material is the safer choice, not a bigger rubber one.
- Power chewers: choose a tougher material before you size up.
- Dogs who mostly lick and paw: a softer, flexible toy with a wider opening works better and lasts longer.
The five-minute inspection you should run before every session
Start with your hands, not your eyes. Run your fingers around every edge, seam, and opening. You are feeling for cracks, soft spots, and rough patches that a visual check misses. A rubber toy that has gone from springy to slick or brittle is done, even if it looks intact.
Next, check the treat cavity. Look inside with a light. Old food residue, packed kibble dust, and saliva film hide cracks and can grow bacteria. Rinse and dry the toy, then look again. If a crack runs from the opening into the body of the toy, retire it. That crack will widen under chewing pressure and can release a chunk.
Finally, test the opening and the weight. Squeeze the toy gently. It should return to shape immediately. If it stays compressed or feels heavier than usual, water or food may be trapped inside, which means the material has failed somewhere you cannot see.
- Feel first, look second. Fingers find cracks that eyes miss.
- Clean and dry before inspecting so residue does not hide damage.
- A toy that stays squashed after you release it has lost its structure.
Wear signs that mean retire, not repair
Some damage is cosmetic and some is structural, and the difference is simple: anything that changes the shape, thickness, or integrity of the material is structural. Surface scuffs and tooth marks that do not catch a fingernail are normal. Cracks, gouges deeper than a fingernail, missing chunks, and exposed edges are not.
Pay special attention to seams and rims. Manufacturers join rubber at a seam, and that seam is the first place a determined chewer wins. If the seam has started to separate, the toy can split into pieces during play. The same goes for the rim of a treat opening: once it chips, the edge becomes sharp and can cut a tongue or gum.
Rotate toys instead of replacing them constantly. Two or three toys in rotation get less concentrated wear than one toy used daily, and rotation keeps novelty high, which reduces the frantic chewing that causes damage in the first place.
- Retire immediately: cracks, missing pieces, separated seams, sharp rims.
- Keep using with supervision: shallow tooth marks, scuffs, faded color.
- Rotate two or three toys to slow wear on each one.
Supervision rules that prevent most injuries
No chew toy is indestructible, and no treat dispenser toy is safe for unsupervised use by a dog who destroys toys. Supervise the first several sessions with any new toy, and stay in the room for dogs who have a history of breaking toys apart. The goal is to catch a failure in the first seconds, before a piece is swallowed.
Take the toy away when the treat is gone. A dispenser toy with an empty cavity invites chewing on the opening and rim, which is exactly where the material is thinnest. If your dog keeps working the toy after the food stops, swap in a solid chew toy or a different activity.
Know your dog's chew style and match the toy to it. A dog who chews to eat is different from a dog who chews to destroy, and the same toy can be safe for one and risky for the other.
- Supervise new toys for the first several sessions.
- Remove dispenser toys once the treat is gone.
- If your dog breaks toys apart, choose tougher materials and shorter sessions.
Your five-step pre-play safety check
- Step 1: Size check: Hold the toy against your dog's muzzle. It should be wider than the space behind the last molar and long enough that part of it stays outside the mouth during normal chewing. Common mistake: sizing by breed instead of by your individual dog's mouth. If it can disappear behind the molars, it is too small.
- Step 2: Material check: Press your thumbnail into the surface. Rubber should flex and spring back. Nylon should feel hard with no give. If rubber feels slick, brittle, or stays dented, the material has aged out. Checkpoint: a rubber toy that no longer springs back is a chew toy hazard, not a toy that needs more time.
- Step 3: Full-surface inspection: Run your fingers around every seam, rim, and opening, then look inside the treat cavity with a light after rinsing and drying it. Common mistake: inspecting only the outside. Cracks often start at the treat opening and run inward where you cannot see them.
- Step 4: Treat opening test: Load the toy with the treats you actually plan to use. They should release with moderate effort. If they jam, your dog will escalate to biting and prying at the rim. Checkpoint: if you can hook a fingertip under the rim, a tooth can catch there too. Resize the treat or switch toys.
- Step 5: Supervised first session: Give the toy while you are in the room and watch the first several minutes. Remove it when the treat is gone, and re-inspect it afterward before storing it. Common mistake: leaving a dispenser toy down all day. Empty-cavity chewing concentrates force on the thinnest part of the toy.
Catalog examples that fit this safety routine
- NEW!! Jack O’Lantern Durable Rubber Chew Toy & Dispenser: Designed to withstand the abuse of most power chewer dogs, with a square shape that makes it tough and hard to destroy, and a cavity that dispenses treats like kibble. The square shape resists rolling and gives you flat surfaces to inspect for cracks, while the treat cavity makes it a good candidate for the opening and residue checks above.
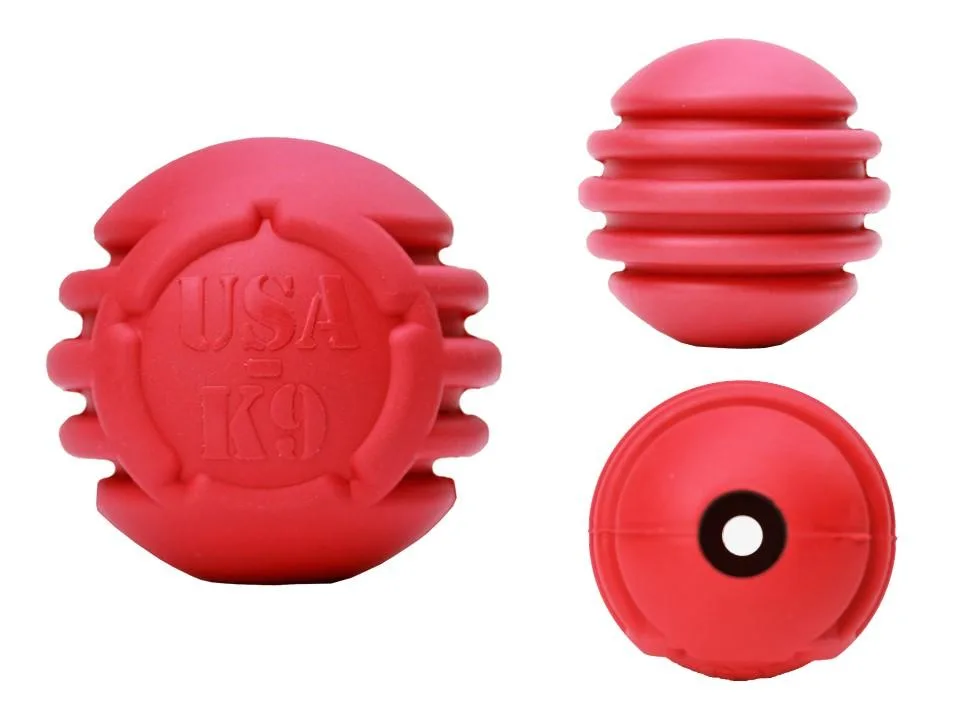
- NEW! K9 Power Chewer Tough Rubber Ball: K9 Power products deliver ultra durability made to withstand aggressive, powerful chewers, and this chew-proof ball is strong, wear-resistant, and fortified. A solid ball has no treat opening to inspect, so it is a useful rotation partner when you need to pull a dispenser toy out of play after the food is gone.
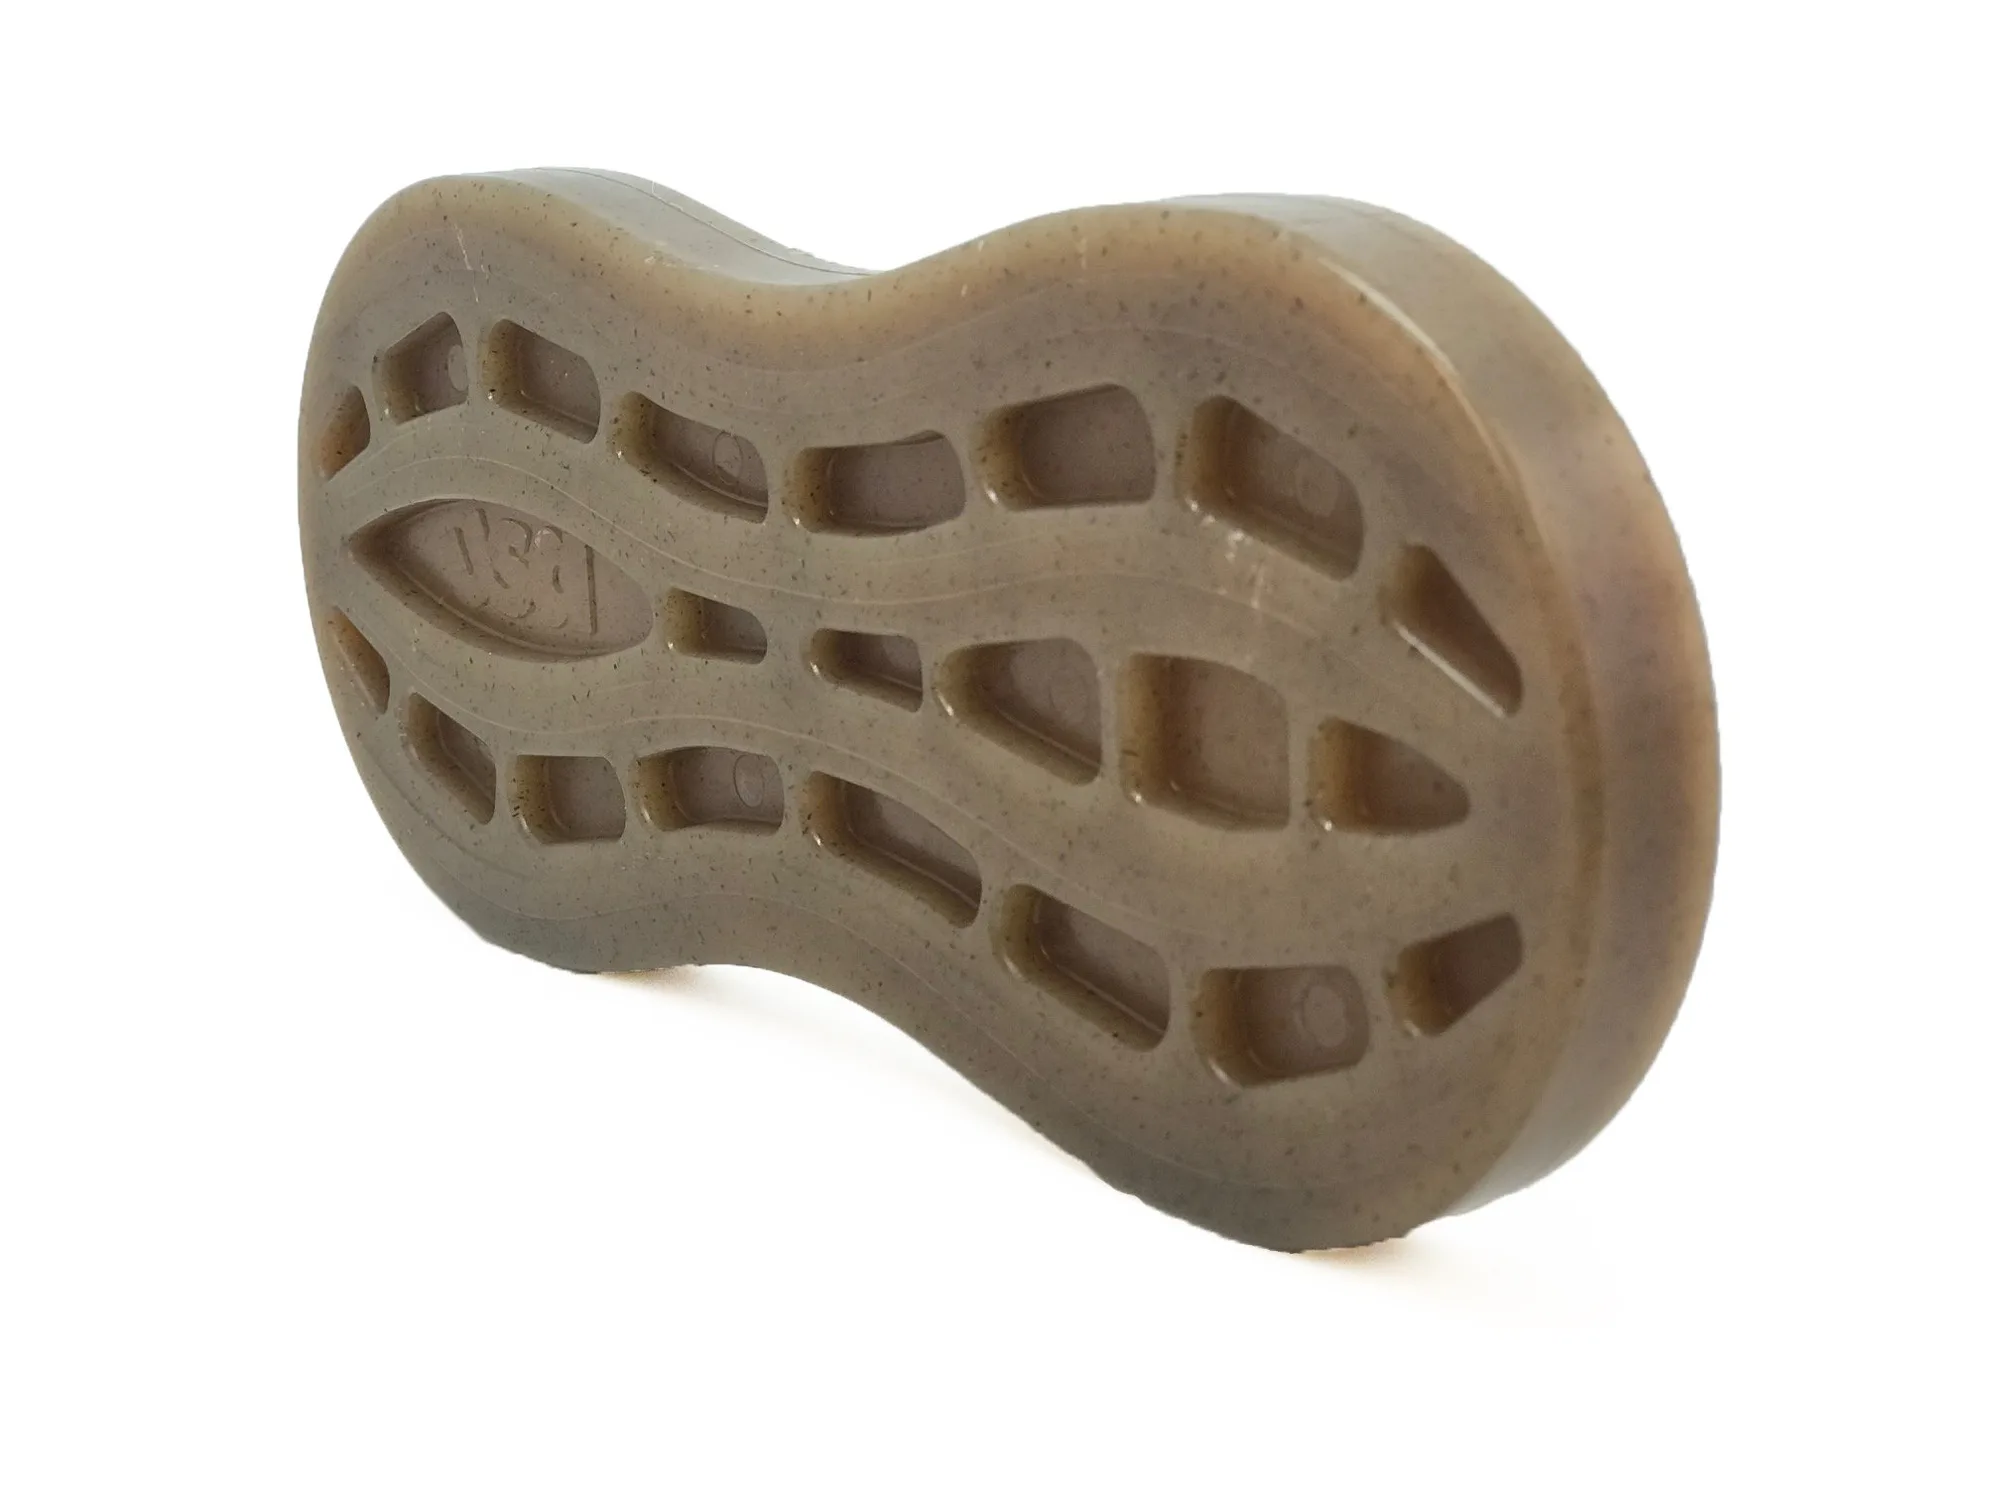
- Peanut Durable and Tough Nylon Chew Toy: A strong chew toy in the shape of a peanut, made from a nylon veterinarian-approved material, and it can be filled with a sweet treat like peanut butter. Nylon does not flex like rubber, so check for chips and rough edges rather than soft spots, and use a paste filling instead of loose kibble to avoid a jammed opening.
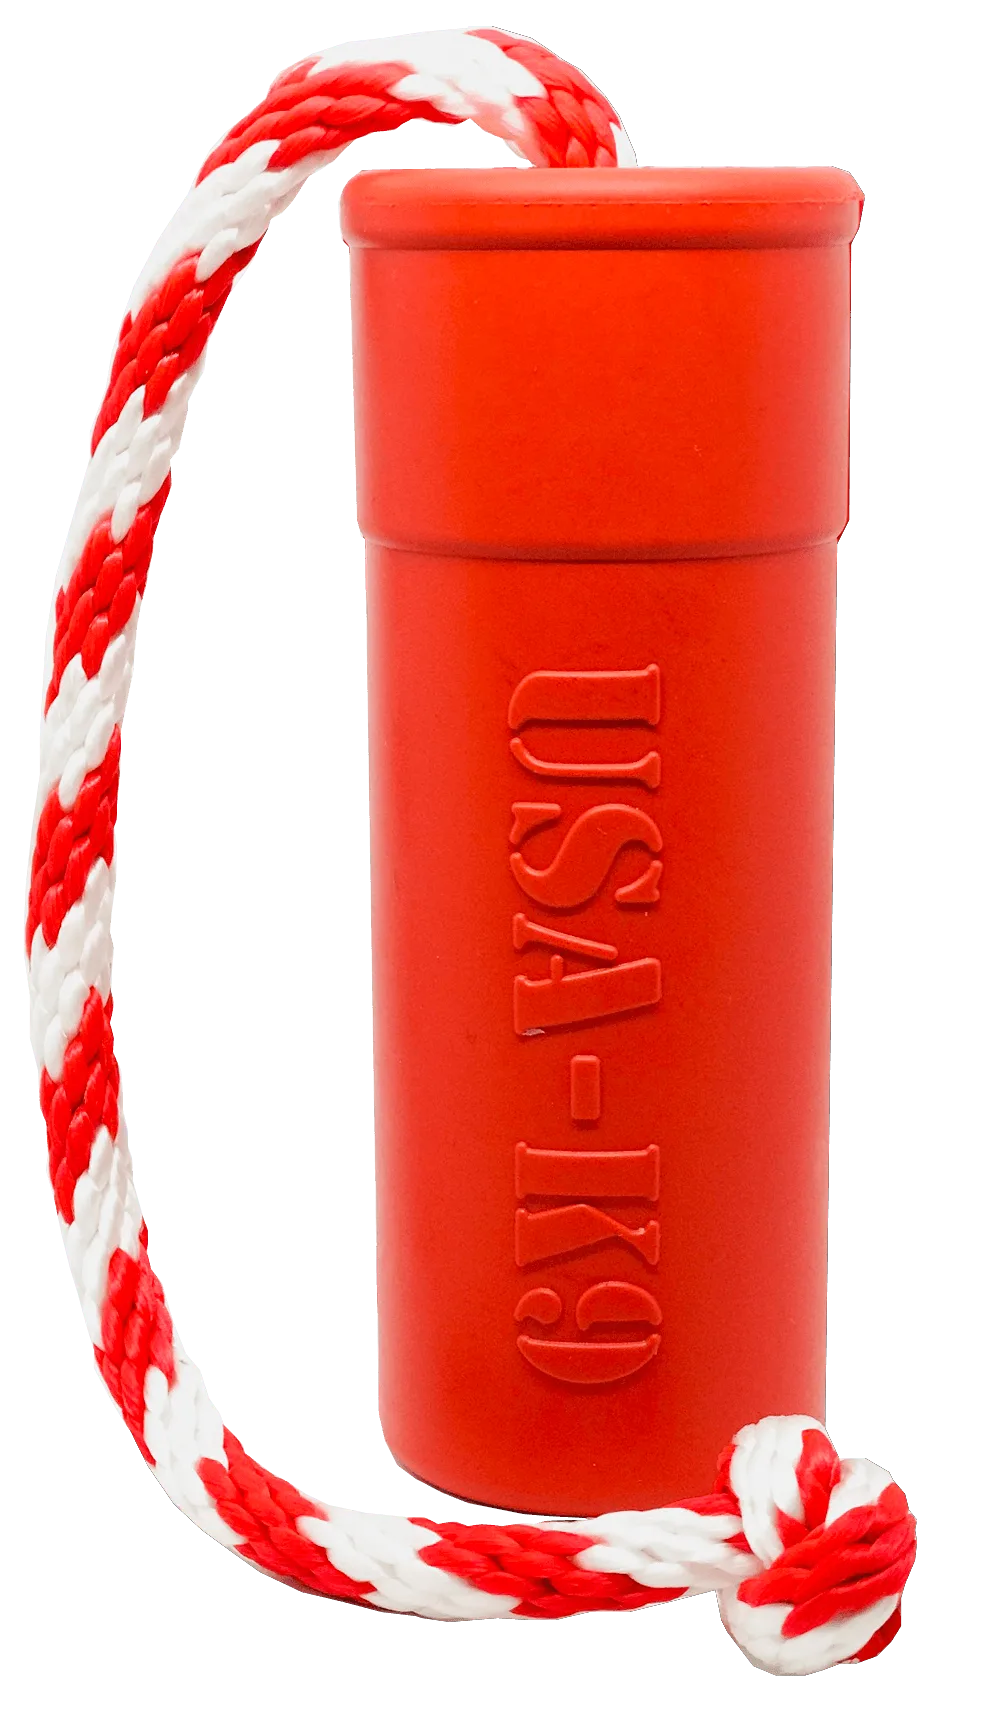
- NEW! K9 Tough Firecracker Rubber Floating Training Toy: A durable rubber floating training toy for fetch or teaching retrieve, made for dogs with retrieving instincts. A floating fetch toy gets water exposure, so dry it fully and re-inspect the surface after each session to catch material breakdown early.
A one-minute inspection before each session catches the wear that turns a safe chew toy into a risk. Match the material to your dog's chew style, size the toy to your dog's mouth, supervise the first sessions, and retire anything with a crack, a separated seam, or a sharp rim. Replace worn toys with tougher options rather than bigger ones, and your dog gets the boredom-busting benefit without the emergency vet visit.