Quick answer
Fabric grain is the orientation of threads in woven fabric. The lengthwise grain runs parallel to the selvage, the crosswise grain runs perpendicular to it, and the bias runs at a 45-degree angle. Always align pattern pieces with the grainline marked on the pattern to ensure your garment or quilt hangs and wears as intended.
Have you ever sewn a garment that twisted after washing or a quilt block that stretched out of shape? The culprit is often fabric grain. Understanding grain—the direction of threads in woven fabric—is fundamental to sewing success. It affects how fabric drapes, stretches, and behaves when you cut and sew.
In this guide, we'll break down the three main types of grain, explain why they matter, and walk you through the steps to identify and use grain correctly in your projects. Whether you're a beginner or a seasoned sewist, mastering grain will improve your results.
What is fabric grain?
Fabric grain refers to the orientation of the warp and weft threads in a woven fabric. The warp threads run parallel to the selvage (the finished edge), forming the lengthwise grain. The weft threads run perpendicular to the selvage, forming the crosswise grain. The bias is the diagonal direction at a 45-degree angle to the selvage, where the fabric has the most stretch.
Understanding these directions is crucial because fabric behaves differently along each grain. Lengthwise grain is the most stable and has the least stretch, making it ideal for vertical elements like pant legs. Crosswise grain has a bit more give, suitable for horizontal elements. Bias grain stretches significantly, perfect for draping necklines or creating curves.
- Lengthwise grain: parallel to selvage, stable, minimal stretch.
- Crosswise grain: perpendicular to selvage, slight stretch.
- Bias grain: 45-degree angle, maximum stretch and drape.
Why fabric grain matters
Fabric grain affects the fit, drape, and durability of your finished project. If you cut pattern pieces off-grain, the garment may twist, hang unevenly, or lose shape after washing. In quilting, ignoring grain can lead to distorted blocks and wavy borders. Proper grain alignment ensures that seams stay straight and that the fabric's natural stretch works with your design, not against it.
Additionally, grain direction influences how fabric responds to pressing and sewing. For example, sewing along the bias can cause stretching, so staystitching is often needed. By respecting grain, you'll achieve professional-looking results and avoid common frustrations.
- Off-grain cutting causes twisting and poor drape.
- Grain alignment improves seam accuracy and fit.
- Bias seams require careful handling to prevent stretching.
How to find the grainline on fabric
Before cutting, you need to establish the grain. Start by finding the selvage—the tightly woven, finished edge that runs along the length of the fabric. The lengthwise grain is parallel to the selvage. To find the crosswise grain, you can tear the fabric across from selvage to selvage; the tear will follow the crosswise grain. Alternatively, pull a thread across the width and cut along the pulled thread.
For bias, simply fold the fabric so that the lengthwise and crosswise grains align, creating a diagonal fold. The fold line is the true bias. Many fabrics have a visible grain, but for solids, you may need to use these methods. Always check grain before laying out pattern pieces.
- Selvage indicates lengthwise grain.
- Tearing or pulling a thread reveals crosswise grain.
- Folding diagonally gives true bias.
Understanding grainline in sewing patterns
Pattern pieces include a grainline symbol—a straight line with arrows at both ends. This line must be aligned parallel to the lengthwise grain (selvage) unless otherwise specified. If the pattern is for a bias-cut garment, the grainline will indicate the bias direction. Aligning the grainline correctly ensures that the garment hangs as designed.
To align, measure from the grainline to the selvage at both ends and adjust until the distances are equal. Pin the pattern in place and double-check before cutting. This step is non-negotiable for a professional finish.
- Grainline arrow must be parallel to selvage for straight grain.
- Measure from grainline to selvage at both ends to ensure alignment.
- For bias patterns, the grainline indicates the bias direction.
Straight grain vs bias: when to use each
Straight grain (lengthwise or crosswise) is used for most pattern pieces because it provides stability and minimal stretch. It's ideal for structural elements like waistbands, collars, and quilt borders. Bias grain, on the other hand, is used when you need stretch and drape, such as for neckline facings, cowl necks, or circular skirts. Bias binding is also excellent for finishing curved edges.
Choosing the right grain depends on the project. For quilting, you typically use straight grain for borders to prevent wavy edges. For garments, follow the pattern's recommendations. Experiment with bias cuts on a small scale to understand their behavior before committing to a full project.
- Use straight grain for stability and minimal stretch.
- Use bias for drape, stretch, and curved edges.
- Quilt borders should be cut on straight grain to avoid waviness.
Step-by-step: How to work with fabric grain
- Step 1: Identify the selvage: Locate the finished, tightly woven edge of the fabric. This edge runs parallel to the lengthwise grain. If the selvage is unclear, look for small holes along the edge where the fabric was attached to the loom. Checkpoint: The selvage is your reference for all grain alignment.
- Step 2: Determine the crosswise grain: To find the crosswise grain, make a small snip into the selvage and tear the fabric across the width. The tear will follow the crosswise grain. Alternatively, pull a single thread across the width and cut along the pulled thread. Checkpoint: A straight tear indicates you've found the crosswise grain.
- Step 3: Find the bias: Fold the fabric so that the lengthwise and crosswise grains align, creating a diagonal fold. The fold line is the true bias. You can also use a bias tape maker or ruler to mark bias lines. Checkpoint: The bias has the most stretch; handle with care.
- Step 4: Align pattern pieces with the grainline: Place your pattern piece on the fabric. The grainline arrow should be parallel to the selvage (for straight grain) or at a 45-degree angle (for bias). Measure from the grainline to the selvage at both ends and adjust until the distances are equal. Pin securely. Checkpoint: Double-check alignment before cutting; off-grain cutting leads to twisting.
- Step 5: Cut and sew with grain in mind: Cut along the pattern edges, keeping the fabric flat. When sewing, be mindful of bias edges—they stretch easily. Use staystitching on curves and avoid pulling the fabric as you sew. Checkpoint: Press seams carefully, following the grain to avoid distortion.
Fabrics that showcase grain
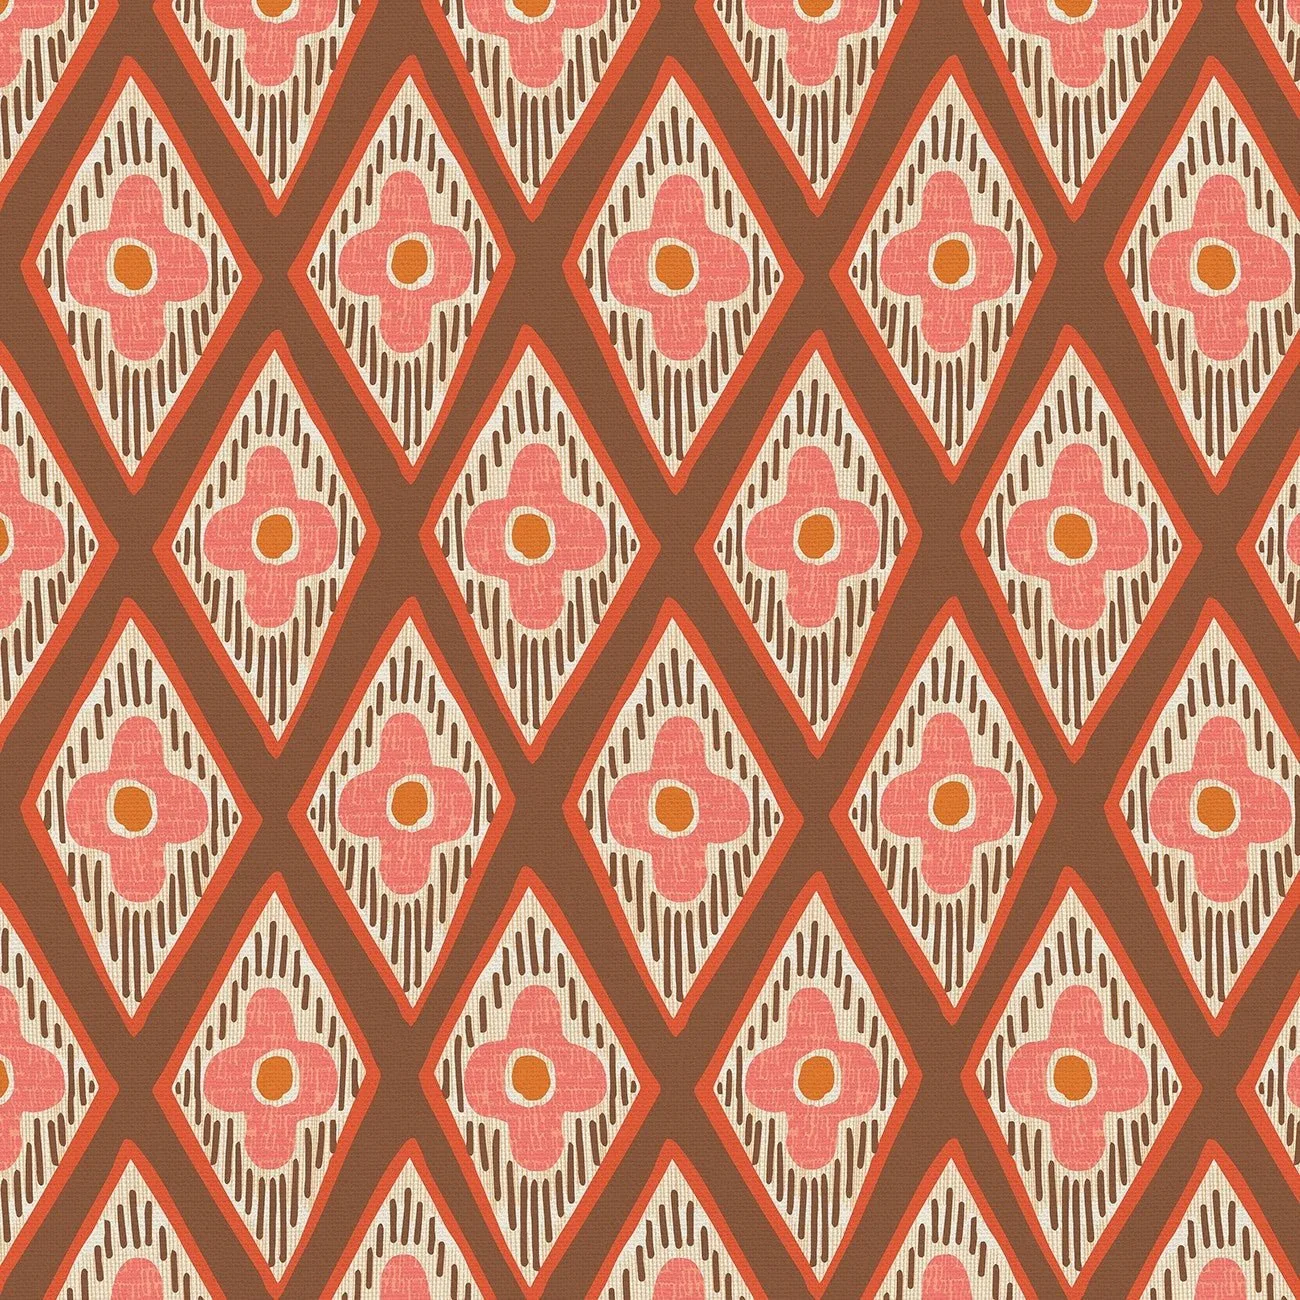
- Pacific Brown Organic Canvas from Belize by Lauren Poole for Paintbrush Studio Fabric: A medium-weight canvas that's versatile and lightweight enough to be used for sewing apparel and more. Canvas has a clear, stable weave, making it easy to see and align the grain—great for practicing grain identification and for projects that require structure.
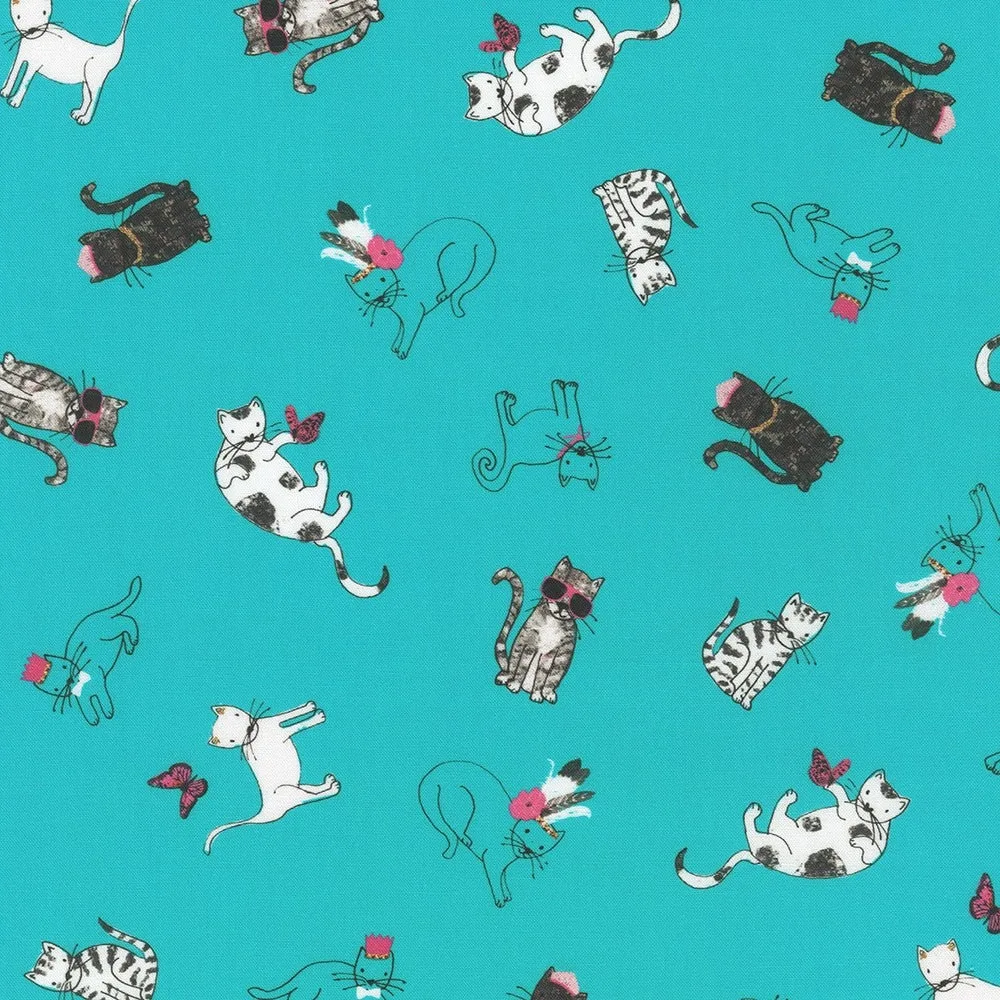
- Cats Teal from Fancypants by World Art Group for Robert Kaufman: 100% cotton, 44'' wide, 4.3 oz. per square yard. This quilting-weight cotton is ideal for projects where grain alignment affects drape and seam accuracy, such as garments and quilts.
- Olive from POParazzi by Riley Blake Designs: 100% cotton, 43"/44" wide, features tiny tone-on-tone squares. The subtle grid pattern can help you visually identify the straight grain, making it a good choice for beginners learning to align pattern pieces.
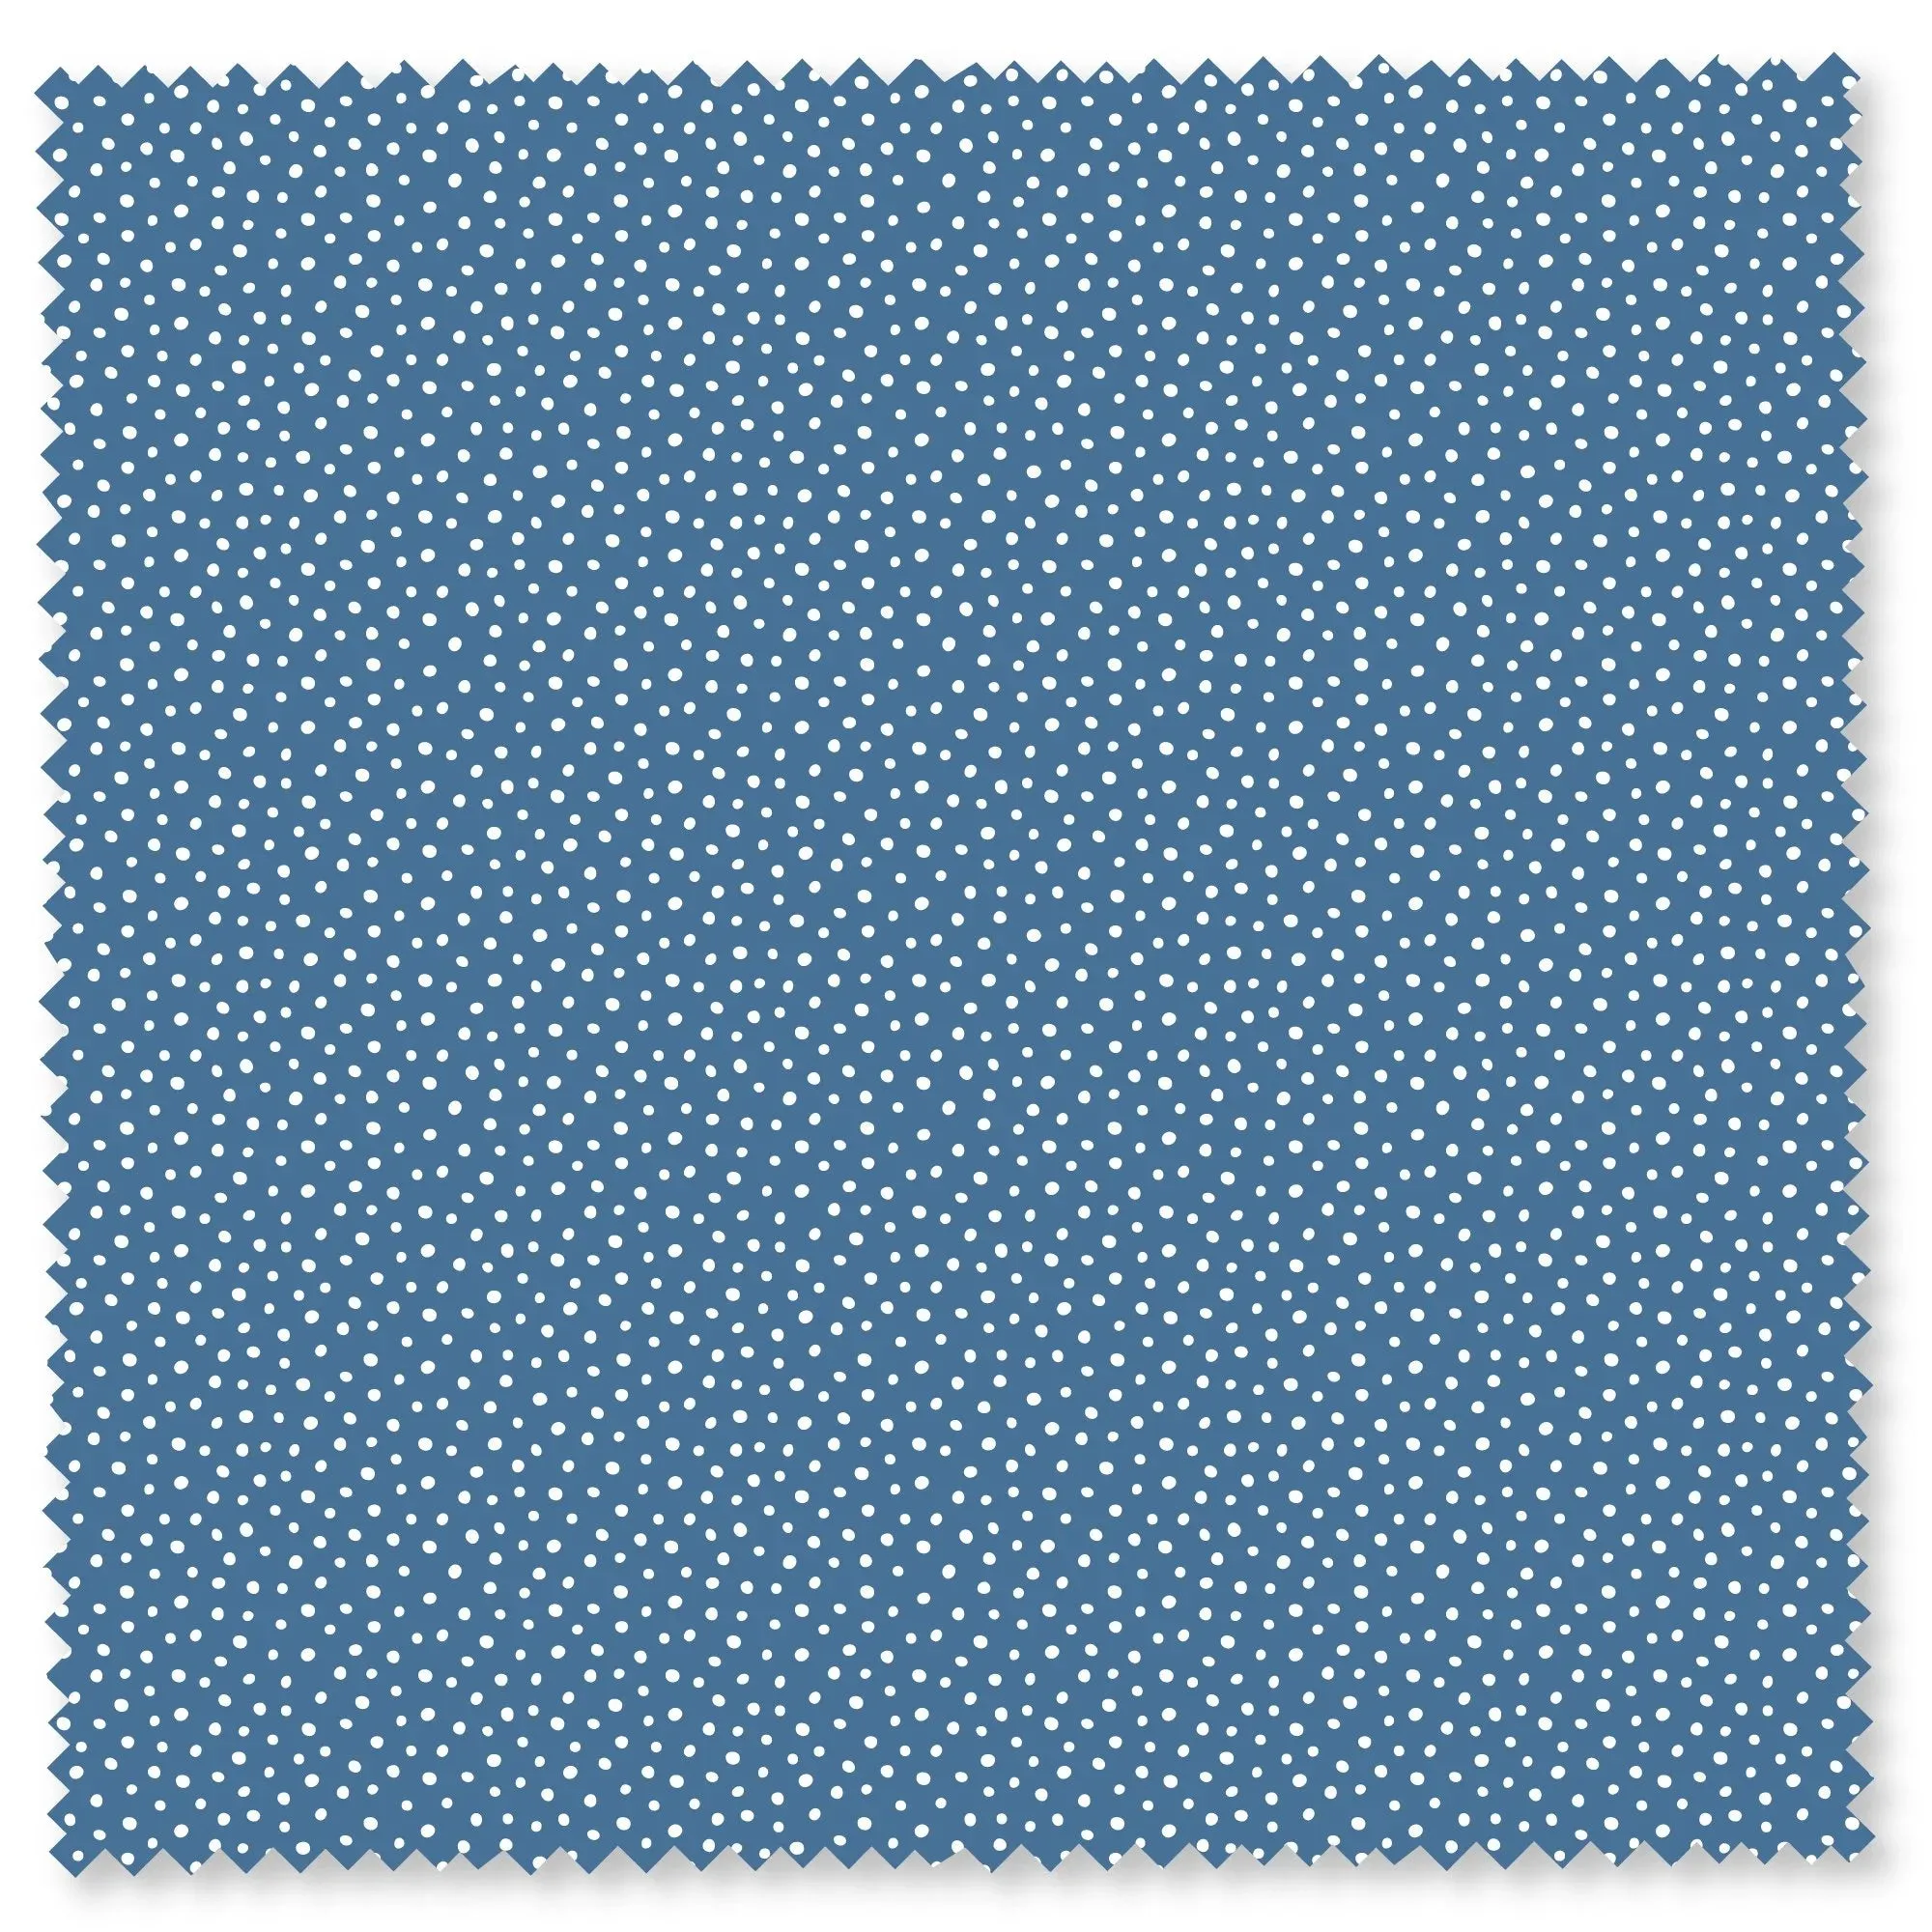
- Blue from Speckles by Felicity Fabrics: 100% cotton, 43"/44" wide, OEKO-Tex certified, printed or dyed with low impact dyes. This blender fabric is perfect for quilting and apparel, and its certification ensures it's safe for you and the environment. The speckled design can help mask minor grain misalignments in busy quilts.
Understanding fabric grain is a foundational skill that pays off in every project. By taking the time to identify and align grain, you'll sew garments that fit better and quilts that lie flat. Remember, the grainline is your guide—respect it, and your sewing will improve dramatically.