Quick answer
A 4-way CO2 splitter lets you run CO2 from one cylinder to up to four aquariums, each with its own flow adjustment. The key is to install it after your primary regulator and tune each needle valve individually.
Why use a splitter instead of separate CO2 kits?
Running multiple planted tanks often tempts you to buy a separate CO2 cylinder and regulator for each one. That gets expensive fast and eats up floor space. A 4-way splitter lets you share one high-pressure cylinder across several tanks, cutting equipment costs and simplifying maintenance. The trade-off is that all tanks share the same gas source, so if the cylinder runs empty, every connected tank loses CO2 at once. A solenoid valve on the primary regulator can automate shut-off, but you still need to monitor the cylinder pressure.
What you need before you start
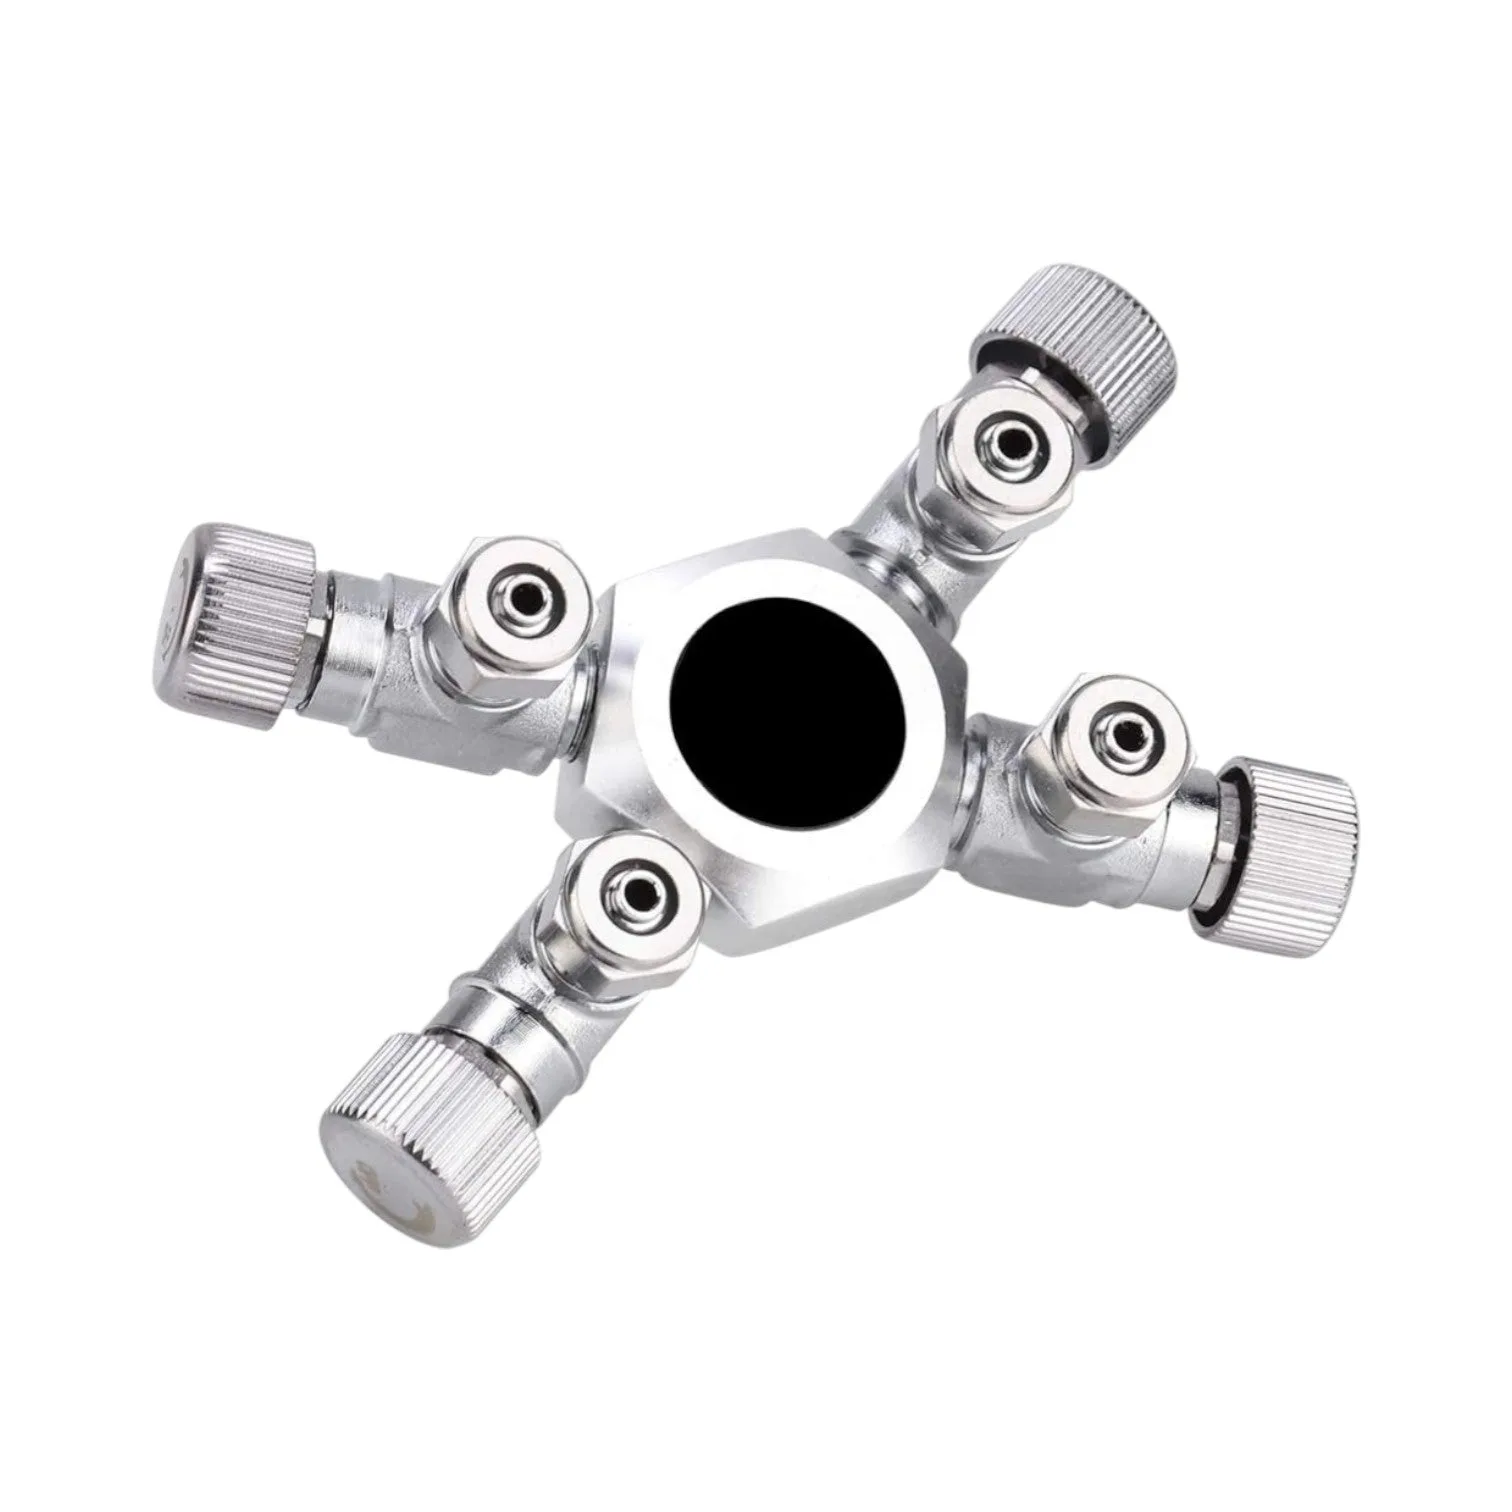
You will need a CO2 cylinder with a primary regulator (preferably with a solenoid), the 4-way splitter, four sets of CO2 tubing (4–6 mm inner diameter), and a check valve for each line to prevent backflow. The Castle Dawn Aquatics 4-Way CO2 Splitter is made from stainless steel and aluminium alloy, so it handles high pressure without leaking. It comes with a free extension rod that gives you extra mounting flexibility.
Step-by-step setup
- Mount the splitter securely: Attach the splitter to a stable surface near your CO2 cylinder using the supplied extension rod or a bracket. Make sure it is upright so the needle valves are easy to reach and read. A loose splitter can cause tubing kinks or accidental valve movement.
- Connect the splitter to the regulator: Use a short length of 4–6 mm CO2 tubing to connect the output of your primary regulator to the input barb on the splitter. Push the tubing firmly over the barb and secure it with a tubing clamp if your system uses one. Check that the tubing is fully seated; a partial connection will leak CO2.
- Run individual lines to each aquarium: Cut four separate lengths of CO2 tubing, each long enough to reach from the splitter to the diffuser or reactor in each tank. Attach one end to an output barb on the splitter and the other end to a check valve, then to the diffuser. Always install a check valve between the splitter and the diffuser to prevent water from siphoning back into the splitter.
- Tune each needle valve: Open the CO2 cylinder and set your primary regulator to your usual working pressure (typically 30–50 psi). Then, one valve at a time, slowly turn the knob to increase flow until you see the desired bubble rate in that tank’s drop checker. Repeat for each valve. Adjust only one valve at a time, and wait 30 seconds between adjustments to let the flow stabilize.
- Leak-test every connection: Mix a small amount of dish soap with water and brush the solution over every joint: regulator-to-splitter, splitter-to-tubing, and tubing-to-check-valve. If you see bubbles forming, tighten the connection or re-seat the tubing. Never use a flame to test for CO2 leaks; the soapy water method is safe and reliable.
- Monitor and adjust over time: Check the bubble rate in each tank weekly. As plants grow or you change the water volume, you may need to tweak one or more valves. Also watch the cylinder pressure gauge so you know when to refill. A sudden drop in bubble rate across all tanks usually means the cylinder is nearly empty.
Product facts
-
CO2 Splitter – 4-Way Needle Valve with FREE Extension Rod: Made from durable stainless steel and aluminium alloy, each needle valve allows precise control over individual CO2 flow rates. You can fine-tune CO2 delivery to each tank independently, which is critical when tanks have different plant loads or water volumes.
CO2 Splitter – 4-Way Needle Valve with FREE Extension Rod