Quick Answer
Magnetic plant tags simplify seedling organization by letting you label seed trays directly on metal garden beds or insert them into soil, making plant identification quick and reusable.
Why Magnetic Tags Work for Seedlings
Magnetic plant tags eliminate the need for sticky labels or permanent markers that fade. They attach securely to metal garden beds, so you can label multiple seed trays without clutter.
One trade-off is that they require a metal surface for the magnetic attachment; if your setup is all plastic or wood, you'll need to use the soil stake option instead.
Steps to Organize Seedlings with Magnetic Plant Tags
- Prepare Your Tags: Write the plant name and sowing date on each magnetic tag using a permanent marker or pencil. For seed trays, use the soil stake method by pushing the tag into the potting mix. Avoid using water-soluble markers; they can smudge when the tag gets wet.
- Attach Tags to Metal Beds or Trays: If your seed tray sits on a metal garden bed, snap the magnetic side of the tag onto the bed frame near the tray. For standalone trays, insert the tag into the soil at the edge of the cell. Make sure the tag is placed where it won't be shaded by leaves, so you can read it easily.
- Group and Rotate Tags for Efficiency: Arrange tags in the same order as your seed tray layout—left to right or front to back. When you transplant seedlings, move the tag with the plant to its new location. Don't leave tags on empty trays; collect and store them in a dry place to prevent rust on the metal backing.
Product Facts
-
Magnetic Plant Tag - 10 Pack: Two Ways to Label. One Smart Tag. This tag works wherever you grow—snap it onto a metal garden bed or stick it straight into the soil. No tools, no fuss, just simple, smart labeling that moves with your garden. You can reuse the same tags across seasons, moving them from seed trays to raised beds without buying new labels.
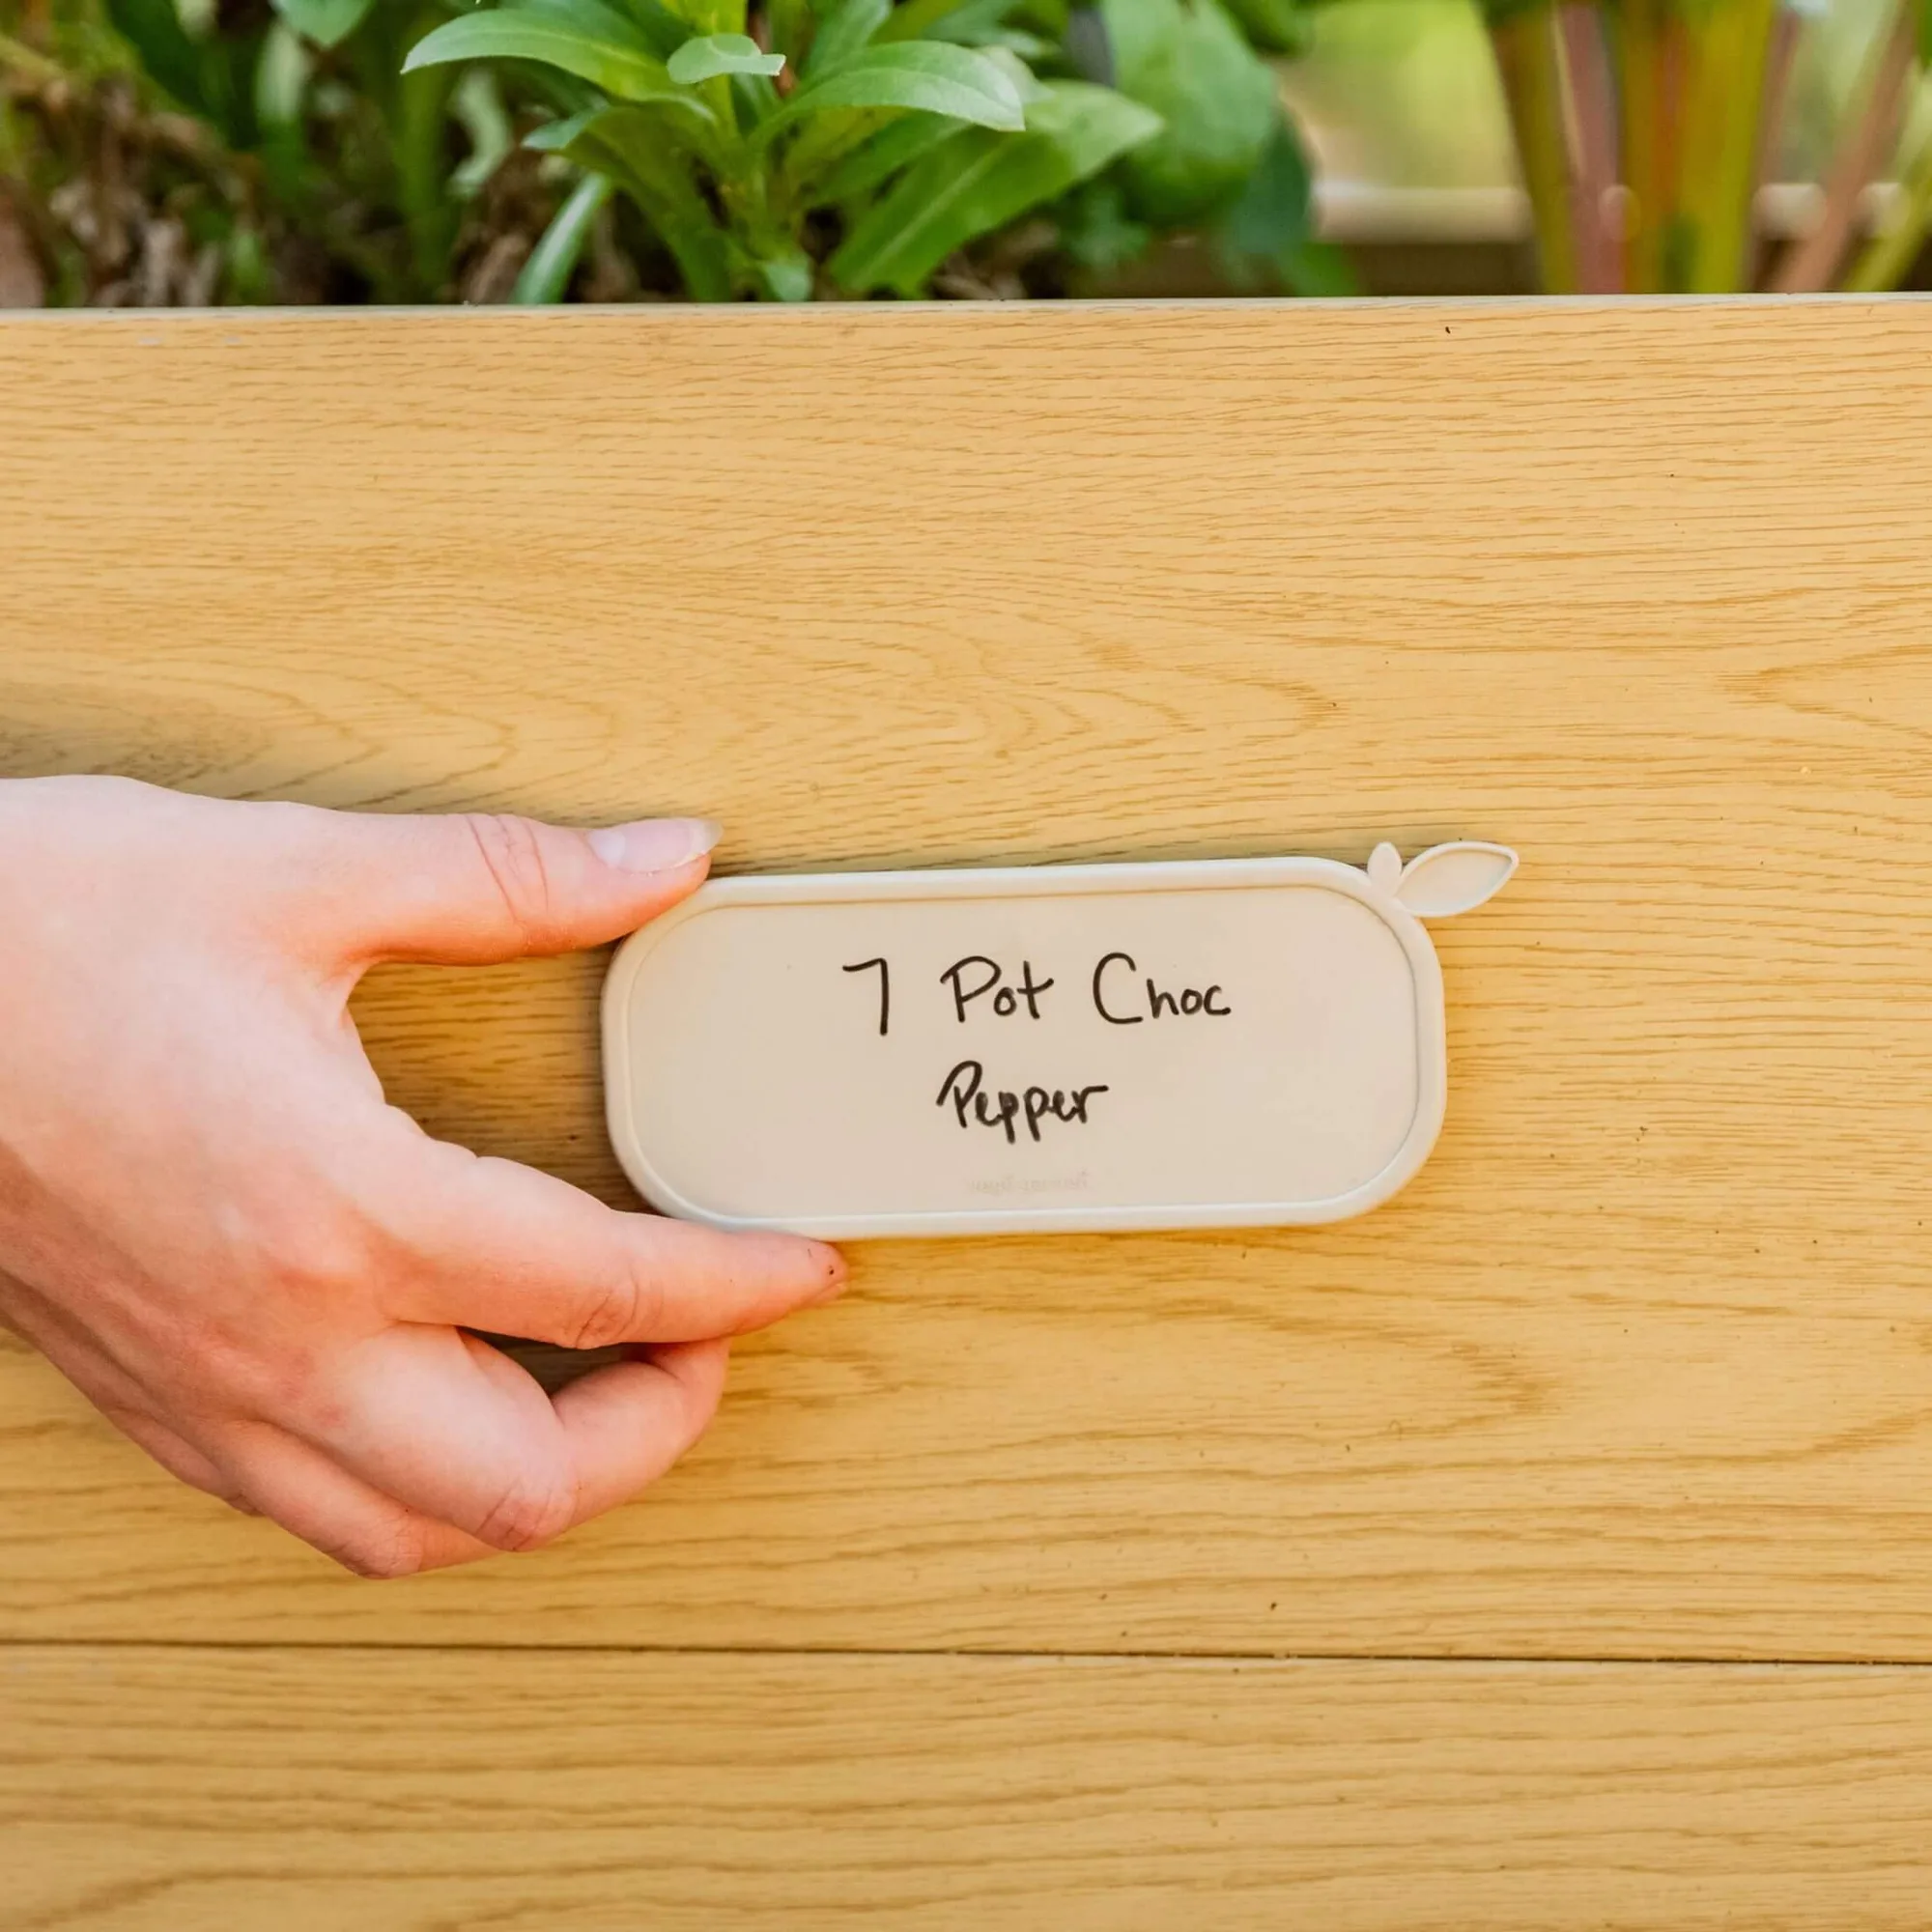
Magnetic Plant Tag - 10 Pack