Quick answer
Use a walking foot (also called an even feed foot) for straight-line quilting, binding, and sewing slippery or thick layers because its upper feed dogs move the top fabric at the same rate as the bottom. Use a standard presser foot for everyday seams, zippers, and detailed work where you need to see and pivot. Switch to free motion quilting when you want to move the fabric in any direction for stippling or meandering.
If you have ever finished a quilt top only to watch the backing pucker or the layers shift, the foot on your machine is the likely culprit. A standard presser foot only feeds fabric from below, so the top layer can drag. A walking foot adds upper feed dogs that grab the top layer and move it in sync with the bottom, keeping everything aligned.
This comparison explains the practical differences between a walking foot and a standard presser foot, when to switch, and where free motion quilting fits in. You will also see how a few well-chosen notions, like a magnetic pin dish and a needle twister, make foot changes faster and less fiddly.
How each foot feeds fabric
A standard presser foot holds fabric against the feed dogs, which pull only from underneath. That works fine for stable woven cottons on simple seams. But when you layer a quilt sandwich or sew vinyl, the top layer can lag, causing tucks and uneven stitch length. A walking foot has a built-in set of upper feed dogs that rise and fall with the needle, gripping the top layer and moving it at the same speed as the bottom. This synchronized feed is why it is often called an even feed foot.
The trade-off is visibility and maneuverability. A standard foot is narrow, so you can see exactly where the needle will land and pivot at corners. A walking foot is bulkier and its mechanism sits to the right of the needle, which can block your view for intricate piecing or tight curves. For those tasks, the standard foot wins. For long straight seams on multiple layers, the walking foot wins.
- Test your machine's feed: with a standard foot, gently tug the top layer while sewing a scrap. If it slides independently, a walking foot will help.
When to use a walking foot
Reach for the walking foot when you are quilting straight lines, attaching binding, or sewing any project with two or more layers that tend to shift. It is also the go-to for fabrics that are slippery, stretchy, or thick, such as knits, vinyl, and laminated cotton. If you are quilting with a walking foot, you can stitch in the ditch, echo seams, or create a grid pattern without the layers creeping apart.
A walking foot is not just for quilting. It helps when topstitching a bag strap, sewing a long hem on a trench coat, or attaching a zipper to a thick fabric. The even feed keeps the zipper tape from rippling. For these tasks, you may need to adjust the presser foot pressure or use a slightly longer stitch length, but the foot itself does most of the work.
- Always lift the walking foot's lever when you are not sewing to avoid flattening the feed dogs.
When a standard foot is the better choice
The standard presser foot is the default for a reason. It gives you the clearest view of the needle, which is essential for piecing small quilt blocks, sewing curves, and inserting invisible zippers. It is also lighter and faster to change. For simple seams on stable fabric, a walking foot adds bulk without benefit, and it can actually make it harder to pivot at corners.
If your project involves a lot of stopping, pivoting, and precise seam allowances, stay with the standard foot. Use it for garment construction, bag linings, and any time you need to see exactly where the needle will enter the fabric. Save the walking foot for the steps where layers misbehave.
- Keep a standard foot on the machine for piecing, and swap to the walking foot only for quilting or binding.
Walking foot vs. free motion quilting
Free motion quilting uses a special foot (often a darning or hopping foot) and lowers the feed dogs so you can move the fabric in any direction. It is the right choice for stippling, meandering, and any design that requires curves or loops. A walking foot, by contrast, is for straight or gently curved lines where the feed dogs do the work. If you try to free motion with a walking foot, the upper feed dogs will fight your hand movements.
The trade-off is control versus speed. Free motion gives you unlimited design freedom but requires practice to keep stitches even. Walking foot quilting is easier to learn and produces consistent, professional-looking straight lines. Many quilters start with a walking foot for grid quilting, then graduate to free motion for fill patterns.
- If you are new to quilting, master the walking foot first; it is far more forgiving than free motion.
Practical setup and accessories
Changing feet is easier when your notions are organized. A magnetic pin dish keeps pins and needles from rolling away while you swap feet, and a needle twister keeps your spare needles sorted by type. These small tools reduce the friction of switching between a standard foot and a walking foot mid-project.
For a beginner-friendly project that lets you practice with both feet, consider a tote bag kit. You will use a standard foot for the main seams and a walking foot for topstitching the straps and attaching the base. The repetition builds muscle memory for when to switch.
- Label your feet with a paint pen or tape so you can grab the right one without squinting.
Trade-offs at a glance
- Walking foot: even feed vs. visibility: The upper feed dogs keep layers aligned, but the bulky mechanism blocks your view of the needle. Choose it for straight-line quilting and binding, not for intricate piecing.
- Standard foot: precision vs. layer control: You get a clear view and easy pivoting, but only the bottom layer is fed, so top layers can shift. Use it for seams, curves, and zippers on stable fabric.
- Free motion: design freedom vs. learning curve: You can quilt any direction, but you must lower the feed dogs and practice to keep stitches even. Switch to free motion only when you want curved or meandering designs.
Tools that make switching feet easier
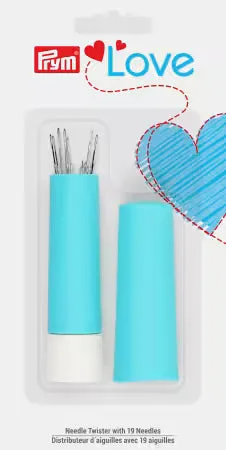
- Prym Love Needle Twister with Needles: Turquoise needle twister holder with magnetic base includes 19 assorted sewing needles. When you switch feet, you often need a different needle for the fabric. This keeps assorted needles organized and ready so you do not lose time hunting for the right one.
- Crafters Dream Magnetic Pin & Needle Dish: Strong magnet, excellent for holding pins, needles, safety pins etc from getting lost. Does not include pins. A magnetic dish keeps pins and needles secure while you change feet or adjust the machine, so you are not crawling under the table for dropped pins.
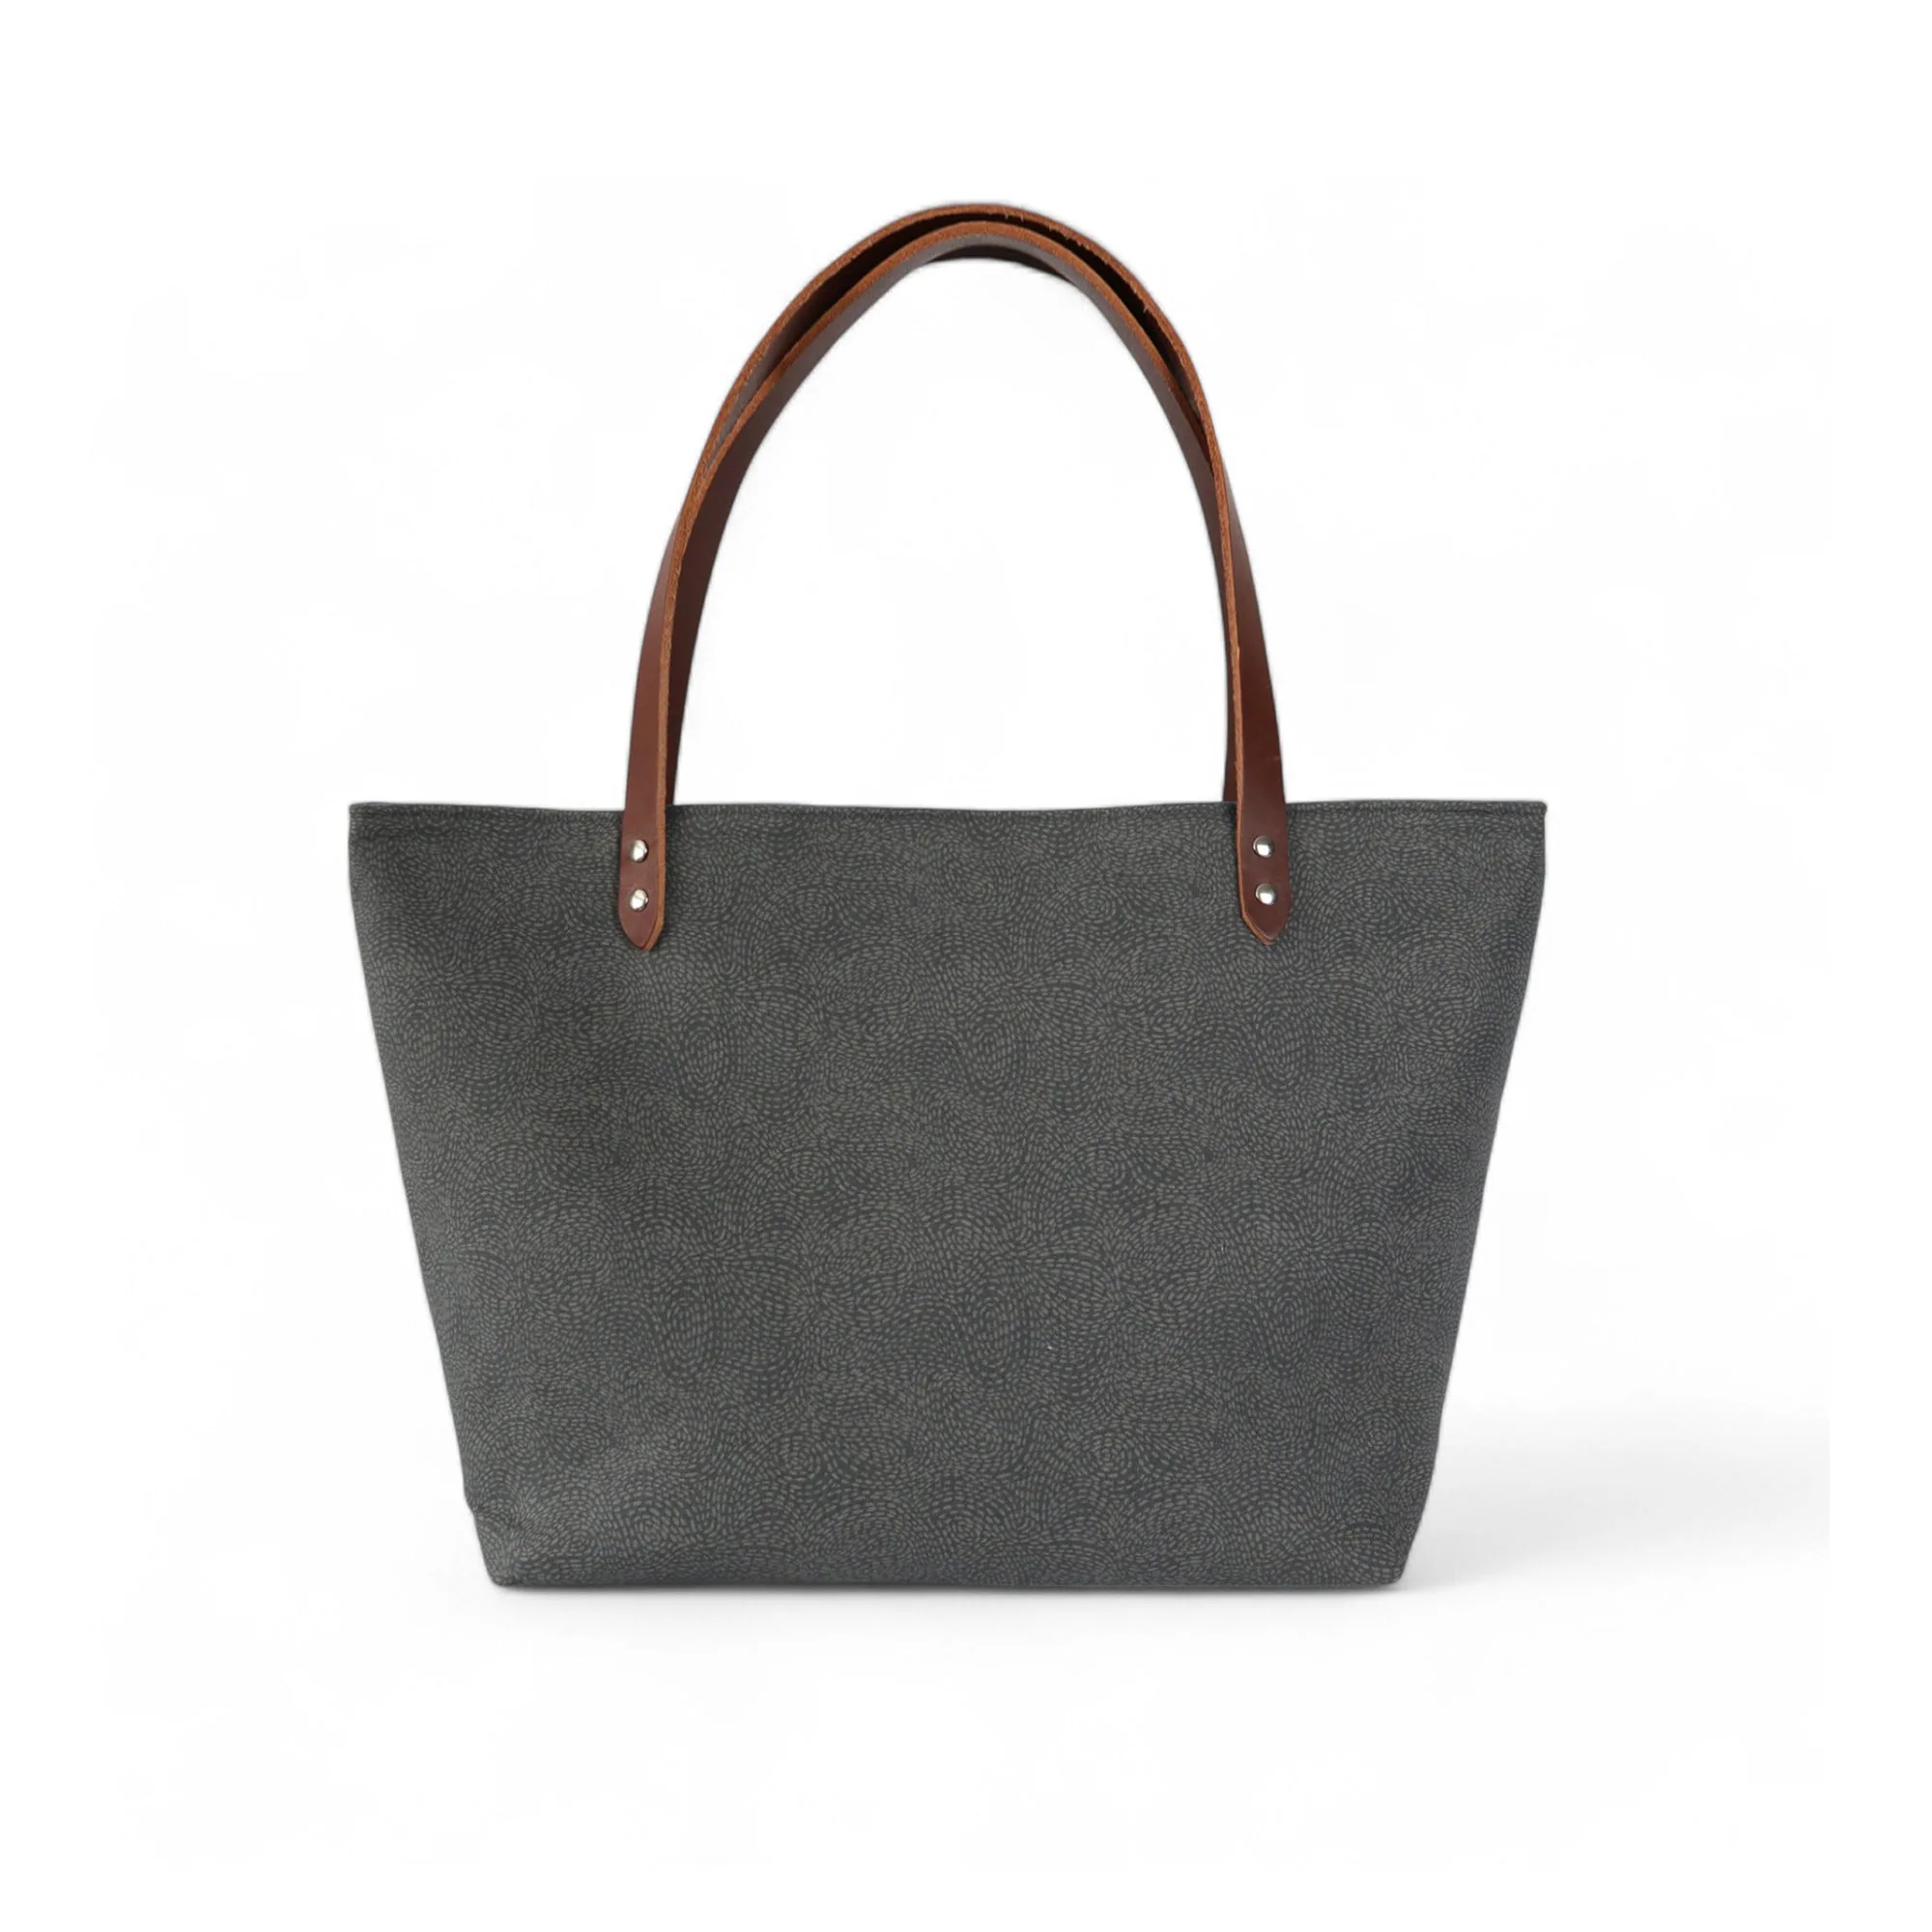
- Market Tote Bag Sewing Kit: Sew your own everyday carryall with this beginner-friendly sewing kit. Designed to be simple, stylish, and functional. This kit gives you a practical project to practice both standard and walking foot techniques, from main seams to topstitching.
Which foot should you use?
Best for
- Quilters sewing straight lines, stitch-in-the-ditch, or binding
- Sewists working with slippery, stretchy, or thick layered fabrics
- Anyone topstitching straps, hems, or zippers on bulky projects
Not for
- Piecing small quilt blocks or sewing tight curves where visibility matters
- Free motion quilting designs that require moving the fabric in any direction
- Simple seams on stable cotton where a standard foot is faster and clearer
The right foot depends on the job. Keep a standard presser foot on your machine for everyday seams and precise work, and switch to a walking foot whenever you need even feed for quilting, binding, or thick layers. For curved or meandering quilt designs, free motion is the answer. With a little practice and a few organizing notions, switching feet becomes second nature.