Quick answer
Most model kit parts snap because of stress from cutting too close to the part or from forcing a joint that has not been test-fitted. Use sharp nippers, leave a small nub, sand flush, and test-fit before pushing parts together. If a part breaks, a clean butt joint can often be repaired with plastic cement or a thin styrene rod splint; if the break is in a load-bearing peg or a clear part, replacement is usually safer.
Symptom: the part snaps while you are cutting it off the runner
This is the most common form of model kit parts breaking. You feel a sudden crack instead of a clean cut, and the break is often jagged or white at the edge. The cause is almost always using dull nippers, cutting flush against the part, or twisting the part off the runner instead of cutting. The plastic is under stress before you even start building.
Corrective action: switch to sharp side cutters and cut the runner in two places so the part is free but still has a small nub. Then trim the nub with a second cut, leaving about 1mm. Finish with a hobby knife or sanding stick. If you already snapped the part, stop cutting and inspect the break. A clean break on a flat surface can be repaired; a break through a thin peg or a clear canopy piece is usually a replacement situation.
Symptom: the part cracks when you push it into a joint
This is a fit problem, not a cutting problem. Snap-fit kits are designed to go together with light pressure. If you need to force a peg into a hole, the peg is too thick, the hole is too tight, or there is paint or a nub left inside the socket. Forcing it spreads the plastic and creates a hairline crack that later becomes a full break.
Corrective action: test-fit every joint before final assembly. If it is tight, sand the peg slightly with fine sandpaper or scrape the inside of the hole with a hobby knife. Never hammer or squeeze. For painted joints, mask the peg or sand the paint off the contact point. If the part already cracked, you can wick thin plastic cement into the crack and clamp it, but the joint will be weaker than original. Consider pinning it with a short piece of brass rod if it bears weight.
Symptom: the part breaks while you are sanding or filing
Sanding is where small parts and thin details disappear. The mistake is pressing too hard or using a coarse grit that grabs the plastic and snaps a thin edge. Another cause is sanding a part that is already attached to a larger assembly, which puts leverage on a small joint.
Corrective action: sand before assembly whenever possible. Use a sanding stick or sponge pad with 600–1000 grit for cleanup, and support the part with your finger behind it. For tight areas, use a hobby knife to scrape instead of sand. If a thin detail snaps off during sanding, stop immediately. Small chips can be reattached with plastic cement; if the piece is lost, you can sometimes reshape the area with putty or hide it with paint. If the broken piece is a structural tab, repair is risky—replace the part or the kit.
Tools that prevent most breaks
You do not need a full workshop, but three tools make a real difference: sharp nippers, a hobby knife with fresh blades, and a set of sanding sticks. Dull nippers tear plastic and cause stress cracks. A dull blade slips and snaps thin parts. Coarse sandpaper removes material too fast and catches edges. Replace blades and sanding sticks when they stop cutting cleanly.
For beginners, avoid cheap wire cutters from a hardware store—they crush plastic instead of slicing it. A basic model kit tools beginner set with side cutters, a knife, and sanding sticks costs less than replacing a broken kit. Add a glass file or a fine sanding sponge for cleanup. Keep a small tray or parts box so dropped pieces do not roll away and get stepped on.
Diagnosis: when to repair, when to stop, and when to replace
- Clean break on a flat, non-load-bearing surface: Align the pieces dry first. If they meet without gaps, apply thin plastic cement to one side, press together, and hold or clamp for 30–60 seconds. Let it cure fully before handling. For extra strength, add a small strip of styrene or a thin rod behind the joint if it will not be visible. Repair is usually reliable here. Check alignment before gluing—once cement sets, repositioning is difficult.
- Crack or break in a peg, ball joint, or hinge: These parts carry movement and stress. Gluing alone often fails because the joint will be moved again. You can pin the break with a short piece of brass rod or a paperclip, drill matching holes, and cement the pin in place. If the peg is hollow or very small, this may not be possible. If the repair feels loose or the part flexes after curing, stop and order a replacement part or kit. A failed joint can damage the surrounding parts.
- Broken clear part or pre-painted face plate: Clear plastic and pre-painted surfaces are difficult to repair invisibly. Cement can fog clear parts, and sanding will remove paint. If the break is on a visible edge, a repair will likely show. If the part is structural and hidden, a careful repair may work. For visible clear or pre-painted parts, replacement is the better choice. Contact the retailer or manufacturer for a parts request if the kit is current.
- Part snapped because of a tight fit or leftover nub: Do not glue the broken part back into the same tight socket. First, find and remove the cause: sand the peg, clean the hole, or trim the nub. Then repair or replace the part. If you skip this step, the same break will happen again. Fix the fit before you fix the part. A repaired part forced into a tight joint will crack again.
What these kits show about part stress
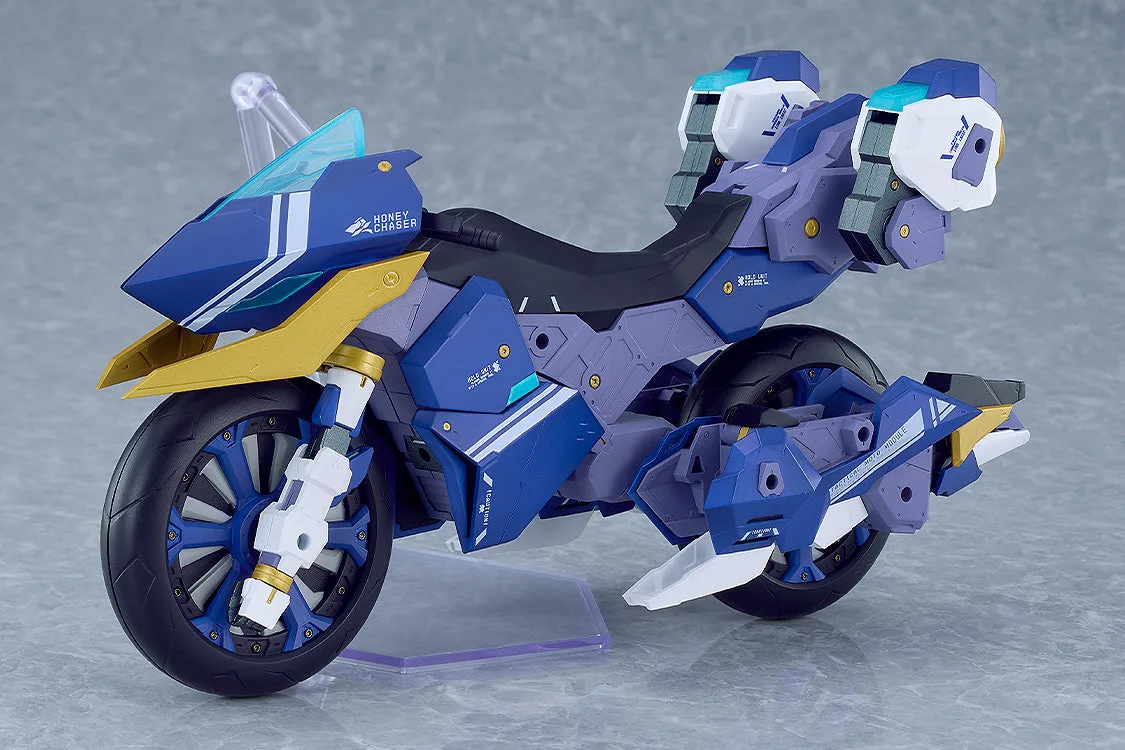
- Cutie Honey Nova - PLAMATEA Honey Chaser Model Kit: PLAMATEA Honey Chaser is approximately 205mm (8.07in) in length and can be displayed with PLAMATEA Cutie Honey (sold separately) riding it, or with a dedicated chest plate part and interchangeable parts. Long, thin parts like motorcycle fairings and handlebars are more likely to flex and snap during sanding or assembly. Support the part from underneath and avoid pressing hard on unsupported sections.
- Fate/Grand Order - PLAMATEA Shielder/Mash Kyrielight (Ortinax) Model Kit: PLAMATEA Shielder/Mash Kyrielight (Ortinax) uses snap-fit connections for easy assembly and includes pre-painted face plates and pre-painted parts. Snap-fit joints are designed to go together without force. If a peg will not seat, stop and check for a nub or paint in the socket instead of pushing harder. Pre-painted parts also mean you should sand carefully near painted surfaces.
- My-Otome HiME - PLAMATEA Arika Yumemiya Model Kit: PLAMATEA Arika Yumemiya stands 140mm in height and is articulated, with interchangeable hand parts, a broom, a bag, and interchangeable skirt parts. Small interchangeable parts and articulated joints are the most common break points. Keep them in a tray when not in use, and test-fit hands and accessories before pushing them onto pegs.