Quick answer
Model kit pegs usually break because of stress from tight fits, brittle plastic, or repeated assembly and disassembly. For a clean snap, pin the peg with a brass rod and glue it back; for a shattered joint, replace the part or use a polycap substitute. Reinforce load-bearing pegs before they fail, and stop if the plastic is crumbling or the peg is part of a moving joint that needs articulation.
Symptom: The peg snapped cleanly at the base
A clean break leaves two matching surfaces and often a small white stress mark. This happens when the peg was forced into a socket that was too tight, or when the plastic has aged and lost flexibility. The fix is straightforward: drill a 0.5–1 mm hole into both halves, insert a short length of brass rod or a paperclip, and glue with cyanoacrylate or epoxy. Let it cure fully before test-fitting. If the peg is in a high-stress area like a shoulder or hip, add a thin layer of super glue around the repaired joint to reinforce it.
Symptom: The peg shattered or crumbled
Shattering usually means the plastic is brittle, often from UV exposure, cold, or a manufacturing defect. You cannot reliably glue crumbling plastic back together. Instead, remove the remaining peg material, drill out the socket, and replace the peg with a metal pin or a 3D-printed part. If the broken peg is part of a moving joint, a polycap or ball-joint replacement may be a better option. For a permanent fix, consider using a metal frame or aftermarket joint set if available for your kit.
Symptom: The peg is stuck inside the socket
A peg that won't come out often breaks when you try to twist or pull it. Before forcing anything, apply a small amount of silicone oil or dish soap to the seam and wait a few minutes. If that fails, carefully drill into the peg from the outside and use a small screw extractor or a pin vise to pull it out. Never use heat unless you are prepared to reshape the plastic. Once removed, clean the socket and test-fit a replacement peg before gluing.
Prevention: Reinforce before you build
The best time to reinforce a peg is before assembly. For load-bearing joints, sand the peg slightly to improve glue adhesion, then wrap a thin layer of plumber's tape or apply a drop of super glue to thicken it. For joints that need to move, use a polycap or a metal replacement. When building a kit with a known weak joint, consider adding a metal frame or aftermarket accessories that distribute stress. Always test-fit parts without glue first, and never force a peg into a socket.
When to stop and replace instead
If the peg is part of a complex moving mechanism, or if the plastic is visibly crumbling, repair may not hold. In those cases, replacing the part or using a dedicated joint set is more reliable. For kits with limited replacement parts, a metal frame or a compatible accessory set can provide a stronger alternative. If you cannot find a replacement, consider displaying the kit in a fixed pose rather than risking further damage.
Diagnosis: Match the break to the fix
- Clean snap at the base: Two matching surfaces, often with a stress mark. Drill and pin with brass rod, then glue with cyanoacrylate or epoxy. If the peg is in a high-stress area, reinforce with a thin layer of super glue after curing.
- Shattered or crumbling peg: Plastic is brittle or defective. Gluing won't hold. Remove remaining material, drill out the socket, and replace with a metal pin or polycap. If the peg is part of a moving joint, use a ball-joint replacement or aftermarket joint set.
- Peg stuck in socket: Apply silicone oil or dish soap to the seam. If that fails, drill into the peg and use a pin vise or screw extractor to remove it. Never force or twist a stuck peg—that's how it breaks.
- Prevention for load-bearing pegs: Sand the peg slightly, wrap with plumber's tape, or apply a drop of super glue to thicken it. Test-fit without glue first. For joints that need to move, use a polycap or metal replacement instead.
- When to stop and replace: If the plastic is crumbling or the peg is part of a complex mechanism, repair may not hold. Replace the part or use a metal frame. If no replacement is available, display the kit in a fixed pose to avoid further damage.
Products that can help with peg repairs
- Flame Model Zodiac Chenlong Dragon Metal Frame LED Model Kit: Flame Model Zodiac Chenlong Dragon Metal Frame LED Model Kit includes a metal frame for added stability and detail. A metal frame can replace or reinforce weak plastic joints, reducing the chance of peg failure in load-bearing areas.
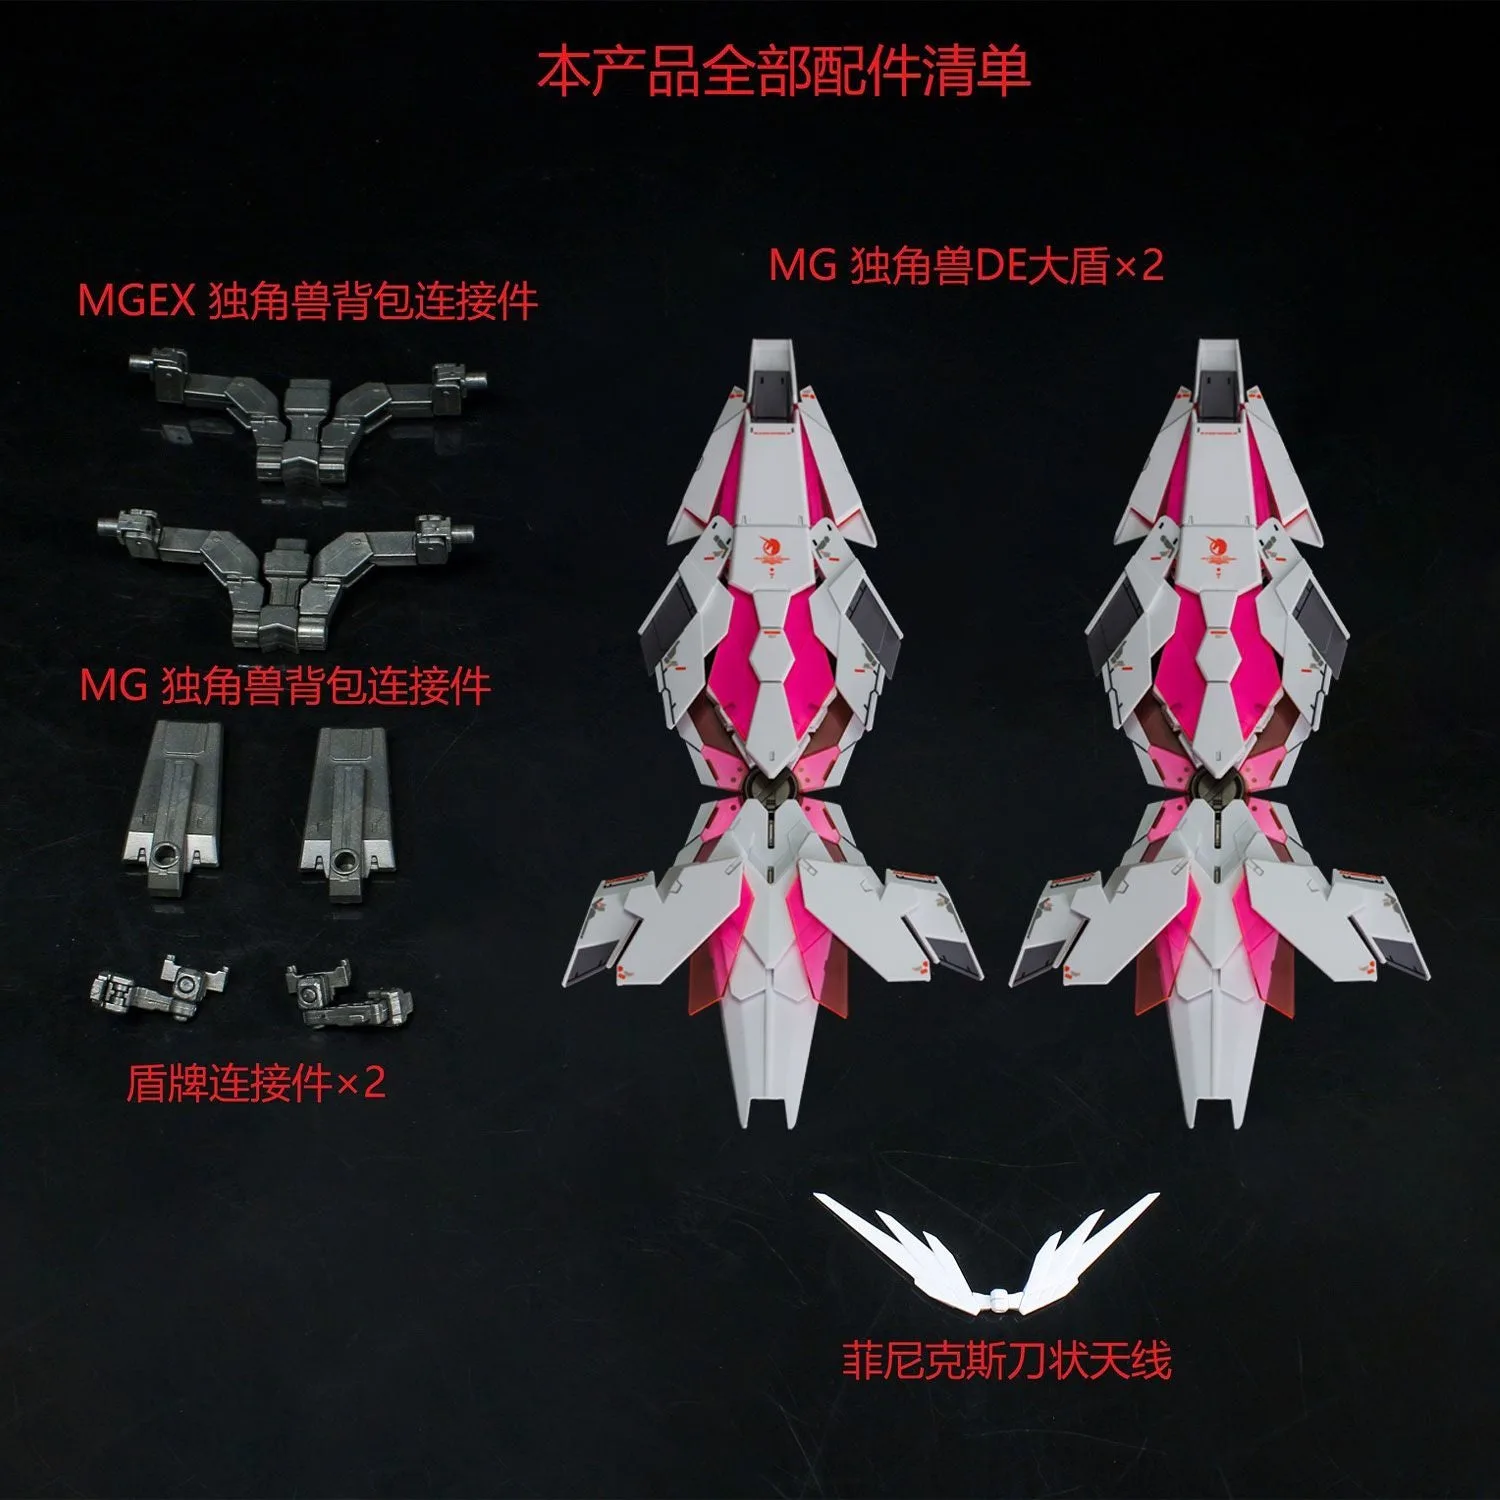
- EW 1/100 DE Shield Set: EW 1/100 DE Shield Set is compatible with 1/100 scale model kits (MG-style) and comes in three color options: Unicorn Pink, Unicorn Green, or Banshee Yellow. This accessory set provides a shield option that can be used to customize your display, and its connection points may offer alternative mounting solutions if a peg is damaged.