Quick answer
Most loose pocket-hole joints fail for one of three reasons: the screw stripped its threads in the wood, the joint was never clamped tight while driving, or the screw was the wrong length or type for the material. Fix a loose joint by removing the screw, checking the hole for tear-out, and re-driving a slightly longer or coarser-thread screw into fresh wood. If the hole is wallowed out, drill a new pocket hole offset from the old one and plug the abandoned hole.
Start by confirming the joint is actually loose
Before you reach for a screwdriver, test where the movement is. Grip both parts and try to open the joint by hand. If the joint flexes but the screw head stays put, the screw is holding and the wood around it is compressing or the two faces were never flush. If the screw head spins freely or backs out under light pressure, the threads have failed in the wood and the screw needs to come out. That distinction decides whether you re-clamp and re-drive or replace the fastener entirely.
- Flexes but stays attached: clamping or alignment problem.
- Head spins or backs out: stripped threads, replace the screw.
- Joint opens at the seam only: the faces were not flush when driven.
- Creaks under load but holds: wood movement, not a fastener failure.
Why pocket-hole screws strip wood
A pocket-hole screw strips when the threads cannot bite enough material to hold. In softwoods and plywood, a fine-thread screw can tear through the grain instead of cutting into it. In hardwoods, driving a coarse-thread screw without a pilot can split or crush the surrounding fibers. Over-tightening does the same damage: once the head seats, another quarter turn can shear the threads out of the wood.
The fix is to match thread type to material and stop driving as soon as the head seats flush. If the hole is already stripped, back the screw out, vacuum the debris, and drive a screw one size longer so the threads engage fresh wood below the damaged section. Do not simply drive the same screw deeper; it will strip the same hole again.
- Fine threads for hardwoods, coarse threads for softwoods and plywood.
- Stop at flush; do not torque past the seated head.
- A longer screw reaches undamaged wood beneath the stripped zone.
- If the hole is wallowed out, drill a new pocket hole nearby.
Clamping and setup errors that look like screw failure
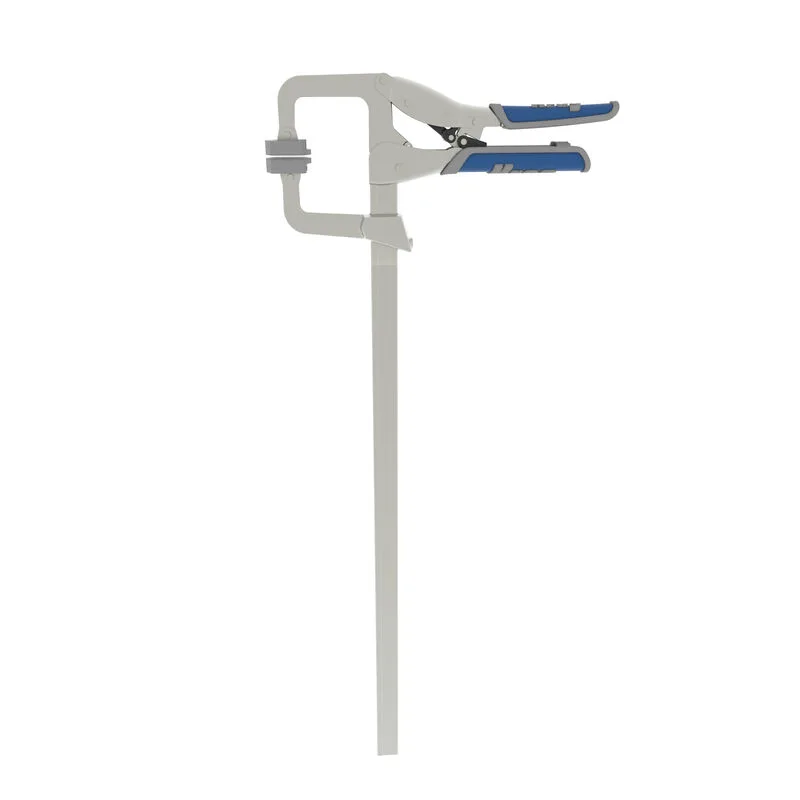
A joint that was never clamped tight will open even with a perfect screw. The clamp has to hold the two faces flush while the screw pulls them together, and it has to stay on until the screw is fully seated. If the pieces shift during driving, the screw enters at an angle and the joint never closes completely. Check that the jig is set for the actual material thickness and that the drill bit stop collar is locked, because a hole drilled too deep or too shallow changes how the screw engages the second piece.
- Clamp the joint closed before driving, not after.
- Keep the clamp on until the screw is seated.
- Verify the stop collar is tight; a slipping collar changes hole depth.
- Re-check jig thickness setting whenever you change stock.
When to repair and when to replace the joint
Repair makes sense when the surrounding wood is intact and only the screw hole is damaged. Replace the joint when the wood itself has split, when the pocket hole has torn out the side of the board, or when the part is structural and you cannot verify the repair holds under load. For furniture that carries weight or anything that will be handled daily, a new pocket hole offset from the failed one is more reliable than trying to salvage the original hole. Plug the old hole so it does not collect finish or catch on hands.
- Repair: intact wood, damaged screw hole only.
- Replace: split wood, torn-out pocket, or structural load.
- Offset a new pocket hole rather than reusing a wallowed hole.
- Plug abandoned holes for a clean finish.
Diagnosis: match the symptom to the fix
- Screw spins freely in the hole: The threads have stripped the wood. Back the screw out, clear debris, and drive a screw one size longer so it bites fresh material. If it spins again, drill a new pocket hole offset from the old one. Stop if the wood around the hole is split or torn out; replace the joint instead.
- Joint opens at the seam but the screw holds: The faces were not flush when driven. Re-clamp the joint closed, check the jig thickness setting, and re-drive the screw. If the screw will not pull the joint closed, the hole depth is wrong. Stop if re-clamping does not close the seam; the pocket hole may be drilled at the wrong depth.
- Screw backs out over time: Usually a thread-type mismatch or wood movement. Switch to the correct thread for the material and confirm the screw length suits the stock thickness. Stop and choose another joinery method if the part is structural and the joint keeps loosening after a correct repair.
Tools and parts that prevent loose joints
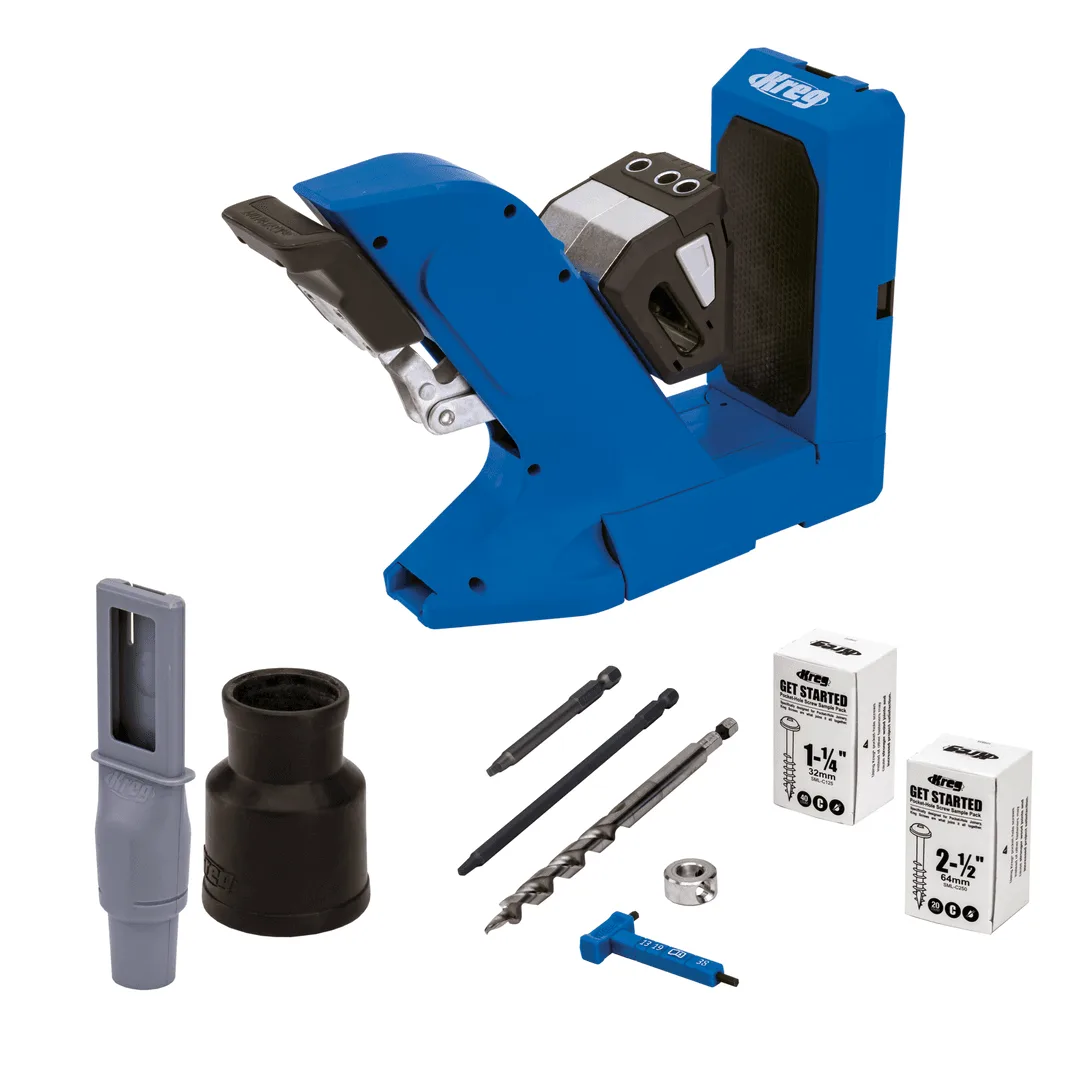
- Kreg® Pocket-Hole Jig 720 Systainer SET: Automaxx dual-action clamping automatically clamps and adjusts to the proper material thickness, and the GripMaxx anti-slip clamping surface holds material in place. Consistent clamping pressure is the single biggest factor in keeping a pocket-hole joint tight, so a jig that clamps and holds material correctly removes the most common cause of loosening.
- Zinc Pocket-Hole Screws: Zinc screws offer adequate rust protection and are an affordable choice for indoor projects with limited exposure, available in a variety of sizes, thread options, and head styles. Matching thread type and length to your material is how you avoid stripping; having the right size on hand means you can swap to a longer screw instead of re-driving a failed one.
- Micro™ Solid-Wood Pocket-Hole Plugs--Oak: Micro solid-wood plugs are trimmable and designed for materials from 1/2 in. to 1-1/2 in. When you abandon a stripped pocket hole and drill a new one, plugs let you close the old hole cleanly so the repair does not show.