Quick answer
Your first wood burning project should be a small practice board, not a finished gift. Set up your wood burning tool set, test the heat on scrap wood, and burn a simple design using light, repeated strokes. Stop while the lines still look clean, then sand and seal only after the wood has cooled.
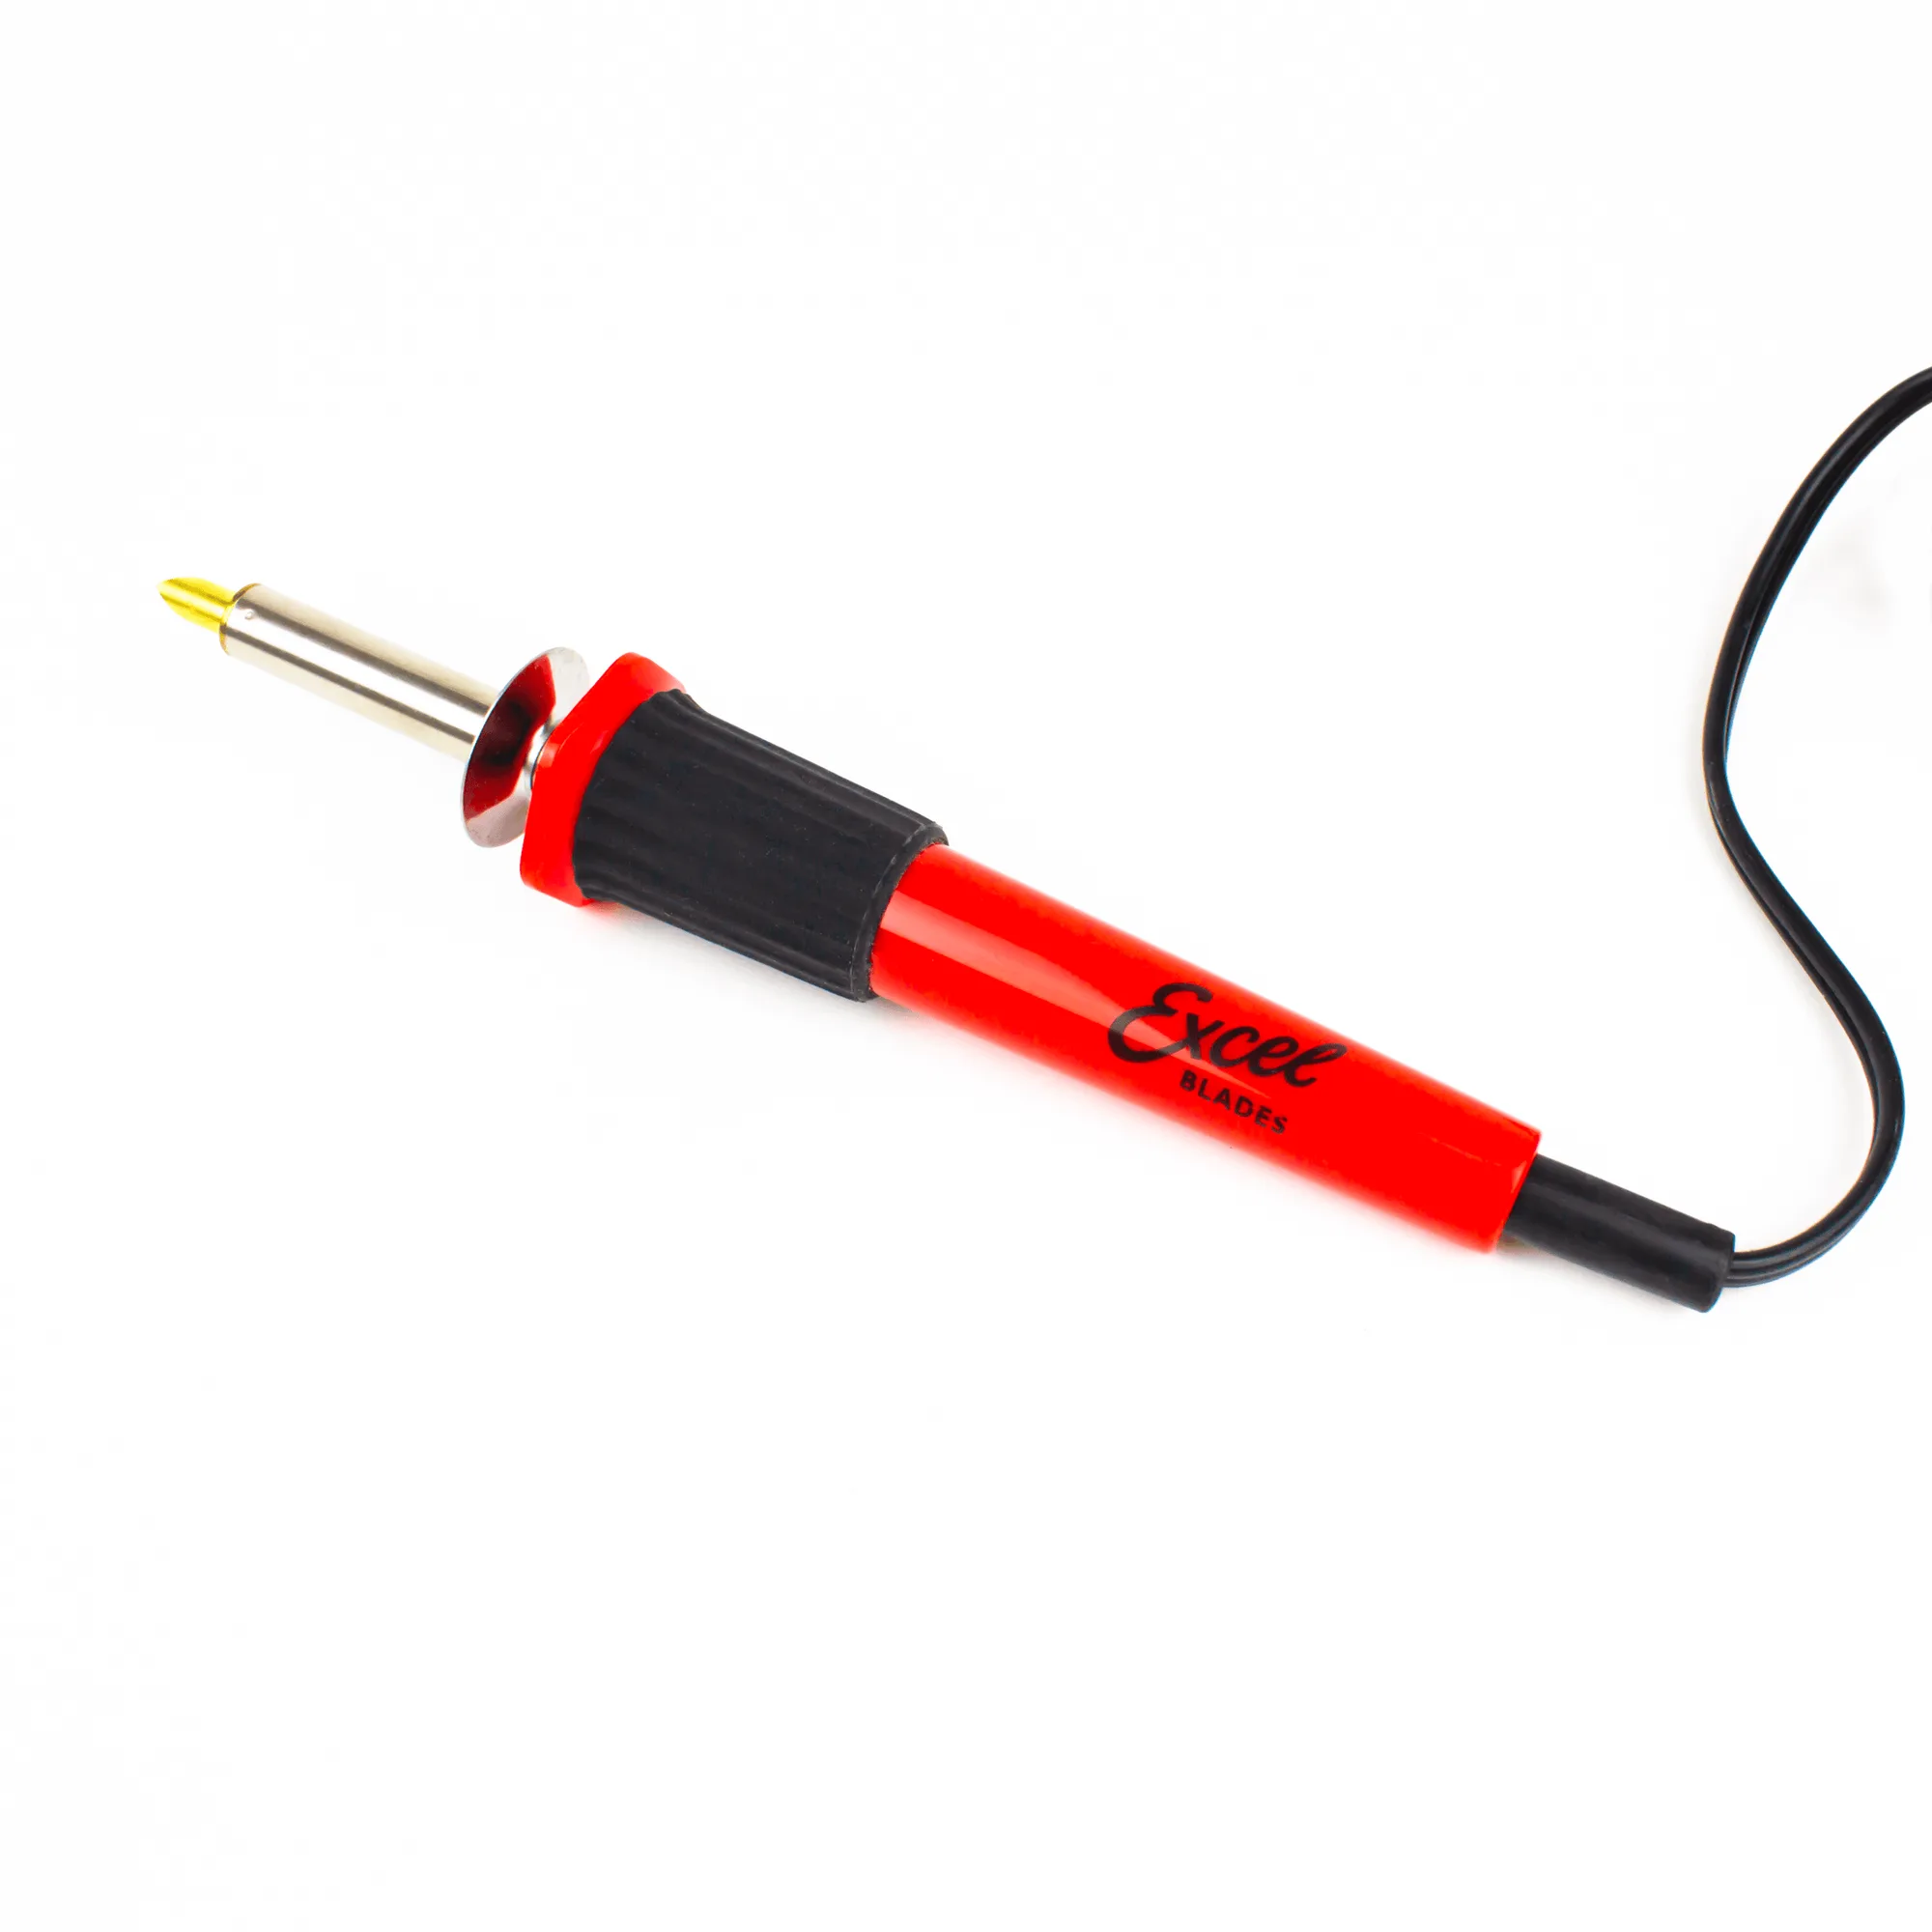
wood burning tool set
A wood burning tool set can feel intimidating when you first unbox it, but the fastest way to learn is to treat your first session as a test run. Pick a small, flat piece of wood, choose one simple design, and give yourself permission to make practice marks before you commit to a finished piece.
This beginner pyrography project walks through the full sequence: preparing the wood, setting up your tool, burning clean lines, and finishing the surface. Each step includes the mistake that most often ruins a first attempt, so you can avoid it instead of learning the hard way.
What you need before you burn
Keep the supply list short. You need a wood burning tool, a smooth piece of untreated wood, a pencil, a printed or hand-drawn template, sandpaper in a fine grit, and a clean, heat-safe work surface. A small scrap of the same wood is essential for testing temperature before you touch your project piece.
Avoid wood that has been stained, painted, or pressure-treated. Those finishes can release fumes when heated and can clog the tip. If you are unsure whether a scrap is safe, set it aside and use a fresh piece of basswood, birch, or poplar instead.
- Work in a ventilated area and keep a fire-safe surface under the wood.
- Have a damp cloth or metal tray nearby to rest the hot tool safely.
Prepare the wood and transfer your design
Sand the wood with the grain until the surface feels smooth, then wipe away dust with a dry cloth. A rough surface will catch the tip and create jagged lines, so this step directly affects how controlled your burning feels.
Transfer your design with a pencil, or draw it freehand if it is simple. Keep the first design to a few bold shapes or letters rather than fine detail. Light pencil lines are easier to cover with burn marks, and a simple design gives you more chances to practice consistent strokes.
- Checkpoint: if you can feel ridges with your fingertip, sand a little more before burning.
Set up and test the tool
Install the tip according to your tool's instructions and let it heat fully before you touch wood. Heat times vary by tool, so read the manual rather than guessing. Once it is hot, press the tip lightly onto your scrap wood and count one second to see how dark the mark becomes.
If the line is pale, let the tool heat longer or use a slightly slower stroke. If it scorches immediately, lighten your pressure or lift the tip more often. Testing on scrap is the single best way to avoid burning a dark blotch into your project.
- Common mistake: pressing hard to make a darker line. Pressure causes dents and uneven edges; heat and timing control the color.
Burn the design with controlled strokes
Start with the outline, then fill in shading. Pull the tool toward you in short, even strokes rather than pushing it away. Keep your wrist supported on the work surface so the tip moves smoothly, and lift the tip between strokes to avoid a continuous dark blob.
For lighter shading, use quick, repeated passes with low pressure. For darker areas, slow down slightly or make more passes instead of pressing harder. If the line starts to wander, stop, let the wood cool, and re-draw the guide line before continuing.
- Checkpoint: after every few strokes, brush away dust so you can see the actual burn color.
Cool, clean, and finish the piece
Turn off the tool and let it cool completely on its stand before you touch the tip or store it. Once the wood is cool, lightly sand any raised areas caused by burning, then wipe away dust. A thin coat of clear finish or wax will protect the surface and deepen the contrast of your lines.
Do not rush the finish. If you seal over a still-warm surface or leave dust in the grooves, the result can look cloudy or uneven. A slow, clean finish makes even a simple first project look intentional.
- Common mistake: testing the tip with your finger. Use the stand and wait until the metal is fully cool.
Your first wood burning project in seven steps
- Choose a small, safe wood blank: Pick untreated basswood, birch, or poplar and cut it to a size you can hold steady. Avoid stained, painted, or pressure-treated wood; fumes and clogged tips are not worth the risk.
- Sand and dust the surface: Sand with the grain until smooth, then wipe away all dust with a dry cloth. Checkpoint: any remaining roughness will snag the tip and create jagged lines.
- Transfer a simple design: Draw or trace a design with a few bold shapes, keeping pencil lines light. Simple designs forgive uneven strokes; fine detail does not.
- Heat the tool and test on scrap: Let the tip reach full temperature, then press lightly on scrap wood for one second. Common mistake: skipping the scrap test and burning a dark blotch into the project.
- Outline with short, even strokes: Pull the tool toward you, keep your wrist supported, and lift between strokes. Checkpoint: if the line wanders, stop and redraw the guide before continuing.
- Add shading in light passes: Use quick repeated passes for light areas and slower passes for darker areas. Never press harder to darken a line; heat and timing do the work.
- Cool, clean, and seal: Turn off the tool, let it cool on its stand, sand raised spots, and apply a thin clear finish. Common mistake: touching the tip or sealing while the wood is still warm.
Tools that support a first wood burning project
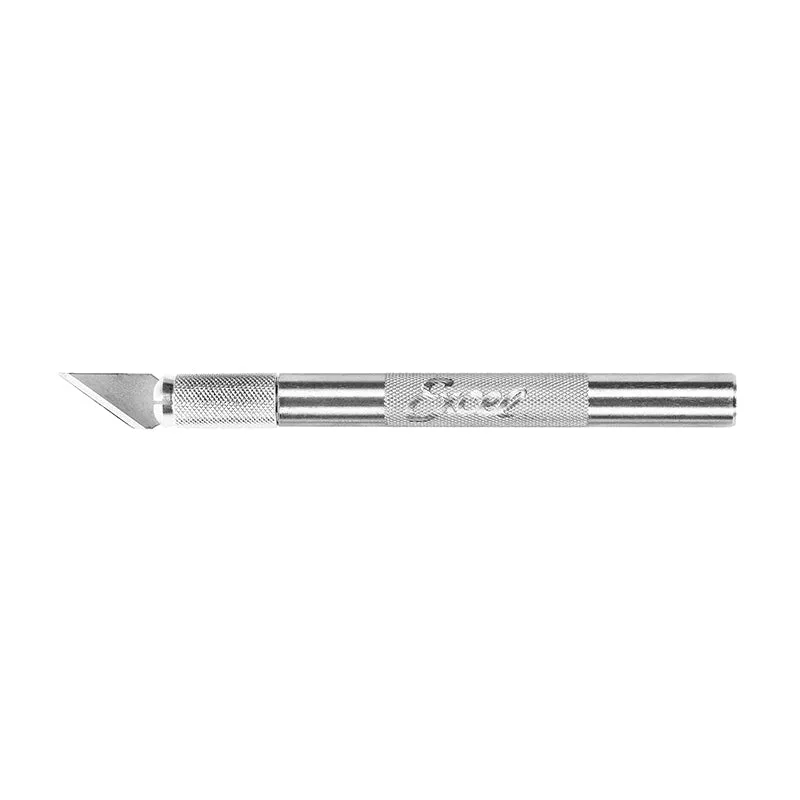
- K2 Aluminum Medium Duty Craft Knife: Equipped with a 4-jaw aluminum chuck for extra blade security and stabilization, and used on materials including paper, cardstock, stencils, film, photographs, tape, plastic, wood, cloth, leather, cardboard, cork, vinyl, and foam boards. A stable knife is useful for trimming templates, cleaning up edges, and preparing wood pieces before you burn.
- 0.058" Needle Point Awl Replacement Tip: Made from durable carbon steel with a sharp, fixed point that can be used for a multitude of tasks. A fixed-point awl is handy for marking guide lines and starting small holes in wood without a drill.
Your first wood burning project does not need to be perfect. Focus on controlling heat and stroke speed, test on scrap every time you change wood, and finish the piece only after everything has cooled. That routine turns a nervous first attempt into a repeatable skill.