Quick answer
Most wood burning tool problems come down to four causes: loose or dirty tip connections, the wrong tip for the job, too much hand pressure, or a worn-out blade or tip. Start by checking that the tip is fully seated and clean, then match the tip shape to the line you want. If the tool still will not hold heat after those checks, stop and replace the tip or the tool rather than forcing a bad result.
A wood burning tool that suddenly stops heating or starts dragging is frustrating, but the cause is usually simple. Before you assume the tool is dead, work through the same checks a pyrography hobbyist would: connection, tip condition, material, and technique.
This guide separates each symptom from its likely cause and gives you a corrective action, plus a clear point where you should stop fixing and switch tools or tips. It covers the wood burning tool problems that come up most often, including a wood burner not heating, uneven lines, and smoke or scorching.
Symptom: The wood burner is not heating at all
If the tool stays cold after several minutes, the problem is almost always electrical or mechanical rather than a mystery. Check that the plug is fully seated, the outlet works, and any temperature dial is turned up. On tools with a replaceable tip, loosen and reseat the tip; a tip that is not fully tightened can break the circuit and keep the whole tool from heating.
If the handle has a cord connection or a barrel nut, inspect it for a loose fit. A wood burner not heating after you have confirmed power and a tight tip usually means the heating element has failed. At that point, replacement is the practical choice, not repair.
- Unplug the tool before checking or reseating any tip.
- Test the outlet with a lamp or phone charger to rule out the power source.
- If the handle is warm but the tip is cold, the tip connection is the first suspect.
Symptom: The tool heats slowly or will not hold temperature
A tool that reaches heat but cools the moment you touch wood is often working harder than it should. Carbon buildup on the tip acts as insulation, so the tip cannot transfer heat to the wood. Let the tool cool completely, then clean the tip with a fine abrasive or a dedicated tip cleaner. Re-tin or re-season the tip if the manufacturer recommends it.
If cleaning does not restore heat, the heating element may be degrading. This is common on older tools and on units used at maximum temperature for long sessions. Reduce the temperature setting and work in shorter passes; if the tool still fades, it is time to replace the tip or the tool.
- Clean the tip only when the tool is cool to avoid damaging the element.
- Avoid leaving the tool at maximum heat when you are not actively burning.
- A tip that cleans up but still fades points to a failing element, not dirt.
Symptom: Lines are uneven, blobby, or too dark
Uneven lines usually come from inconsistent speed and pressure, not a defective tool. Moving too slowly in one spot burns a dark blotch; moving too fast leaves a faint, scratchy line. The fix is to keep a steady hand speed and let the tip temperature do the work instead of pressing harder. Light, repeated passes give you more control than one heavy pass.
Tip shape matters here. A fine point is for detail and thin lines, while a flat or shading tip covers more area with less pressure. If you are using a broad tip for fine lettering, you will fight the tool the whole way. Match the tip to the line width you want, and practice on scrap wood before committing to your project.
- Lower the temperature and make two light passes instead of one heavy pass.
- Sand the wood smooth before burning; rough grain causes snagging and uneven lines.
- Keep a scrap piece nearby to test the tip and temperature before each session.
Symptom: Smoke, scorching, or a burning smell
Some smoke is normal when burning wood, but heavy smoke and a sharp burning smell usually mean the temperature is too high or the tip is dirty. Turn the tool down and clean the tip. If you are burning a resinous wood or a piece with finish on it, the finish itself may be burning, which produces fumes you should not breathe.
Work in a ventilated area and take breaks. If the smell persists after lowering the temperature and cleaning the tip, stop. Scorching can also come from holding the tool in one place too long, so keep the tip moving. For finished or treated wood, choose a different material rather than pushing through the fumes.
- Always work in a well-ventilated space.
- Lower the temperature before assuming the tool is faulty.
- Do not burn wood with unknown finishes or treatments.
Symptom: The tip wobbles, loosens, or falls out
A loose tip is a safety issue and a quality issue at the same time. It causes inconsistent heat transfer and uneven lines, and it can fall out mid-project. Let the tool cool, then tighten the tip according to the manufacturer's instructions. Do not overtighten, which can strip threads or crack the tip collar.
If the tip still will not stay tight, inspect the threads and the collar for damage. A worn collar or stripped threads cannot be fixed with more force. Replace the tip or the handle, and if the tool uses a proprietary tip system, keep spare tips on hand so a loose tip does not end your session.
- Tighten tips only when the tool is cool.
- Inspect threads for cross-threading before forcing a tip.
- Keep spare tips in the same style you use most.
Symptom: The tool works, but the results look rough
When the tool is heating correctly and the tip is clean, rough results usually trace back to surface preparation or technique. Wood that has not been sanded will snag the tip and produce fuzzy lines. Softwoods with wide grain also burn unevenly compared with tight-grained woods. Sand to a smooth finish, remove dust, and practice your hand speed on scrap before working on the final piece.
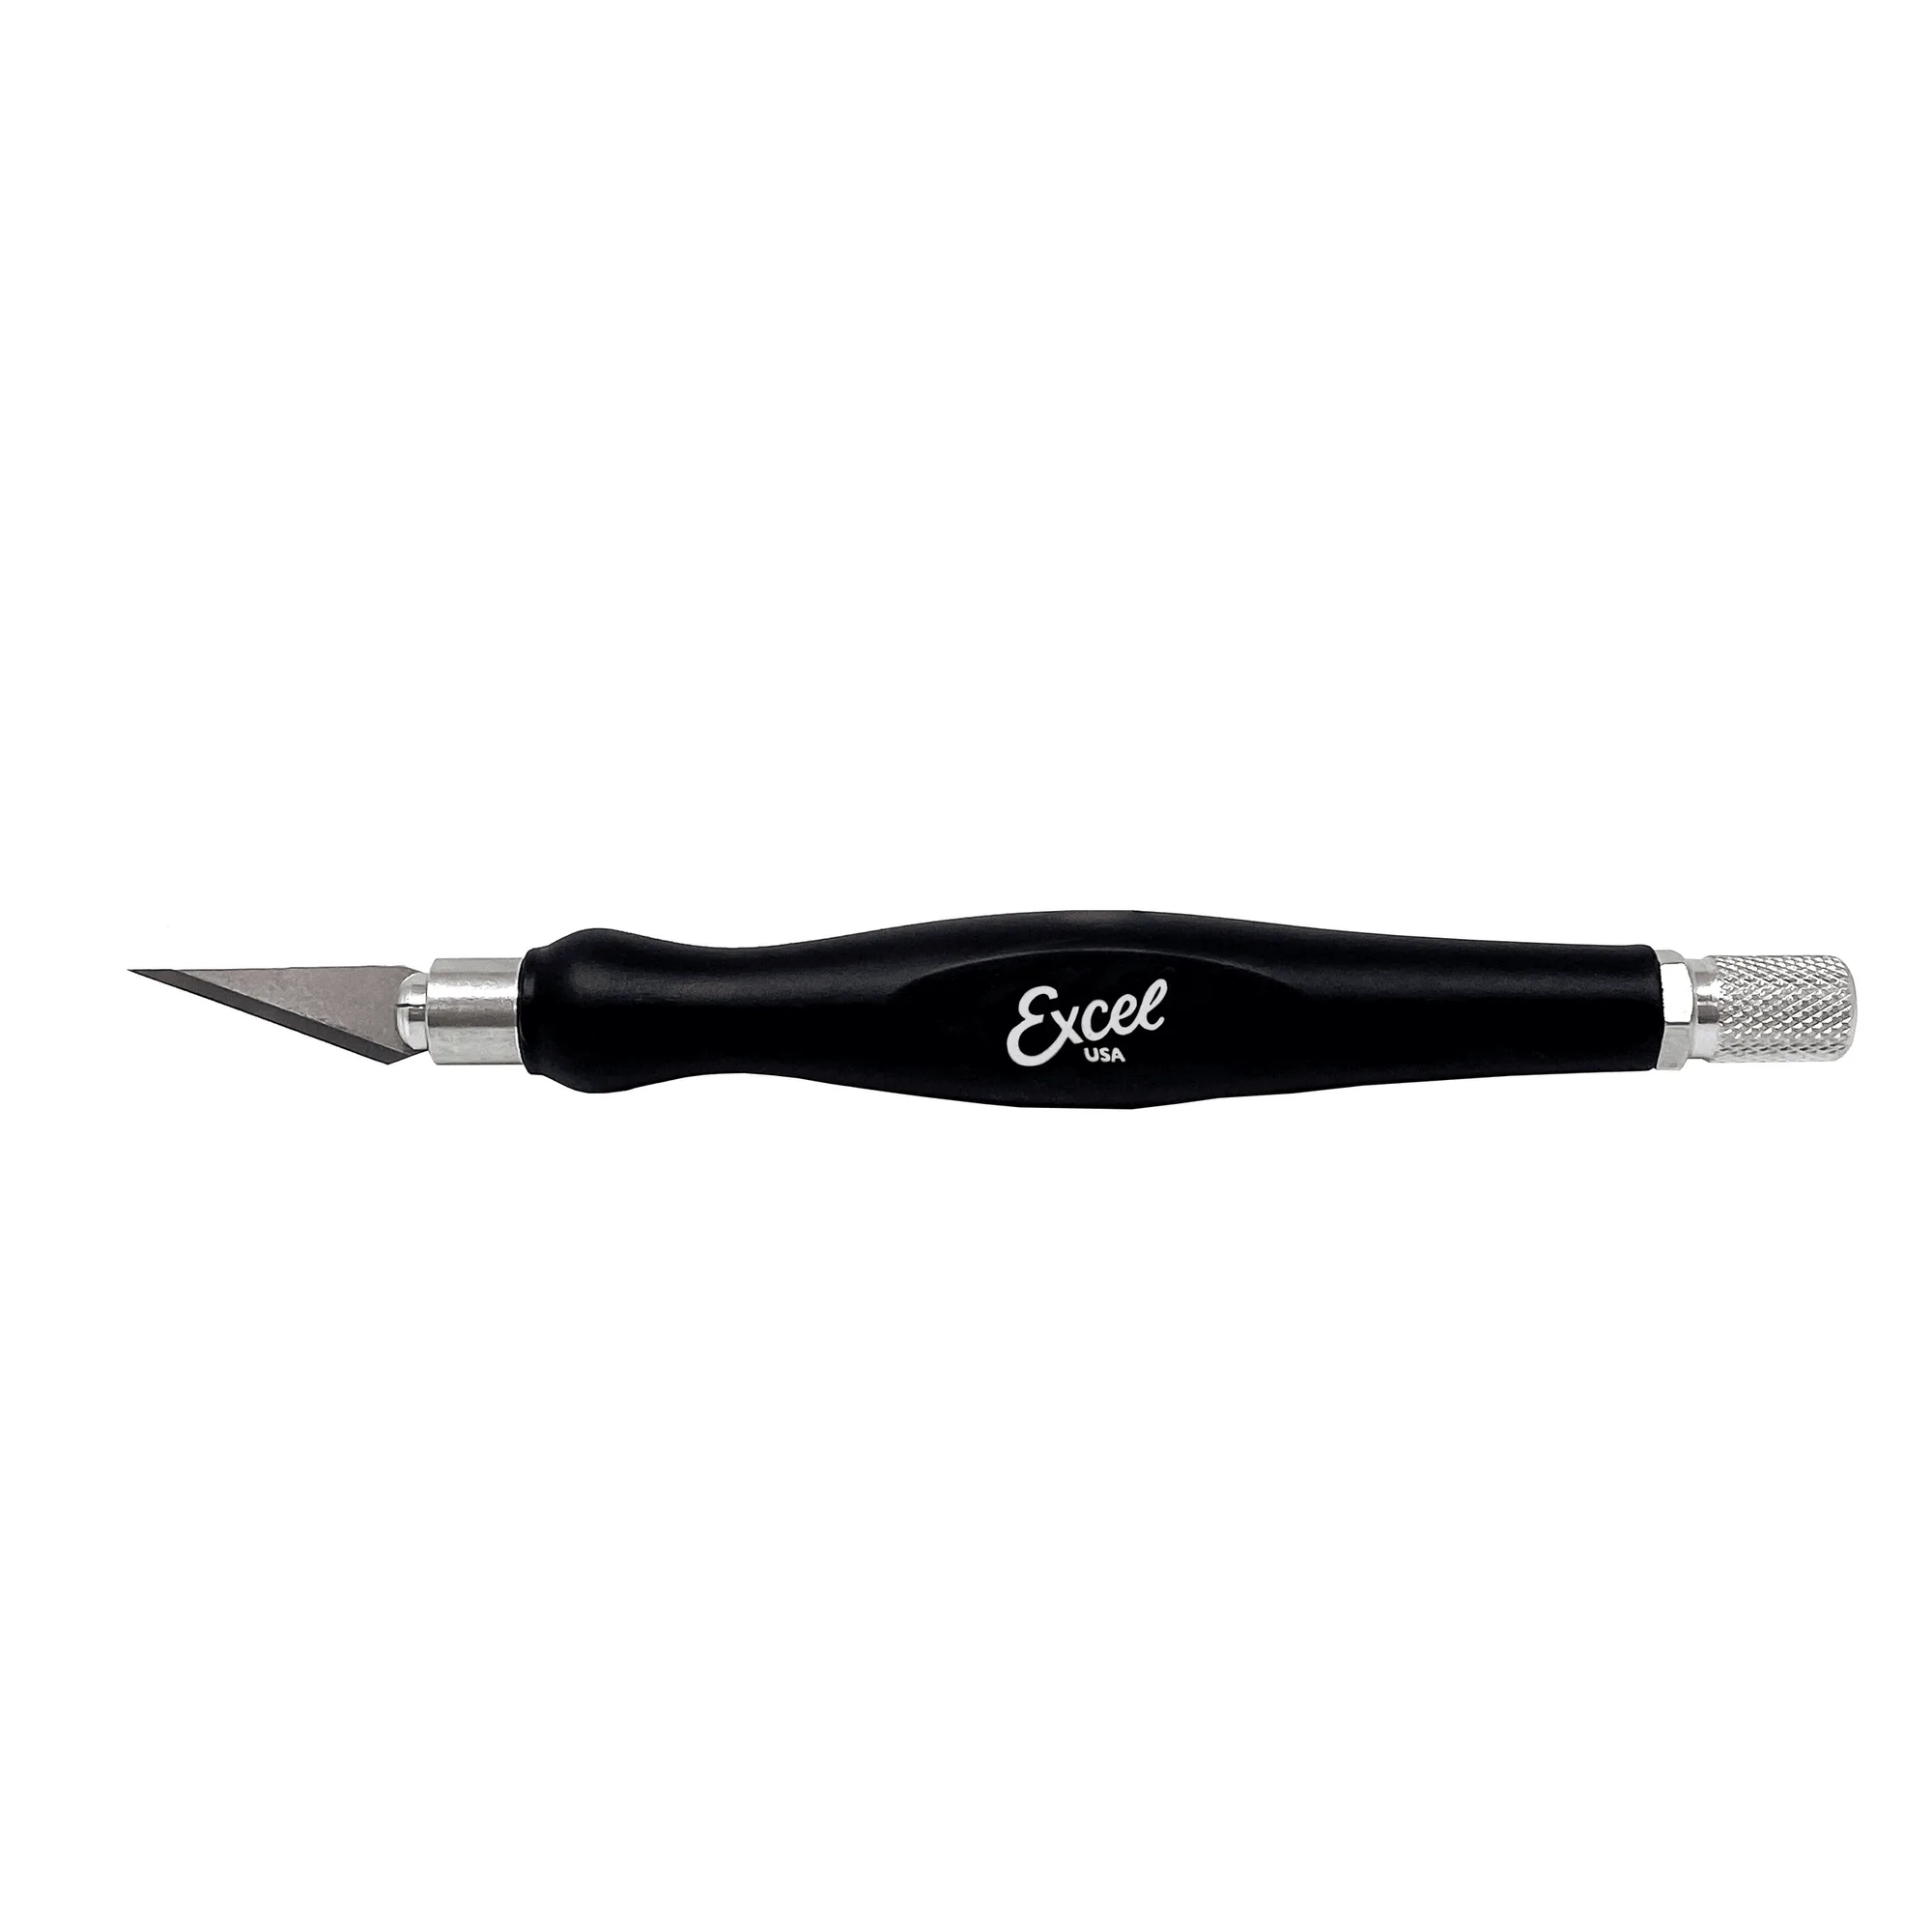
If you are doing fine detail work and the tool feels too bulky, the issue may be the tool type rather than your skill. A dedicated fine-detail blade or a hobby knife for cleanup can complement your burning work. For trimming and cleaning up tight areas, a precision blade is often more controllable than a hot tip.
- Sand progressively to a smooth surface before burning.
- Wipe away dust so it does not clog the tip.
- Use a hobby knife for cleanup cuts rather than dragging a hot tip.
Diagnosis chart: symptom, cause, action, and stopping point
- No heat at all: Check power, outlet, temperature dial, and tip seating. Reseat or tighten the tip while the tool is cool. If it still stays cold with a tight tip and confirmed power, the element has failed. Replace the tip or tool; do not keep troubleshooting.
- Heat fades during use: Clean carbon buildup from a cool tip, lower the temperature, and work in shorter passes. If cleaning and lower heat do not hold temperature, the element is degrading. Replace the tip or tool.
- Uneven or blobby lines: Reduce pressure, increase hand speed consistency, and match tip shape to line width. Sand the wood first. If the tool holds heat and the tip is correct, the issue is technique or surface prep, not the tool.
- Smoke or scorching: Lower the temperature, clean the tip, and improve ventilation. Stop burning finished or treated wood. If fumes persist after temperature and cleaning fixes, switch materials or stop the session.
- Loose or falling tip: Cool the tool, tighten the tip per instructions, and inspect threads and collar for damage. If the tip will not stay tight, replace the tip or handle. Do not force a stripped connection.
Tools that help with wood burning and cleanup
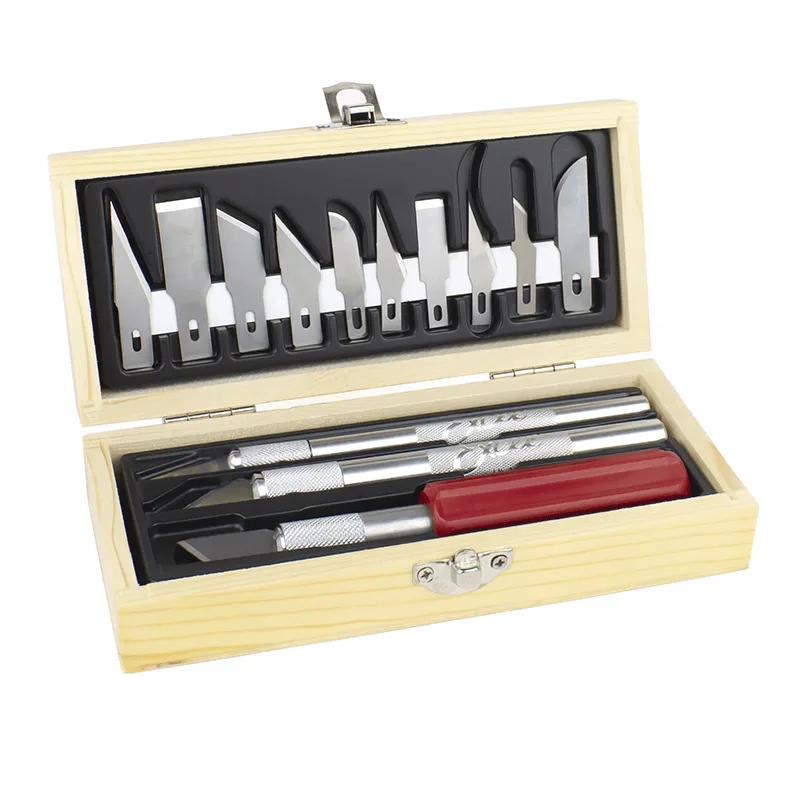
- Hobby Knife Set, 3 Knives, Assorted Blades: Includes three precision knives (K1, K2, K5) and 13 assorted blades for cutting tasks in construction, woodworking, and DIY. Useful for trimming and cleaning up wood surfaces and details around a pyrography project, with multiple blade shapes to match the cut.
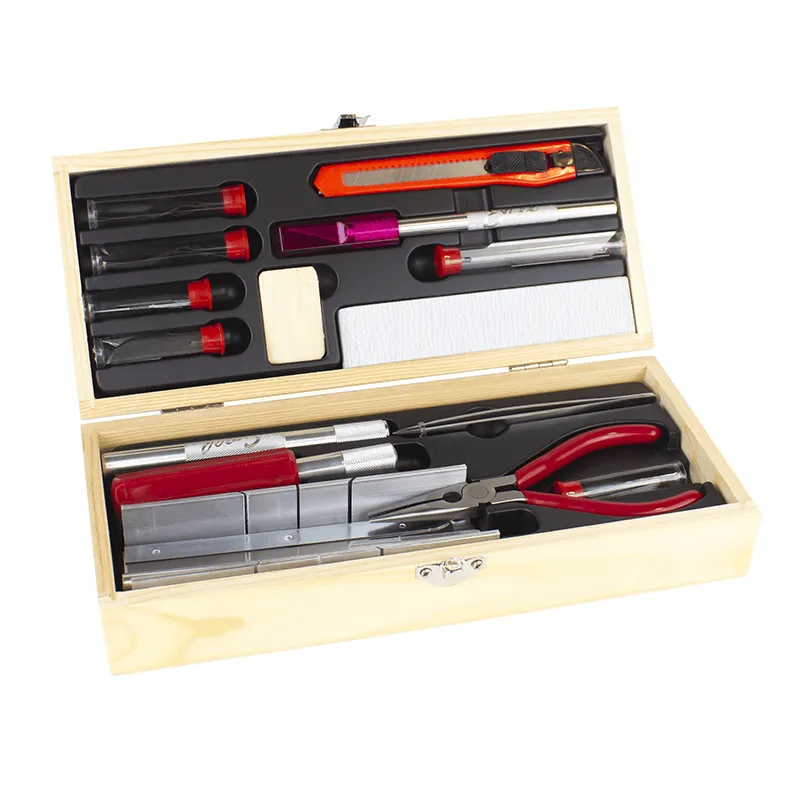
- Model Kit Tools: Deluxe Ship Modelers Set with a wood case, 3 knives, saw, pliers, and 16 assorted blades for intricate model building, wood carving, and crafts. A practical companion set when your wood burning work involves small wooden parts that need cutting, shaping, or holding.
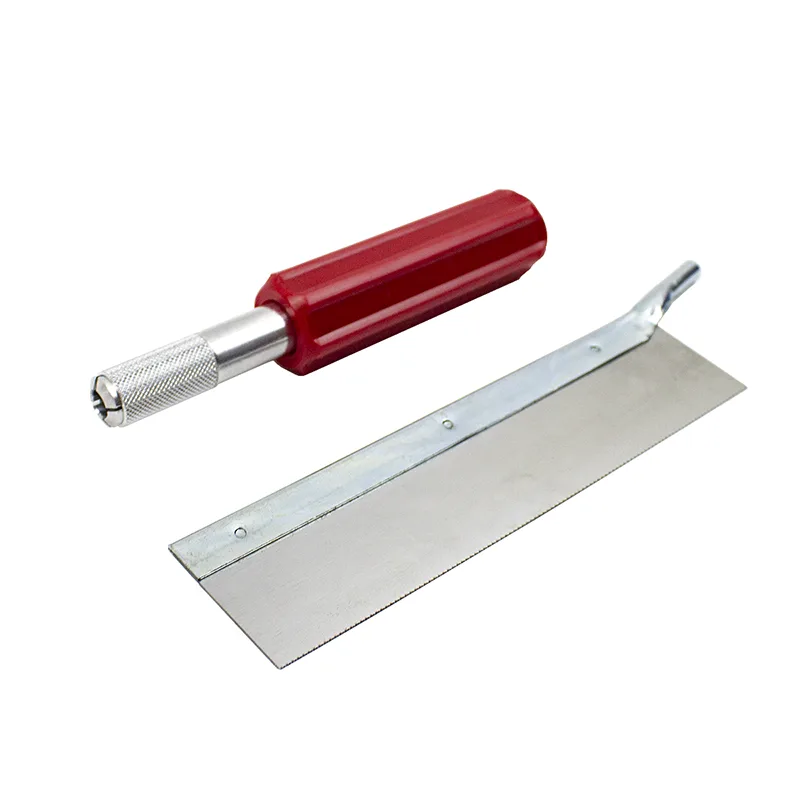
- Razor Saw Set: K5 heavy duty hobby knife handle plus a 5-inch steel pull saw blade with 46 teeth per inch, for cutting wood and soft metals. Helps you cut small wood blanks or trim pieces before burning, so you start with the size and shape you actually need.
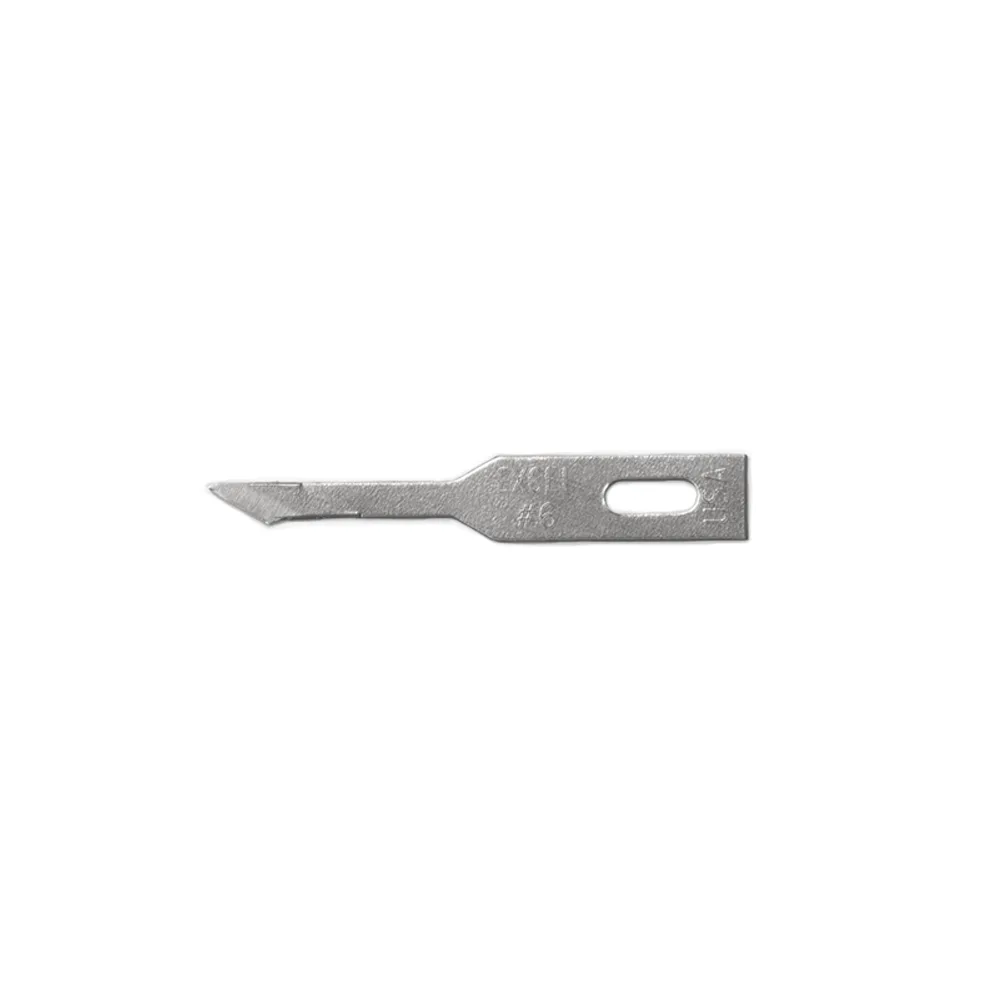
- #6 Micro Stencil Blade: Carbon steel micro stencil blades, pack of 5, for clean, accurate cuts on lightweight materials like paper, vinyl, film, and foam board. Useful for cutting stencils and templates that guide your wood burning design before you touch the hot tip to wood.
Most wood burning tool problems are solved with a tight tip, a clean tip, the right tip shape, and a steady hand. Work through the diagnosis chart in order, and stop repairing once the element or threads are damaged. Replacing a tip or a tool is faster and safer than fighting a fault that will keep ruining your work.