Quick answer
The Wyverstone Scatter Pack (Painted) is a ready-to-play scatter set: open the box, drop the pieces on your mat, and you have instant cover, rubble, and visual interest without painting or assembly. Use it as a fast dressing layer on top of your existing tiles, then add one or two larger Dwarven Forge pieces for landmarks. If you want a low-effort way to make encounters feel less like empty rooms, this is the pack to start with.
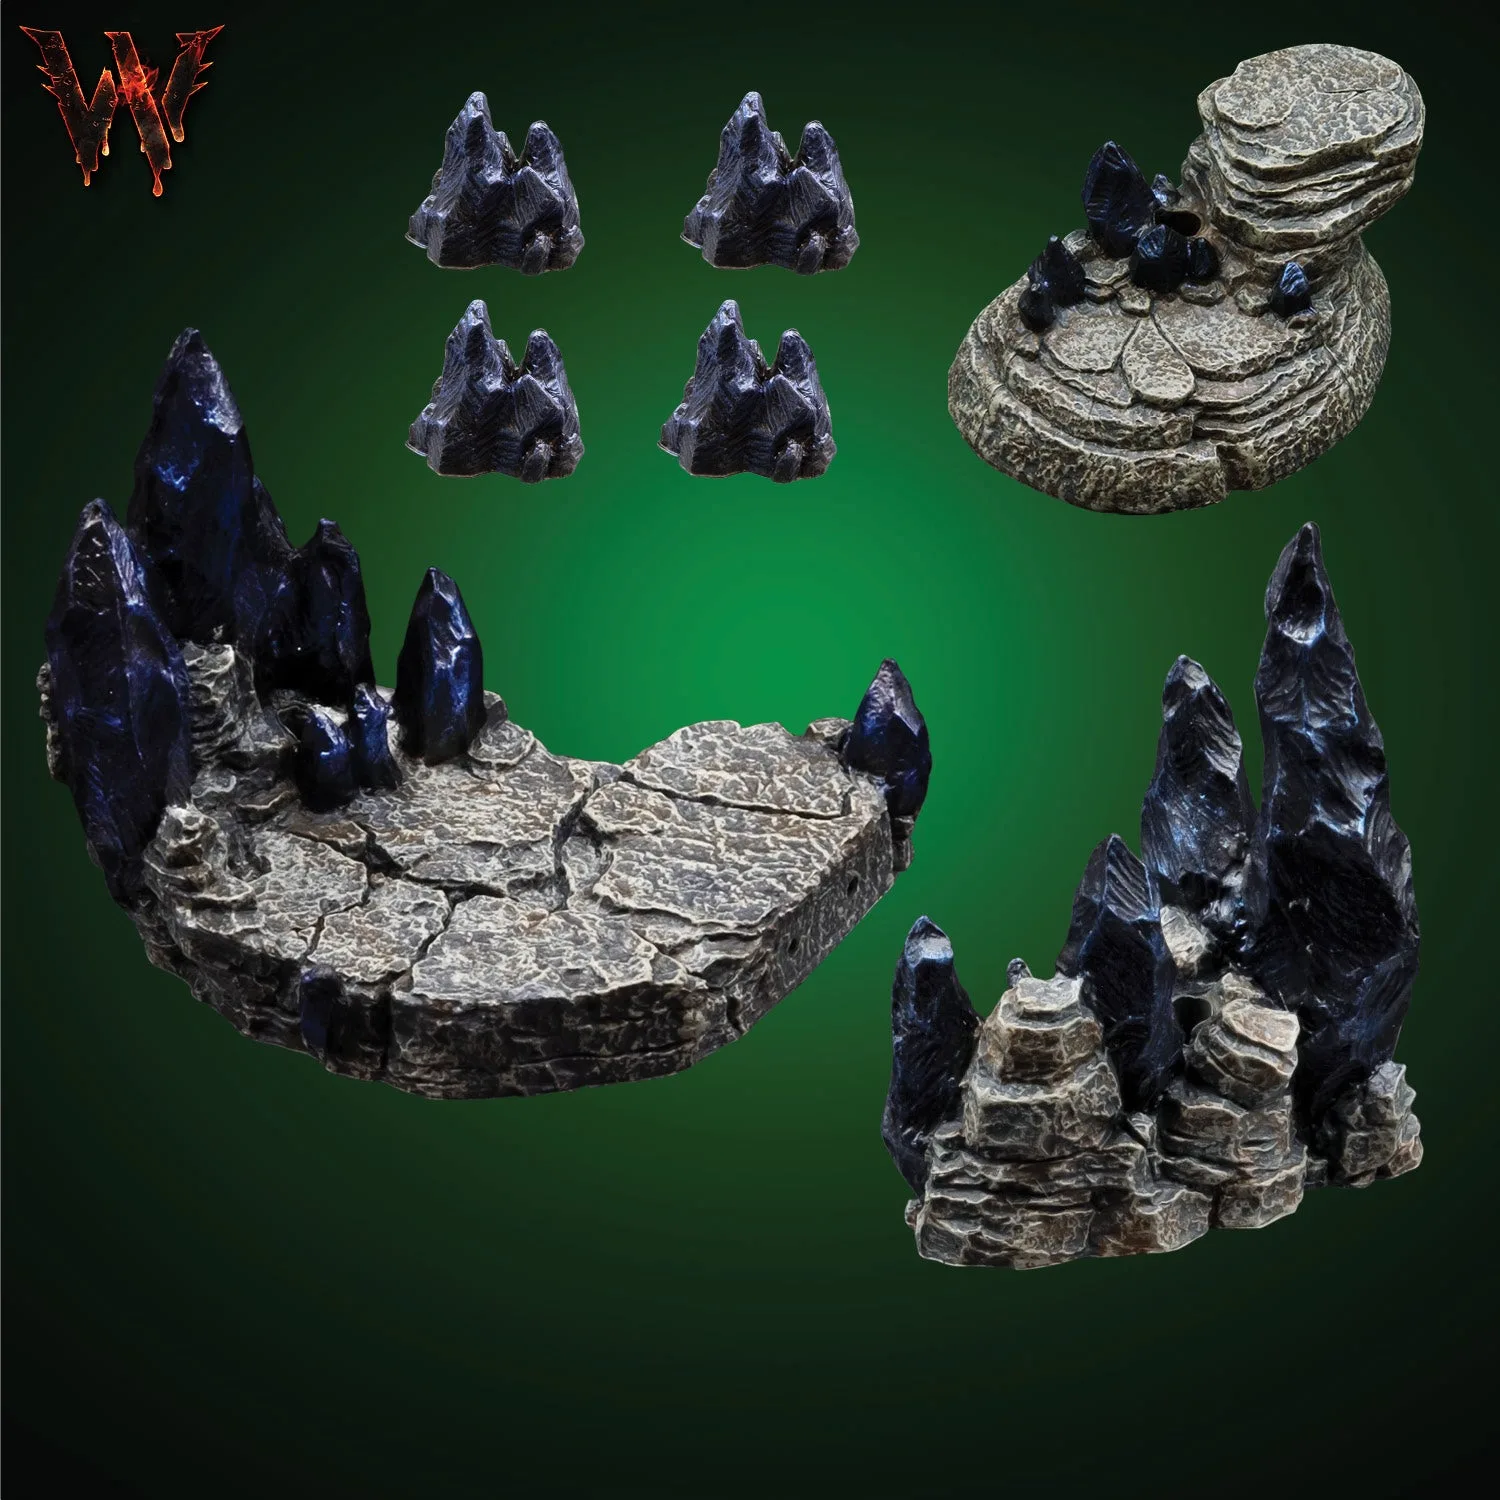
Wyverstone Scatter Pack (Painted)
Most terrain sets ask you to build a whole room before the table looks good. Scatter packs work the other way: a handful of pieces placed in seconds changes how a space reads, and you can move them mid-session when the fight spills into a new area.
This guide covers what the Wyverstone Scatter Pack (Painted) actually gives you, how to stage it so it helps play instead of cluttering it, and where it fits alongside Dwarven Forge sets you may already own. If you are weighing a first painted terrain purchase, the steps below double as a buying checklist.
Why painted scatter terrain earns its table space
Painted scatter terrain solves a specific problem: the gap between a bare battle mat and a full tile build. It is the layer that turns an empty 2x2 room into a collapsed shrine, a market stall, or a wyvern's roost. Because the pieces are painted, they are table-ready the moment they arrive, which matters if your group meets weekly and your painting backlog is measured in years.
Scatter also gives you tactical honesty. A piece of rubble or a broken arch tells players where cover is without you narrating every square. For scatter terrain for RPG use, that readability is the real value: players make decisions from what they see, not from what they remember you said three turns ago.
- Keep scatter pieces in a single open tray so setup takes seconds, not minutes.
- Place scatter after the base tiles, never before, so it never blocks a doorway you need.
How to stage the pack in five minutes
Start with your base layout, then work from the outside in. Put the largest pieces at the room's edges or corners where they frame the space, and leave the center open for movement. Smaller pieces go where they create decisions: beside a choke point, in front of a ranged position, or on top of a piece of elevation to suggest a recent collapse.
Resist the urge to use every piece. A scatter pack used at two-thirds strength looks intentional; a pack used at full strength looks like a storage bin tipped over. If a piece does not change how a player might move or what they might investigate, take it off the table and save it for the next room.
- Leave at least one clear path from every entrance to the room's center.
- Cluster two or three small pieces together instead of spreading them evenly.
Mixing the pack with Dwarven Forge sets you already own
Scatter works best as a supporting layer, not a standalone build. If you already run Dwarvenite tiles, the pack fills the dead space between walls and adds narrative texture without changing your footprint. If you are building upward, pair scatter with elevation pieces so the vertical space reads as a climbable ruin rather than a plain platform.
For sci-fi tables, the same principle applies with different props. A painted command piece or a turbine pack gives scatter a focal point, and the smaller pieces then read as debris around it. The goal is contrast: one strong landmark, several quiet pieces, and open floor for the miniatures.
- Match scatter density to encounter type: light for travel, heavy for ruins or ambush sites.
- Photograph your favorite layouts so you can rebuild them in under a minute next session.
Your first-session setup steps
- Unbox and sort by size: Lay every piece out on the table and separate them into large, medium, and small groups before you build anything. Checkpoint: if a piece has visible damage or a mismatched paint tone, note it now rather than mid-session.
- Build the base layout first: Place your tiles, mats, or floor plan and confirm the walkable space before adding any scatter. Common mistake: placing scatter first and then discovering it blocks a doorway or a charge lane.
- Anchor the room with one large piece: Choose a single large piece as the visual landmark and place it at an edge or corner, not in the middle of the floor. One landmark reads as a designed space; three competing landmarks read as clutter.
- Add medium pieces at decision points: Put medium scatter near choke points, cover positions, and objectives so it informs tactics rather than just decorating. Checkpoint: every medium piece should answer the question, what would a player do differently because this is here?
- Finish with small pieces in clusters: Group small rubble and debris in twos and threes near walls, elevation edges, and the large landmark. Common mistake: spreading small pieces evenly across the whole table, which flattens the visual hierarchy.
- Playtest the sightlines: Stand at each player's seat and check what they can see and where cover appears to be. Adjust anything that creates a false read, then photograph the layout for reuse.
What to know before you buy
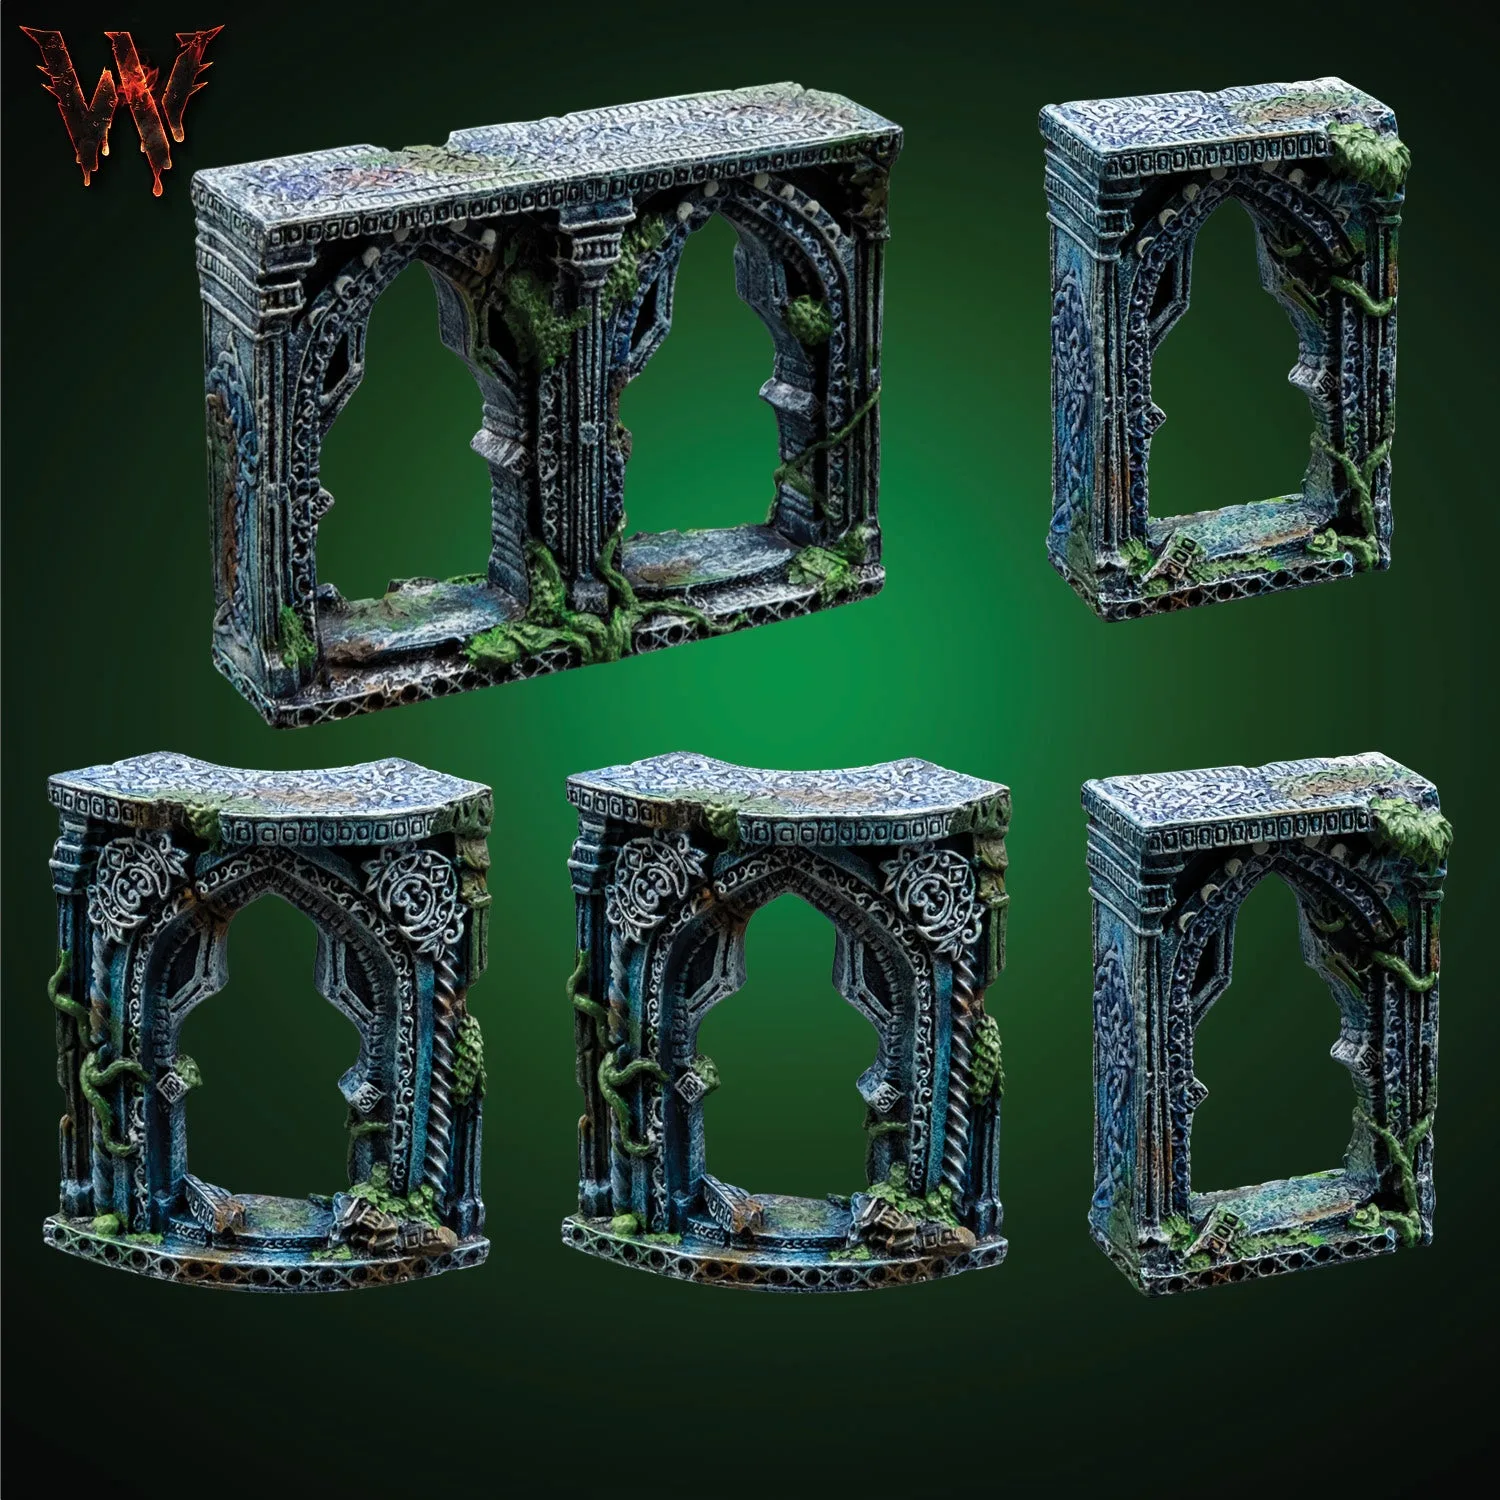
- Ruins - All Arches (Painted): The ancient arches in this pack give the appearance of great craftsmanship that has stood the test of time, and the late 2024 production of these pieces is painted slightly darker than the previous production. If you are matching new arches to older painted pieces, expect a slight shade difference and plan to mix them rather than line them up side by side.
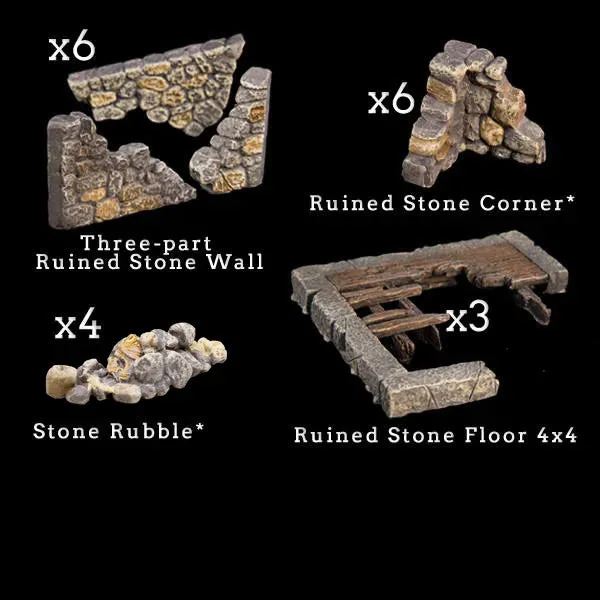
- Stone Ruins Add-On Pack (Unpainted): This set contains 19 pieces, including ruined stone walls, corners, floors, and rubble, and Dwarven Forge strongly recommends Pokorny Paint Colors for painting Dungeon Gray Dwarvenite. This is the unpainted route to the same ruined look; budget time for painting and use the recommended paint if you want results that match factory-painted pieces.
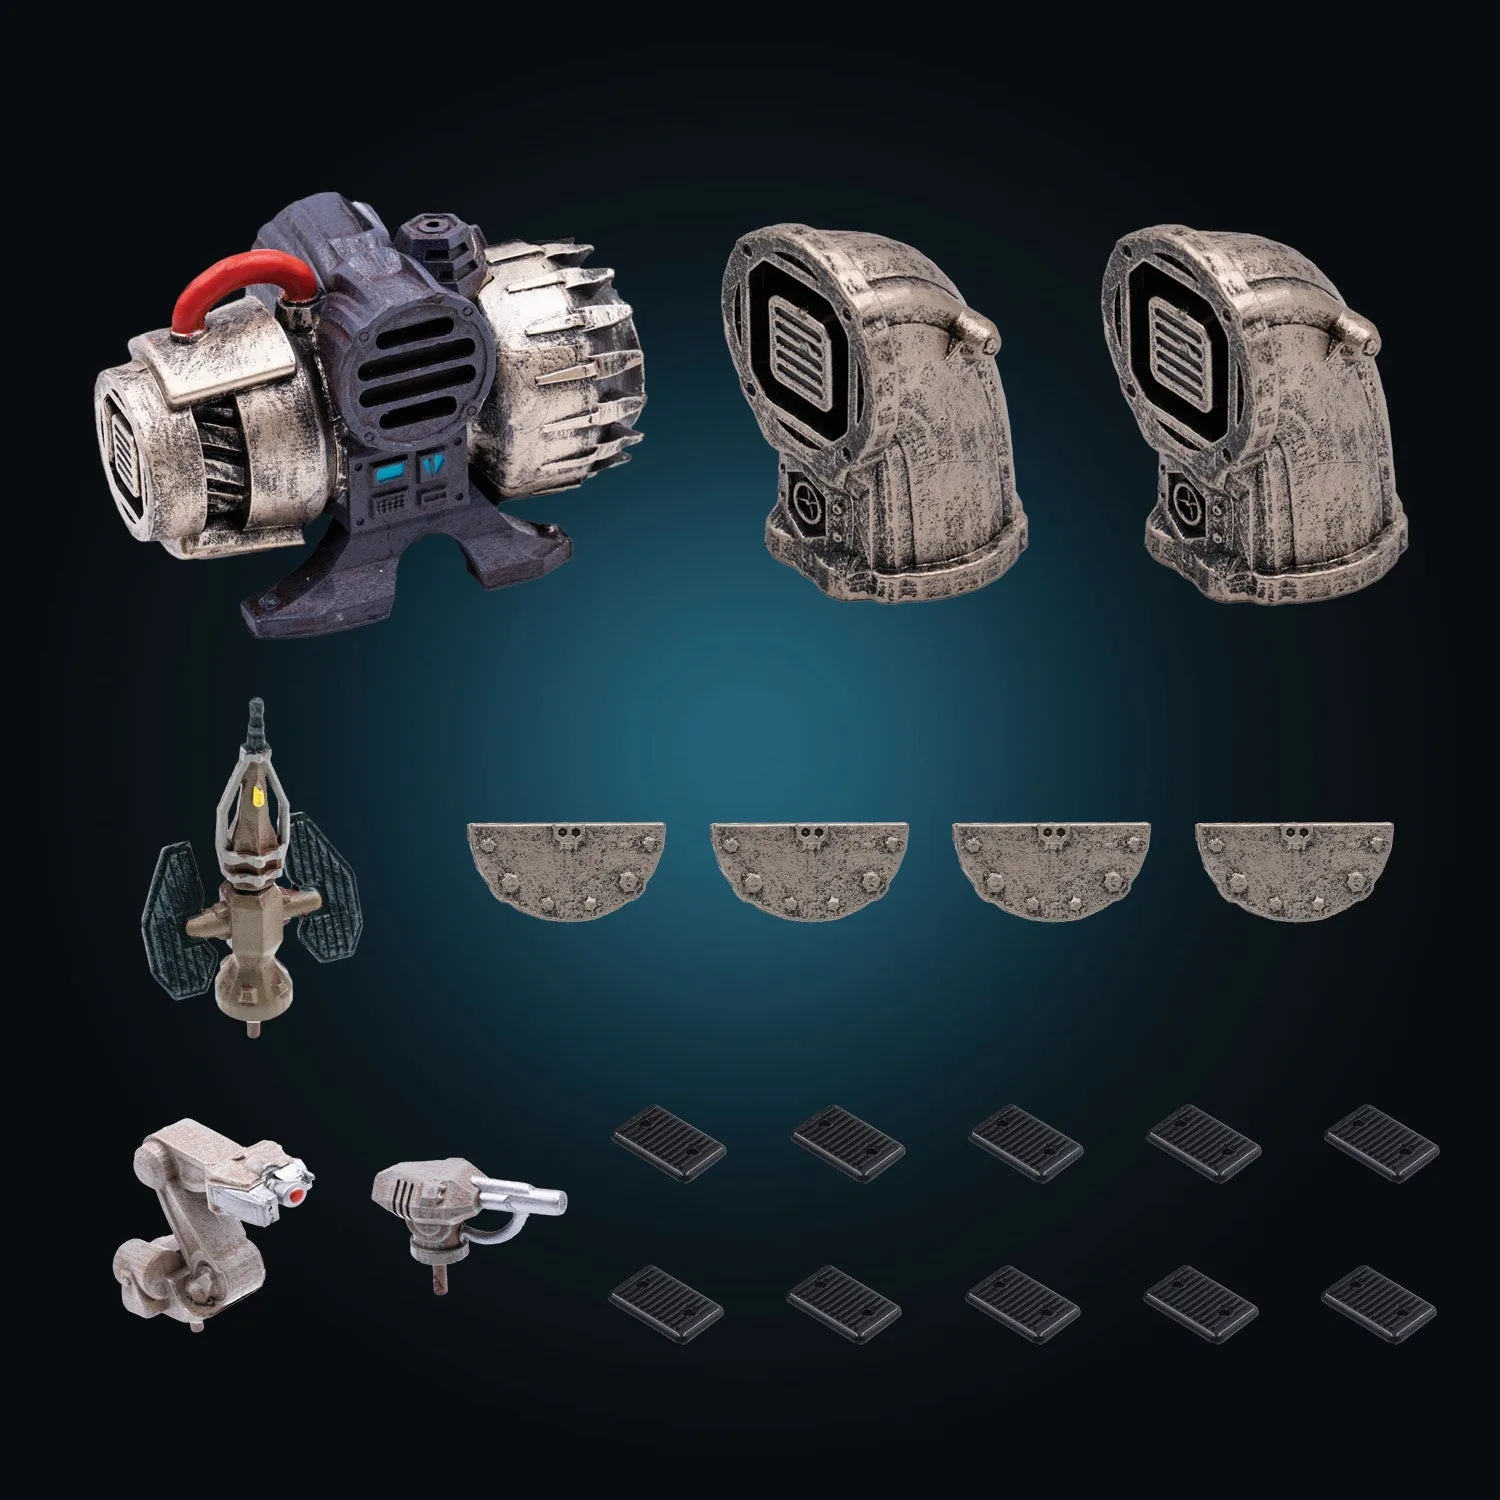
- Dynamo Turbine Pack (Painted): This piece works particularly well with the catwalks collection, and it can stand on end, lie flat, or be elevated between two pylons. A good example of a scatter-adjacent piece that earns its place through multiple orientations, which is the same test you should apply to any scatter you buy.
The Wyverstone Scatter Pack (Painted) is at its best when you treat it as a fast dressing layer rather than a full build. Sort it, anchor with one large piece, cluster the small ones, and keep the center open. Do that and your table looks intentional in five minutes, which is exactly what a weekly game night needs.